What a pro baker can teach us about making bread at home
Andy King shares his best advice from 20 years in the professional kitchen.


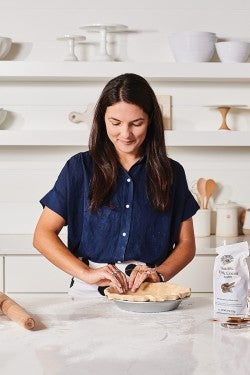
Andy King has been around the block. Or, more accurately, the bench.
The co-owner of A&J King Artisan Bakery in Salem, Massachusetts, Andy has been baking professionally for 20 years. That’s long enough to amass a serious bag of tricks. We asked this expert (and occasional guest instructor at the King Arthur Baking School) to share some pro tips that will help home bakers up their game, especially when it comes to bread.
Andy explains that one of the biggest differences between a professional and home kitchen is temperature. While a home kitchen might hover around 70°F, the bakery environment is warm and toasty, which leads to lots of microbial activity in fermenting bread dough.
To mimic a bakery environment, he recommends warming up your kitchen or increasing your Desired Dough Temperature (DDT) to jumpstart microbe activity. At home, he advises shooting for a high DDT, around 90°F. This will give your dough a boost at the beginning before the temperature drops while it proofs on the counter. “Right at the beginning, that’s where all of the activity starts,” says Andy. “Those are hours you can’t get back.”
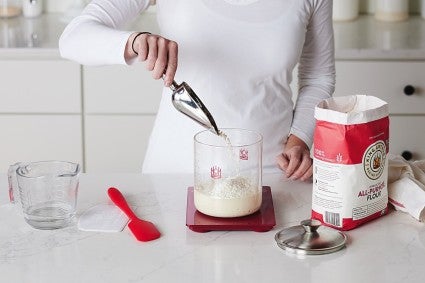
A professional bakery relies on consistent results. Andy emphasizes that the best way to achieve consistency is to invest in a scale. This might not be news to you (our own PJ Hamel wrote a blog post breaking down why you should use a scale, how to use one, and tips to bake with it), but that doesn’t make it any less important. “You gotta do that,” he stresses.
Andy’s bakery has a saying: “Don’t short the bulk.” What he means is that you should never divide your dough too early during its bulk fermentation. This period is when there’s the most activity in your dough, and that momentum will build and carry through to your bench rest, your proof, and into the oven. If you divide early and haven’t given those microbes a chance to get moving right at the beginning of the baking process, “You’re going to be fighting an uphill battle.”
Follow Andy’s advice to determine when dough is ready to divide: “It’s ready when you feel like you’re ready to take a nap on it; it should be that soft and pillowy.”
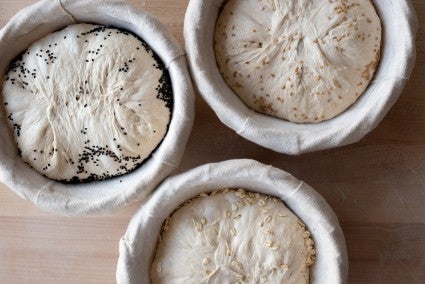
Once your dough is divided and proofing, let it have a little alone time. Andy admits it’s challenging, even for him. “For me, the hardest thing about baking at home is keeping my hands off the dough,” he says. At the bakery, he has lots of projects that require his attention, but at home it’s tempting to dote on his loaves. Quips Andy, “It’s like only child syndrome, but for bread.”
You might be tempted to poke at your loaves and check in to see what’s going on, but Andy stresses: “Have patience.” This is where your dough becomes bread: “Fermentation is such an important part; it’s the key component of bread baking.” It’s easy to fuss, but treat your dough like an angsty teenager and let it have its space.
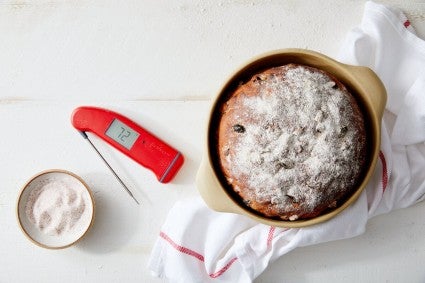
Yes, baking is an art that relies on your senses and intuition. It’s also an incredibly scientific practice, and if you treat it as such, your baking will benefit. Andy advises that you use tools to measure every aspect of your baking process: for instance, a thermometer for the temperature of the starter, dough, ingredients, and air, or a timer for tracking proofing and baking times. Then write it all down. “Keep track, so that the next time you have an experiment, you have a template to go off of,” says Andy. “I cannot stress the importance of that enough.”
Andy’s bakery has clipboards at each station for recording; at home, he suggests keeping a notebook to track everything you do in the kitchen.
So now you’re recording everything in your new kitchen notebook. Great! But you want to make sure your notes and experiments are actually useful, which is why Andy recommends only changing one element of a recipe at a time. That way, you can precisely pinpoint what caused any differences in your final bake — a necessary component of his bakery’s data-focused approach to production baking.
For instance, if you’re experimenting with a boule recipe, “don’t make it warmer and change the flour; don’t change the hydration and add in a bunch of mix-ins,” instructs Andy. If your bread falls flat, you won’t know what worked and what didn’t.
Learn from Andy and more of our knowledgeable instructors in a King Arthur Baking School class, available at our Vermont and Washington locations or online. See the full class calendar here, and check out Andy’s next class in October: New England Harvest Breads.
Cover photo (French Sourdough Bread) by Liz Neily.