


Over the past 4 years, I have learned so many things here at King Arthur Flour. Some are customer-service based, like how to re-ship a broken bottle of vanilla, or how to help customers choose the best shipping options. Some are funny and personal, like that PJ's favorite food group is "dip," and Andrea's a cat person and a fellow fan of Buffy the Vampire Slayer.
I must say though, that the majority of my education here has been about baking. How to, why to, when to, and with what. Not that I didn't bake before I arrived here. I was a pretty good baker, and loved to bake and decorate cakes and cookies, and made the occasional breads and pizzas too.
I readily admit though, my baked goods were just average and I longed to know more about how to make light biscuits without a baking mix, and pancakes without, um, a baking mix. And oh yeah, I wanted to kick the boxed cake mix habit, too.
My Grandma Flowers, a pastry chef in upstate New York whom I only got to meet a few times, had taught me at the age of 12 how to make buttercream and use piping bags to decorate cakes. But we never had the time to make the cakes themselves during our short visits, so cake baking was one of my first goals. Queen Guinevere (King Arthur's bleached cake flour) became my new best friend.
As a King Arthur Baker's Hotline baker, I have spoken with many folks about the benefits of cake flour. Low protein level means less gluten to tighten up and produce tough cakes. Bleaching the flour, simply put, toughens the available gluten, allowing the cake to "carry" its load of fat and sugar. Cakes made with bleached cake flour typically rise high, and often have a light, almost crumbly texture.
As a gal with many allergies, though, the thought of eating bleached food wasn't my favorite, and I began to use all-purpose flour for most of my cakes, sacrificing tenderness and loftiness along the way. How could I have my cake and eat it, too?
Enter my new best friend: King Arthur UNBLEACHED Cake Flour Blend! That's right, it's unbleached. A blend, you ask? Through a long process of testing various flour types and ingredients, we've been able to develop a cake flour that offers many benefits to the cake baker – without the bleach.
And I am LOVIN' it! One benefit is a moister cake than you'd get with a bleached cake flour; this helps it stay fresher longer, too. And of course, it doesn't contain any unwanted chemicals, like peroxide or bleach. Want to hear the best part? It's going to be available this fall in your regular retail grocery stores. (If you don't see it right away, do ask your store manager about getting it, pronto! ) No need to special order, no shipping charge, just cruise on over and pick up a box; then make this delicious Tender White Cake.
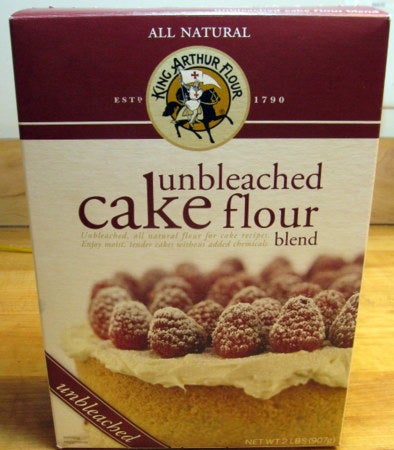
Hello, Gorgeous! Isn't that a beautiful box? Trust me, this cake tastes as good as it looks. No, better!
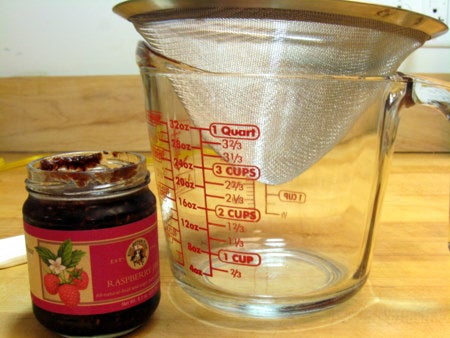
This cake has a luscious raspberry jam filling. If your jam of choice has seeds and you'd like to remove them, you can strain the jam through a fine strainer. It's good to start this early, so gravity can help you out as you make the cake batter. Pour the jam into the strainer, stir it a bit, then let it drip through.
On to the batter...
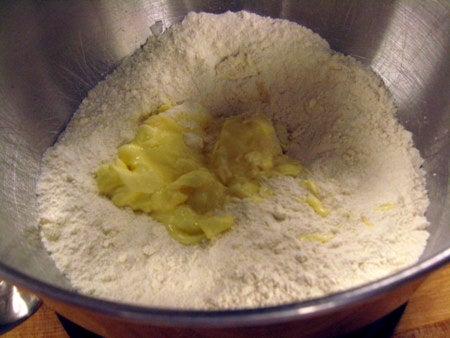
I know, the first question is "Do I really have to mix the dry ingredients for 2 minutes?" Simple answer, yes. Light and tender cakes are based on incorporation of air. No air = flat heavy cakes. So turn the mixer on, and imagine yourself on the beach, or relive your first kiss for 2 minutes. Next, add the softened butter.
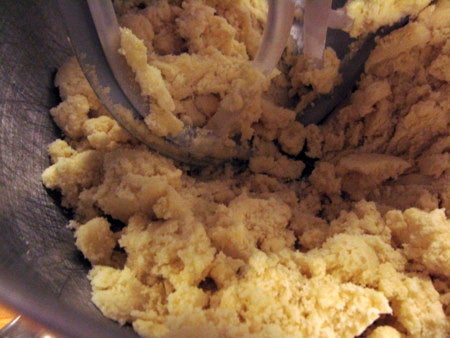
As the butter mixes in, the batter will begin to cling together in the bowl. This is known as the paste method. Scraping the bowl during this step is important to be sure all flour gets incorporated.
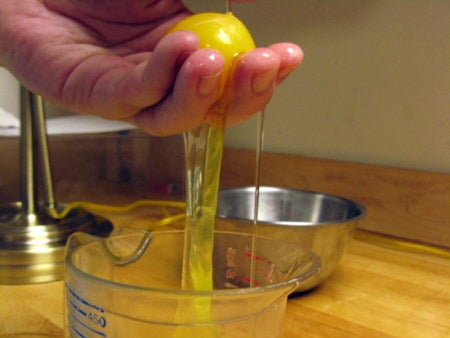
Here's my favorite method for separating eggs. Your fingers are softer than egg shell, and (hopefully) don't have any sharp shards to break the yolk. You can use the traditional method of shell to shell if you don't like sticky hands. Save the yolks for omelettes or ice cream.
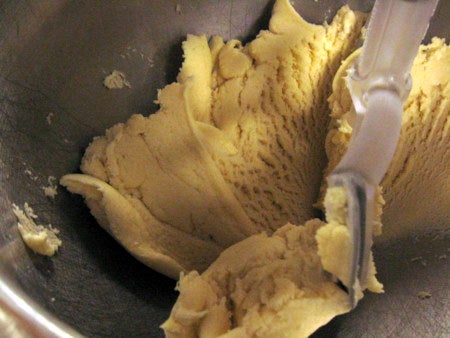
Add the egg whites, one at a time, followed by the whole egg. You will need to beat well after adding each one, until there is no trace of the white and the mixture is smooth again. Scrape down the bowl, too. (I know, I sound like a broken record, but it really makes all the difference).
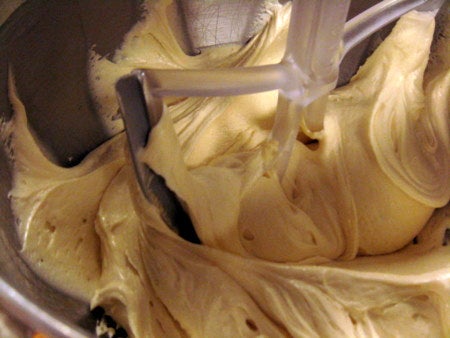
After all of the eggs have been added, the batter will be quite thick, and make a delightful "slup slup slup" sound in the bowl. Makes me laugh every time!
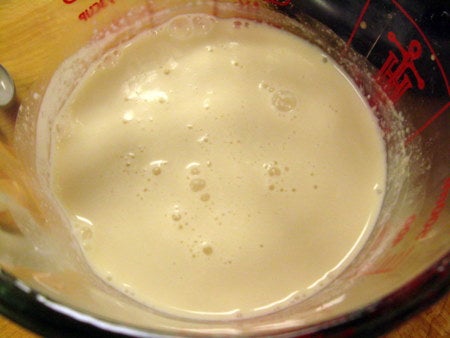
Mix the vanilla and almond extracts in with the milk or yogurt. I used milk here. It smelled so good I nearly took a sip. Patience, it will be done soon.
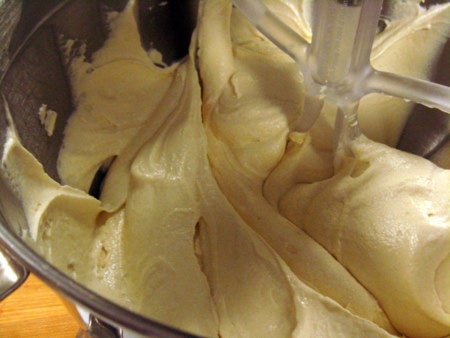
Add the milk mixture in 3 stages. Yep, here it comes... Scrape down the bowl after each addition! You're doing such a great job, just a few more times round the bowl...

Terrific job. Now, divide the batter into two 8" round cake pans, and place in the preheated oven.
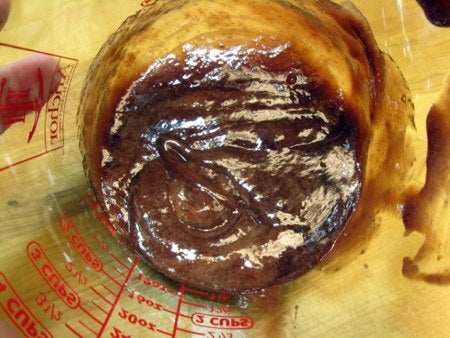
Let's check on our jam. Ah, lovely. You may need to squish the last bits around with a spatula to get every drop out of the seeds. This is a great job for kids.
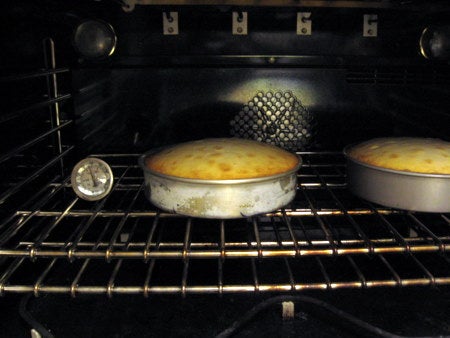
Beauty, eh? The cakes are golden brown and the kitchen smells heavenly. Remove from the oven and un-pan. Allow to cool completely on a rack.
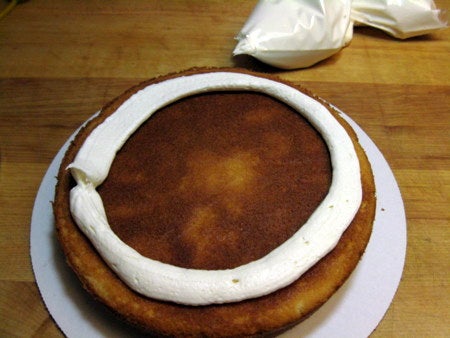
Once the cake is cooled completely, make your batch of Quick Buttercream Frosting (or your favorite buttercream). Using a piping bag or heavy duty zip-top bag with a corner snipped off, pipe a ring of icing around the edge of the bottom cake layer.
This ring is going to act like the ring of mashed potatoes that keeps the gravy in on your Thanksgiving plate, except it will keep the jam from overflowing the edge of the cake. Be sure to leave a little space between the icing and the edge of the cake to allow the icing to squeeze out to the edges when the next layer is added. If you pipe right on the edge of the cake layer, you will have icing lava overflow down the sides of your cake.
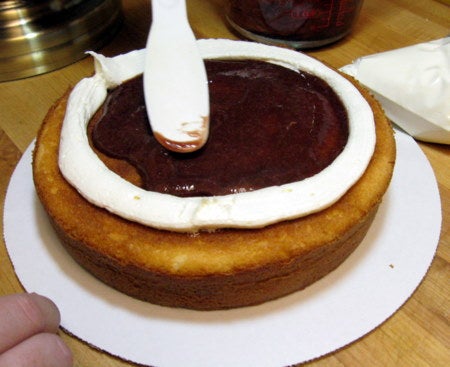
Spread the jam in the center of the icing ring. It may be tempting to add lots and lots of jam, but this will make for a very slippery layer in the center of the cake. Stick to about 1/4 cup.
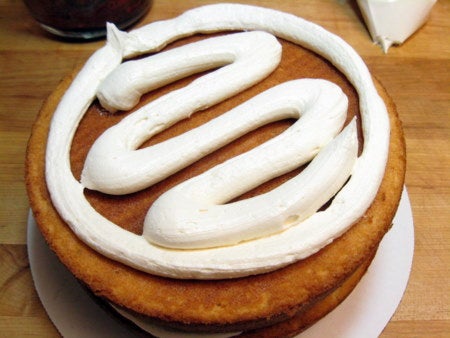
Carefully place the second layer on. Pipe your ring of icing again, and then pipe a few swirls of icing in the center. Again, the ring will keep your icing from overflowing. You can then spread the rest of the icing in a neat circle.
Now for the berries.
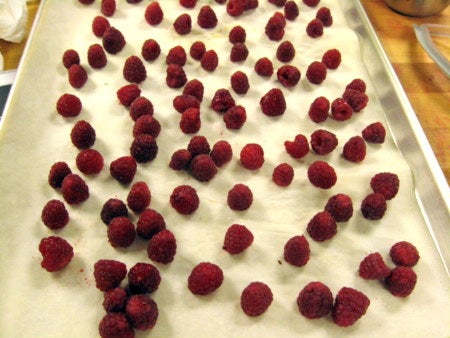
I like to spread the berries out on a sheet pan, so that I can pick and choose them as I go along. Sometimes a skinny berry fills a space just right, or a tall berry adds interest.
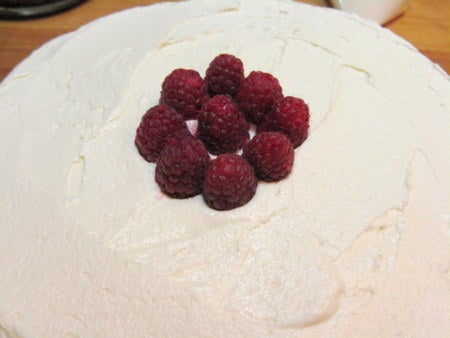
To make a nice even presentation on top of the cake, begin with one berry in the center, and then add berries in a circle around it.
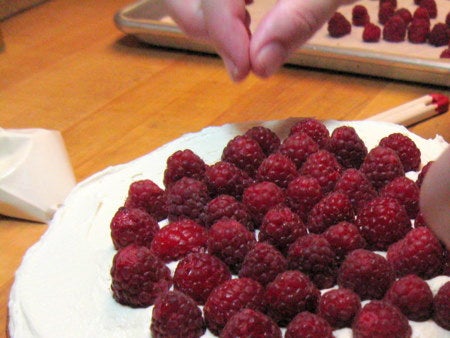
Keep adding berries in a circular pattern, working evenly out to the edges of the cake.
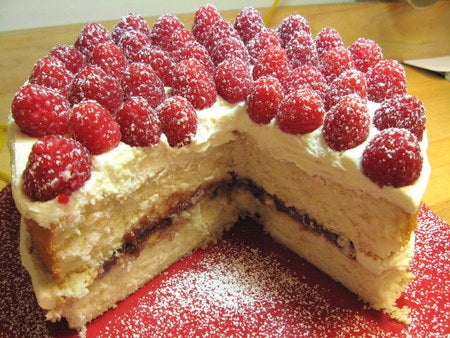
Now that's a cake that takes the cake! Please bake, rate and review our recipe for Tender White Cake.
Now, I know from chatting with our test kitchen and development folks that the Unbleached Cake Flour Blend wasn't created to replace bleached cake flour. Bleached cake flours still have their place, but I like knowing that this new Unbleached Cake Flour Blend can offer me moist, tender baked goods without any added chemicals, and we think you will too.