





Sourdough Milk Bread
Join Martin as he makes his new Sourdough Milk Bread. This loaf is buttery, plush, high-rising, and perfect for your favorite sandwich, with the extra depth of flavor only sourdough can bring.
-Hey y'all, Martin here in the studio today, and I'm making a Sourdough Milk Bread. This is a bread that's got sour, it's got butter, it's slightly sweet. It's everything that I want in a sandwich loaf. Come along for the recipe for this gorgeous bread.
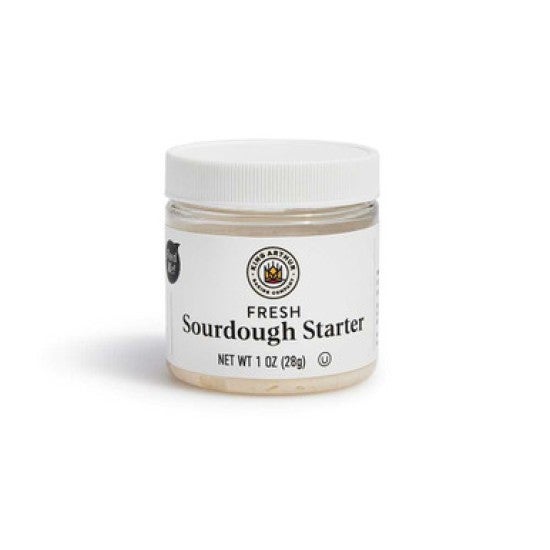
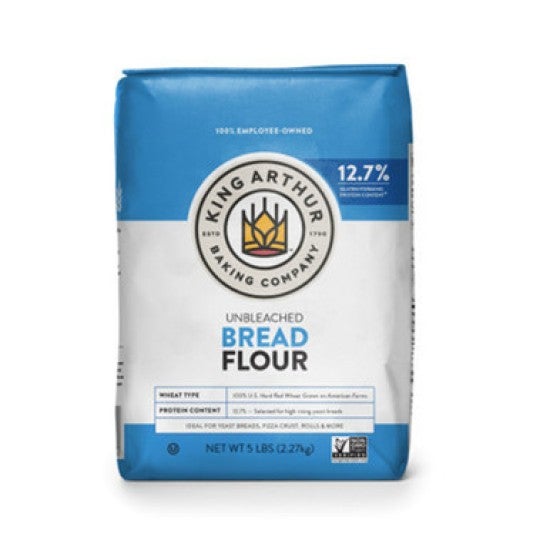
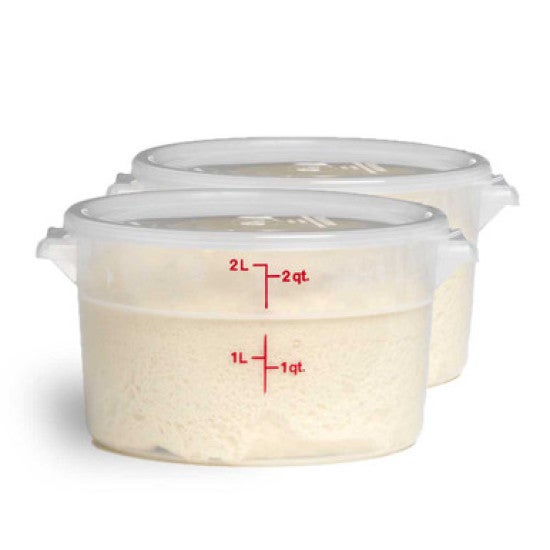
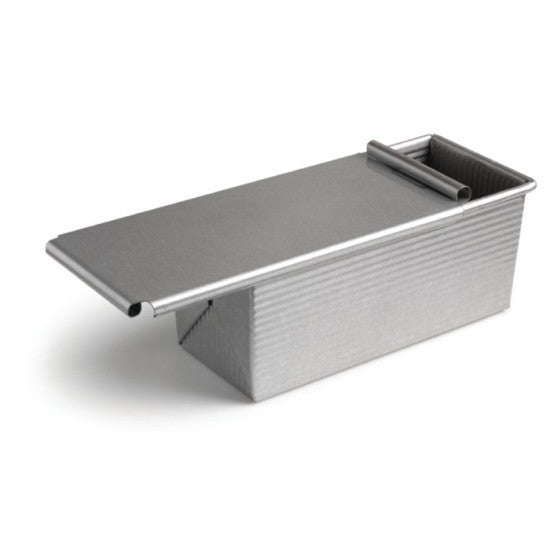
So what I was looking for in writing this recipe was a beautiful sandwich loaf, like buttery, plush, high-rising, like the most flavorful toast you've ever had. And I wanted the additional flavor of sourdough culture. And so I started writing the recipe, and initially I was making it without any yeast, but what I found was that not only was the process really long, like the full course of a day, what I also found was that the overall flavor profile at the end was just too sour. It was like you could use it to take the paint off of something, it was so acidic. And so what I said was, "Well what would I do if I were in a bakery?" And what I said was I would add a little bit of yeast. There's no shame in that, right? Sourdough culture has yeast in it as part of the culture. So if you're adding some yeast to your sourdough bakes, you're not cheating, you're just boosting fermentation and you're shortening the amount of rise time or sort of overall timeframe of a recipe. So using a little bit of yeast, it's not a big deal. Try this bread. If you're a sourdough purist, trust me that this will become a regular in your repertoire. Go out and buy some commercial yeast, give it a shot. So, let's get to the mix. I'm gonna start with my milk in the bowl. The milk is warm. Don't pull milk out of the fridge and add it to your mix and expect those yeasts or sourdough cultures to move at a reasonable rate. So warm it up just a little bit. This is 113 grams or about half a cup. And I've got a little bit of water as well. And again, don't put cold water. Warm your water up a little bit. And next up, I've got an egg yolk. This is a single egg yolk from a large egg. I've reserved the white. I'm gonna brush the loaf with the white before it goes into the oven, so it just makes things a little bit tidier. You're not gonna have an extra yolk or an extra white kicking around. Next up, I've got a little bit of melted butter. This is a pretty buttery loaf. This is 70 grams of butter. Next up, a little bit of sugar, 24 grams. It's just gonna give it just a little bit of sweetness. Not perceptibly sweet, but when you eat it, when you toast it, when you smell it toasting, you're gonna be like, "Oh my gosh, this might be the best thing I've ever smelled in my life." Next up, I've got some sourdough culture and let's talk about that a little bit. This is a healthy, active culture that we fed yesterday and we let it rise overnight. And so when I come back to it today, it has that sort of craggy surface with some small wispy bubbles on top. It looks active, it looks healthy. If you want to use discard in this recipe, I've found that it also works. You may find that the loaf doesn't rise quite as high as it would with a healthy, active starter, but it will still work. So starter, 250 grams, and it's a lot of sourdough culture. I think that when people taste this bread or even when you smell it baking, you might even say like, "Man, it smells like someone's making a great sourdough bread today," and they will be right because you are. And then I've got some salt, nine grams, about a teaspoon and a half. And then some yeast, which is two teaspoons or about six grams. While I'm a firm advocate for weighing everything, especially the larger things like flour and water, when we get down to those small amounts below 25 grams or so, often I switch over to volumetric, unless you're one of these people like me who has a tiny sort of a microscale that can be really accurate at the lower numbers. And last but not least, our good old friend here, bread flour. We're gonna do 300 grams of bread flour. Bread is gonna give us that nice high rise that we're looking for. A lot of times we know milk bread these days is something which uses a flour slurry, right? A heated mixture of flour and water that does a lot to support a good keeping quality for a bread. What I have found with this loaf is that because it's got all the sourdough culture in it, that I didn't need to do that step. The bread comes out great. It lasts really well in the event someone at your house doesn't eat it all within a day or two, which is what I have experienced at my own home. It disappears right off the counter. So let's stir this together. Handle in of a wooden spoon. You've seen this method from me before. What I would say about this dough, and maybe if you're sort of new to making sandwich loaves, you may be surprised by the consistency of it. It's on the soft side. This is a soft dough. And the reason for that is that it will have very good keeping qualities. It will be tender, it will be plush. A lot of times when people get into trouble, I think with sandwich breads, especially if they've got some whole wheat and stuff in them, oftentimes they're just too firm. They're just too stiff. But this is a pretty tacky dough. As always, you could do this in a stand mixer if you want to, it's perfectly fine. Scale your ingredients directly into the bowl of your stand mixer, whether it's a KitchenAid or an Ankarsrum or whatever you have. And those instructions are in the recipe. And I guess I should mention that, that the recipe is right down there in the comments, as always, right? We don't leave you guys hanging. We've always got a recipe. Sometimes it's right below the video that you're watching, and at other points, we'll direct you to the website. This is a nice one because it also has some inline videos with the recipe proper. So in case you lose your YouTube page or something like that, you can go over there and watch the recipe as well. So I start to combine, and then I'm just using my flexible scraper just to make sure the bowl is nice and clean and that everything is incorporated and relatively homogenous. And then I'm just gonna plop it on my bench. And I didn't add any flour. If you want to add a little bit of flour, you can, that's certainly fine. You just want to be sort of judicious in the amount that you add because if you're dumping flour, you're tightening that dough up. And remember my little sermon about how if the dough is tacky, it will last better, it will have a more tender eating aspect, all of those positive characteristics. So now that I have it on the counter, I'm gonna pick it up like I would a cat, right? You just go right to the belly and you sort of pick it up. And then I'm gonna knock it down. And this is a sort of classic stretch and fold, slap and fold, whatever you want to call it. So I'm just sort of aggressively popping it on the counter, pick it up. And you may find initially that this dough sticks to the counter a little bit. As that bread flour sort of hydrates and wakes up, that the dough will become more and more cohesive. The length of time that you're gonna do this to a certain degree depends on how much vigor you have, you know? So if I move slowly or if I'm just moving with one hand, it may take me a little while. I may need 10 minutes or so of this. But what I find is that in my hands, it takes maybe just a few. And usually I just go until I feel like I have a nice relatively smooth surface. And then I'll give it a rest. Grab my flexible scraper. Scrape any sort of dough shrapnel that's blown off everywhere. Clean my surface up. Give the ball a little bit of a rounding. It looks happy. Beautiful. So, I'm gonna use my two-quart. You could go back in the bowl that you mixed. The reason that I like the two quart is that I can put a little bit of spray, just a little bit, or you could use oil, whatever. And then I'm gonna put my dough in. And the reason that I like these containers is that if I'm looking for a doubling, I have a good sense of what that will look like because I can look at the top of the dough and then I can say, "Okay, what's my doubling?" Okay, the doubling is about right there. And then I'll know when it's ready to divide. So, cover it, put it in a nice warm place to rise. We're gonna let it rest for an hour and a half to two hours until doubled. And then we'll come back and we'll shape. We're back. It's been about an hour and a half and my dough was very happy today. Sort of guiding fermentation, you know, through warming the milk and some of those elements. I've got a dough that's rising really well. It's ready to go. I know that it's ready because it's doubled, right? It's doubled in height. And I also see lots of signs of good fermentation here. Beautiful bubbling throughout the dough mass. It feels light if I sort of tap on it. So let's get to the shaping portion. And I'm just gonna dump it out. A little bit of pan spray in there works every time. And then I'm gonna put just a little bit of flour on top, and I'm gonna just de-gas this. And we don't note this in the directions, but this is something that you might find helpful, which is that I'm gonna pad it sort of into a rectangular shape because what I want is I want four even pieces that are sort of like oblonged in form, right? And if I sort of stretch this on an east-west axis and then I divide it in half and then half again, I'm sort of halfway to my final goal in terms of the shape that I need for the next step of shaping. So I have four oblong pieces. What I'm gonna do now, and you can watch me, so what I'm gonna do now is I'm just gonna pat them a little bit. This dough is so soft and so well-proofed that I may not even need to use my rolling pin. I have it here, but because of that initial stretch, I only need a piece that's about eight inches high by about five inches wide. The reason to bring a little bit of attention to detail here is that right now, we're setting the foundation for what this loaf will look like when it comes out of the oven. If I bring a little bit of my best sort of attention to detail here, hopefully when it comes out, I'll have four sort of bumps in my pan that are even in height that look beautiful, which when we take the pan out, we can see the sort of like nautilus-type circle on the sides of the loaves. We'll have all of that beauty in place. And that actually begins right here. So take a second to do that. Now what I'm gonna do is folding from the sides towards the middle, I'll just press with only the sort of pressure required to seal to make sure that those pieces stay in place. And then I'm just gonna roll it down from top to bottom, tensioning just a little bit as I go. Let me show you. Not only is this providing some structure to the loaf in terms of regularity, it's making the pieces uniform, right? Not only is it doing that, it's also strengthening the dough. This attention, this sort of stretching and folding is going to add strength to the dough, which will translate during the final proof into a nice high form, which also springs well once we put it into the oven. Let me do it again. You may find like I do that, you know, your first one, eh, not so much. And then as you proceed, you know, you're gonna get a little bit better. Do yourself a favor and, you know, make sure you have a little bit of flour on the bench. And then go in. I'm gonna use my nine by four Pullman today. If you have an eight and a half four and a half, that could work as well. I like the nine by four because it has a nice high side. And that supports this beautiful sort of square sidewall that I really like. And as you go in with them, they should fit pretty snugly against one another. If they have a little bit of space between them, which I don't think they will, but if you do see that, just make sure that you're distributing them evenly across the bottom of the pan. You don't want to have three pieces towards one side and then a gap before you have your fourth piece, right? So try and spread them sort of evenly throughout that pan. And so now what I'm gonna do is just get them covered and I'm gonna set them in a nice comfortable spot to rise for two to three hours. We really want to push the proof on this. We want this to be a nice high rise, which will produce a nice light loaf. Towards the end of rise, make sure that you have your oven preheated to 375 degrees Fahrenheit and that you're ready to bake. And so I guess we're gonna go take a walk or do something. Maybe we'll do some dishes, and we'll be back in a couple hours with our loaf to bake. Our loaf moved quickly today. We have a warm day in the studio. Things are definitely cruising. So we found that we were under the two hours to three hours that I wrote in the recipe, which, you know, I wrote during the cool months of the year. So just keep an eye on the proof. And when your loaf is at the top of the pan, that's the time to load. And remember, as it gets towards the top of the pan, that's when you want to preheat your oven 375 with a rack in the middle sort of area of the oven. Before it goes in, I'm gonna give it a little bit of egg white. Remember that during the mix, we only used a yolk. We had an egg white remaining. And so I've got a little bit of egg white kicking around that I can use to give this loaf some shine. So a little bit of egg white, that's going to make it even more beautiful coming out of the oven. And so let's get this in. 36 to 40 minutes at 375 Fahrenheit, you're gonna look for a nice, beautiful, golden brown color, gorgeous shine, all of those things. We'll be back as soon as it's out of the oven. Look at that, 36 minutes right on the nose. I will tell you that in these studio ovens, it started taking a little bit of color and I though, "You know what? I'm gonna turn it down for a second." And this is something that you should be thinking about yourself as well. Not just for this recipe, but anytime you're baking, right? This is something where we want to be engaged. I'm looking at the loaf. I'm saying, "At this point in the bake, does it have more color than I think it should?" And I thought, "You know what?" I still had about 10 minutes left in the bake and I was at 375 and I thought, "You know what? I've got a good amount of color. It's definitely not done yet, but an adjustment that I'm gonna make is I just turn it down to 350." This should be interactive. You should be making those choices as you see fit. So this looks good. We're gonna let it cool a little bit and then we'll come back and we'll talk about it a little bit and I'll have a bite, but not yet. Let it cool, behave yourself. One of the things I like about this loaf is that the internal structure is really pretty. That egg yolk comes through. It's beautifully sort of golden. I can see that it's just gonna shred really, really nicely, which is what I want. Gorgeous. This is the bread that I wanted when I was a kid and I never got. My mother always made these really, you know, high whole wheat percentage loaves that were not super light, you know? And the other kids, they'd show up with their bread in their lunchboxes, their peanut butter and jelly sandwiches and white bread that they could like ball up and throw at each other. I wanted that bread. And I think maybe one of my loves today for this type of bread is just simply that it feels decadent to me. So gorgeous. Really good. It's got a great amount of fermentation flavor on it. And the truth is that when a loaf like this cools, like when it sets up over the course of say 24 hours or so, the acidity will actually get a little bit higher. So notice if you don't eat it all on day one, then on day two, you've got a little bit more acidity to it. So, this is our Sourdough Milk Bread. This is a recipe I wrote earlier this year. It uses a lot of sourdough starter. So if you have extra kicking around the house, use that, combine it with some strong bread flour, amend it with butter, a little bit of sugar, and then a nice long fermentation. You'll have the most flavorful sandwich bread in your repertoire. This is Martin and Tucker and Lydia in the studio saying thanks for joining us, we'll see you next time.

Video Credits
Shop this video
Related Videos

Your bread fell flat. Your cookies crumbled. Who do you turn to?