





Everyday Bread
A loaf so good, people fight over the ends.
Martin makes an easy sandwich bread recipe that's soft, sturdy, and so much tastier than store-bought.
-Hey y'all, it's Martin. I'm in the studio today and I'm making an Everyday Bread. This is a beautiful sandwich loaf from the "Big Book of Bread." Come along for the recipe.
Once upon a time, we made a video. It was called something like, "The Easiest Loaf of Bread You'll Ever Make." I don't remember the exact title, but the essence of it was that if you had never made bread before, it was a good place to start. And it made this beautiful little crusty loaf. So we're back with part two of that.
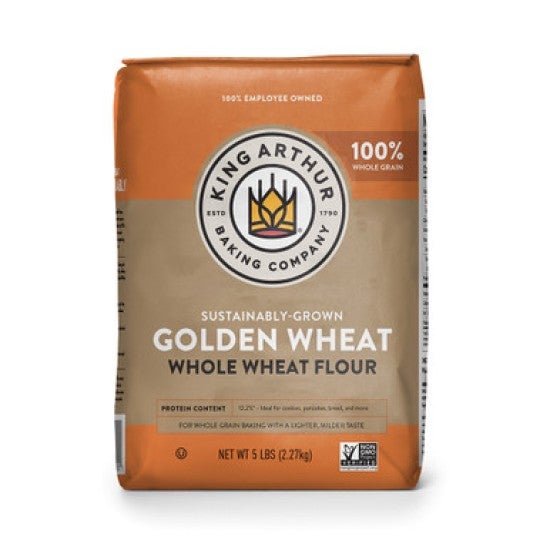
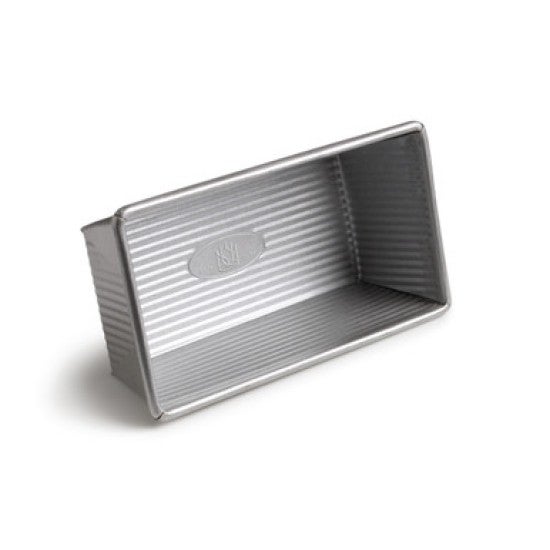
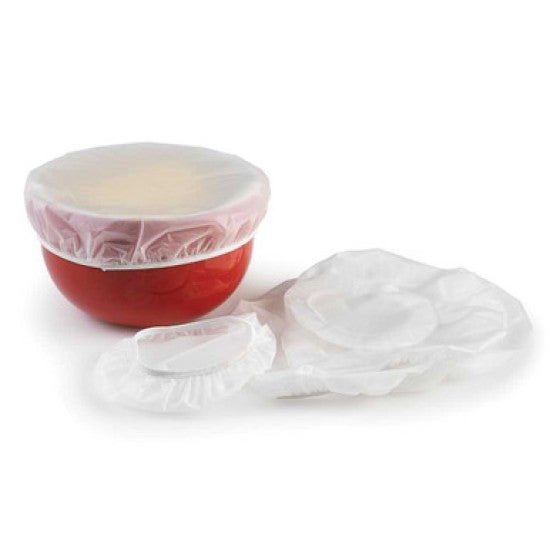
And today what I want to show you is basically the easiest loaf of sandwich bread you've ever made. And so let's jump into the recipe. I've got some ingredients assembled here. I've got two kinds of flour. One is a whole wheat and one is an all-purpose. If you don't have all-purpose, you could also sub in bread flour. That would be perfectly fine. I've also got some yeast, some salt, a little bit of honey for sweetness and also browning, and then my hydration or my liquid today, the thing that's gonna bind all of these ingredients together and help them to rise is a little bit of lukewarm milk. So today, I'm using our Golden Wheat. This is exactly the same as whole wheat, but it tastes a little bit milder. Sometimes I've said that like the difference between regular wheat and Golden Wheat is the difference between black coffee and coffee with cream. This is more like coffee with cream. It's just smoother. It has a little bit less of a bite to it. One of the beautiful things about this flour is that it's produced by a farmer's cooperative in Kansas. It's grown with all of our sort of sustainability goals on board. It's a great way to support farmers, the environment, and great bread all at the same time. So I'm starting with that. I find the flavor to be delicious and it also lets some other elements like the milk and the honey shine as well. So Golden Wheat into the bowl. This is 226 grams and somewhere down there in the space below, we'll have the volumetric amounts too. One of the good things on that other recipe that I did, the Easiest Loaf of Bread You'll Ever Make, I think that's what it's called, we'll put a link in here someplace, one of the things that I showed you how to do there was how to properly measure a cup of flour. That may sound like I'm overcomplicating things, but in the video, I show you why it's important to measure a certain way. The gist of it is that we want to maintain some relationships. We want to sort of control the quantity of dry ingredients in the same way that we control the quantity of wet ingredients, because that supports a better loaf of bread. And then I've got some all-purpose into the bowl. This is 150 grams. And if you don't have all-purpose, all you have is bread flour, just use your bread flour, it's okay. And then I'm gonna get my dry ingredients in here. That's one and a quarter teaspoons, which weighs about seven and a half grams. And then some yeast. This is instant yeast, and I've got two teaspoons, about six grams. And I'm just gonna give these a stir to combine. Working right in the bowl. And then I will get my milk in there. I've warmed this up slightly. Don't take that milk right out of the cold refrigerator and then put it in here and expect the yeast to go to work. And then I've got some butter. And the butter is soft a little bit. If you put it in there right out of the fridge, you're gonna find that it's difficult to incorporate into your mix. You can either microwave it for a few seconds at a time, or if it's nice and warm where you are, just leave it out on the counter and that will work. That's 28 grams, about two tablespoons. And then honey into the bowl, that's 42 grams or about two tablespoons. So we're at that point where I have everything into the bowl and I'm just gonna stir to combine. And I'm using the handle end of a wooden spoon today. If you want to do this in the stand mixer, if you want to do it on the dough cycle of a bread machine. If you want to call someone else in and tell them to go to town on it, you should do that. I like this method to just sort of incorporate the ingredients and make sure that I don't have any pockets of things that aren't fully mixed. And then I like to switch to my flexible scraper, which I usually have in my back pocket. That would be like a good baker's sort of calling card, right, to have a flexible scraper in your back pocket. It's like a business card. People are like, "Oh, he's serious. Look at him. Doesn't leave home without it." So then with my flexible scraper, I'm gonna clean up the sides of the bowl, very important. Don't waste these valuable ingredients. So I'm just scraping down to make sure that they're incorporated, and then I'm just gonna begin this sort of like pressing and turning process a little bit. So nice, somewhat sticky dough, beautifully improved by the addition of honey and butter and our Golden Wheat flour, which you could sub with regular wheat flour. Don't fret about that. And that looks pretty good. And that's the end of sort of the mixing segment for this dough. And now what I'm gonna do is I'm gonna clean up my tools, and I'm going to leave it on the counter to rest for 15 minutes. And during that time period, what's gonna happen is that the dough is gonna go to work. The yeasts are gonna wake up. The water is gonna hydrate all of the flour in the bowl, and it's gonna begin this sort of strengthening process. After 15 minutes, we're gonna come back and we'll knead it briefly in the bowl, and then we'll set it to rise for about an hour to an hour and a half. So I'm gonna get this covered, and then we'll come back and see where we are. 15 minutes in a nice, comfy spot. I'll see you in a second. Okay, so it's been 15 minutes and you're not gonna see any activity, meaning it's not gonna look puffy at all. The dough will not have risen noticeably. It doesn't have really any strength at this point. It just needs a little bit of talkin' to. So I'm gonna do that in the form of a little bit of kneading. So a little bit of flour on the bench, just a little bit, and then I'm gonna dump it out of my bowl here onto that surface. So I have my dough on the surface, and again, as I mentioned, it's a little bit on the sticky side, so if this is your first time doing that, just know that a little bit of stickiness is actually appropriate and it's gonna make the bread better, so bear with me. So what I'm gonna do is a tiny amount of flour on top of the dough as well, and then what I'm gonna do is I'm gonna sort of push it out and pull it backwards. And I'm just gonna press it and I'll turn it and I'll push it a little bit and I'll press it. And basically, I'm sort of rotating and pressing the dough. And if the dough gets a little bit sticky, I can go around and find some more flour on my work surface. And I just keep pressing and turning, and pressing and turning, pressing and turning. And what you'll notice pretty quickly, and I think you can probably see it on the dough here, in fact, Tucker, come in here and let me sort of show you what I'm talking about. You can see with only a few rotations of that process, you can see that I immediately have something, which is springy, which has some elasticity to it, which is this sort of rubber band quality that makes bread bread. And I can continue working at it just a little bit, pressing and turning and rotating. And it shouldn't take more than a few minutes. And I'm gonna get it into a container. I'm gonna use this little two-quart container. It has a lid on it and I like it with a little bit of pan spray in it. And I like it because what I can do is I can put it in here. I'll press it down a little bit. And then get the lid on. And then what I can do is I can see what the level of rise is over the course of what we call fermentation. And what I'm looking for is something like a doubling. We'll come back in 60 to 90 minutes after the dough gets a little nap, and then, we'll go ahead and shape. We'll see you in a minute. Okay, so we're back. It's been about 90 minutes and this dough is very happy. It's so happy, in fact, that I even went ahead and released the lid, just because it was gonna bounce up against the top. So it's more than doubled. And seeing such a happy dough, it's now time to go ahead and shape. So I'm gonna put a little bit of flour on the bench. This isn't a ton of flour. It's just enough to help me sort of manipulate the dough without it sticking to my work surface, okay? So just a wisp of flour on there. Don't use a handful or something like that. When we're shaping bread, we want to shape with only the quantity of flour on our surface that's sort of required, okay? So again, light dusting of flour. And then, I'm gonna dump this dough out. And if I've prepared my container, it should just fall out. There shouldn't be any sort of tug of war here trying to get it out. It should just fall out. Let's put a tiny bit more flour on top, just so my hands don't stick. Again, I'm being really sort of gentle in the quantities that I'm using here. And then, I'm just going to sort of pat it out. There are a lot of ways to shape pan loaves. I'm gonna show you the method that I like to use for these, because I think it delivers a good result, and is something that you can learn and sort of rely on across many bread types that go into pans or even hearth baked loaves. So I dump my dough out and I'm patting it on what I would call like an east-west axis, meaning the axis that runs sort of parallel to my work surface, so like to my left and to my right, until it's about a foot wide and that's 12 inches. And then the height at this point is around 8 inches. From there, what I'm gonna do is I'm gonna take one side and I'm just gonna fold it to the middle. And from the left side, I'm gonna fold towards the middle until it barely overlaps, and then I'm gonna press to adhere. And what I'm looking for at this point is that I have a relatively square shape. And the reason for that is that those good square sides, this point are going to support a more beautiful loaf, when it comes out of the oven, because it'll be nice and regular. It'll rise evenly. It'll just look a little bit prettier. But don't be too uptight about that. Just keep moving. And then I'm gonna go back to the top and I'm gonna roll down, pressing with some, you know, vigor, with some intention to get it to it adhere. And as I press, you can see that loaf sort of stretch, right, and that act of tensioning, of sort of tightening it around itself, will support better oven spring when it hits the oven. Tensioning it, and then when I get down to that last one, I just sort of press to make sure that that seal is closed and then I roll it over. And if I do a good job, I should have a form, which is pretty even from end to end, okay? With practice, you'll get that same result. In the early stages of your bread making, you may find that it's sort of got like some peaks and valleys. The truth is that some of that or a lot of that sort of like up and down will sort of settle out during the rise, so don't be too upset if you don't get that exactly. That's not something to sort of fret about too much. This is an eight and a half by four and a half. That means it's eight and a half by four and a half. I like this size pan for this quantity of dough. You may find that at your house, what you have is a nine by five. That's okay. That just means that the loaf will be a little bit lower and a little bit wider than what you're gonna see from me. Alternatively, if you have a nine by four, which is that shorter sort of square sided Pullman pan, you could use that as well. That makes a beautiful loaf too. But just so you know, this is an eight and a half by four and a half. But again, if you have a nine by five, use that, it's okay, or if you have a nine by four, that's okay too. If you wanna make hamburger buns or hot dog buns or something else, that's also a great use for this dough. So I'm gonna get that, a little bit of pan spray in my pan, and then, I'm gonna do something else with this loaf, which I really like to do with pan loaves, and I think that you should do too, but don't let this stop you from making the bread. If you don't have wheat germ or something like that, don't fret about it. But what I'm gonna do is I'm gonna put a little bit of wheat germ on the outside of this loaf. You could also use oats, you could use some seeds of some kind, but today I'm gonna do the wheat germ. As it bakes, it sort of toasts and sweetens. It's got this beautiful, almost like buttery quality flavor to it, and I love that. The crust of this bread is one of the most compelling aspects of eating it to my, in my experience. I'm gonna roll this loaf across this wet towel. By wetting the surface of the loaf, it's gonna help the wheat germ to adhere. Put it under running water and then wring it out. But I left enough water on it, so that if I sort of put my hand on it, you can see that it's still wet. Look how well this works when I roll the loaf across the moist towel. So back and forth, and then back and forth. And sometimes, you know, in some cases, I'll even just let it sit on this bed of wheat germ for a moment and it will really adhere, but I think this is probably gonna be good enough. And you can see, I've got nice full coverage. Anywhere that I put the water, the wheat germ will stick. And then, I'll just lower it into my prepared pan. And if you want to, sometimes I give it my knuckles just a little bit, just to encourage it to be flat. I'm gonna put a cover on it, and then I'm gonna put it in a nice comfortable spot to rise for an hour and a half to two hours. What I'm looking for here is that the loaf rises and crests the sidewalls of my pan by about one inch, somewhere right around there. But I'll check back with you, and I'll show you what my loaf looks like before we go to bake. Towards the end of rise, set your oven to 350 degrees Fahrenheit, and we'll be baking in no time. I'm honestly a little bit surprised, even though I've made this before, the volume is really good. I mean, it really is rising well. Beautiful, beautiful loaf. At least an inch over the top. I probably pushed the proof a little bit more than I even needed to, but it's okay. It's nice and high. It's gonna give us a beautiful, beautiful interior. When I press on the loaf, I know that it's there, because it doesn't really immediately bounce back. The impression of my finger sort of stays a little bit, which means that I've really pushed the level of proof, which you can do with great success with pan loaves or sandwich breads. So enough talking. Let's get it into the oven. I'm excited to see this jump. Smells incredible. So nice full bake. You know what they say, GBD, right? Golden, brown, and delicious, this is definitely that. The honey, the wheat, the germ on the outside, everything toasted. I baked it for 36 minutes at 350 degrees Fahrenheit. On the recipe, I think we say like 35 to 40. All those details are in there. This is about 36 minutes in our studio oven, 350 degrees Fahrenheit, and the color is gorgeous. Let's let it cool for a minute, and then, we'll come back and we'll cut a few slices. Okay, so bread is cooled. It looks beautiful. I love the golden brown, delicious, during baking, the honey in the loaf, the color of the whole wheat that's in there, all those factors come together with the heat of the oven to produce this beautiful result, which smells so great. Slightly sweet, very wheaty. Just gorgeous. Let me go ahead and cut a piece and let's see what the inside looks like. Remember that during the mix, we made a somewhat soft dough, slightly tacky, a little bit sticky even, and so let's see how that affected the interior quality of this loaf. It's beautiful. It's fine-grained, but it's not tight, and what I mean by that is that it's not so tightly held that it almost looks constricted. I have a lot of little pinprick bubbles in there that lightens and improves the eating quality. It's a sign of good fermentation and good handling as well. Cut a few slices and then let's see how it tastes. Boy, it's tender. The heel is the best part of any loaf, so I'm a heel guy. When I was a kid, I thought that the crust actually had a different nutritional content because people are always like, "Eat your crust." And I thought they were saying like, "Eat your crust because that's good for you." And so I thought, "Hmm, must be better for you than the rest of the loaf." No, it's all the same, but it tastes better. It's perfect bread. It really needs nothing. You got the flavor of fermentation. You have a little bit of sweetness. You have the deep, wheaty flavor. But again, I'm using Golden Wheat today. It's smooth. It's like full body, but it's smooth. It doesn't have any sort of sharp edges that I'm tasting. This is a beautiful bread. This is our Everyday Bread from "The Big Book of Bread," a wonderful loaf made in the space of just a few hours. The recipe is from "The Big Book of Bread." If you haven't seen that, be sure to check it out. This is Martin and Tucker and Lydia in the studio saying, "Thanks for joining us and happy baking."

Video Credits
Shop this video
Related Videos
Your bread fell flat. Your cookies crumbled. Who do you turn to?