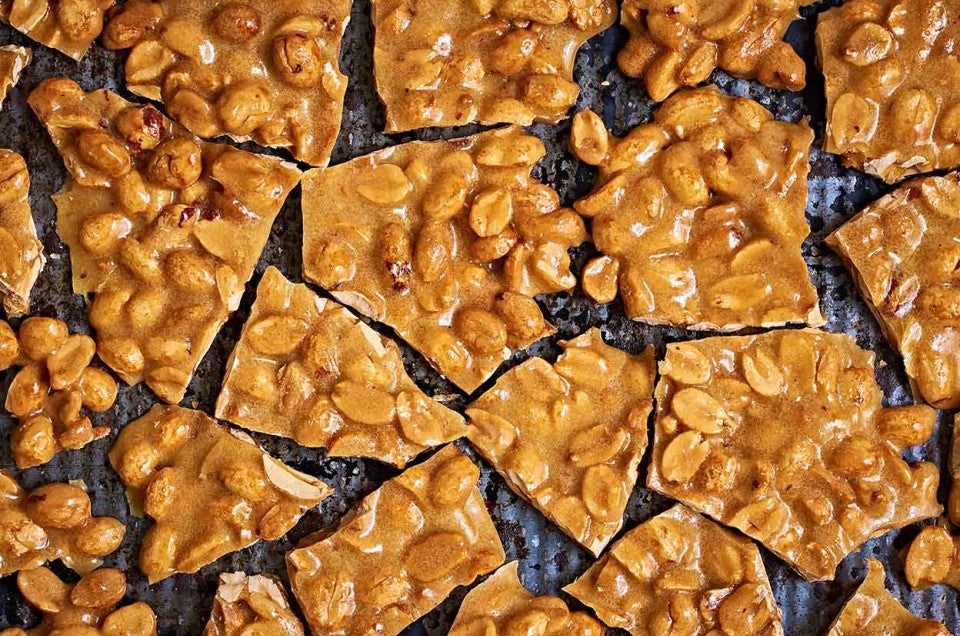


Let's talk about candy. Specifically, nut brittle.
In my house, homemade candy is considered both a luxury and an enormous pain in the butt. For this reason, I tend to stick with baked goods around the holidays, leaving candy making to my more adventurous friends... with one exception.
I'm apprehensive to share this recipe, knowing full well that once I do, the jig is up, and my best holiday candy trick is out of the bag. But this is hands down the best nut brittle recipe you'll ever find, and it seems wrong to keep it a secret any longer. Before we go any further, however, I have a few confessions to make:
1) The recipe isn't mine – it belongs to my dear friend and former home economics teacher, Mrs. B. She hasn't always gotten credit for it when gushing friends are lavishing my candy-making skills with praise (sorry, Mrs. B ... )
2) This recipe is incredibly easy. You don't need a candy thermometer. All you need is ... a microwave
A microwave??
I know. I can feel your skepticism from here. But hold on! I promise if you trust me on this one, you're in for the best nut brittle you've ever had in your life. It will also be the easiest, and no one ever has to know your secret.
Before we get to the recipe, I want to take a moment to recognize the incredible woman who taught me this holiday favorite. Mrs. B (a.k.a Susan Bushnell) is a former Rochester, Vermont High School teacher whom I met when I was 14 years old.
Mrs. B pays me a visit at King Arthur Flour, 2014
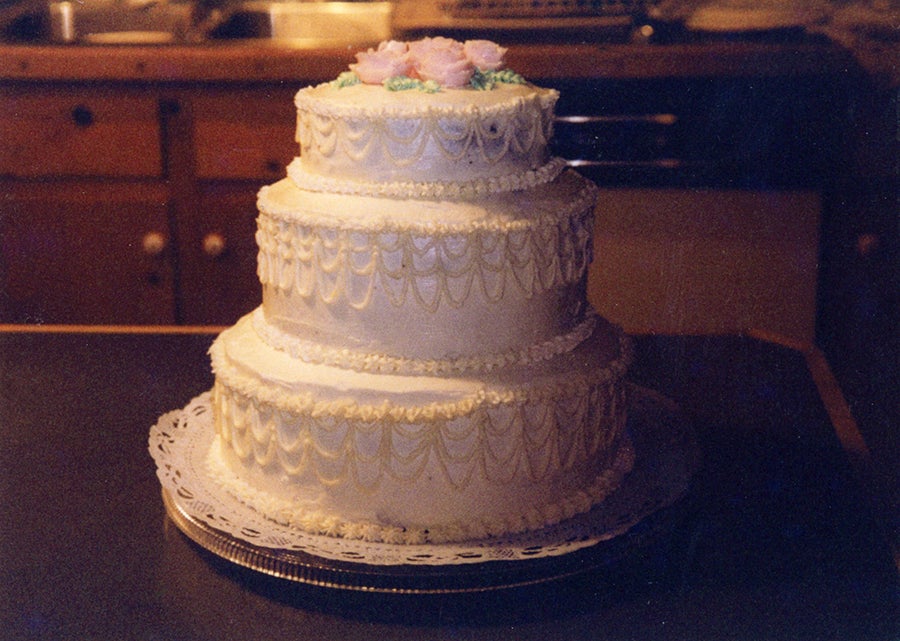
Long before I went to college, or started writing, or really did anything of note, I was a troubled teenager who found herself in Mrs. B's home economics classroom. I chose the class because it seemed like an easy B – which I needed, because by all accounts I was barely passing anything else. Three months later I was pulling my first all-nighter, decorating a wedding cake for my final exam.
The all-nighter wedding cake, 1997
There's no doubt that Mrs. B taught me some fundamentals about baking and cooking that helped me greatly as I set out on my own. But the biggest gift Mrs. B gave me was her love and support at a time when I really needed it. She cared for me in a way that made me want to impress her – like, make-a-wedding-cake-for-a-final-exam-where-a-layer-cake-would-have-served impress her – and in doing so, I learned a lot about my own potential. I've had the great fortune of having a handful of truly exceptional teachers in my life, but Mrs. B was the first.
I first made this recipe in Mrs. B's classroom, and it's been a highly requested holiday favorite ever since. Its light, airy bite, top-notch flavor, and doesn't-get-stuck-in-your-teeth consistency make it worth putting aside any microwave (or corn syrup) bias you might have to give it a try.
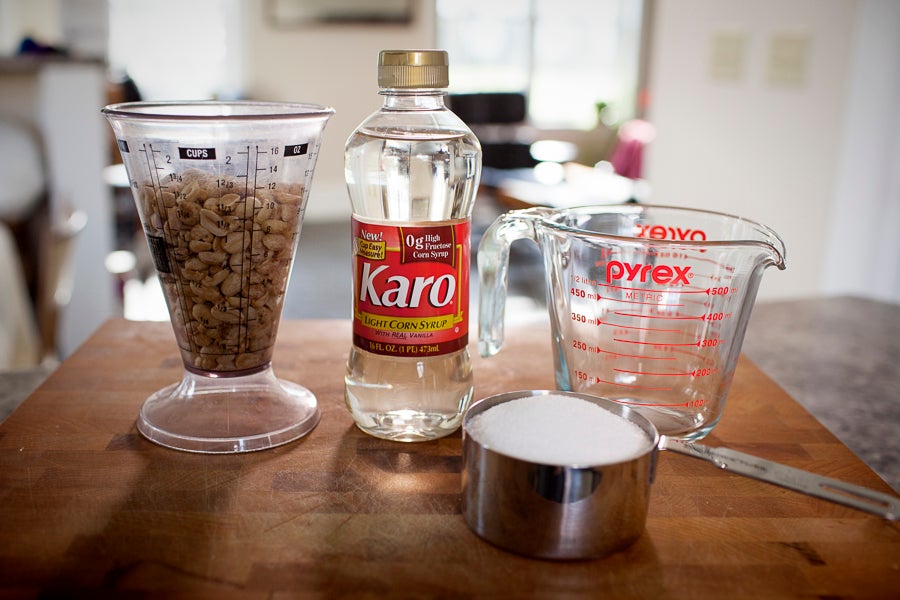
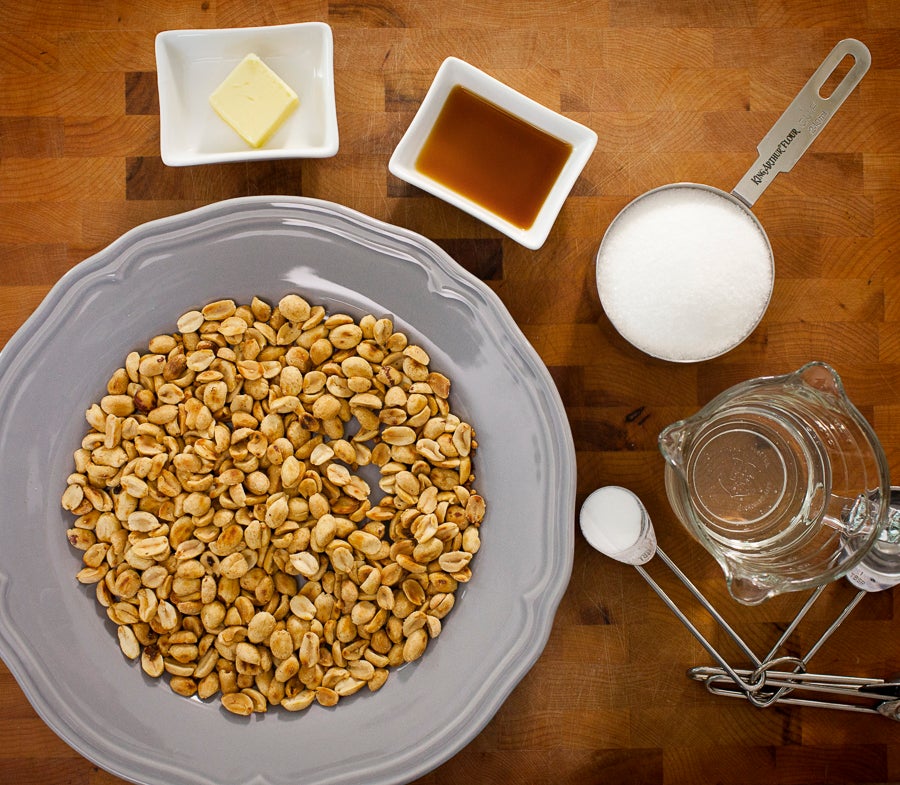
There's only one trick to this recipe, and that's to move fast. Measure all ingredients prior to starting the process; you'll thank me later.
Ingredients:
1 cup granulated sugar
1/2 cup light corn syrup
1 1/2 cups salted peanuts
1 tablespoon butter
1 teaspoon baking soda
1 teaspoon vanilla extract
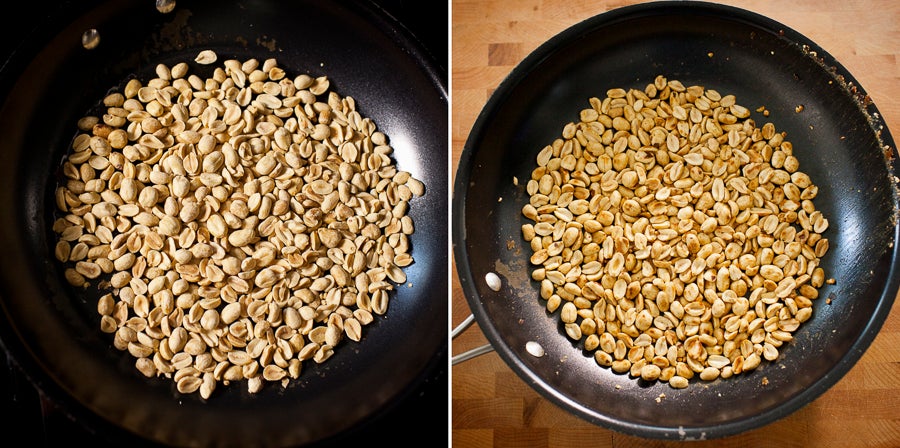
If all you have on hand is raw peanuts, you can pan-roast them with a touch of oil and a generous sprinkle of salt.
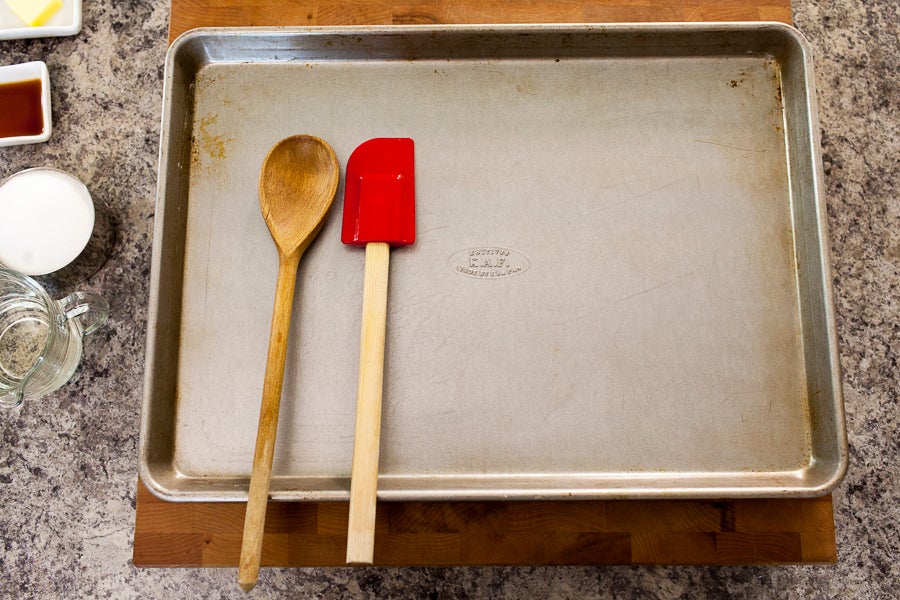
Spray a wooden spoon and a half-sheet pan with cooking spray.
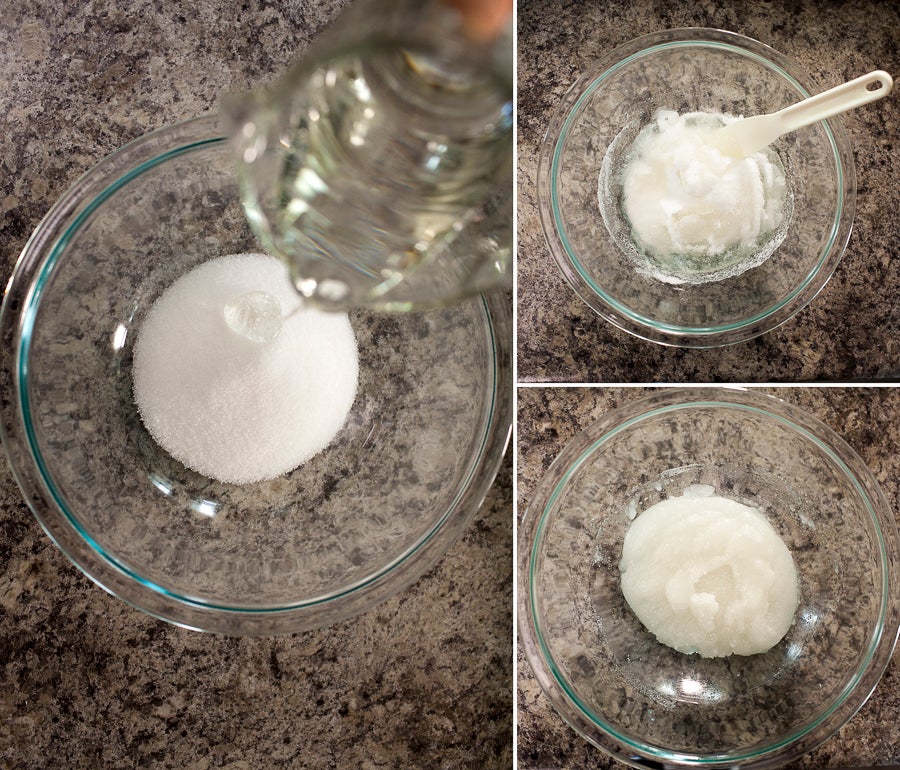
Mix together the sugar and corn syrup and stir until well combined.
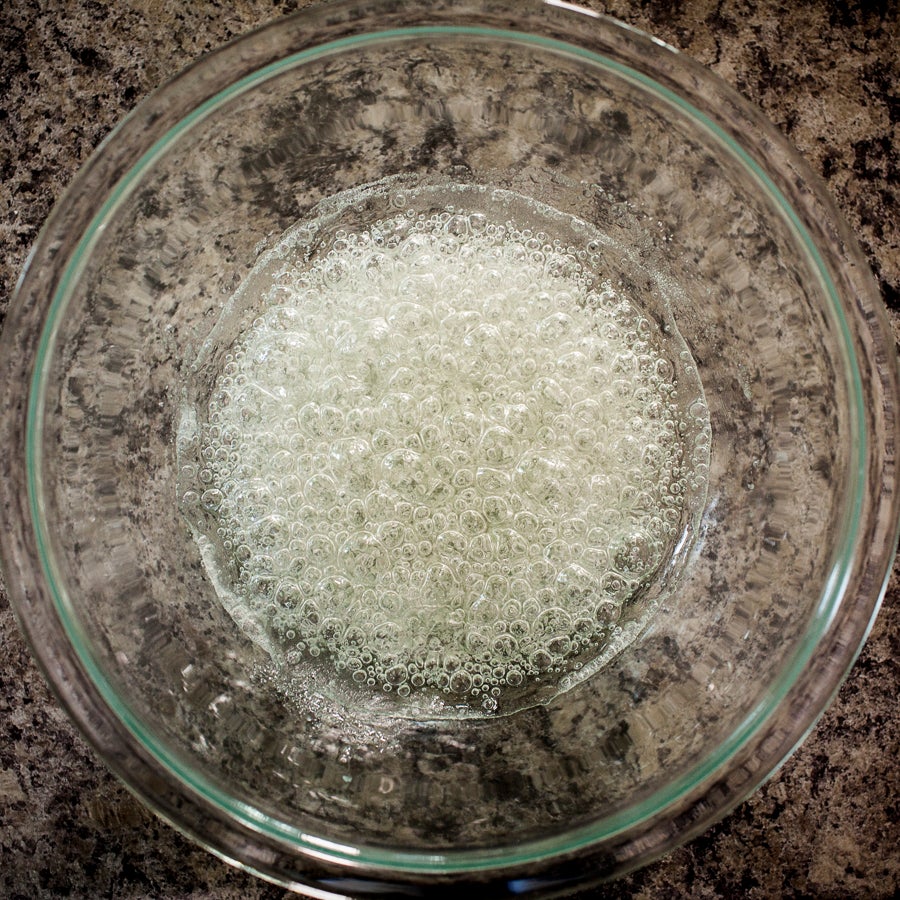
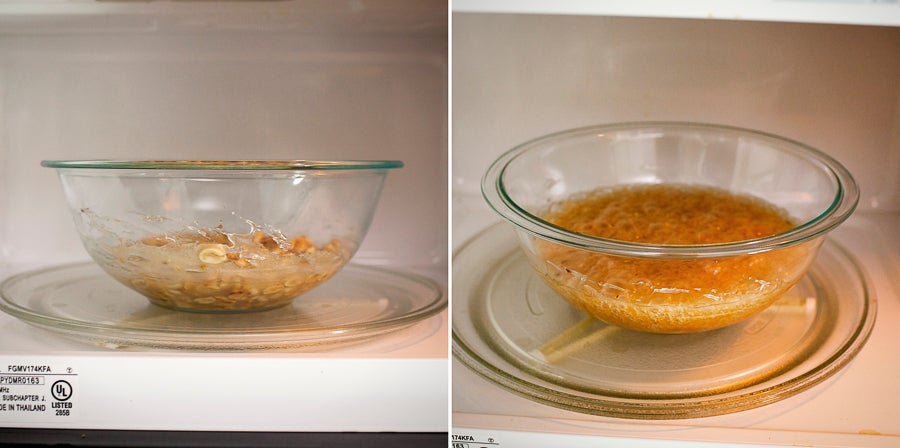
Microwave the sugar mixture uncovered on high power for 5 minutes.
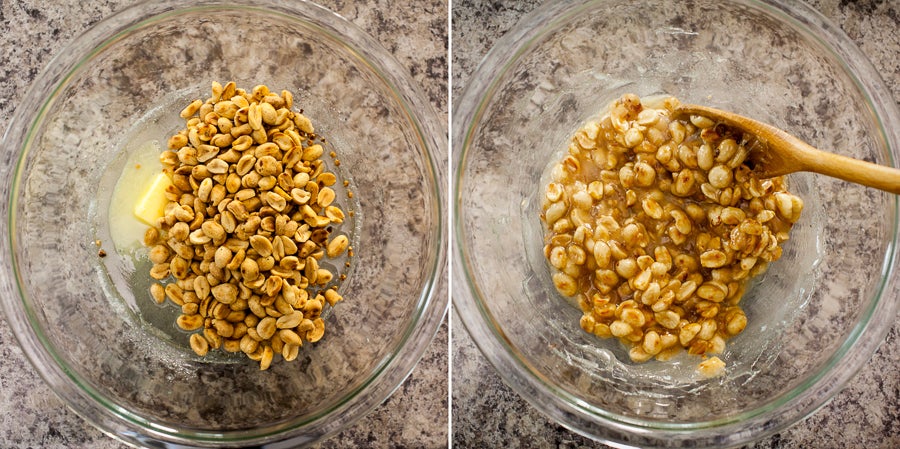
Add the peanuts and butter, and stir well to combine. Remember, speed is key! The cooler the mixture becomes the harder it will be to stir.
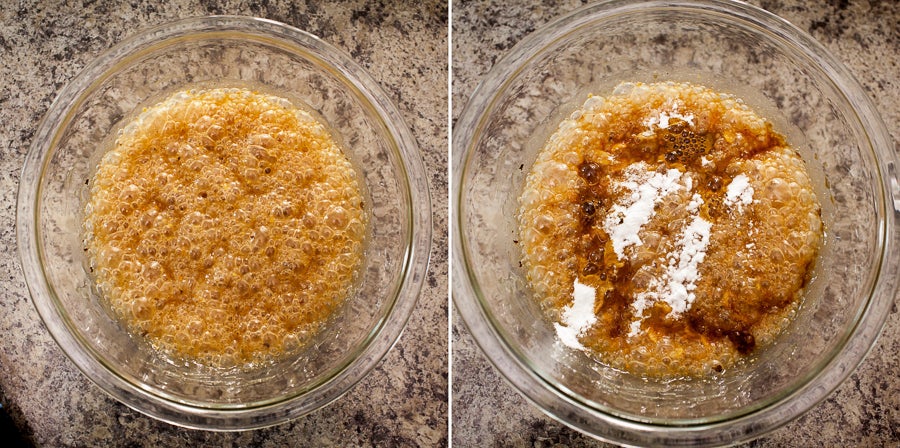
Replace the bowl in the microwave and cook on high for 2 to 4 minutes, until the mixture turns a nice caramel color – my 1-year-old microwave required all 4 minutes, but a co-worker's 5-year-old microwave only required 3. Watch carefully around the 2-minute mark and remove when the caramel color is achieved.
Add the baking soda and vanilla. The mixture will bubble furiously upon the addition of these ingredients - this is what gives the candy its hallmark airy texture. Stir quickly to combine.
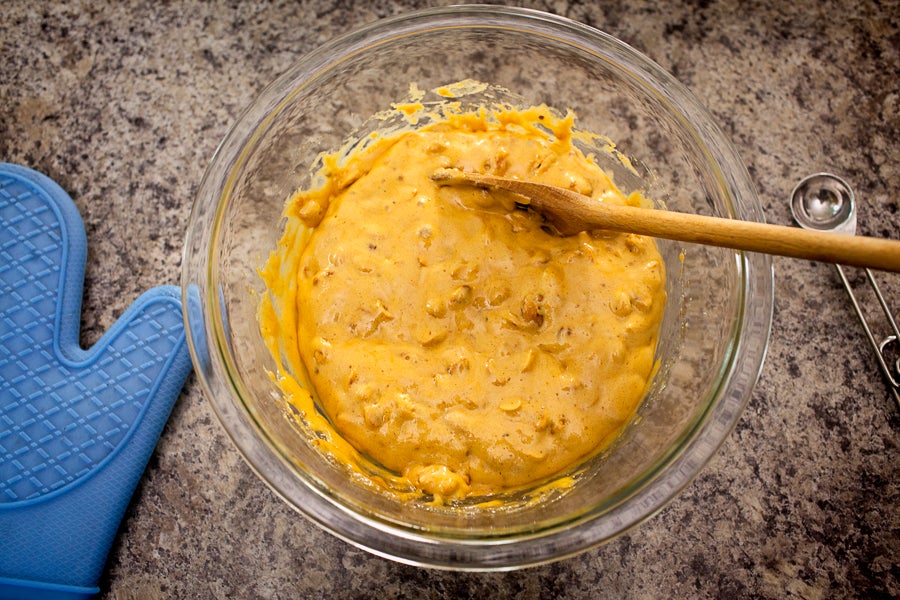
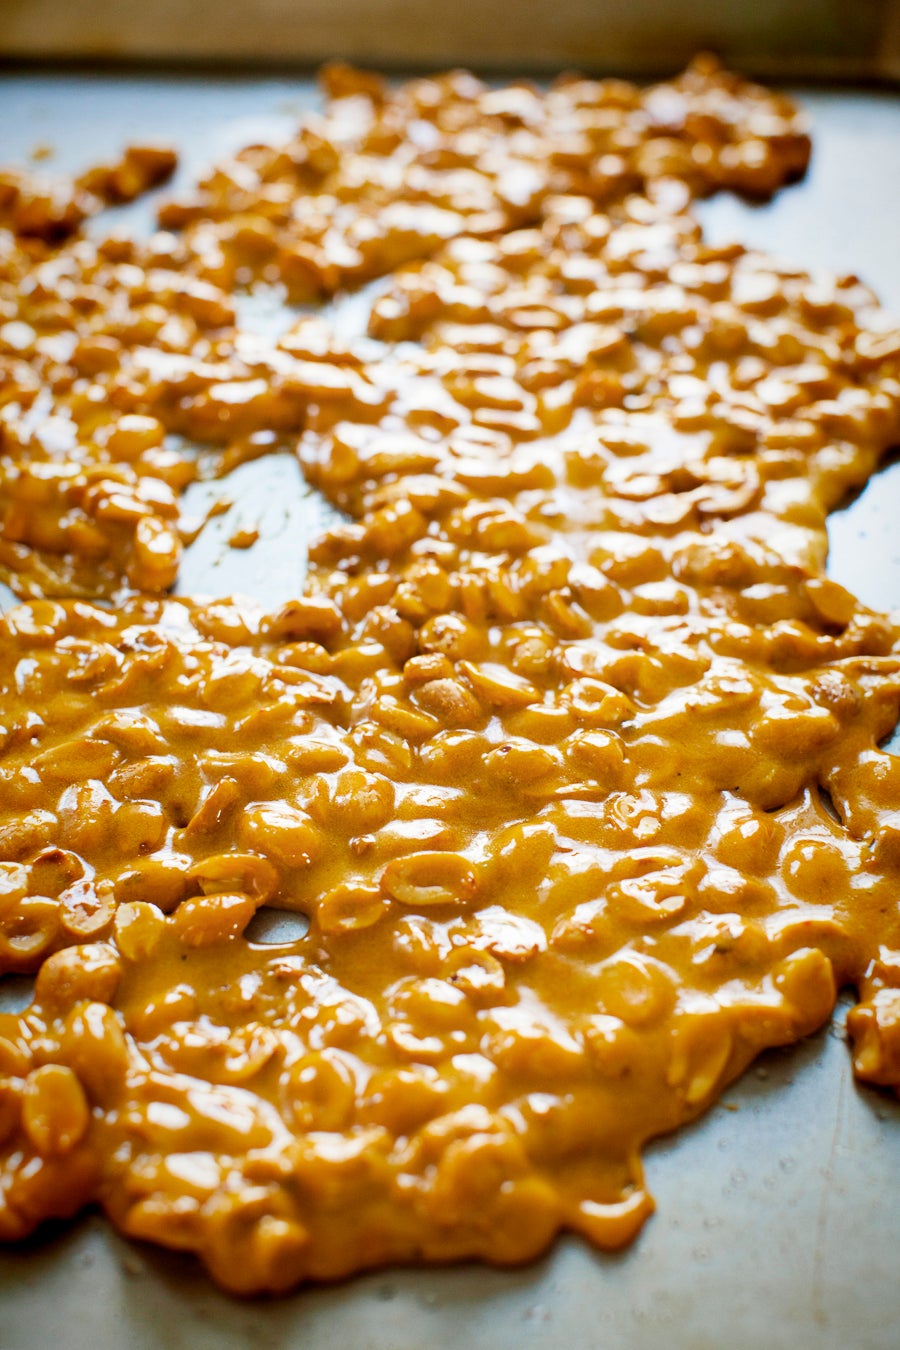
The finished mixture will look creamy and caramelized.
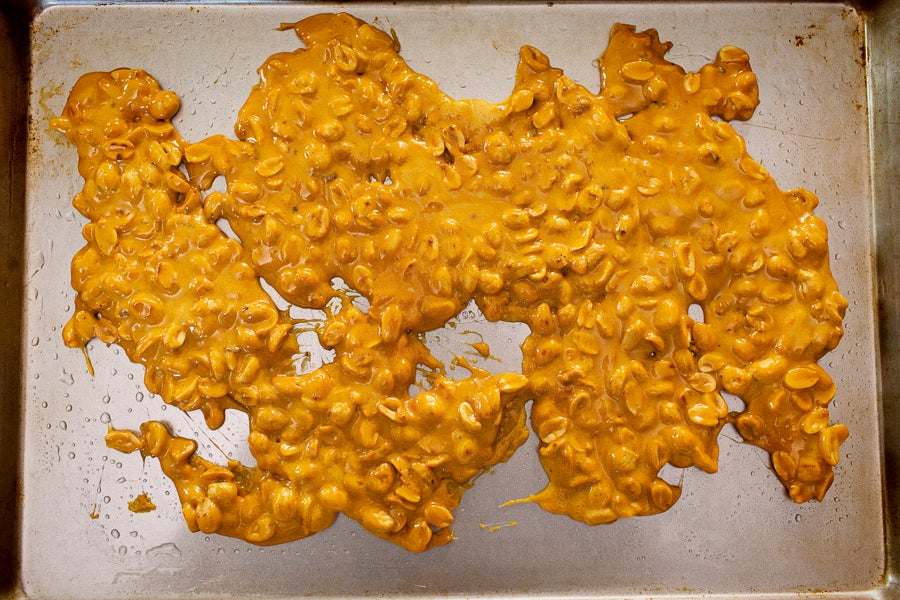
Working quickly, pour the mixture onto your pre-greased baking sheet and spread it as evenly as possible. Because I paused to take a photo, my mixture set up in the bowl a little more than preferable, and was difficult to spread evenly. Making sure everything is combined is important, but working quickly is as well! If you end up with an uneven spread, don't worry – the candy should still set up nicely, even in the thicker areas.
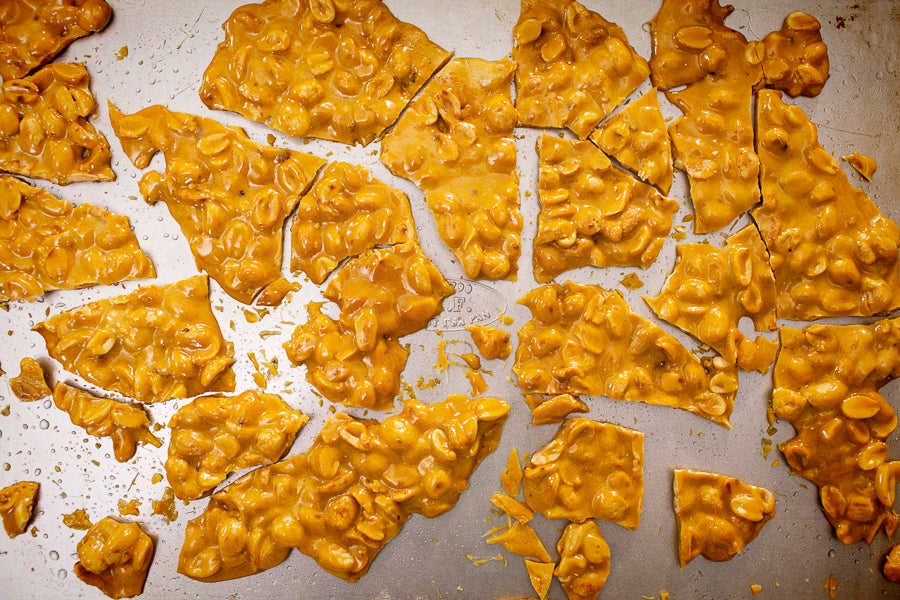
Once the brittle has set and cooled (30 to 60 minutes), break it into pieces.
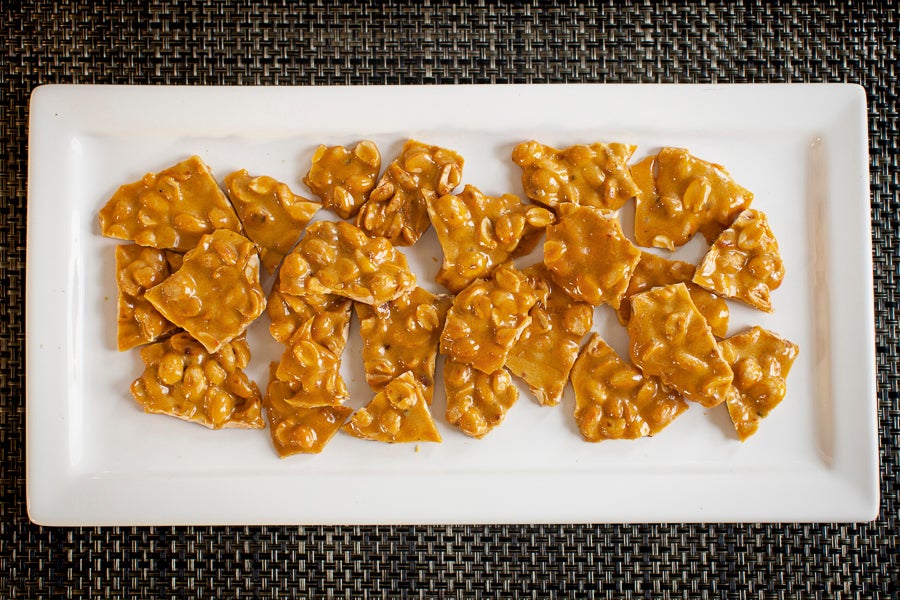
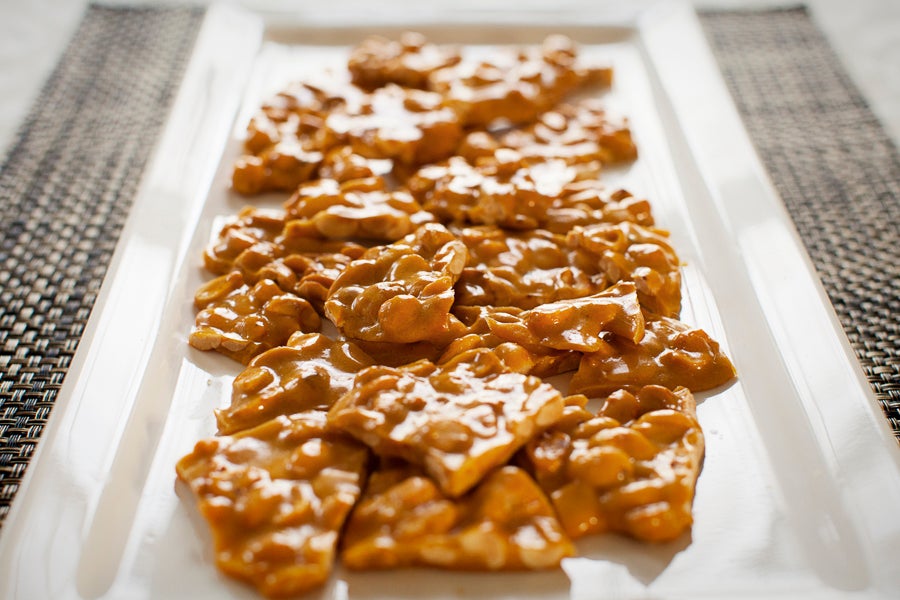
Serve immediately, or package up to share with your favorite friends!
Peanuts can be replaced with almost any nut imaginable, though I have to admit the original is my favorite. If you're feeling especially decadent, try dipping brittle pieces in melted dark chocolate. No matter how you serve it, you can't beat this simple, easy peanut brittle.
Please make, rate, and review our recipe for Microwave Nut Brittle.


