When I started my sourdough journey in 2018, it wasn’t just the excitement of baking bread in my own kitchen or the thrill of playing with different flours that really pulled me in. It was the decorative scoring that I saw across my feeds. The creativity of other sourdough bakers, with their elaborate, whimsical patterns, inspired me to try myself. Since then, scoring has opened up a new creative outlet for me and deepened my sourdough baking practice.
If you’ve been curious about decorative scoring, you’re not alone. In 2020, I started a Facebook group to create a supportive community for sourdough scoring enthusiasts. It’s grown into a space where over 88,000 people share their designs, learn from one another, and try new patterns together. And while those loaves can look intimidating, I’ll show you how to break each design down one step at a time, one cut at a time, so it feels totally doable.
I’m not going to cover the basics of scoring (or its functional attributes) in this post; if you’re new to bread baking, check out this post on scoring fundamentals first, then you can jump back in when you’re ready to play!
It might be tempting to jump straight into intricate scoring, but it’s important to master the foundations of sourdough baking first, as well as more basic scores. Get to know the quirks of your starter, learn the intricacies of fermentation, and practice dough development. Well-proofed, well-shaped dough leads to beautiful results, and skipping ahead usually leads to frustration.
Lame: If you’ve been baking sourdough bread for a while, you probably already have this specialized scoring blade. For intricate designs, I like to use the Wire Monkey Lames — they are great quality and let you hold the blade close, giving you more control over your cuts.
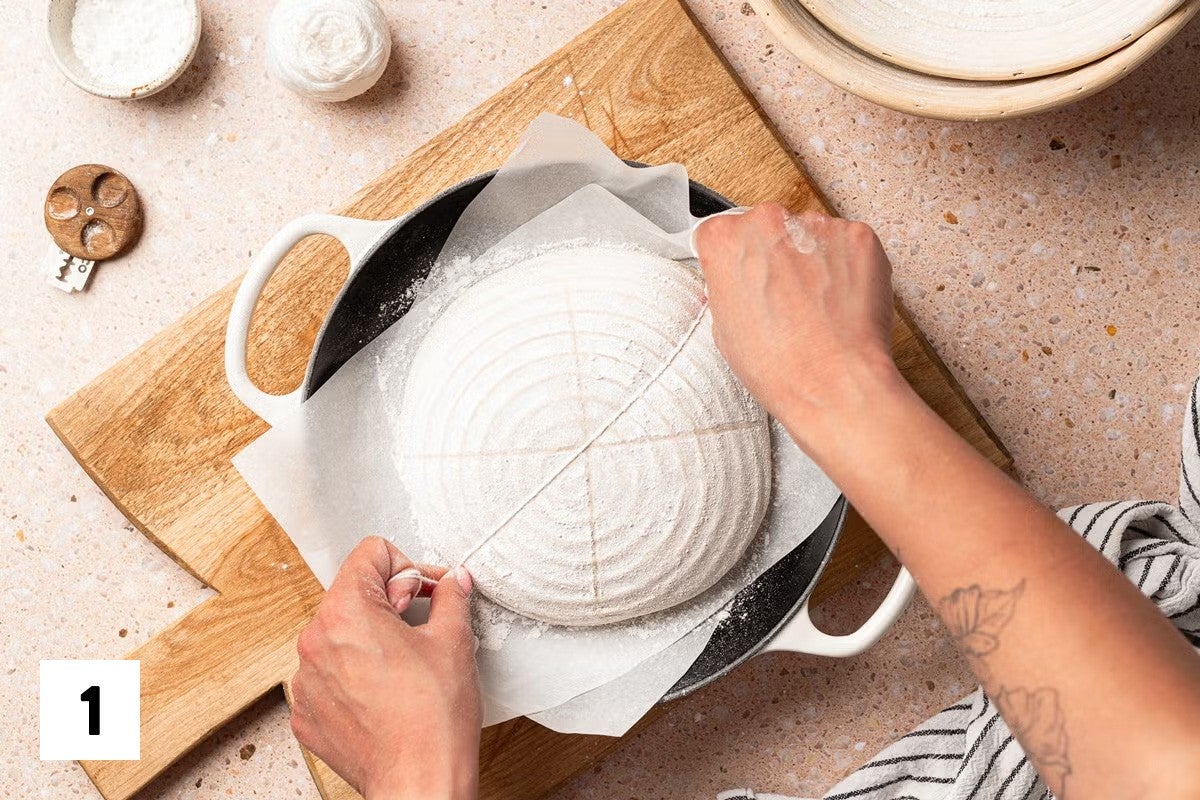
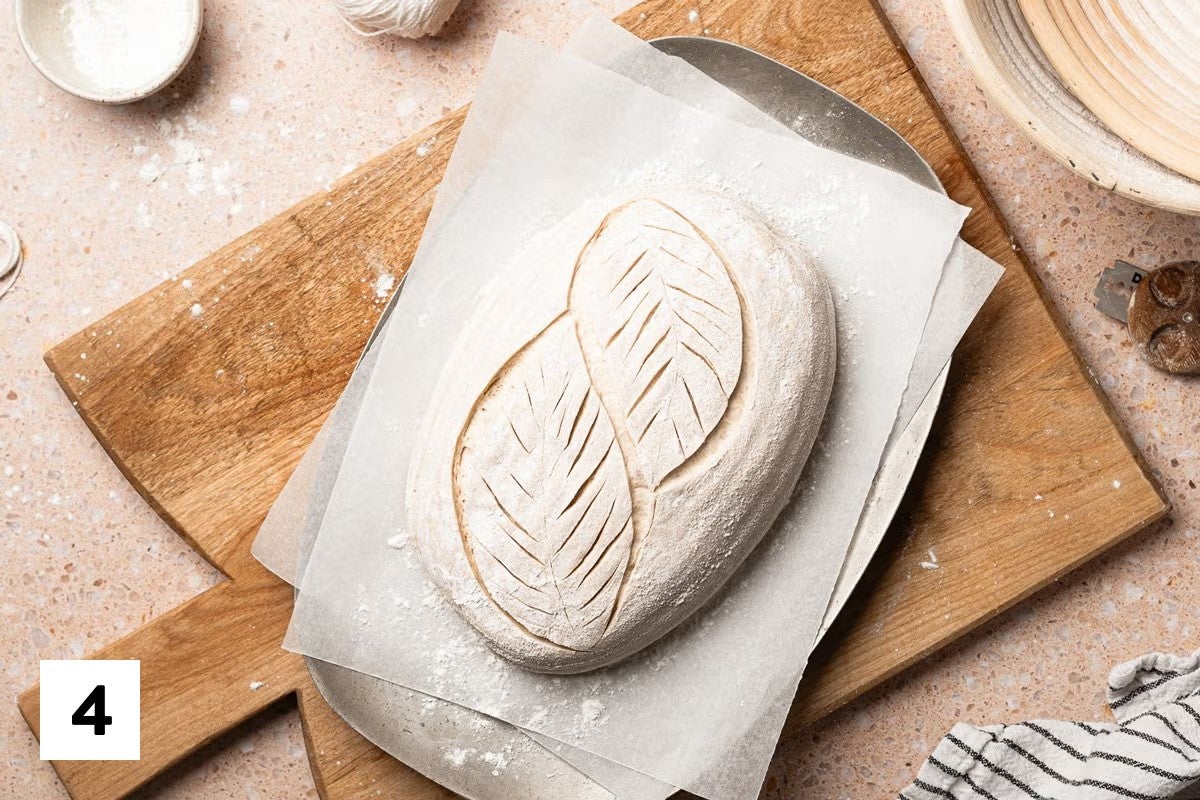
Rice flour: Totally optional but nice to have for more striking designs. Before scoring, I like to sprinkle a light layer of rice flour on my dough, then dust off the excess with my hands. Rice flour doesn’t burn in the oven, stays a light color, and makes your designs stand out after baking.
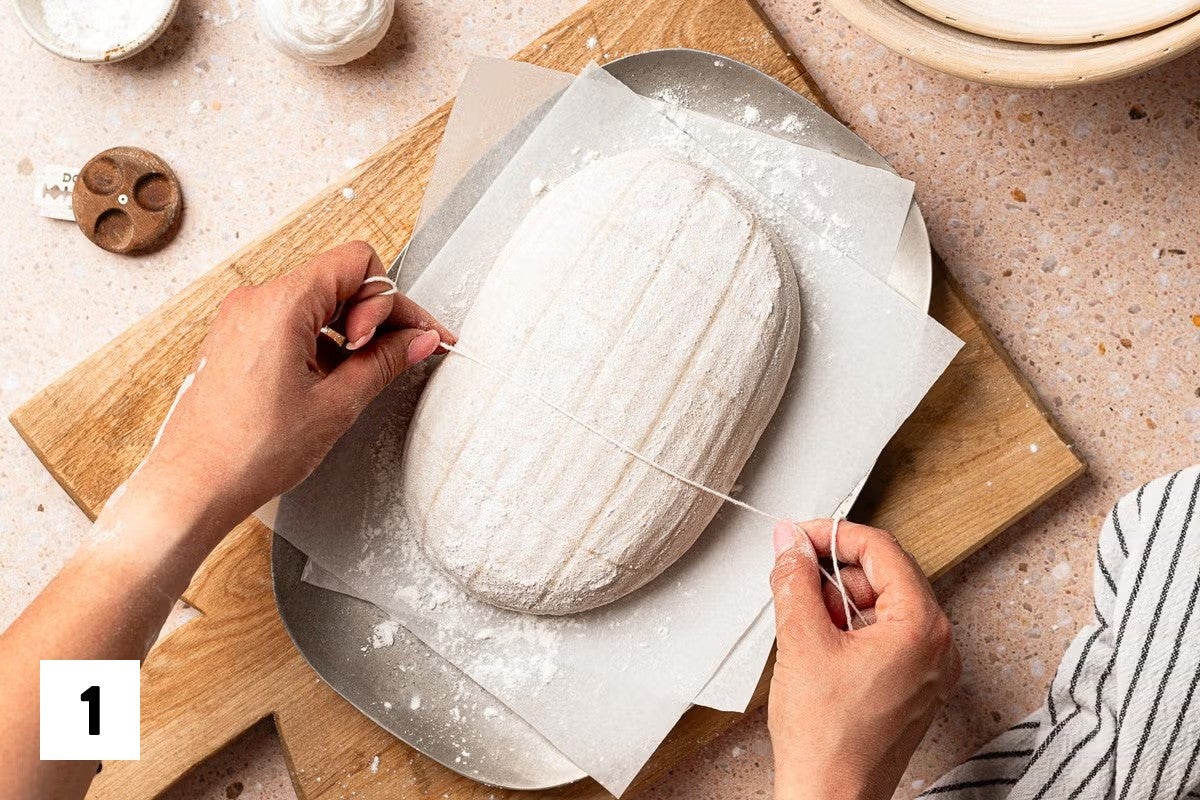
String: One of the most important tools for decorative scoring, a length of thread or butcher’s twine is a great way to map out patterns before scoring them onto your dough.
Parchment paper: Using a piece of parchment allows you to easily maneuver your dough so you can score it at an angle that is comfortable for you.
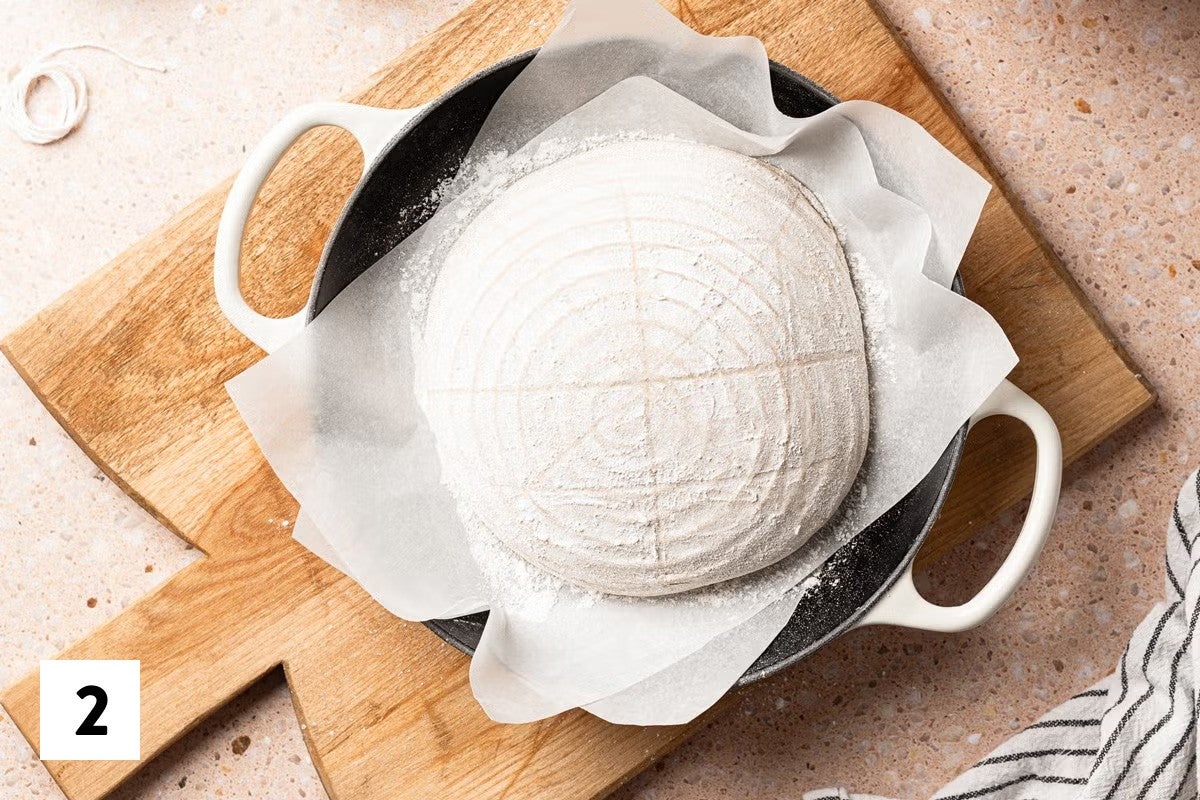
The key to decorative scoring is to have a plan. Visualize the design you want to create, then break it down into manageable sections. In most cases, dividing the loaf into quadrants makes complex patterns much easier to approach. If you’re new to scoring, you can even sketch your design out on a piece of paper before you pick up your blade.
Here, I’ll walk you through how I create some of my favorite scoring patterns.
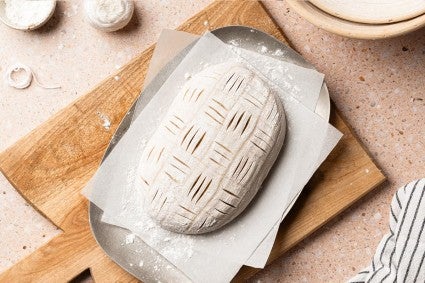
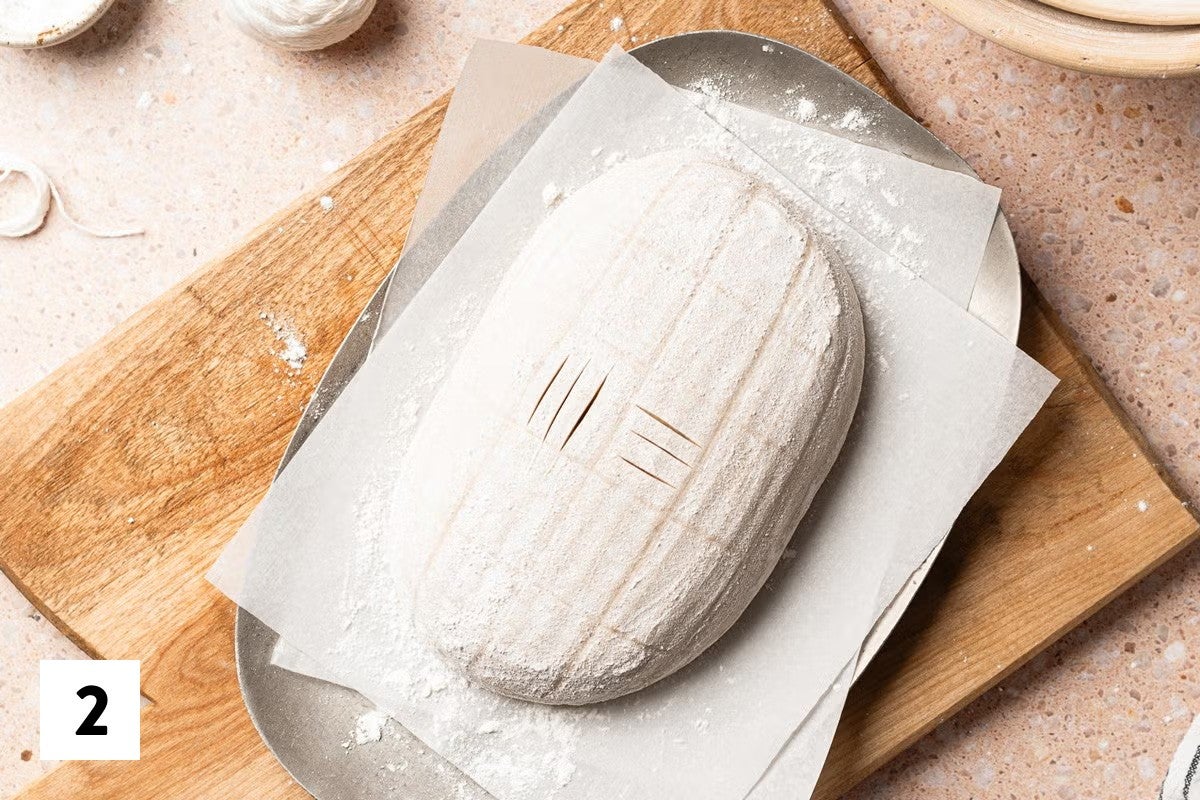
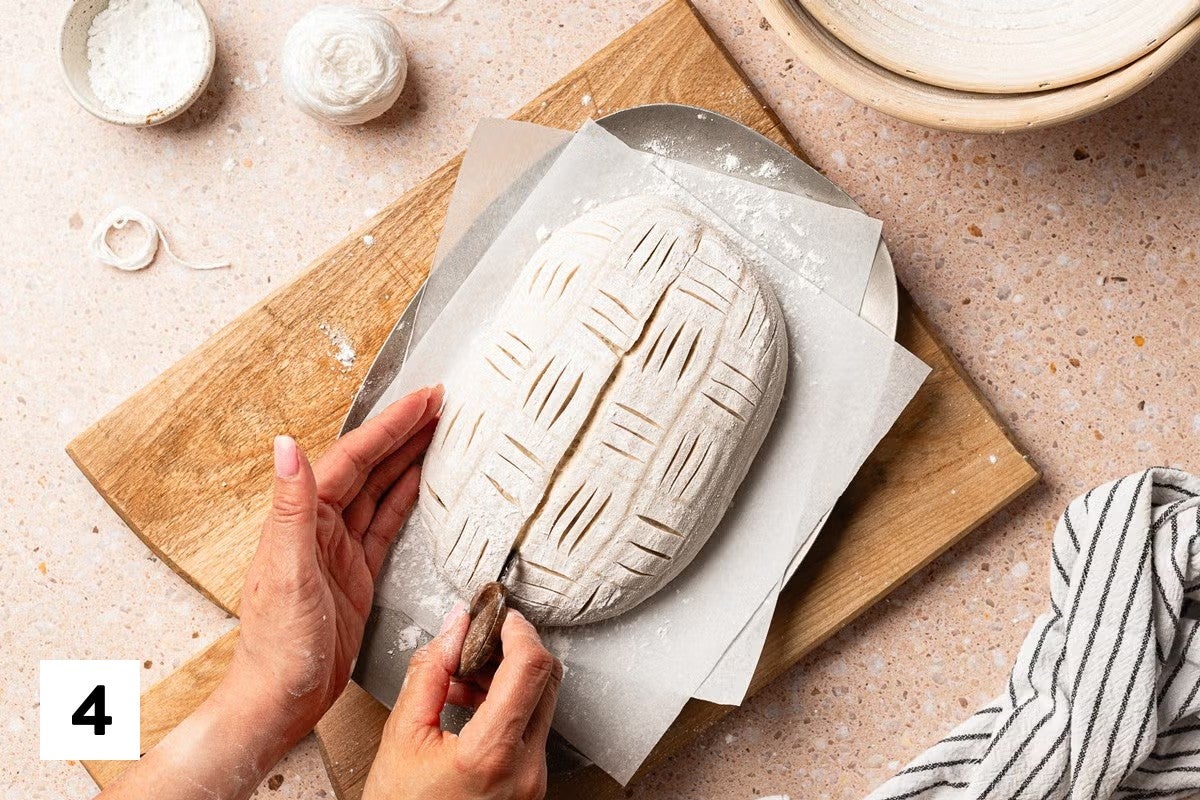
This simple but effective pattern makes a big impact but is so simple to achieve. Just a series of vertical and horizontal cuts creates a pattern that resembles a woven basket. You’ll want to create a large slash in the center of your dough (similar to a traditional score) to allow steam to escape and prevent your dough from bursting in unwanted spots. This design works great for both boules and bâtards.

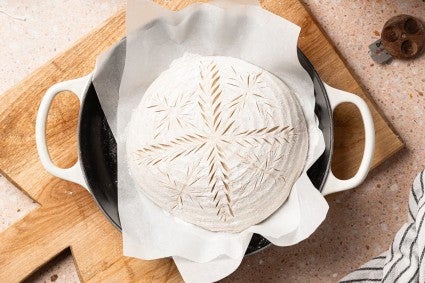
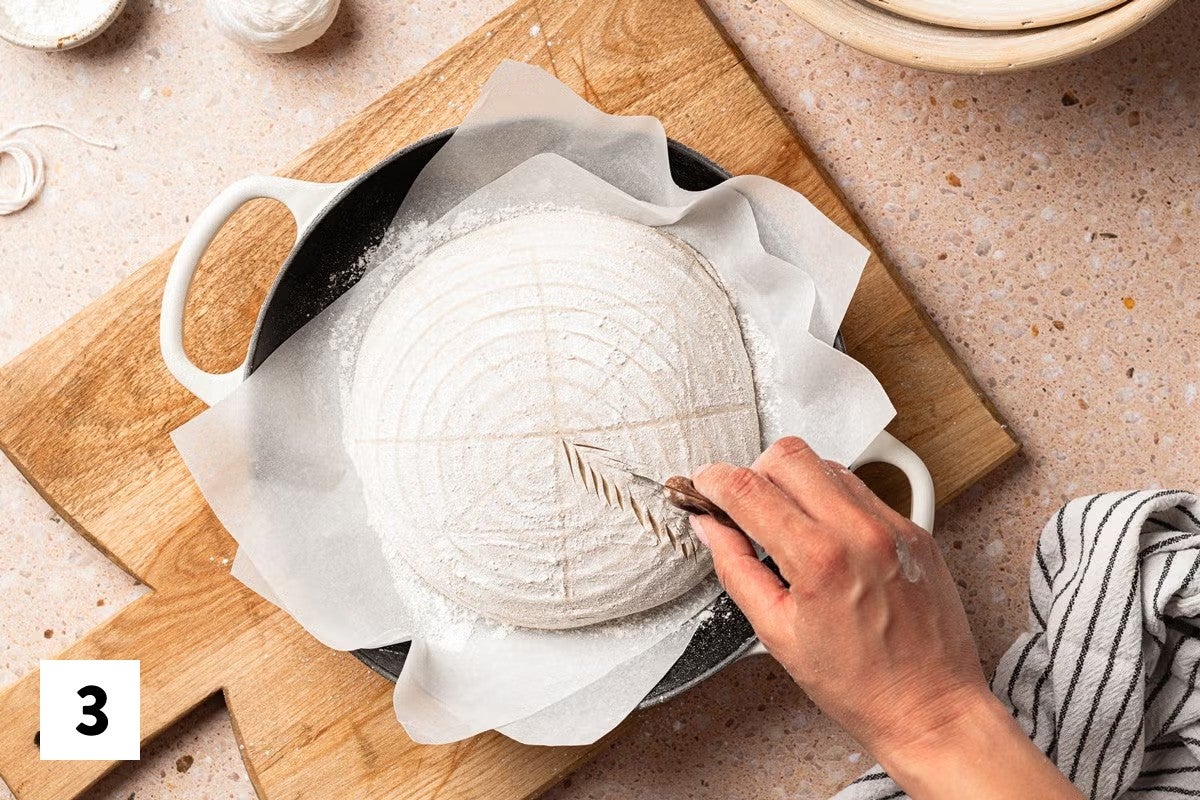
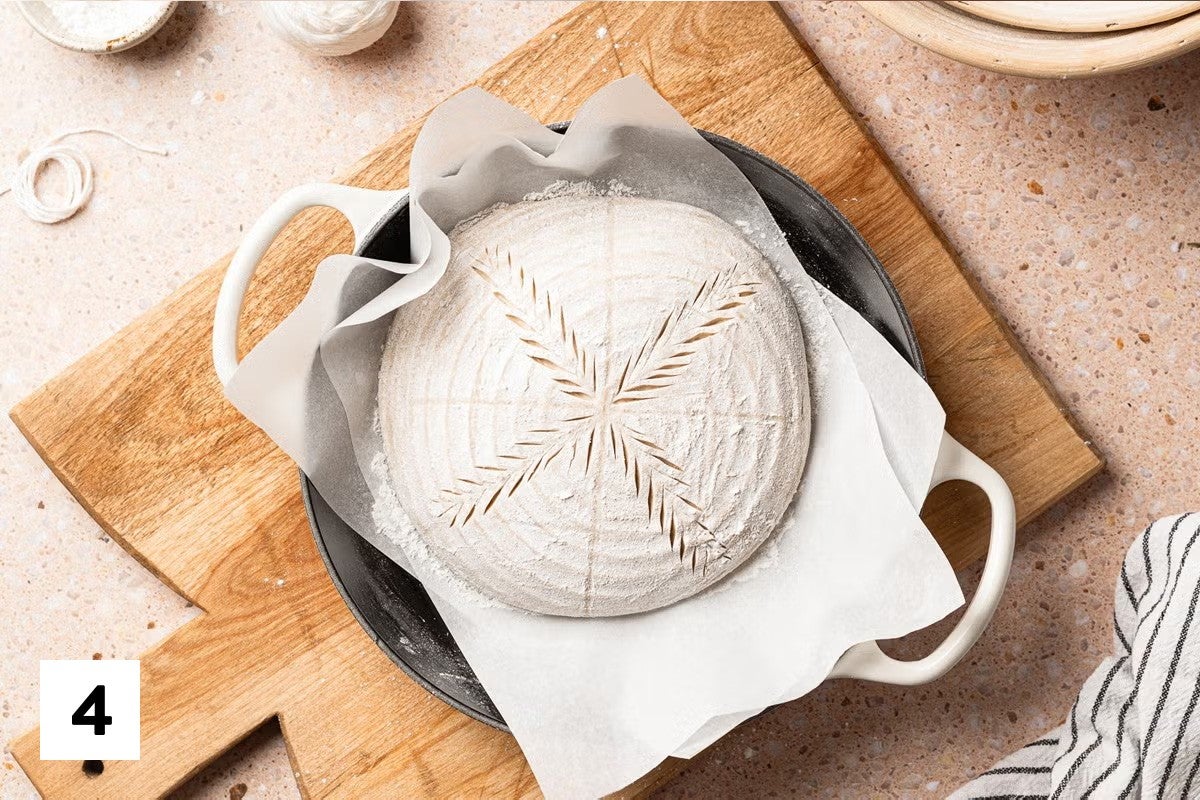
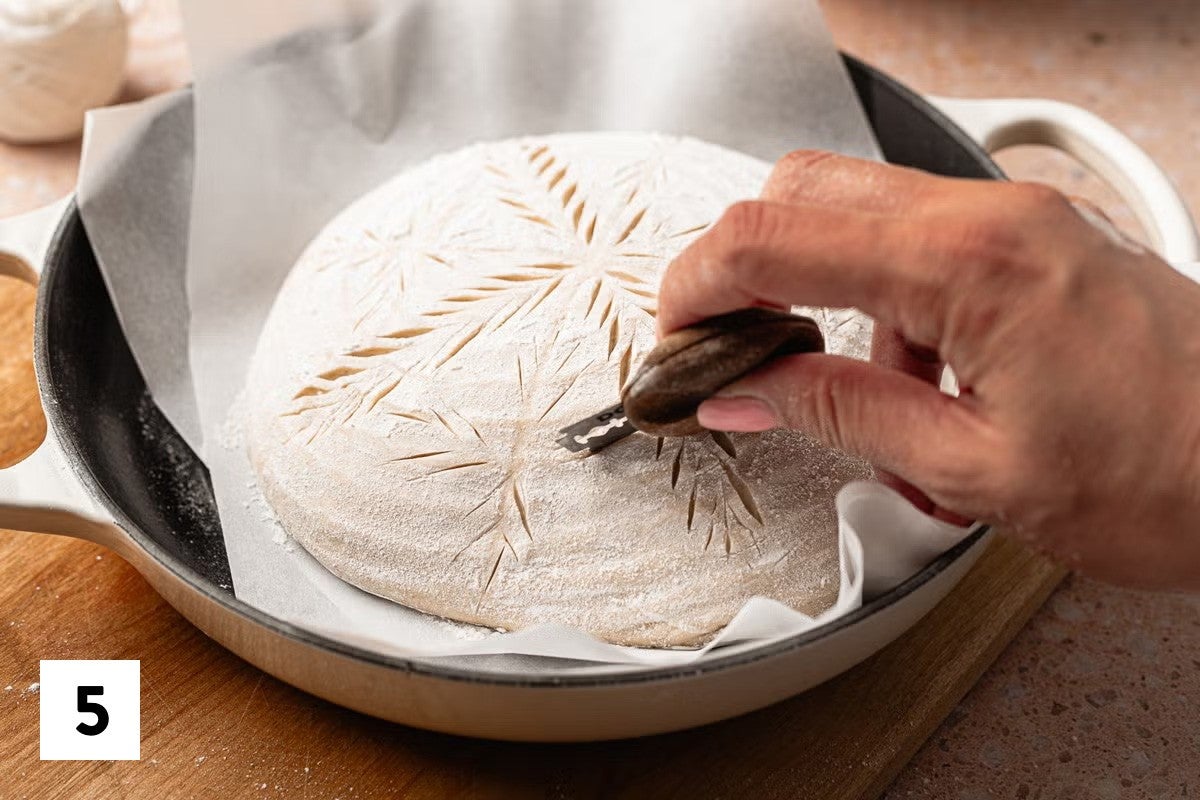
This design uses the basic wheat stalk in various lengths to create a pattern that resembles a quilt. It may look complicated, but if you’ve ever scored a wheat stalk on your sourdough, you can easily accomplish this design. I like to do this one on a boule.

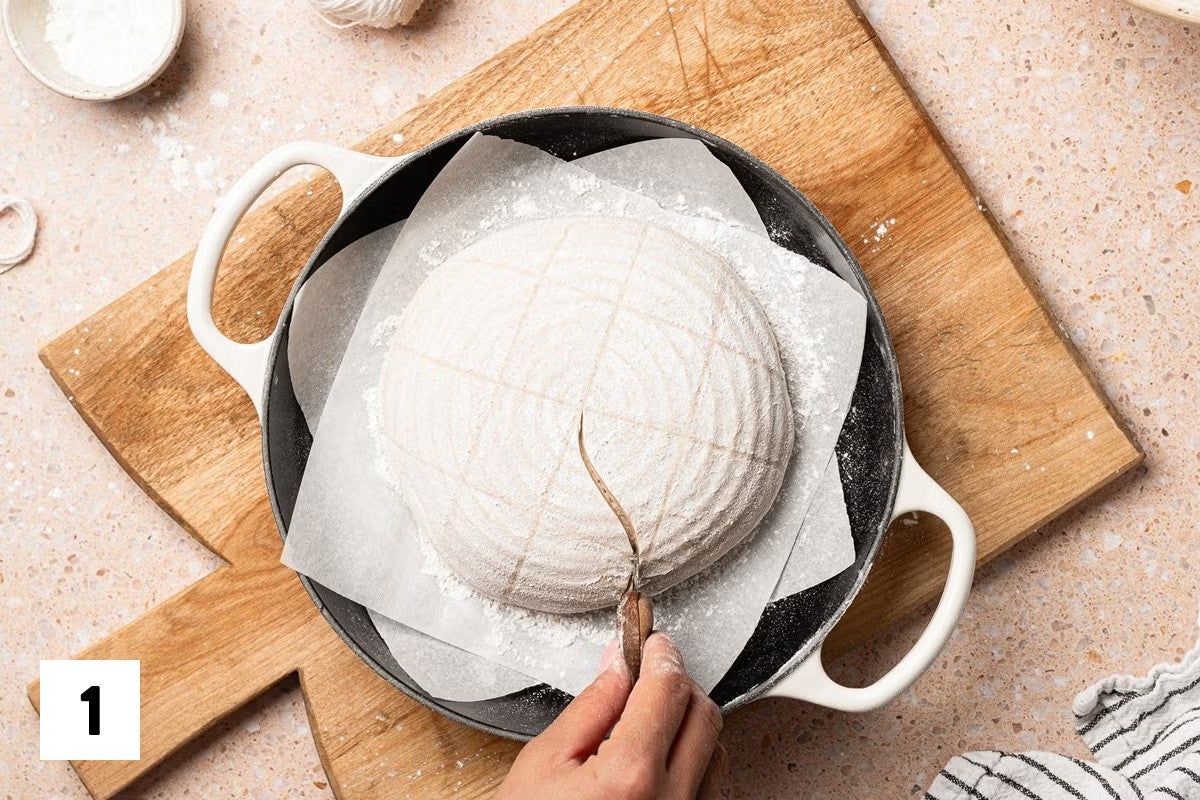
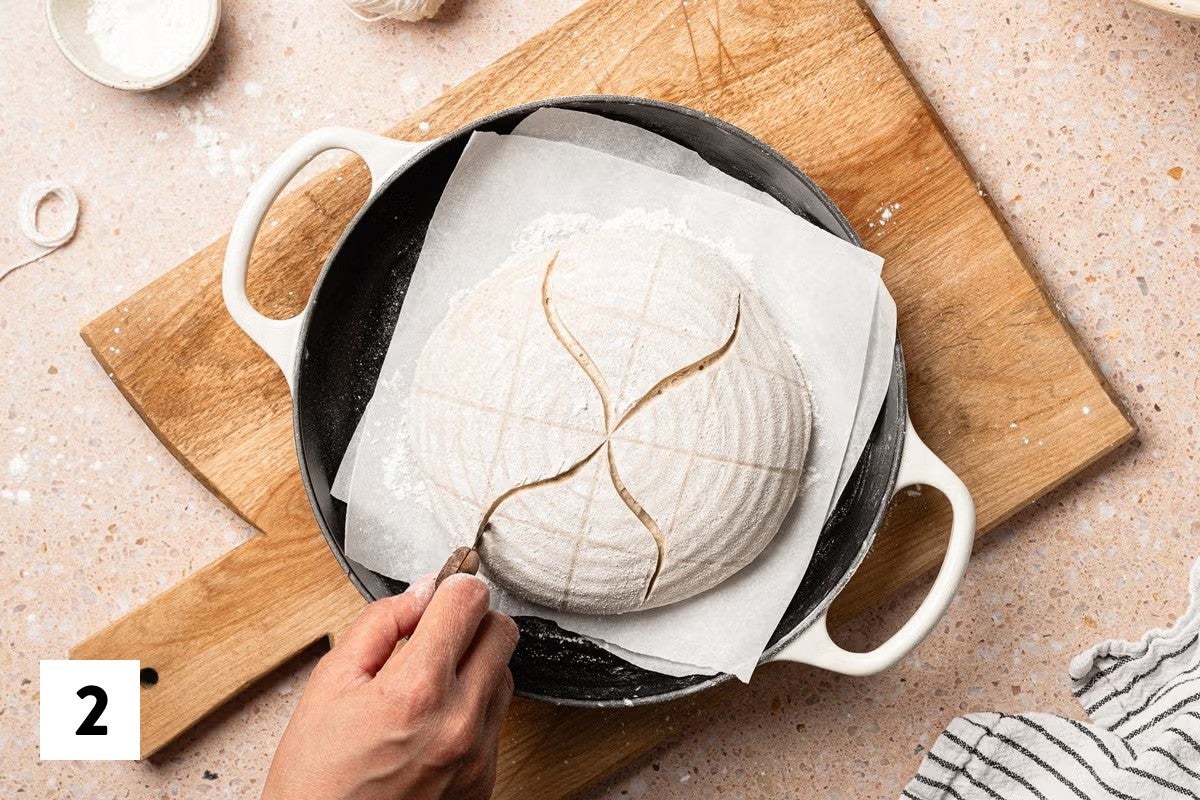
One of my favorite patterns for a boule, this design comes together with a few long, curved cuts that give the loaf a cool retro vibe. For great results, the key here is proper proofing and a well-developed dough with plenty of surface tension. When the dough is ready, your cuts will glide right through. Moving confidently in one decisive cut keeps the blade from dragging and helps you avoid creating jagged edges.
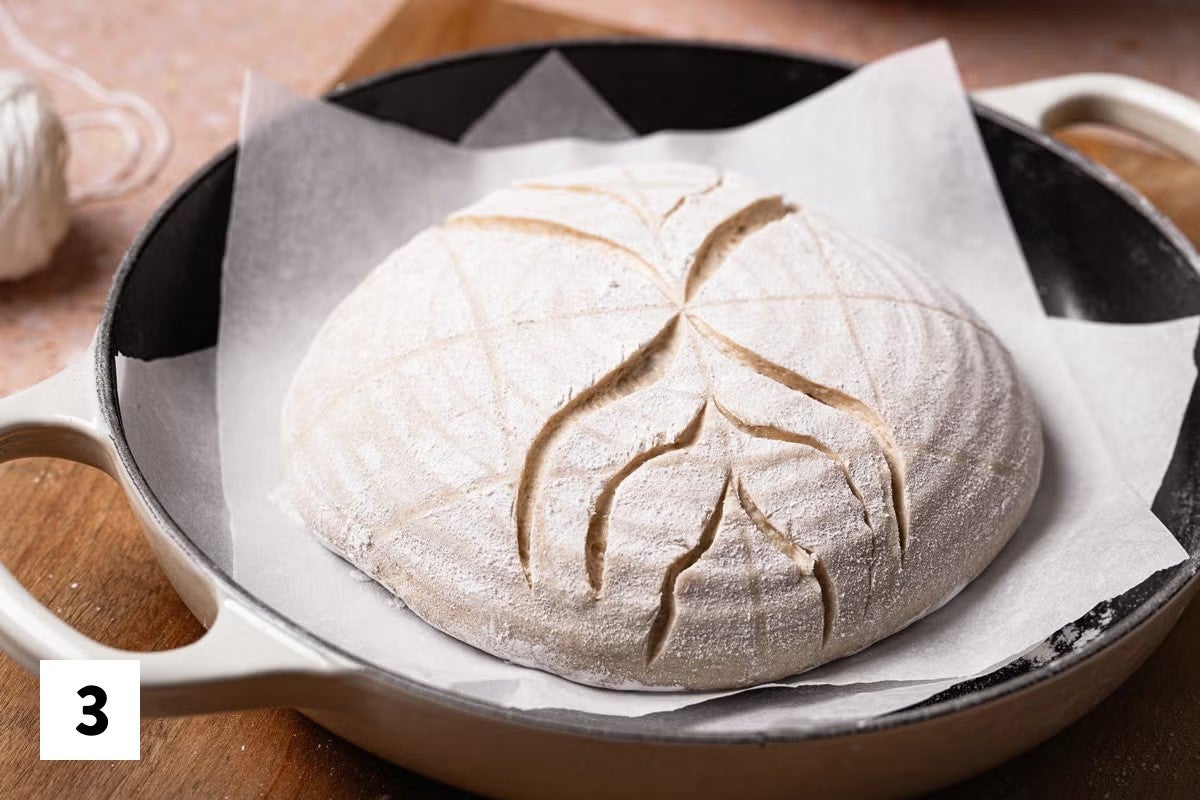
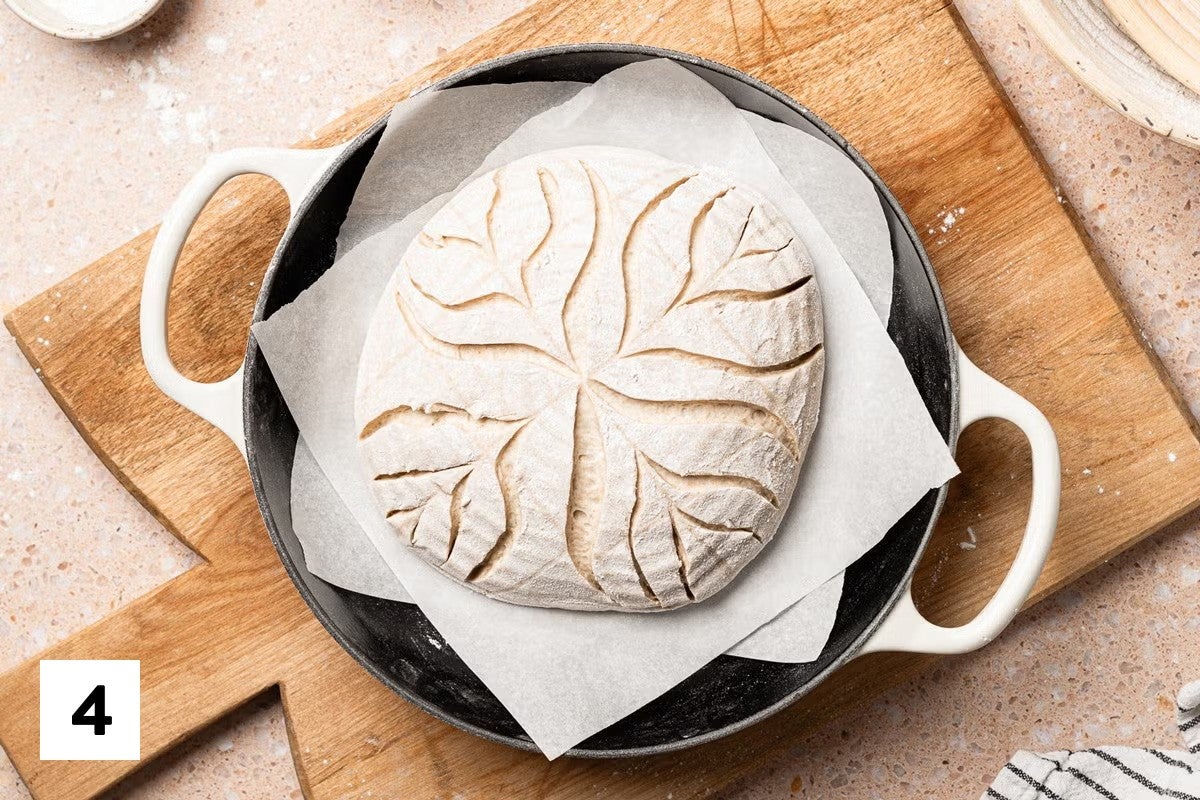
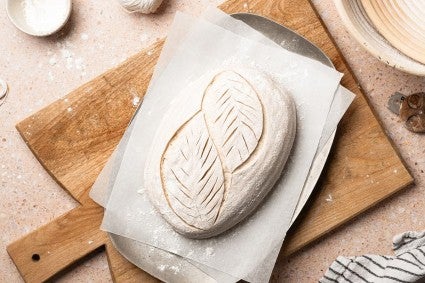
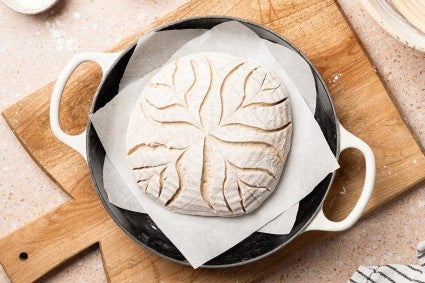
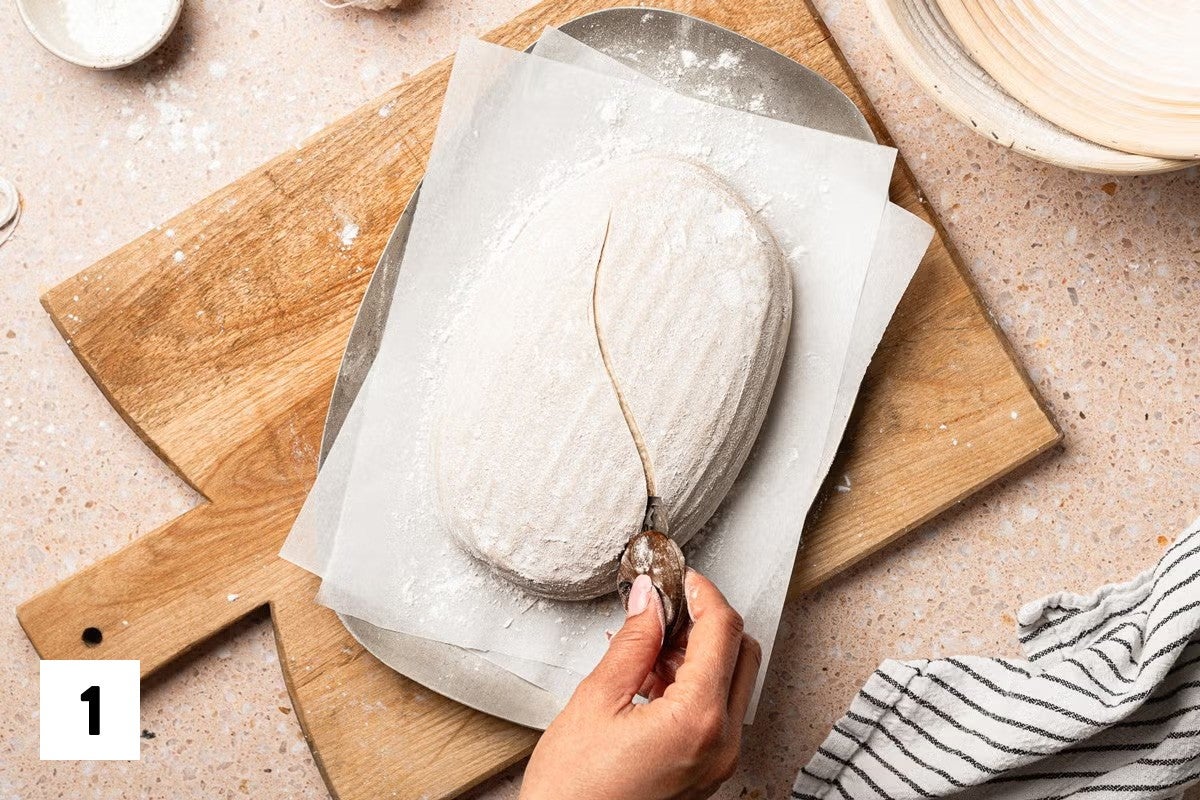
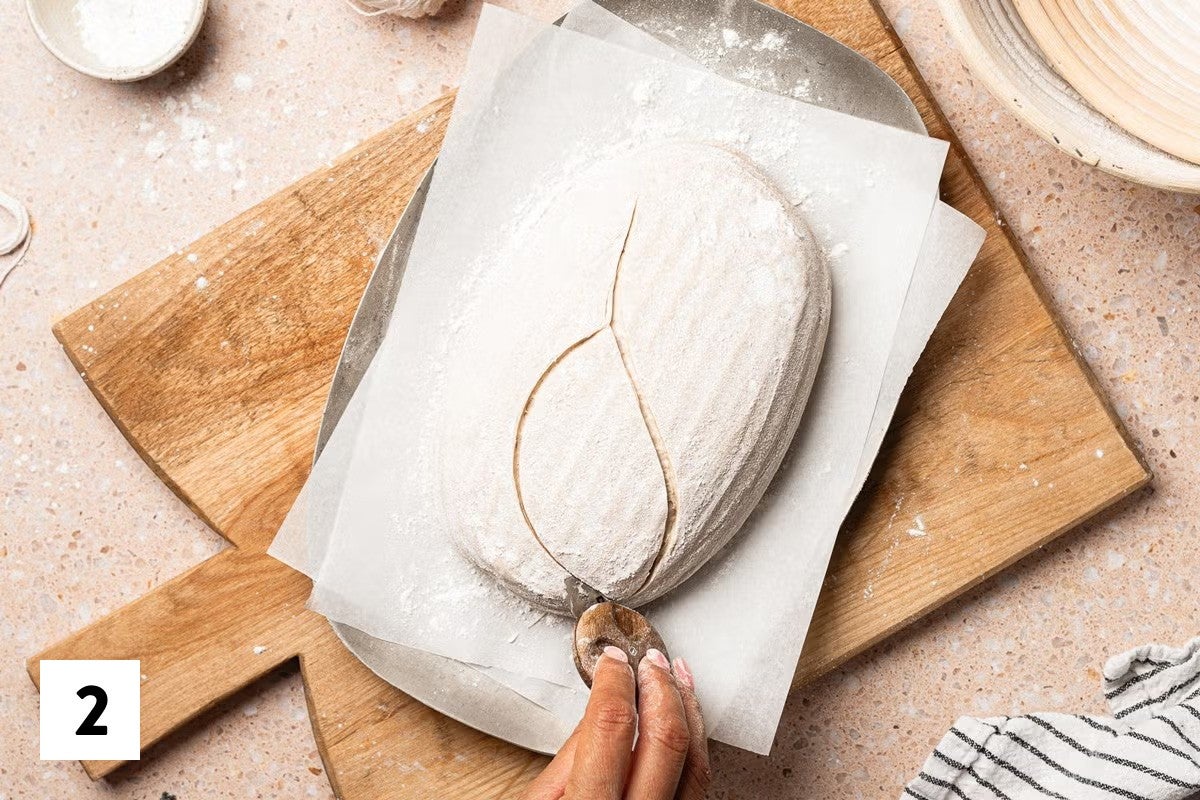
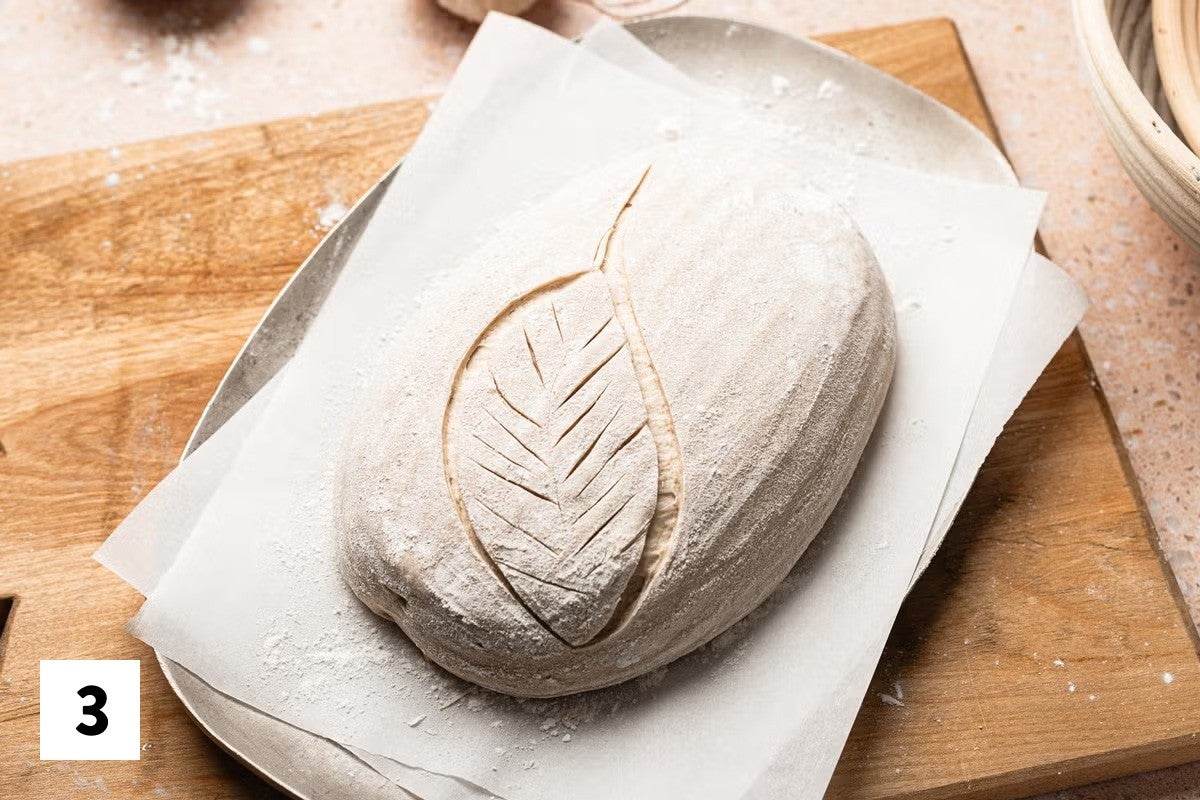
These organic patterns are eye-catching and really forgiving, as you don’t need to map anything out with string. I love to just work freehand on these types of designs, keeping the lines slightly different lengths and a little irregular. The less “perfect” and symmetrical they are, the more natural and beautiful the leaf pattern looks. Since these are done largely freehand, they look great with both boules and bâtards.
Whichever scoring design you choose, remember this isn’t about getting it perfect. Some designs will open beautifully, and others will take on their own personality, looking wonderfully imperfect in the best way. Whatever happens, you still end up with delicious bread.
The more you practice, the more your loaves will start to look like what you pictured. And even when they surprise you, you’ve still learned something along the way. You’re always welcome to join our community of scoring enthusiasts for more inspiration and support.
All photography and food styling by Hannah Dela Cruz.