


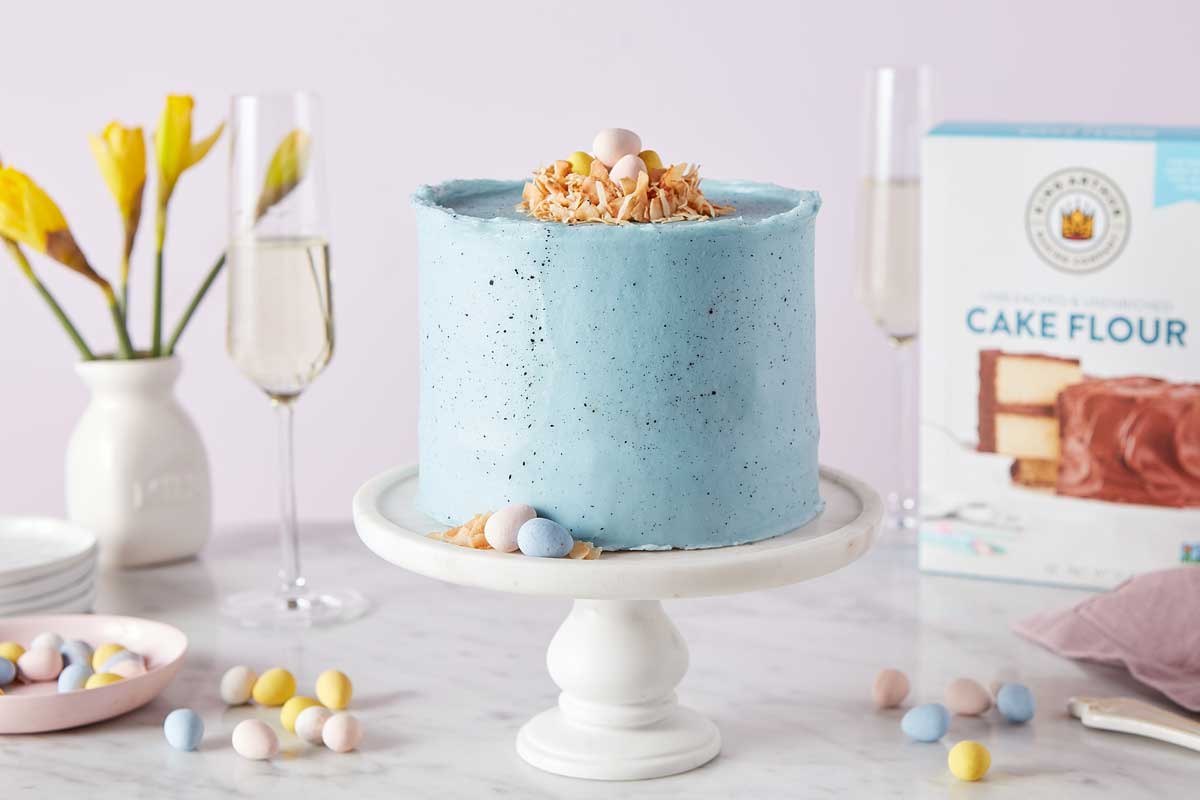
If you’re looking to bring some joy to your Easter table, try this robin egg cake, a fun twist on those cute robin’s egg cupcakes displayed in many bakery cases around springtime. They’re so cute, in fact, that you may have found yourself ordering one at the bakery — just for you (you deserve it!), no sharing necessary.
But if you’ve been wanting to tackle a new baking project and are ready to take on a frosted layer cake, try recreating this design at home! The objective here is to have fun and add some new skills to your repertoire.
With an eye-catching yet easy design, this cake is the perfect place to start, no matter your skill level. Use it as a jumping off point and enjoy creating something dazzling for any springtime celebration.
When I think of spring, I think of bright colors and flavors. I let the colors of this little robin’s egg design inspire my flavor combination and decided on a lemon cake with blueberry jam filling and sweet vanilla buttercream frosting. Feel free to follow my lead or play around with other flavor and filling options. (Lemon Curd would be a lovely filling idea, for instance). Once you have your flavor profile set, here’s how to prepare this stunning yet simple robin’s egg cake design.
Baker’s tip: To help this project fit your schedule, you can easily bake the cake layers (store well-wrapped at room temperature) and make the frosting a day ahead; you can even toast the coconut in advance. You can also use your favorite store-bought jam or preserves as the filling, as long as they’re not too runny.
For this beauty, I chose our Vanilla Birthday Cake as the base for the layers. This cake not only has a soft, tender crumb thanks to cake flour, but it’s a versatile base for so many flavor combinations. For example, I swapped the almond extract for lemon paste to add a light lemon flavor. (You could use 1 to 2 tablespoons of fresh lemon zest instead.)
You can make this layer cake with two 8" or 9" round layers, as the recipe calls for. Or if you prefer cake over frosting, like me, then make three 6" cake layers instead! Simply split the batter between three 6" cake pans, which will yield thicker layers and a taller final cake.
No matter what size pans you're using, make sure they're are at least 2" tall. If they’re shorter than 2", you have a couple of options: either fill your cake pans 3/4 full and use the remaining batter for a few bonus cupcakes or put a 3" tall parchment paper collar all the way around the edge of each pan to help support the batter as it bakes.
Baker’s tip: The bake time for 6" layers will be similar to 8" or 9" layers, but I advise setting the timer a little earlier than the recipe calls for and adding more time as needed.
While the cake is baking and cooling, make your frosting. Our Easy Vanilla Buttercream is a lovely companion for this cake — it’s quite sweet and goes well with the fruit blueberry jam filling. Plus it’s straightforward to prepare: no meringue or boiling sugar syrup necessary.
To make sure you have enough for decorating, follow the instructions in the “Tips” section at the bottom of the recipe page to increase the ingredient amounts.
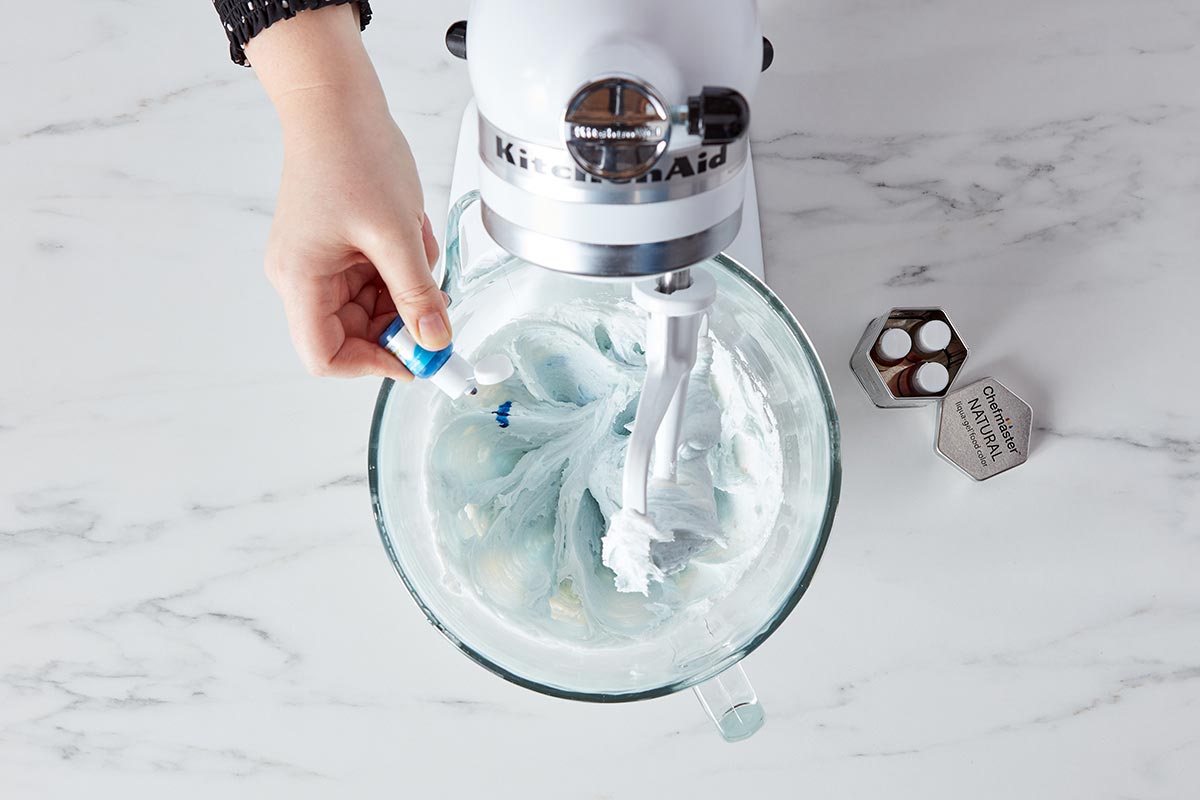
For a lovely light blue tint, add blue food coloring at the end of mixing the frosting. My goal was to keep this cake on the lighter, pastel side so a natural food color worked well in this design. When using any food coloring, a little can go a long way so start with just a small amount, mix in really well, scrape the sides of the bowl, then mix again. You can always add more until you get the color you want.
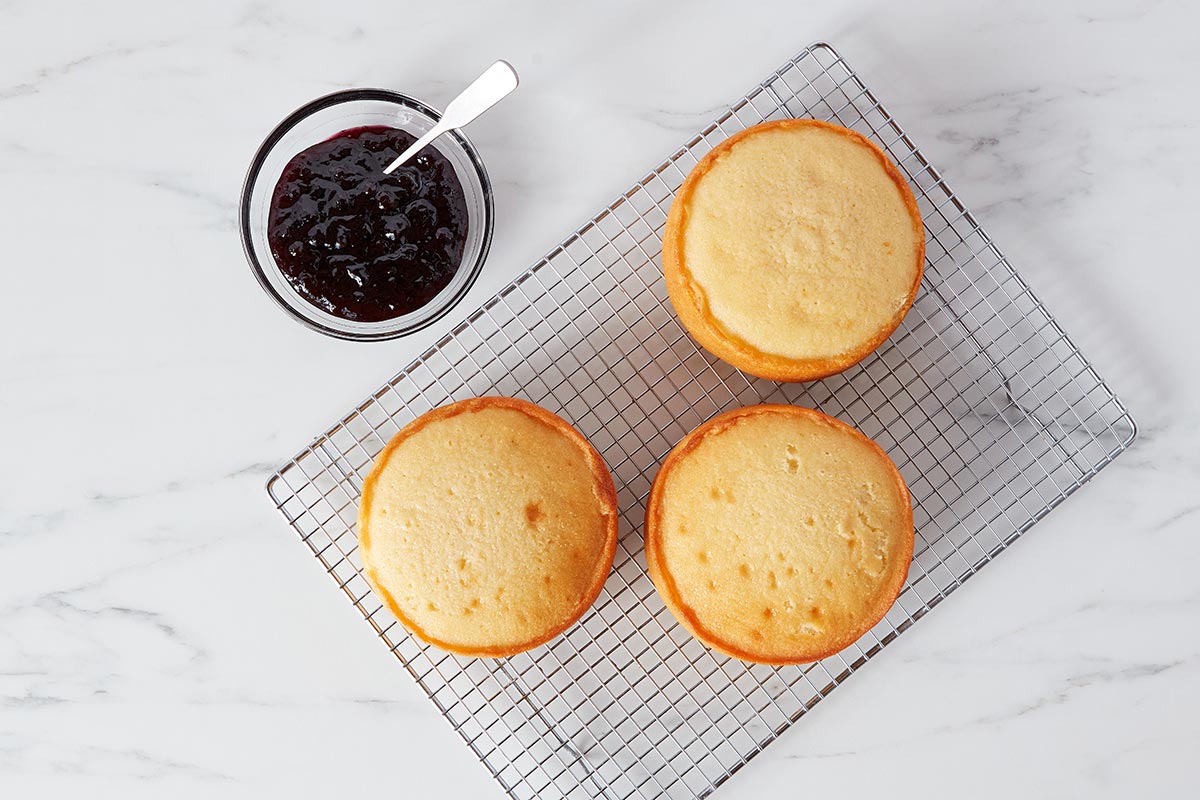
When the cake layers are completely cool, level them by cutting the dome off each layer (and enjoy a baker’s snack). Time for some stacking … ready?!
Place a quarter-sized dollop of frosting in the center of your serving plate (this will keep the layer from sliding around), then put the first cake layer down onto the plate. Set the cake plate on top of a cake turntable or lazy Susan. (This will make icing the cake much easier).
To keep the plate tidy while stacking, crumbing, and icing, don’t forget to slip a few strips of parchment paper under the cake during this part of the building process. (For more on this check out PJ’s great blog post about how (and why) to crumb coat a cake).
Using an offset spatula, spread a very thin layer of frosting over the top of the layer. Because this cake has a filling, use a piping bag to pipe a circle of frosting — known as a dam — around the top inside edge of the cake. It doesn’t have to be anything fancy, just about 1/4" tall.
Now you can fill the circle of frosting with the blueberry jam (I went with my favorite store brand, but you can absolutely make your own from scratch) and smooth it out with a small offset spatula. Try to keep the filling level just barely below the top of the frosting dam.

Repeat this process with the second layer of cake. Put the top layer of cake on cut-side down to help keep the top flat and crumb-free.
Now you’re ready to apply the crumb coat, which will prepare the cake for its final layer of frosting. Apply a thin layer of frosting to the top and sides of the cake, then set it in the refrigerator to chill for 15 to 20 minutes. Cover and set aside the rest of the frosting.
Just before you take the cake out of the fridge, give the frosting a stir to remove any air bubbles that have accumulated and add an extra teaspoon or two of milk if it has dried out.
Using an offset spatula, cover the top and sides of the cake with a final layer of frosting. It’s good to be generous with the frosting. You’re looking to evenly cover the top and sides, then use a straight-sided tool, like a bench knife, to smooth the sides.
Hold the bench knife at a straight angle against the cake and gently spin the turntable to smooth off any excess frosting on the sides.
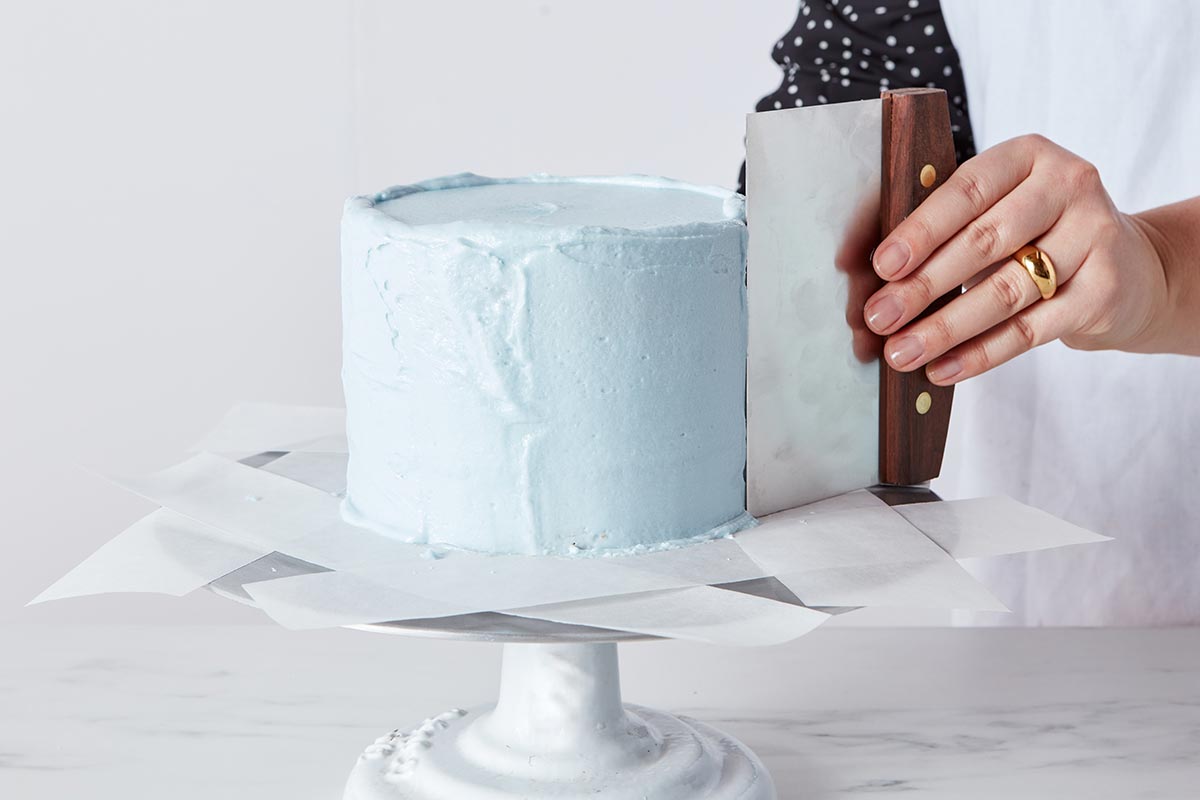
If you’re having trouble smoothing the frosting, run the bench knife under hot water, completely dry it off, then go around the cake again. The warm metal will help get rid of any unwanted air bubbles in the frosting.
As you’re smoothing the sides of the cake, the bench knife will naturally push some of the icing to the top edge of the cake, creating a border with a rustic look. You can square this off if you like, but I enjoy the crown effect that it creates and decided to leave it on my cake.
To add the delicate chocolate splatter, mix 1 tablespoon cocoa powder with 1 to 1 1/2 tablespoons warm water or vanilla extract (either will work). Lay some parchment paper down, as this can get a little messy (and fun!). Using a dry pastry brush, gently dip the ends of the brush in the cocoa mixture and shake off any excess. While holding the brush with one hand, pull the bristles back, point at the cake, and slowly release to create the speckles. Add as much or little as you want on the sides and top of the cake.

If this is your first time with this technique, I recommend practicing splattering on some parchment paper until you’re comfortable enough to try it on the cake.
To create the Easter egg nest on the top of the cake, use a round cookie cutter or glass to mark in the frosting where the nest will go. With the piping bag you used to make the dam, pipe a couple of rings of frosting along the circle mark left by the glass.
Cover the frosting ring with toasted coconut flakes, shavings, or a mix of the two. Fill the nest with chocolate eggs or your candy of choice.
Now, take a step back and soak in all your hard work … you did it! I knew you could!
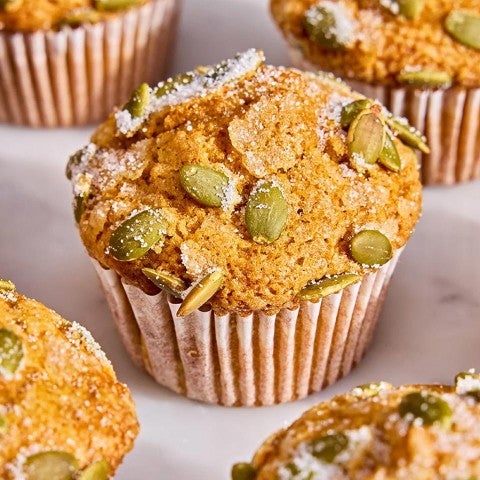
Good news: this decorating style works well for cupcakes too. Simply apply the blue-tinted frosting, splatter with the cocoa powder mixture, and garnish with toasted coconut and candy eggs.
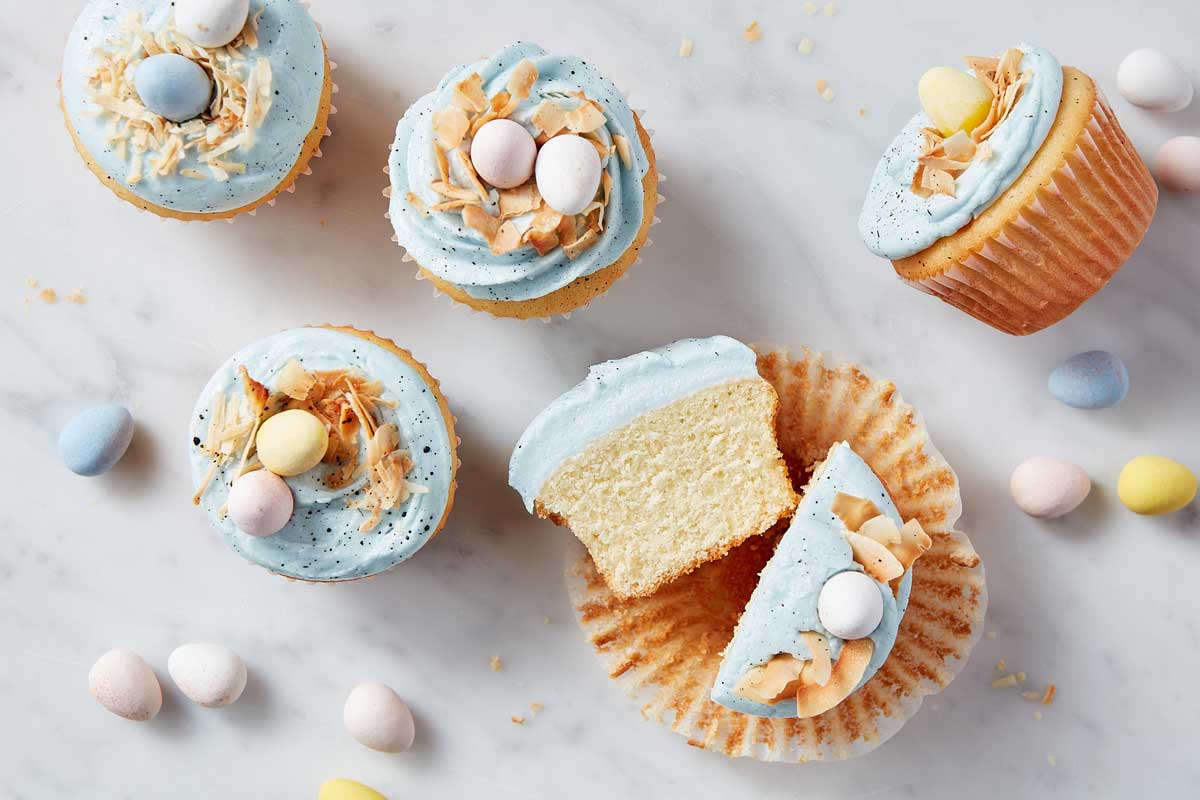
Have fun and switch up the techniques you use when applying the frosting. Try spreading it on with a spatula or use a piping bag and new pastry tip you’ve always wanted to try. There are endless ways to decorate these cupcakes, so set out your toppings of choice and just create!
Baker’s tip: See the “Tips” section at the bottom of the Vanilla Birthday Cake recipe page for directions on how to prepare as cupcakes.
I hope this cake inspires you to add a little fun to your baking just in time for spring. The beautiful thing about cake decorating is that you can put your own spin on it. Don’t hesitate to mix up the flavor combinations and the decorations you choose. Try something new and give yourself a chance to step outside of your comfort zone.
Decorated cakes and cupcakes don’t have to be fancy, but they should strike a balance between great flavor and expressive decoration. The goal is to create something you’ll enjoy making as much as eating!
For more cake inspiration for spring, see our Cake Flour recipe collection.
Photos by Rick Holbrook