Pie baking tips from Kate McDermott
The author spills her secrets in our Pie Q&A series
Date
December 7, 2020

Pie making is a lifetime art — every time you bake a pie, there’s something new to learn or enjoy.
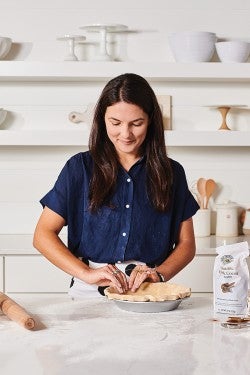
Art of the Pie author Kate McDermott has devoted her life to pie, compiling decades' worth of knowledge, recipes, and skills. Over the past few months, she’s been sharing her wisdom in weekly installments of our Pie Q&A video series, in which Kate and King Arthur Baking School instructor Mel Wanders chat about a different pie topic each week.
For a full dose of pie knowledge, you can watch all the episodes in the series here. But there are so many fantastic takeaways throughout the eight videos that we're also sharing some of the best tips we’ve learned from Kate and Mel ...
The question of which thickener is best for a fruit pie is a common one for bakers, and it’s one Kate and Mel discuss in this video. Ultimately, tapioca, flour, cornstarch, Pie Filling Enhancer, and Instant ClearJel are all great choices, and they each have one thing in common: they need to come to a full boil to ensure they have maximum thickening power. By doing so, they'll prevent a soupy mess from spilling out when you cut your first slice.

Kate advises: “When you’re using your thickener, whatever it is, be sure and see the steady bubbling coming through your vents so that you know all of your ingredients in your fruit pie filling have actually cooked. If you don’t see any bubbling coming through the vents or through the top of the lattice, it probably needs to be in there longer.”
It's incredibly difficult to overbake a fruit pie, so let it cook for a while rather than taking it out when it's just barely started to bubble — it should be bubbling vigorously. And once you’ve taken your pie out of the oven, make sure to wait for the filling to cool and set before cutting a slice.
Baker's tip: For more details on fruit pie thickeners, including suggested measurements, see our Pie Thickener Guide.
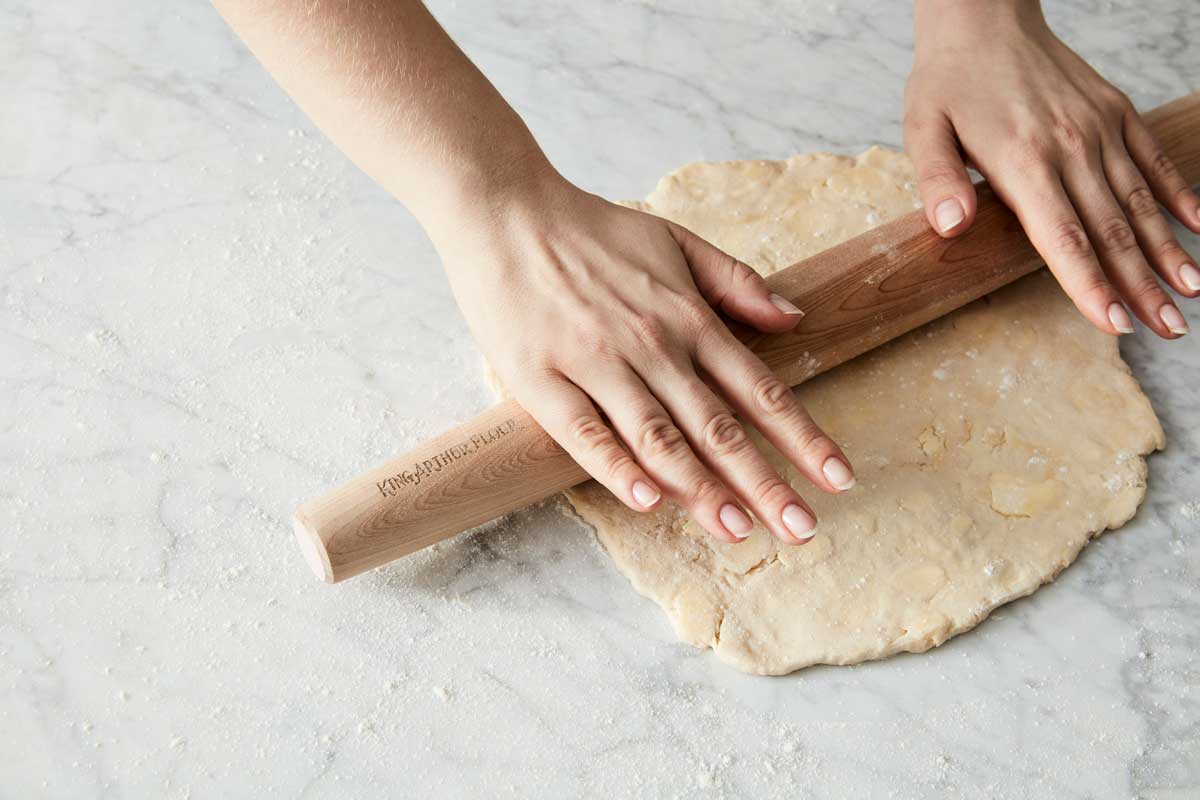
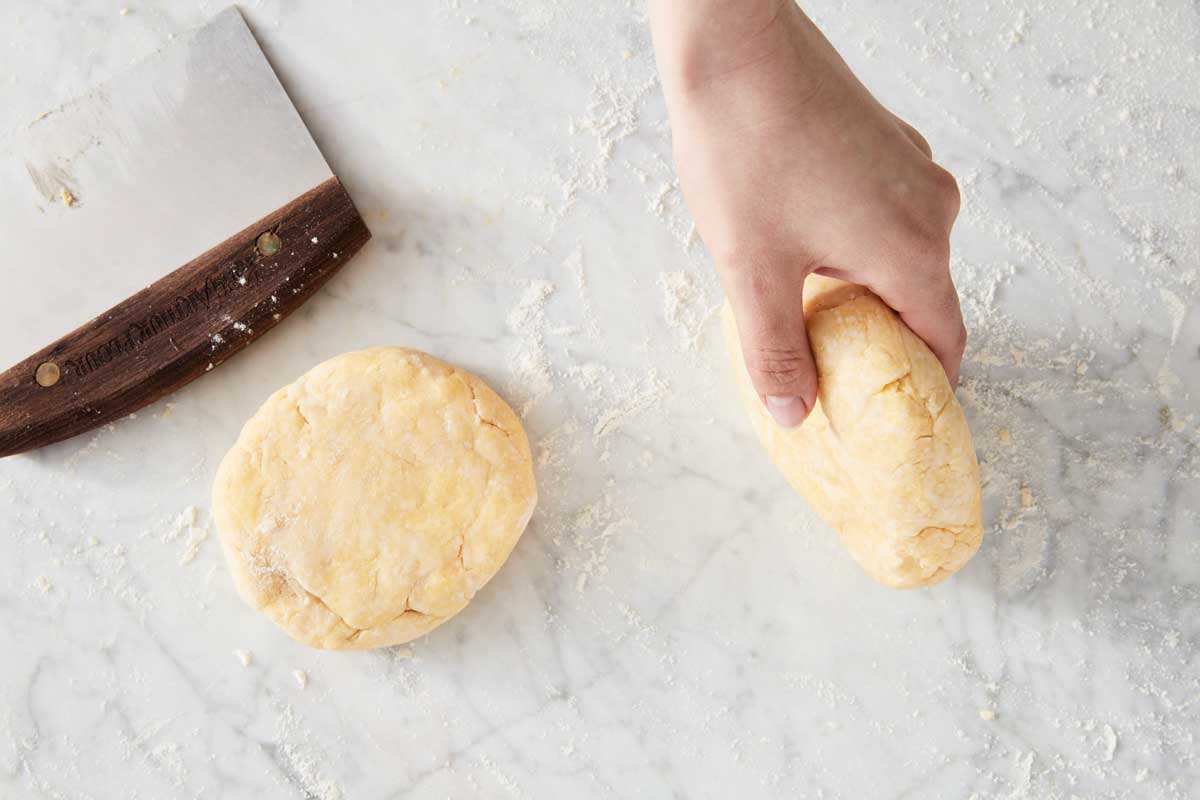
Shrinking pie crust is every baker’s worst nightmare. Kate shares that one way to minimize it is by focusing on how you roll out your dough.
“What I generally do is try and make sure that I’m not over-rolling the dough,” she shares in this video. Constantly rolling back and forth over the dough with your pin can stretch the gluten strands too much, so that they want to snap back like a rubber band. Instead, roll the dough as little as possible to get to your desired shape, always moving out from the center.
After placing in the pie pan, give the dough time to relax by covering and freezing for half an hour and up to overnight. Remove from the freezer while the oven is preheating, then send off to bake confident it will shrink as little as possible.
Kate’s been baking gluten-free pie crust for decades, and she particularly recommends Measure for Measure flour, which actually replaced the longtime gluten-free flour mix she perfected when she first ventured into gluten-free pies.
One issue that can plague gluten-free crusts is a gummy texture, something Kate prevents by adding a leavener. Her advice is to incorporate a little bit of baking powder into your gluten-free pie dough for an extra bit of lift, ensuring the very best texture.
In this video, Kate dishes on a nifty new trick she discovered while teaching one of her pie classes. Instead of rolling out a beautifully round pie dough, a student’s crust started cracking along the edges as it was being rolled, leading to a ragged appearance that was far from ideal.
If you’re faced with a similar problem, here’s Kate’s fix: fold over the edges of the dough about 1", as if you were shaping a crostata. Then flip the crust over, gently pat along the edges, and roll them out just a little bit. They should become smooth and relatively even, without having to re-roll any of your pie crust center. Continue rolling your crust to your desired size.
Just like pie thickeners, there’s endless debate over which type of fat to use in pie crust. Butter, shortening, lard, some magical combination of all of them? If you’re a new pie baker trying to figure out the best one, the decision can be daunting.
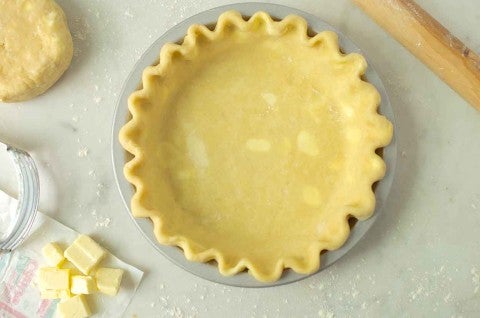
Spoiler alert: there is no best pie fat! Just the one you enjoy using and eating. Kate has used them all over the years, and encourages other bakers to do the same. "Just play around with it until you get the combination that you go 'That’s it,'" she advises in this video. "And then you get known for that. That’s your crust."
Baker's tip: If you're all about appearance, shortening will hold a crimp design better than butter.
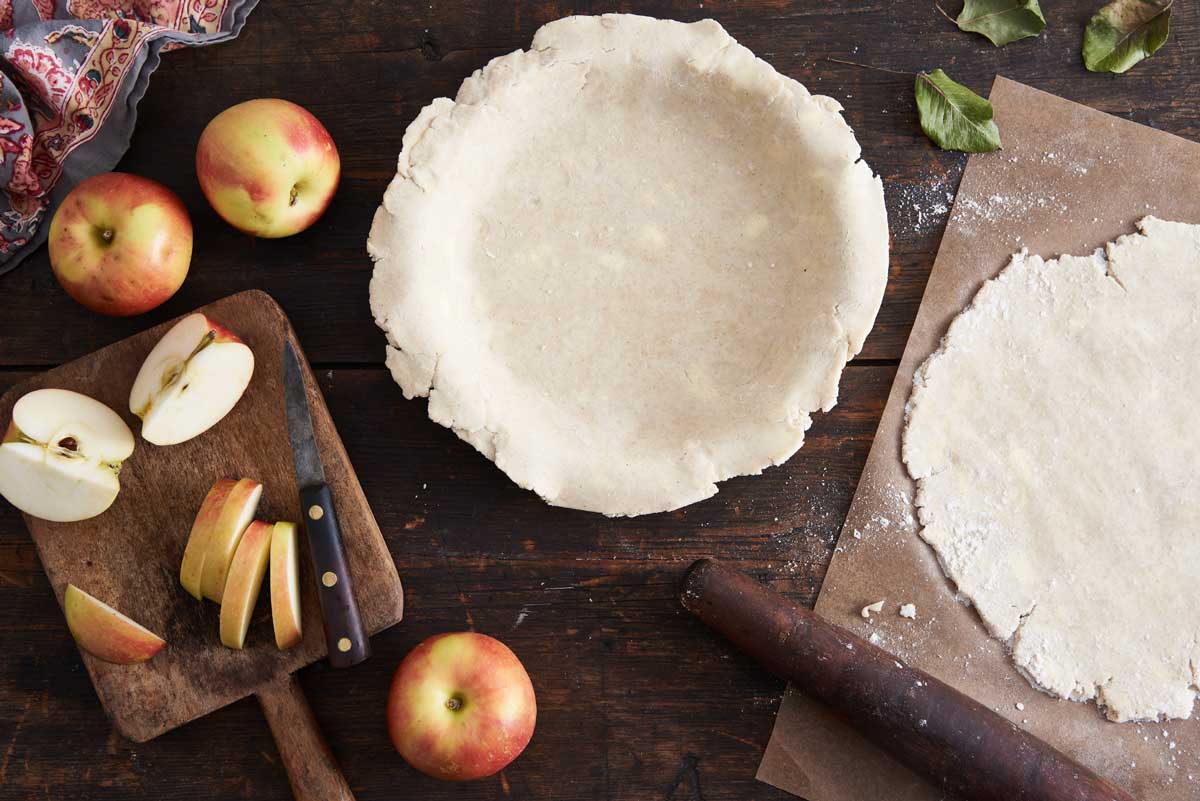
Kate recommends picking a combination of different apple varieties to use in your apple pie for the best texture and flavor combination. “When I’m choosing apples for a pie, I want some for sweet, some for tart, some that hold their shape, some that don’t. So that I have not only a flavor sensation, but I have a textural sensation in my mouth,” she tells Mel in this video.
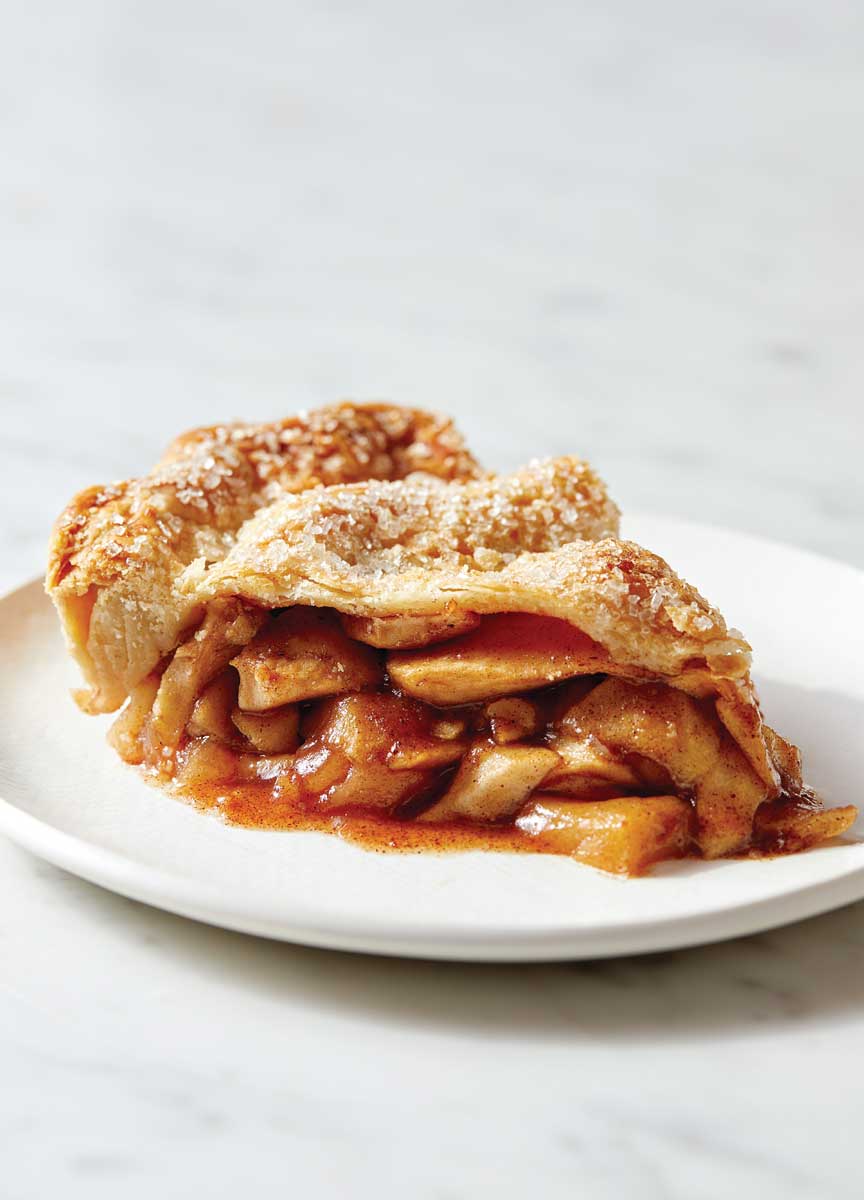
She also adds one unexpected fruit to her pie that’s not an apple: "Sometimes I try a diced up quince in there also." The effect? According to Kate, “You just get that little bit of WHOA.”
When it comes to pies with a meringue topping, such as Lemon Meringue Pie, a carefully whipped meringue can sometimes slip and slide right off. Kate encourages hers to stick by putting the meringue onto a pie that’s still warm, which helps the two layers seal together.
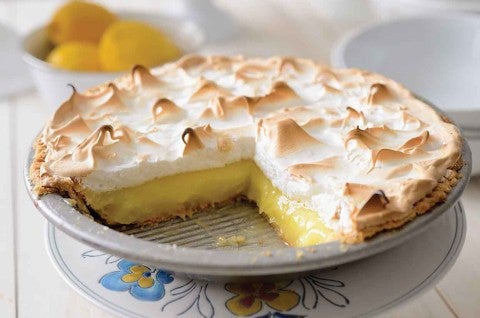
You can also sprinkle some sort of cookie crumbs, such as lemon wafer crumbs, over the surface of your pie before topping with the meringue, adding a bit of texture for it to grip onto. And when it comes to forming the meringue, Kate likes to start from the outside and then build the meringue up as she works toward the center of the pie.
Unlike most baking recipes, with carefully prescribed ingredient amounts that are not to be altered, pie crust is dependent on the conditions in which it’s made. Specifically, the amount of water (or other liquid) you’ll need to form your crust can alter depending on variables like: how old your flour was; the temperature of your flour; if your hands were warm or cold; if the room itself was warm or cold; and whether or not you overworked the fat into the flour.
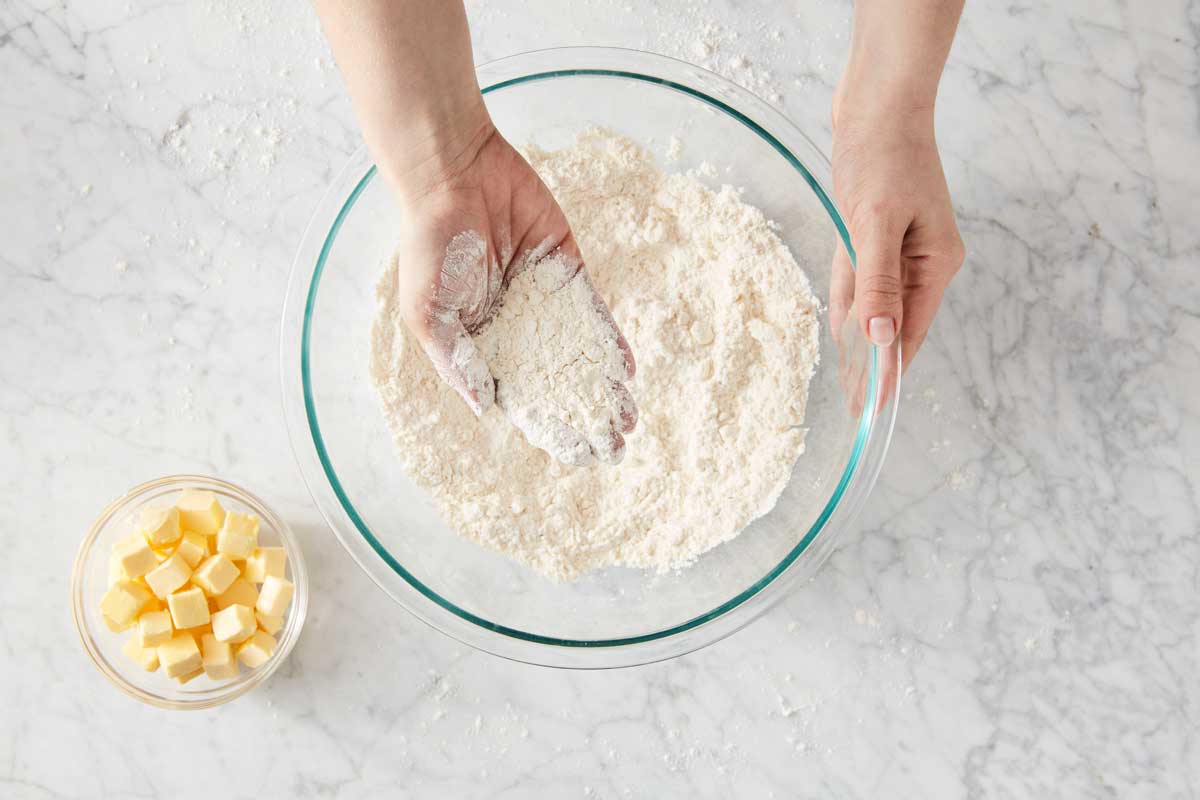
This last point about the fat is particularly important. According to Kate, "The fat in my dough is what dictates how much water I can put in. Because if my fat has melted and covers every single piece of flour, it’s basically put a raincoat on the flour and I can’t get that much water to it." So be flexible with your water amount when preparing pie crust, and try to keep ingredients cold to prevent that "raincoat" from covering too much of your flour.
These tips just scratch the surface when it comes to all of the pie knowledge Kate and Mel share in their Pie Q&A series. If you want to learn more about pie or just brush up on your skills, take a look through all the videos available and get ready for some serious pastry education. We also have a whole baking guide dedicated to pie that takes you through every step of the baking process if you want to learn even more.
And if you have more pie questions, feel free to drop them in the comments below! We’re always happy to answer.
Cover photo by John Sherman