Baking trials: What’s the best way to prep a pie crust for prebaking?
There’s a practical solution to this weighty problem.

Date
October 8, 2025

When your pie recipe calls for prebaking the crust — what do you do?
There are several options for prebaking the crust for chocolate cream, coconut, banana cream, pumpkin, and similar custard-type pies, or those with a no-bake filling. And all of them attempt to solve the same challenge: keeping your empty crust from shrinking as it bakes, or (worst case) sliding down the sides of the pan and puddling at the bottom.
If you’re okay with flattened crust edges instead of a decorative crimp, you might try the gravity method and bake your crust upside down. But if you want a stand-up crimp for added height — or simply because crimps look impressive and pretty — you need a different solution.
Pie crust’s tendency to shrink and slip as it bakes is mainly due to its fat: As the fat melts while baking, the crust can collapse. For this reason, a crust made with vegetable shortening, or a combination of shortening and butter, is less likely to slump than one made with just butter, since shortening has a higher melting point than butter.
Filling your crust with something weighted is key to preserving its shape: Both the bottom and sides of your crust need something heavy to keep them flat and smooth as they bake. We decided to test some popular options to discover which works best:
What about a stainless steel pie chain? They may keep the bottom of the crust from puffing, but they lack sufficient weight and coverage to prevent shrinkage and slumping along the sides.

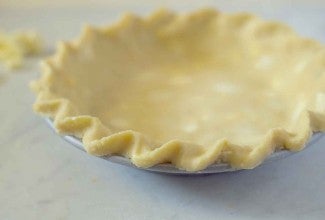
Using our recipe for Classic Double Pie Crust (25% shortening, 75% butter), I prepared five crusts, each with a slightly raised crimp. After refrigerating the crusts for 30 minutes to relax their gluten (which also helps prevent shrinkage) and docking them, I left one empty as a control and placed the weighted silicone pouch in the other.
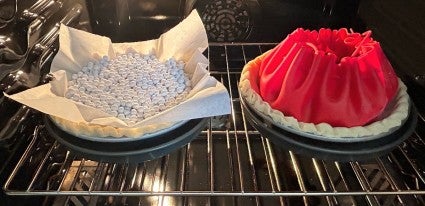
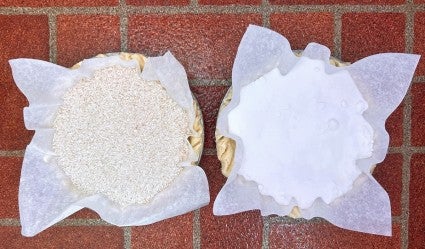
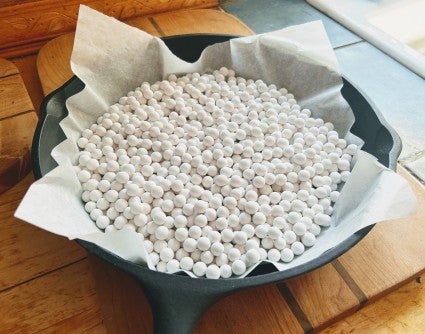
I lined each of the remaining three crusts with a 12" square of parchment, then filled one with ceramic pie weights, one with dry rice, and one with granulated sugar. (Since I've used dried beans in the past and found them similar to rice, I didn't use them in this test.) I baked the crusts for 20 minutes at 375°F, then removed the weights and continued to bake for an additional 30 minutes, until light golden brown.
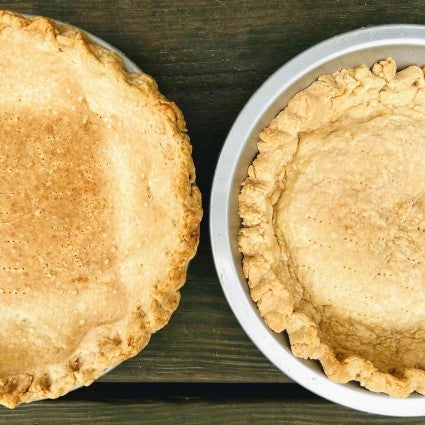
The control crust shrank markedly, sliding partway down the sides of the pan. Each of the remaining four crusts successfully passed the shrinkage test, with one performing marginally better. But there was a marked difference in ease of use among them — with one standing out.
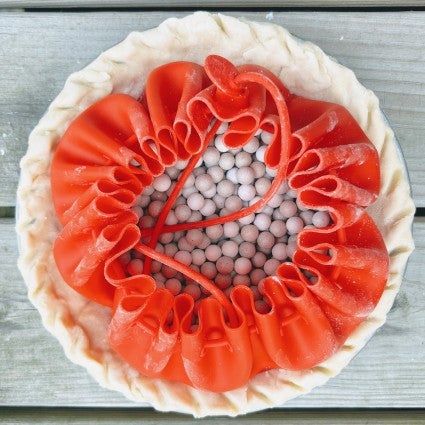
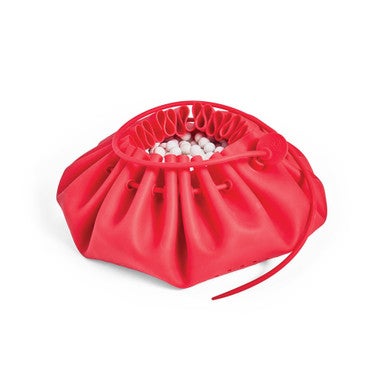
This perforated silicone pouch filled with glazed stoneware pie weights checks all the boxes when it comes to prebaking pie crust. It fared just slightly better than the other options in keeping the crust in place, but was a clear winner in ease of use.
Pros
Cons
These options performed well in shrinkage control but were all challenging to use.
Pros
Cons
Despite being a pantry staple and always available, granulated sugar isn’t a great option for prebaking pie crust because it can be tricky to reuse. (Though if it’s all you have access to, by all means go for it!)
Pros
Cons
Before you move any weights and their liner out of a partially baked crust, decide where you’re going to set them down! The bottom of the liner will be slick from the fat in the crust and, in the case of weights with a parchment liner, the parchment will flatten and the ceramic balls, rice, beans, or sugar will spill out. I found a large frying pan is an excellent spot to place your hot parcel.
Need help with making basic pie pastry? See How to make the best pie crust.
Cover photo by Danielle Sykes; food styling by Kaitlin Wayne.