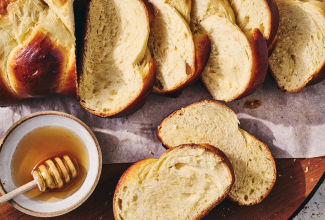




Why does my challah have stretch marks?
How to stop your challah from tearing.

Date
August 26, 2026


Recently, our Community Development Coordinator Kat Mayerovitch shared a very important update from the King Arthur Baking subreddit: a surprising amount of people were wondering why their challah has “stretch marks.”
If you’re not one of those people and don’t know exactly what that means, you may still be familiar with the problem: Sometimes, challah loaves come out of the oven with stretches or tears along the braided strands. It doesn’t affect the quality of the bread, but it does affect the appearance.
To address this issue, I asked our Baking School Curriculum Developer Jack Tissiere for their thoughts on this problem, and they identified two potential causes.
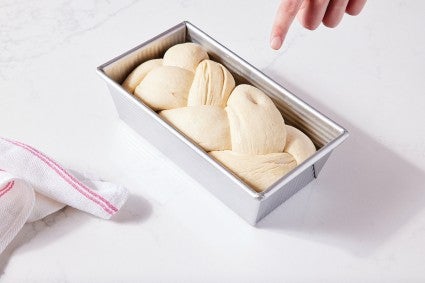
Challah dough rises twice: Once after it’s mixed (known as bulk fermentation) and a second time after the loaf is shaped or braided. Cutting short that second rise can lead to a challah that develops tears as it bakes. As Jack explains, “When we underproof our challah loaves (in other words, don't give them enough time to rise), the bread is still super active and energetic. When it hits the heat of the oven it expands energetically, and that sudden burst of volume before the dough sets can cause the bread to stretch or rip.”
How to fix: Give your braided challah loaf a little more time to rise before baking. Push the proof until the loaf is puffy and marshmallow-y; when you press it with a floured finger, the indent should slowly fill in, which is a sign that it’s ready to be baked. Sometimes, depending on the temperature of both your dough and your environment, this can take longer than the recipe says; trust your instincts rather than relying on the clock. If you fully proof the bread, when you put the loaf into the oven it’s less energetic, which means there isn’t as much oven spring (and subsequent tearing) while baking.
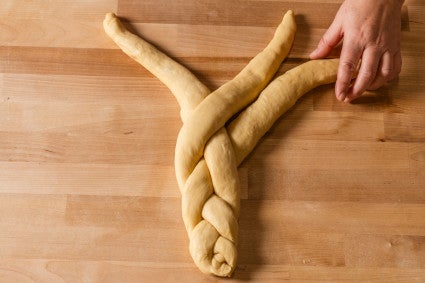
The other reason your challah may have stretch marks is because the loaves are shaped or braided too tightly. As Jack explains “When loaves are braided very tightly, they don’t have a lot of room to grow during the rising and baking process, causing stretches or tears as they expand.”
How to fix: Give your challah dough some slack when shaping: Braid loosely, allowing extra space for the dough to expand as it undergoes its final proof before baking. And for a pretty, even braid, start braiding from the middle; this video shows you how.
Ready to tackle your next braided loaf? Check out our Braided Challah recipe from The Big Book of Bread.
Cover photo and food styling by Liz Neily.