


How to make tender, high-rising, gluten-free sandwich bread
The key to good gluten-free bread

Date
March 2, 2010


Baking gluten-free? This one's for you.
NOT baking gluten-free? This one might still be for you.
The number of people choosing to eliminate gluten from their diet has been growing quickly for the past several years. Which means even if you, or your child, or your significant other, mom, or best friend aren't testing life without gluten, it's a good bet you know someone who is.
And what's the #1 baked treat gluten-free dieters miss? Birthday cake? Pie? Brownies?
Well, our strictly anecdotal research shows that the top “must-have” for those on a gluten-free diet is good bread. Think grilled cheese. A PB & J sandwich. French toast. Croutons in salad, stuffing with chicken ...
Bread may be the staff of life for most of us, but for gluten-free folks, bread is something to avoid. Gluten is what allows bread to rise; remove it, and you have a hard-packed puddle of soggy dough.
So what's a gluten-free-diet sandwich-lover to do?
Bake high-rising, light-and-tender bread – without gluten.
That's right. WITHOUT gluten.
And what's the secret to gluten-free sandwich bread? Read on...
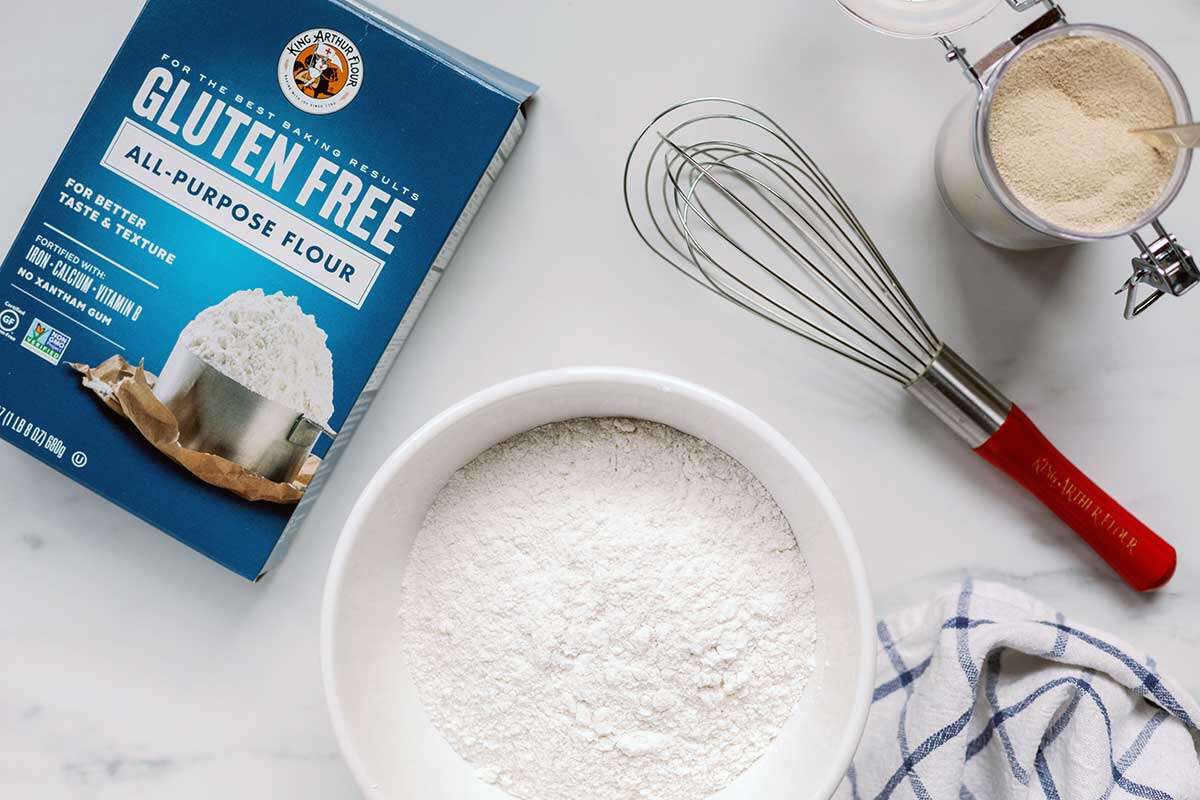
Many gluten-free recipes use a blend of gluten-free flours. Our King Arthur Gluten-Free All-Purpose Flour includes ingredients (stabilized brown rice flour, tapioca starch, and potato starch) that reduce the grittiness sometimes found in gluten-free baked goods.
Our flour also increases the shelf life of your treats, keeping them fresh longer.
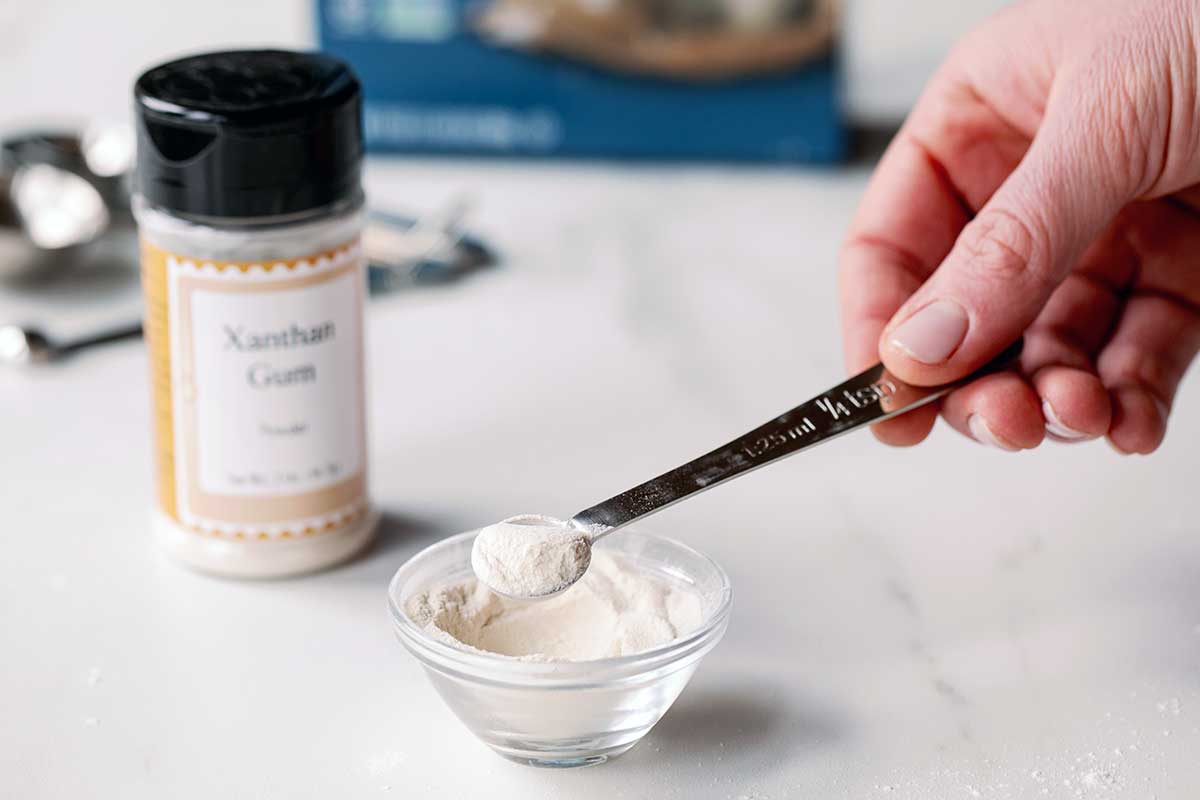
Xanthan gum is another ingredient critical to gluten-free baking. It's the “glue” that helps hold everything together, in the absence of gluten.
Before we start, I want to stress an important point: for best results, use an electric stand mixer or electric hand mixer to prepare this batter.
Can you stir it together by hand? Sure. But we don't recommend it; your bread won't look anything like the loaves in these pictures.
If you plan on doing much gluten-free baking, take the advice of every veteran gluten-free baker out there: start saving for an electric stand mixer, if you don't already own one. It's critical to success with GF yeast bread, pizza, muffins, and cake.
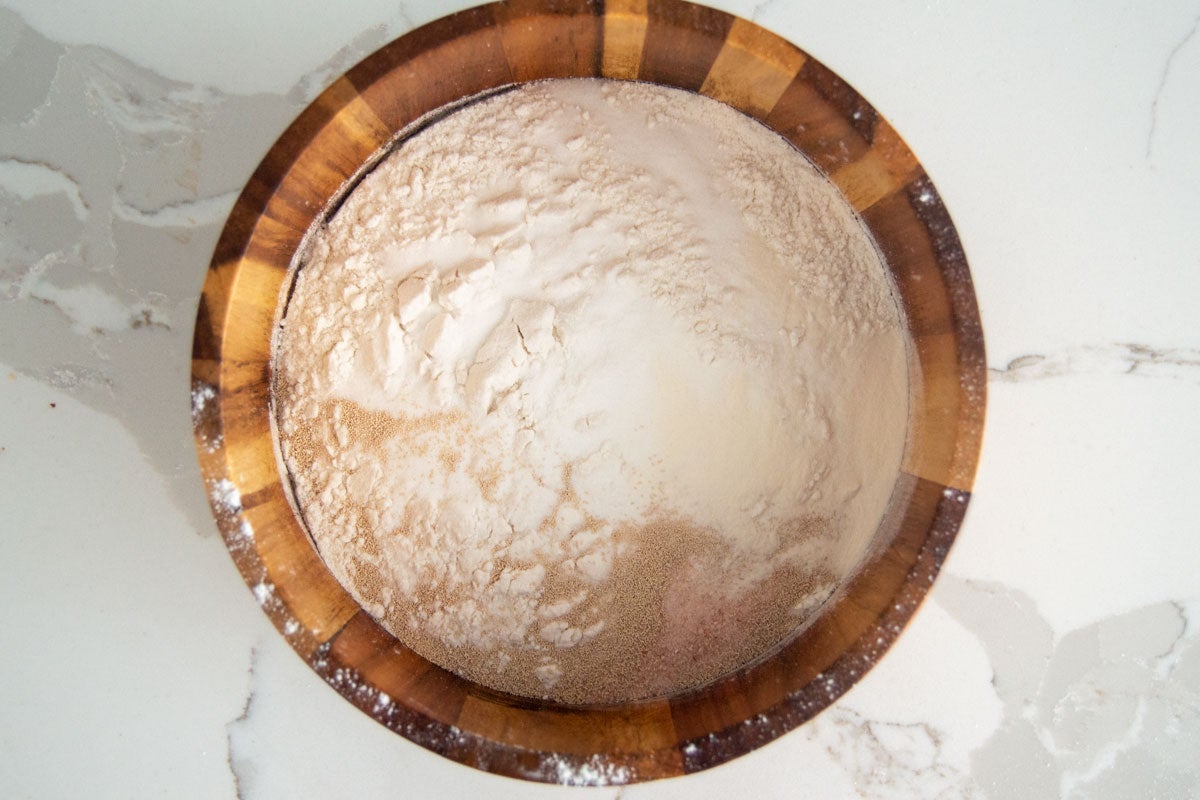
Place the following in a mixing bowl, or the bowl of your stand mixer:
3 cups (468g) King Arthur Gluten-Free All-Purpose Flour
3 tablespoons (35g) sugar
2 teaspoons instant yeast
1 1/4 teaspoons (8g) salt
1 1/4 teaspoons xanthan gum
Using an electric mixer (hand mixer, or stand mixer fitted with a flat beater attachment, not a dough hook), gradually beat in 1 cup (227g) warm milk.
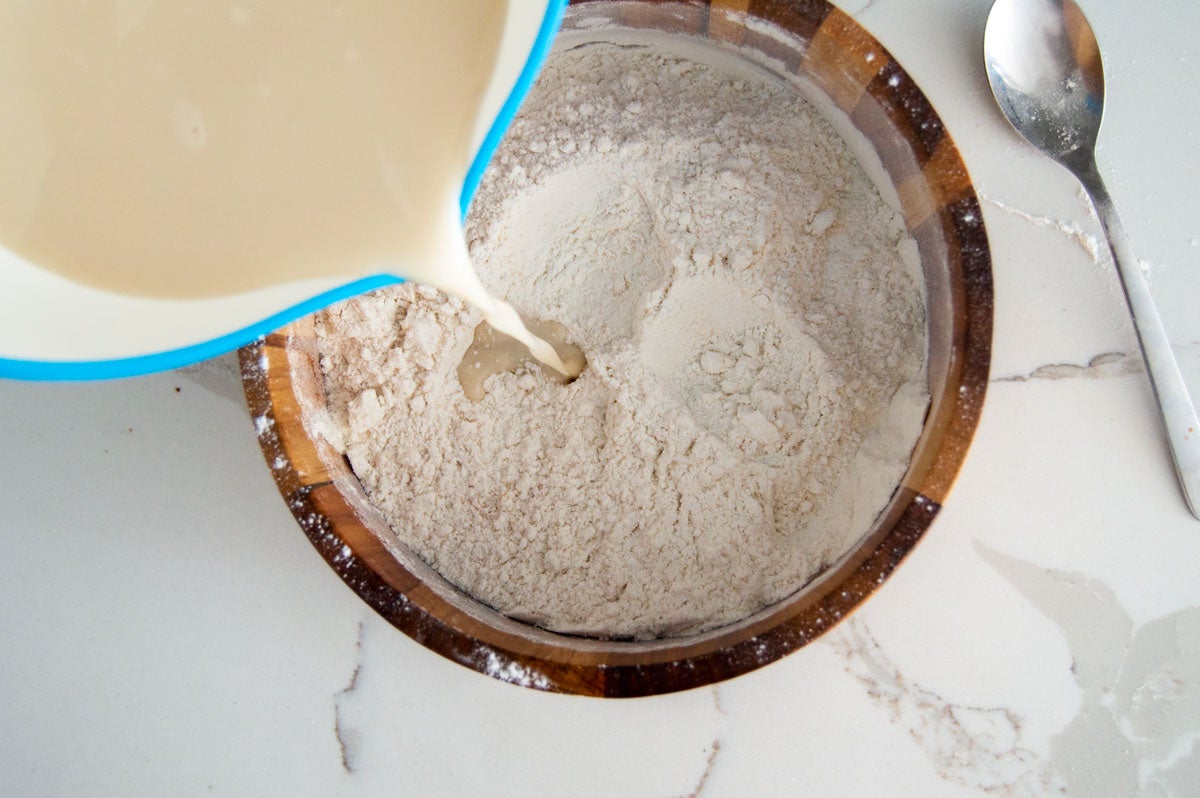
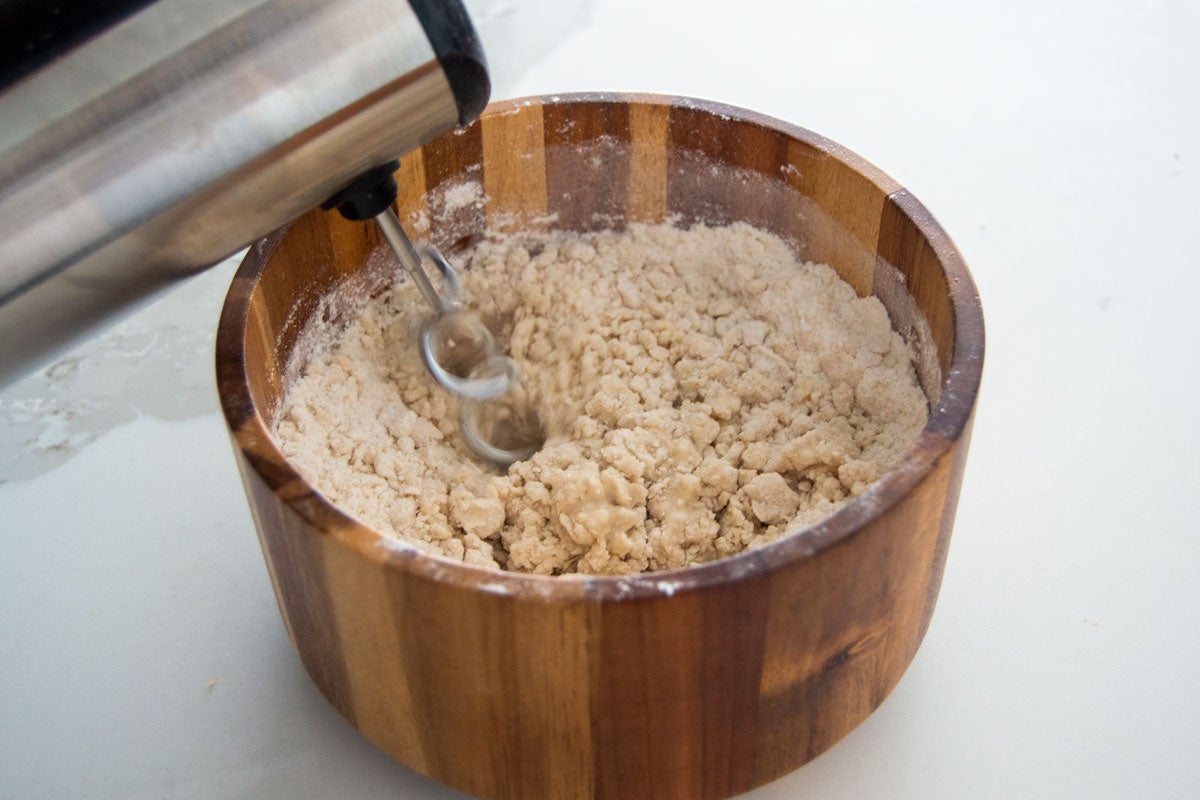
The mixture will be crumbly at first, but once all the milk is added, it'll come together.
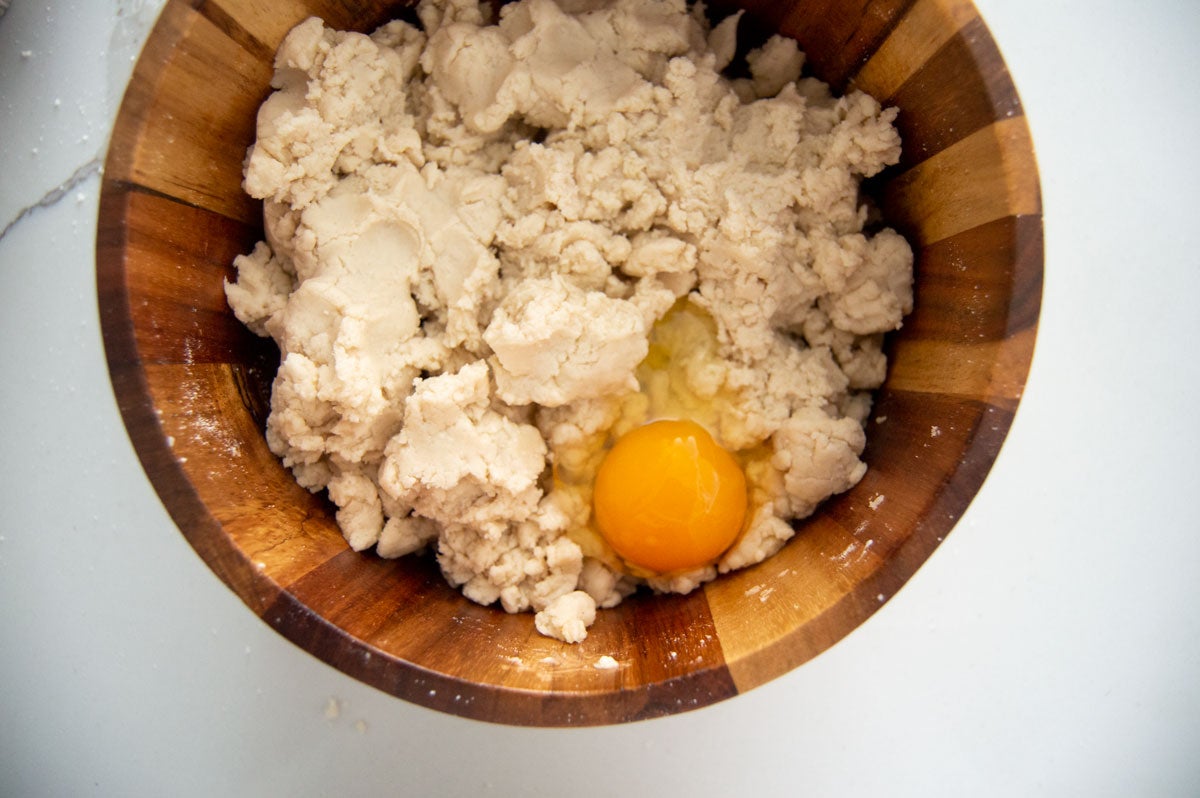
Add 4 tablespoons (57g) soft butter and beat until thoroughly blended.
Next you're going to add 3 large eggs, one at a time. Beat the mixture till each egg is thoroughly integrated before adding the next one.
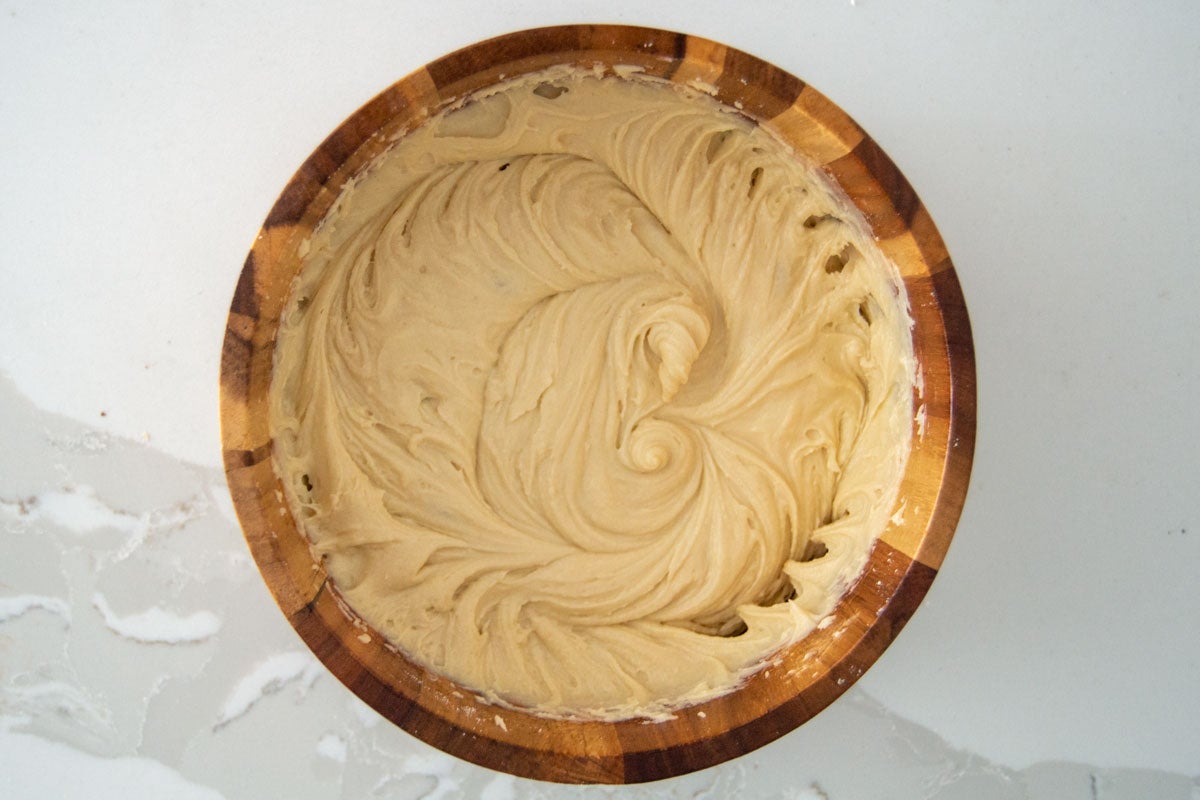
Once you've added all the eggs, beat the mixture at high speed for 3 minutes. This adds air to the thick batter, which helps take the place of the missing gluten as far as structure is concerned.
At the end of 3 minutes, the batter will look like thick, heavy buttercream icing: smooth and silky. It won't look at all like a typical yeast dough: smooth, elastic, kneadable.
The dough will also be very sticky, and feel a bit gritty if you rub some between your fingers. Have you ever repaired a wall with spackling paste? Same texture. It helps to keep a wet kitchen towel handy, to keep your hands clean as you work.
Leave the batter right in the mixing bowl. Or if you need your bowl for another purpose, scrape the sticky batter into a large measuring cup, or another bowl.
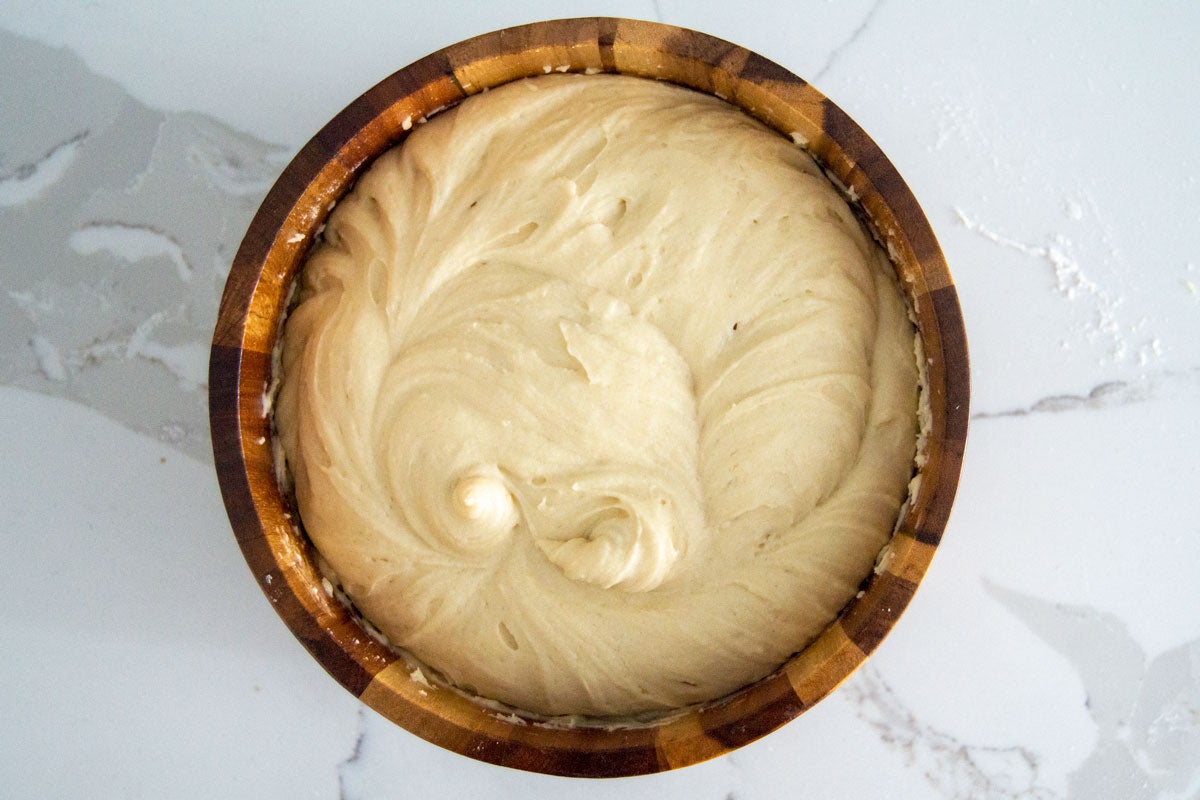
Cover the bowl or cup, and let the thick batter rise for 1 hour. This batter won't double in size, but it'll definitely puff up.
Gently stir the batter down. Scrape it into a lightly greased 8 1/2” x 4 1/2” loaf pan.
Use your wet fingers, or a wet spatula or bowl scraper, to smooth the top, eliminating any “wrinkles.” The smoother your loaf is before you put it into the oven, the smoother it'll be once it's baked.
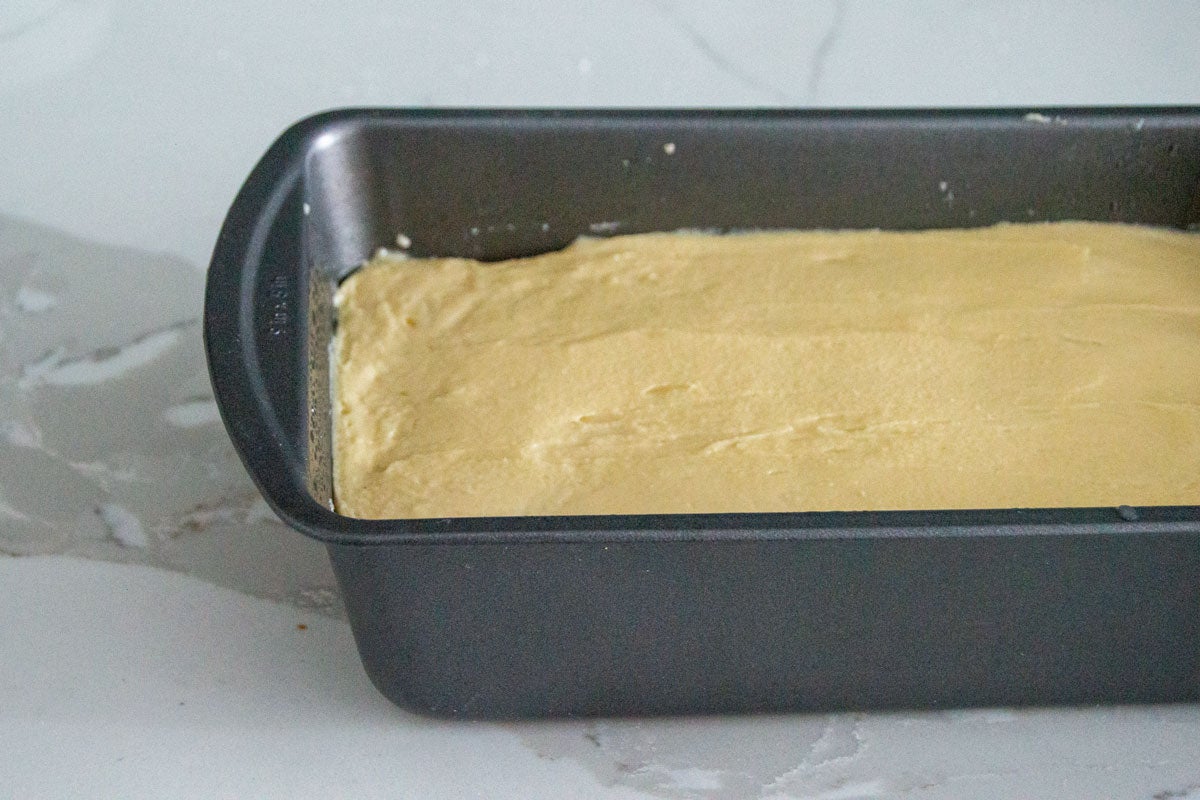
Cover the pan; a clear shower cap works well here. Let the dough rise until it barely crowns over the rim of the pan. Towards the end of the rising time, preheat the oven to 350°F.
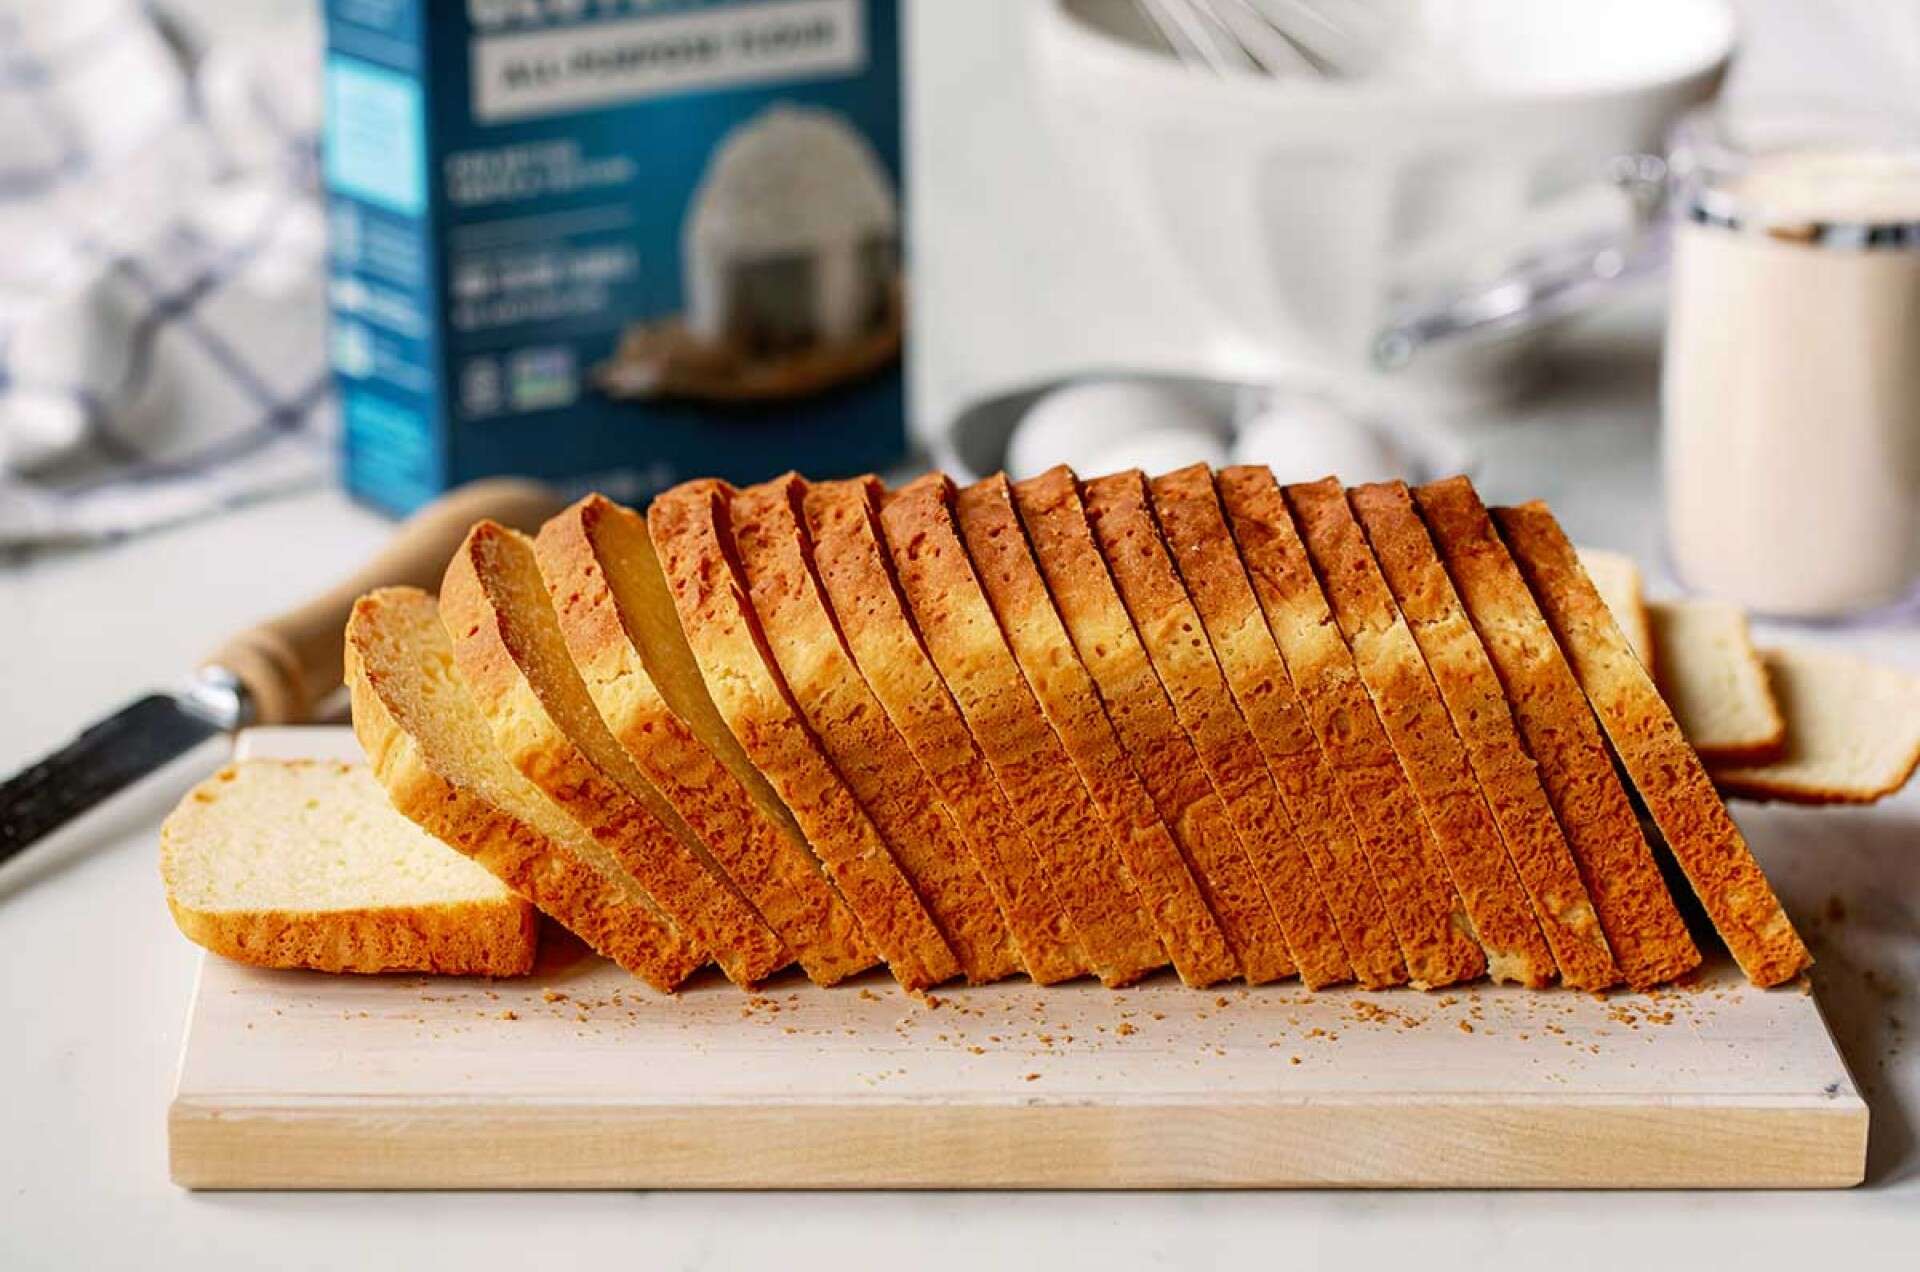
Bake the bread for 38 to 42 minutes, until golden brown.
Remove it from the oven, and turn it out of the pan onto a rack. Run a stick of butter over the top crust, if you like. It'll help keep the crust soft, and add flavor.
Slice when cool. Imagine a ham and cheese sandwich. Or cinnamon toast.
Here's a discovery I made while testing the recipes for this blog. Our 9” pain de mie pan is the ideal shape and size for gluten-free breads. Its straight, high sides lend a lot of support to the rising dough. The result? A very nicely shaped loaf.
Though the lid on this pan isn't critical, it does protect the dough as it rises.
If you don't have a 9” pain de mie pan, use a standard (8 1/2” x 4 1/2”) loaf pan.
Oh, one last note: What about baking this bread in a bread machine? Use an additional 1 large egg and 1 ounce (3 tablespoons) gluten-free flour. For best results, use a bread machine that has a pre-programmed gluten-free setting.
See more ways to make this gluten-free sandwich bread in our blog post, 1 basic gluten-free bread, 3 ways to make it.
