


Maple Walnut Biscotti
Hit the road, snack! The well-traveled biscotti

Date
December 15, 2009

Looking for a cookie that travels well? One that stays fresh for weeks, stands up to the rough-and-tumble of a UPS warehouse, and happily makes a cross-country (or transcontinental) journey without crumbling?
You've found it.
Biscotti are my favorite pack-and-send cookie, whether I want to surprise my mom in Florida, or treat my buddies in Maine.
Or my virtual friends in Australia. Or my in-laws right next door in Massachusetts – who over the years have been the beneficiary of many a test-kitchen goodie, including all manner of biscotti.
In casting around for a different biscotti flavor, one I hadn't made in awhile, I found my thoughts drifting to cookbooks. My go-to source for recipes these days is the Internet. But before there was Google, there was Good Maine Food...
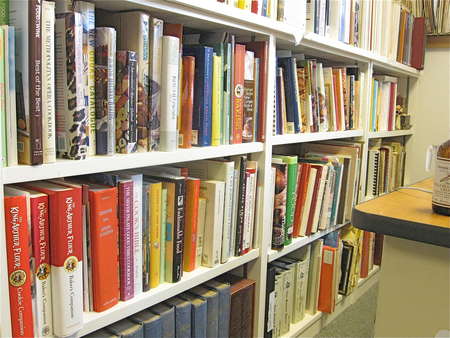
...and a host of other REAL books, books with pages you can dog-ear, and stain with butter and chocolate.
For those of you who still love your cookbooks, here's part of my “wall of books” in our Web team room. As much time as I spend online, I can't bear to give up my cookbooks... ANY of them!

Including, of course, my nearly 20 years of Baking Sheets, our King Arthur Flour baking newsletter. Here's one of five well-worn binders of my older Baking Sheets, stretching back to 1990.
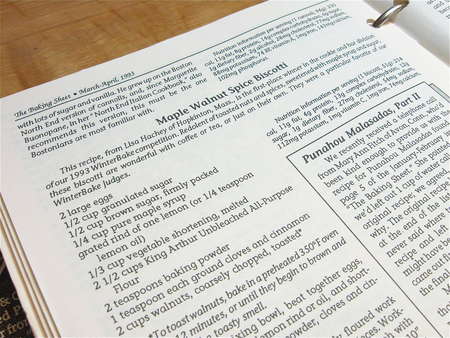
I had a vague memory of a maple-walnut biscotti recipe... Ah, there it is.
Hmmm... Lemon and maple? Cloves and maple? Not sure what planet I was on back then, but right now I'm in the mood for comfort food, not edgy flavor fusion. So let's rework this recipe a bit, shall we?
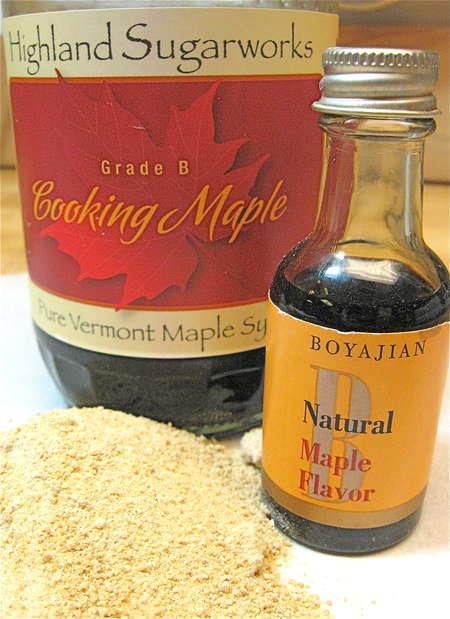
Back in the early ’90s we didn't stock the range of maple products we do now. Maple is a really, REALLY hard flavor to capture in baking; it's incredibly elusive. Unless you use artificial maple flavor (the stuff they put in pancake syrup to make it taste familiar, if not maple-y), you're hard-pressed to produce maple-y baked goods.
In this recipe, we use real Vermont maple syrup (extra-strong Grade B, perfect for baking); maple sugar; and maple flavor to add what's still, admittedly, an elusive hint of maple.
If you don't have all (or any) of these, feel free to make these cookies anyway; they won't be maple-walnut, but they'll still be crunchy and sweet and yummy.
Oh, and about that fake maple syrup - yes, it does taste good. But it's bland in baking; if you use it here, increase the amount from 1/4 cup to 1/3 cup.
You might try 1/4 cup honey, though honey tends to burn easily in baking, so... hmmm, I guess you'd just have to watch them closely as they bake. Brown sugar corn syrup (Karo's newest iteration) might be a better choice.
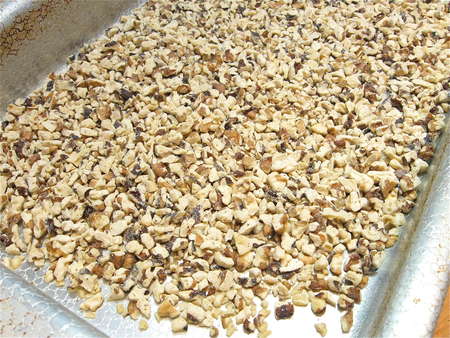
Let's begin by toasting 2 cups (227g) of chopped walnuts. Here's what they look like going into a 350°F oven...
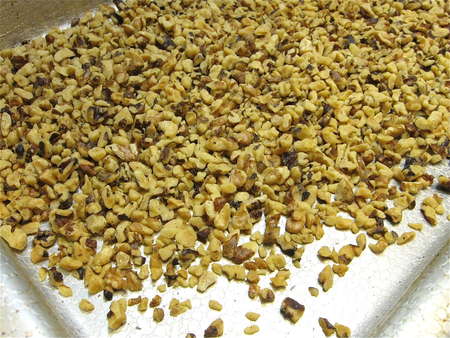
...and here they are 10 minutes later.
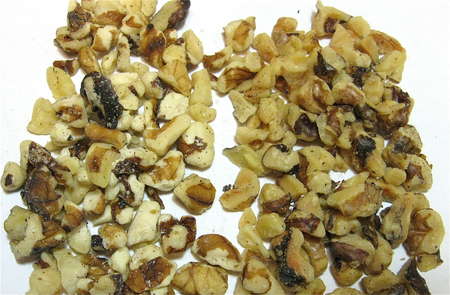
Regular walnuts on the left; browned on the right. They should be golden; don't let them darken too much, or they'll taste bitter.
The original recipe called melted vegetable shortening. I decided to substitute melted butter for the shortening; it's a tastier alternative, in my opinion.
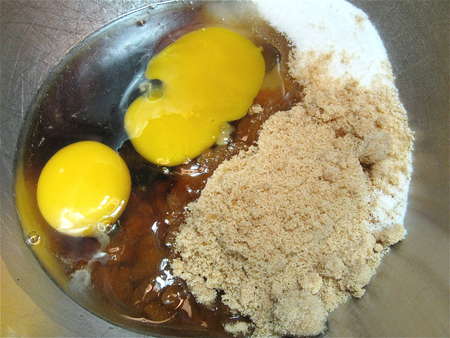
Put the following in a bowl:
2 large eggs
1/2 cup (99g) granulated sugar
1/2 cup (106g) brown sugar, packed
1/4 cup (78g) pure maple syrup
1/4 to 1/2 teaspoon maple flavor, optional
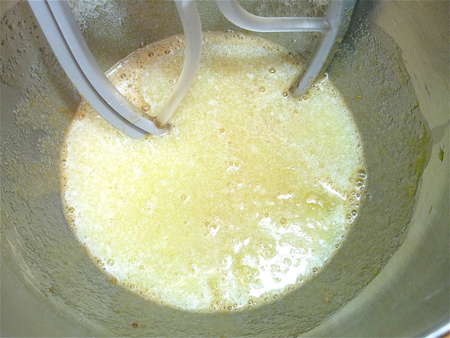
Mix together, then pour 5 tablespoons (75g) melted butter on top. Why did I add the butter after the other ingredients had already been mixed up? Because I didn't want to pour the hot butter over the eggs, for fear it might cook them a bit.
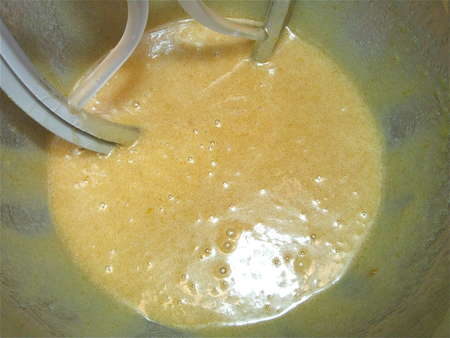
Mix in the butter to make a smooth batter.
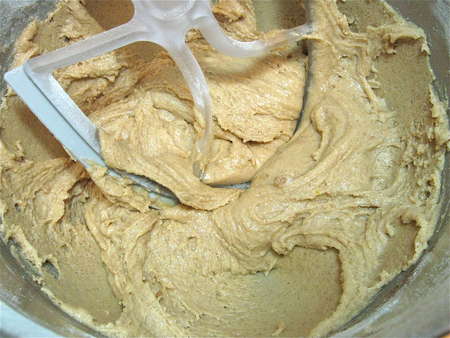
Next, beat in 2 1/2 cups (298g) King Arthur Unbleached All-Purpose Flour, 2 teaspoons baking powder, and 1/2 teaspoon salt.
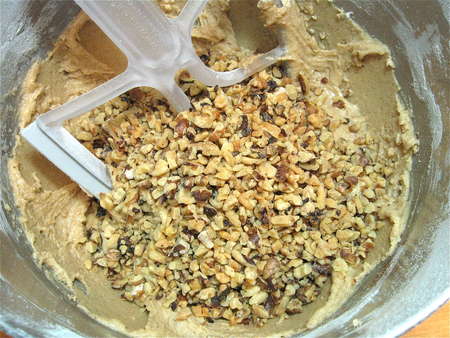
Stir in the toasted walnuts.
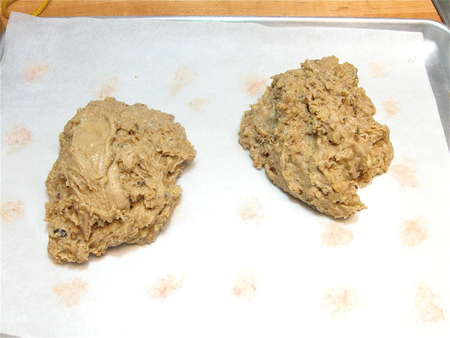
Divide the dough in half on a lightly greased or parchment-lined baking sheet.
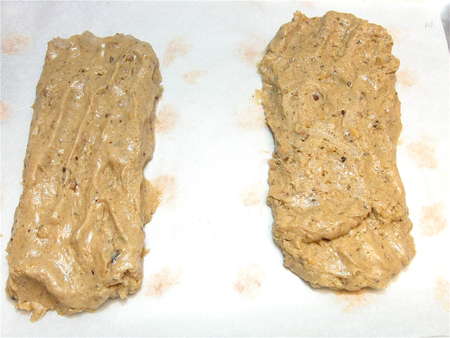
Using your wet fingers, shape each half into a rough 10” rectangle.
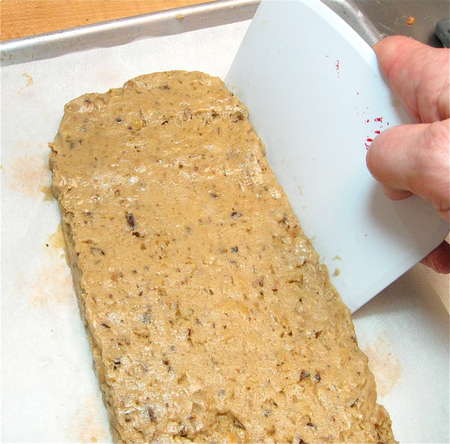
I like to use a plastic bowl scraper to smooth the dough. And yes, we're going to start selling these bowl scrapers again soon — we're doing the research now to find one with the perfect flex. (Who knew there could be such a wide range of flexibility options in plastic scrapers?!)
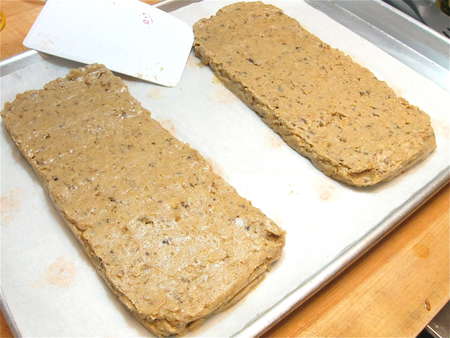
Here we are: two 10” x 4” rectangles, each a generous 1/2” thick.
If you have maple sugar, now's the time to use it: sprinkle 1 tablespoon maple sugar atop each rectangle. While strictly optional, maple sugar adds another note of maple, and nicely subtle crunch.
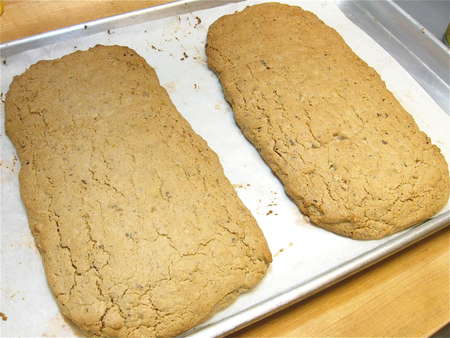
Bake in a 350°F oven for 30 minutes. Remove from the oven, and cool for about 10 minutes. Cooling the dough allows you to cut it more easily, with less crumbling.
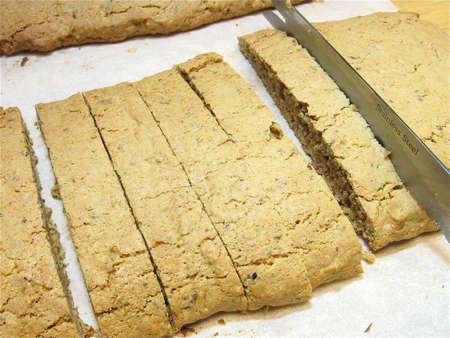
Now you have two options. The original recipe called for cutting the dough into 1” slices, like this.
The recipe said to lay the slices on the baking sheet cut-side down. Bake for 12 minutes, turn over, and bake for an additional 12 minutes, till browned. I did that; but the resulting biscotti were, to my taste, too thick and clunky. So I reverted to my usual biscotti method...
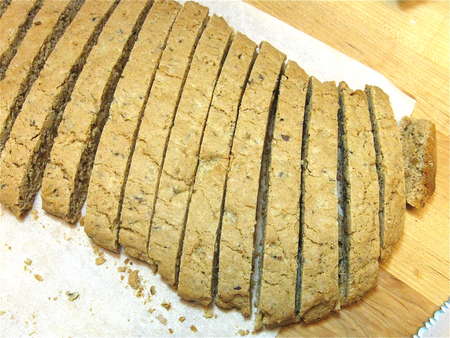
Slice the baked dough, slightly on the diagonal, a generous 1/2” thick.
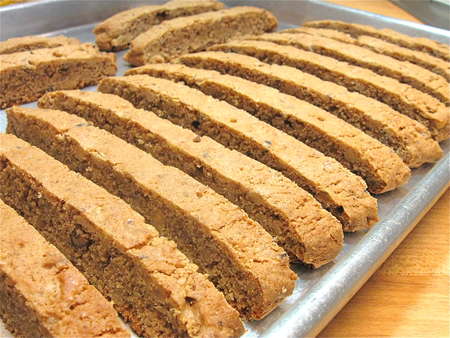
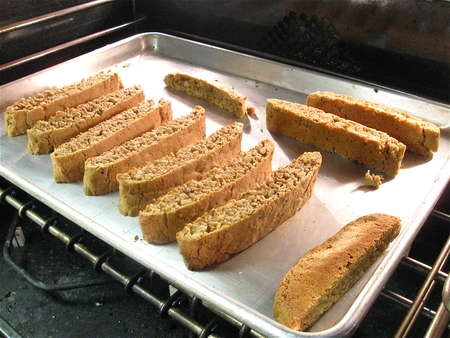
Line the slices up, on edge, on a baking sheet. They can be close together; the baking sheet doesn't need to be greased.
I'm finding our new USA Pans are a great choice for these cookies. The corrugated surface promotes air circulation on all sides, including the bottom, so biscotti dry out thoroughly without burning.
Bake for about 20 to 25 minutes, till the biscotti's cut sides are beginning to brown. Remove from the oven, and cool right on the sheet.
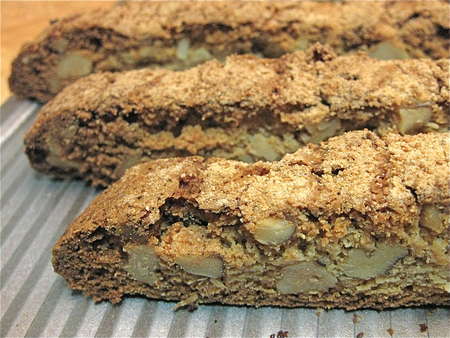
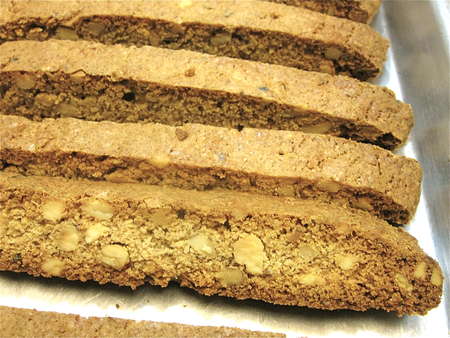
Lots of walnuts enhance both taste and looks.
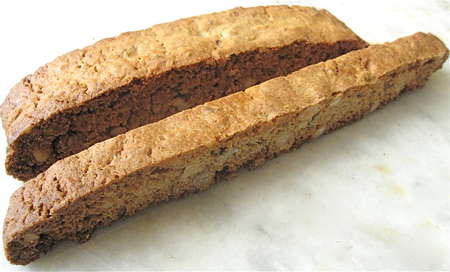
Note the difference in length/thickness between the 1”-thick biscotti and the 1/2”-thick biscotti. I prefer a longer, thinner cookie. And you'll get twice as many of the 1/2” biscotti, of course.
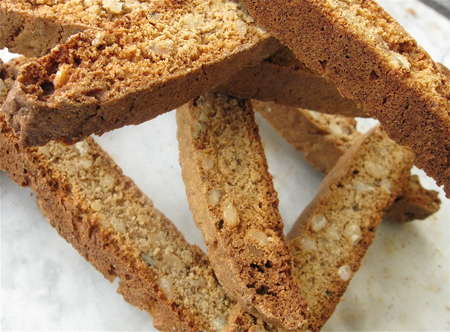
Finally, longer biscotti are much easier to play pick up sticks with. Or create a freeform biscotti sculpture.

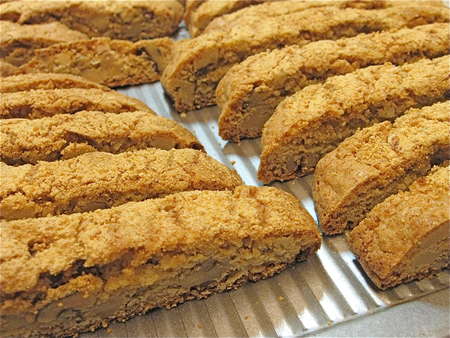
Nicely browned, ready to enjoy. And remember - one of the best things about biscotti is that you can throw them in a plastic bag, leave ’em on the counter, and they're just as crunchy and delicious in 3 weeks as they were the day you baked them.
Which means they're the ideal holiday cookie. Bake ’em tomorrow, they'll still be perfect for your New Year's Eve party.
Read, rate, and review (please!) our recipe for Maple-Walnut Biscotti.
