Outdoor Detroit Pizza with Gozney Oven
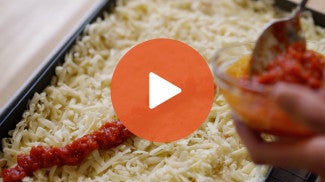
One of our summer obsessions is making Detroit-style pizza outside, using the incredible Gozney Arc Pizza Oven! Inspired by Detroit Pizza's thick crust with crackly-crisp sides and bottom, our recipe also layers classic pizza toppings in reverse order: first your cheese, then tomato sauce. It’s baked in our special dark anodized pan to achieve perfectly crispy caramelized cheese around the edge; a harmonious balance to the soft, chewy crust, and sauce and gooey cheese on top.
Hey Bakers, it's Martin. We're outside today making a beautiful Detroit-style pizza. Let's get inside and we'll start the mix, then we'll come out here for the bake.
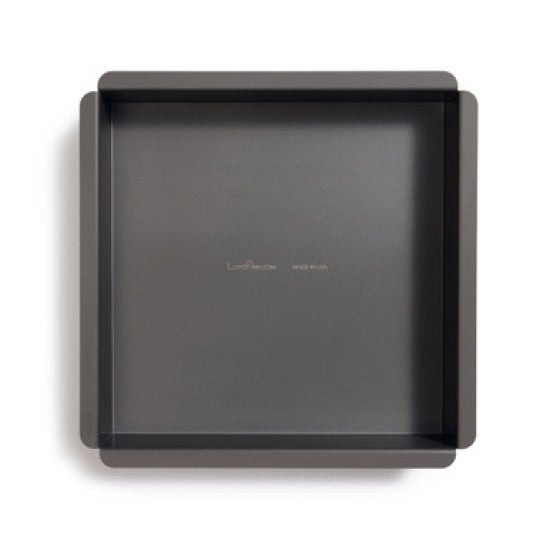
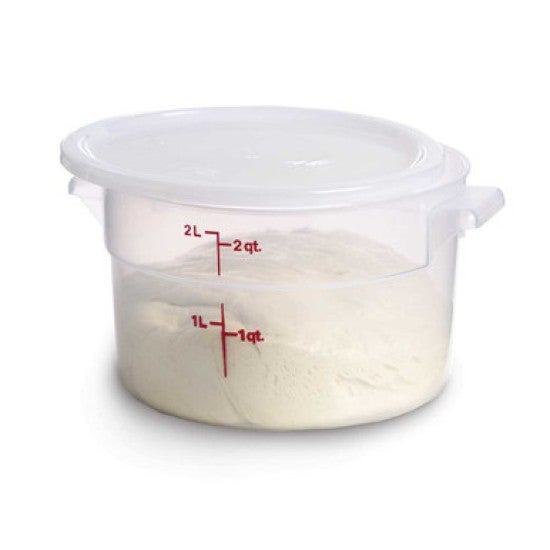
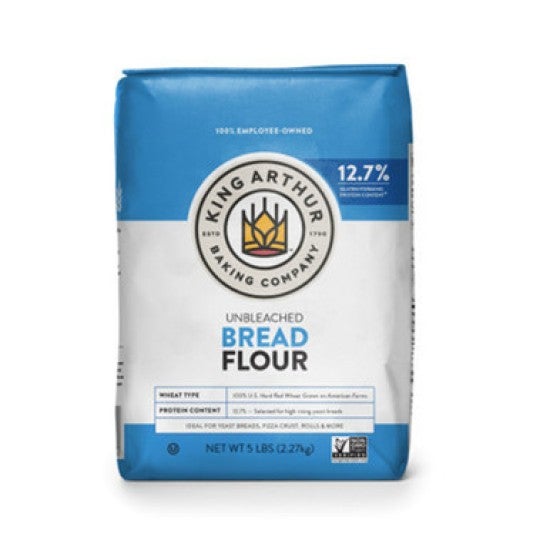
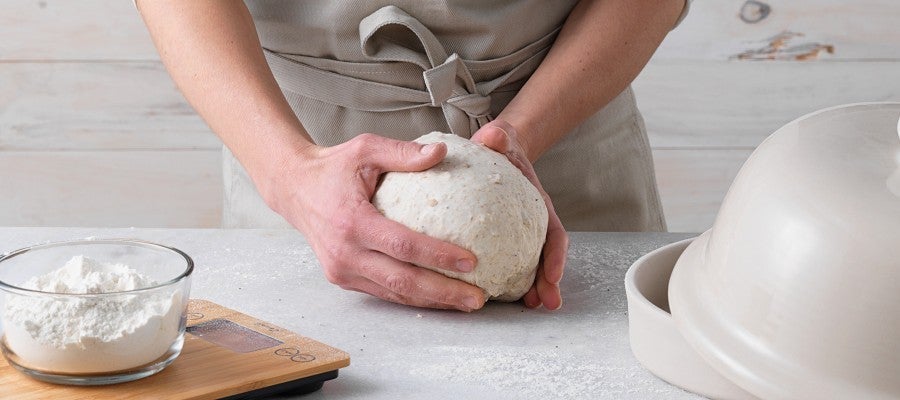
Alright, so let's do this mix. If you've made focaccia before, you're gonna recognize the consistency of this dough. So I'm gonna start, I'm gonna mix in my two quart container. If you guys have watched any of the videos, you see me using these things all the time. I like 'em because they're transportable, they fit in the fridge. I can put a lid on 'em and protect 'em from drying out. It's just a great tool to have. Into my two quart container, I'm gonna put two cups of bread flour, 240 grams, love to work on the scale, love to measure directly onto the scale when I can. I'm using bread flour because I want a nice high rise. I want a pillowy aspect to the dough. I've got a lot of water in this. It's relatively sticky. I also have some olive oil as well. So having this sort of firm, strong super-powered bread flour is gonna help me get that rise that I want. Salt's about six grams, which is a teaspoon. And then I'm also using instant yeast, as is often the case. I always like the instant because it has this fine granularity, it falls into the dough quickly, it hydrates quickly, and it also starts quickly. We're making the best dough that we can in the most reasonable timeframe possible. So I've got a little bit of yeast in there. We're gonna give it a nice source of rise. Give those a little bit of a mix. Because we're not kneading really, because we're not machine mixing this, we wanna make sure that everything is homogenous in the dry ingredients before we add the wet, just to ensure that the dough rises well and all of those things. 170 grams of lukewarm water. If it's really hot where you are, you know, you may want to take that water temperature down. You may want to use some cool water. Or if it's really cold where you are, you may wanna warm it up even just a little bit beyond lukewarm. And then I'll get the olive oil. If you look at the recipe, and don't forget, friends, the recipe is right down there in the comments. Just go down there, click on the link, you can open it up, you can follow along, do whatever you want. In the recipe, you'll see 48 grams of olive oil and it says divided. And when we say divided, what we mean by that is that some is gonna go one place and the rest of it's gonna go someplace else. And in this case, some is gonna go into the dough and then the remainder of it is gonna go into the pan. We're gonna use it to coat the dough. We're gonna invert it. It's gonna add a lot of flavor and also some texture. So I'm putting half of it, 24 grams, two tablespoons, into this dough. Okay, done with the scale. And I got my handy wooden spoon. Just gonna give it a little stir. Not looking to do much more than just combine this right now. I might give it just a little bit of a mix, but that's about all it needs. Just making sure it's homogenous. Take my flexible scraper. Clean it up. So, beautiful dough. It's on its way to creating this sort of strengthened, extensible, elastic structure. It's not there yet, but we're gonna come back in 15 minutes and give it a fold and we'll see the changes that are happening in this great container. We'll be back in just a few. Go take a little nappy. All right, here we go. It's been 15 minutes. Let's give this dough a fold. Remember, when we left, I was talking about how it didn't have any strength, it didn't have any elasticity, there was nothing to sort of create this stretchy network. I think that's changed now. Let's see. Not super strong, but we're getting some of that elasticity that I want, which is exactly as it should be. Giving a bowl fold, this sort of organizational step for the dough, will support that even further. So I'm just making my way around. You know, this is a smaller amount of dough. It's only two cups, but remember that we're going into a 9" square pan, so we don't need a lot. So, nice small bit of dough, quick bowl fold. Okay, lid goes back on. We're gonna give it another 15 minutes and then we'll come back for one more fold. So remember when we came back after the first fold, the dough had some structure, but it didn't have that much. It was stretchy, but still sort of breaking a little bit. I think that we're gonna see something that's a little bit more strengthened, and sure enough, look at that. It's beautiful. I'll get both hands in here actually to show you. Look at that. Beautiful window pane. Nice extensible dough. It's just the power of time and a little bit of folding to really bring this dough into a more cohesive, stronger state. So, give a bowl fold, working my way around, stretching and pressing to the center. Once around, turn it over, we'll get the lid back on, and we're gonna set it in a comfortable spot to rise for 60 to 90 minutes. When we come back after that time period, you're gonna see that the dough will be slightly puffed but not necessarily doubled, and that's exactly where we want it. So we'll come back and we'll proceed to the next step. All right, so we're back. It's been, you know, 60 to 90 minutes, in our case, it's been somewhere between there, and the dough looks great. As I mentioned before we left, we're not looking for necessarily, like, a doubling, but we're looking for something that's puffy, and we definitely have that. The dough actually looks very happy, very puffy, beautiful, risen, sort of like a slightly domed aspect that makes me very happy that says active. It also says strong, which is what we want. So, I put my alloy pan on the scale. I'm using this dark anodized pan. I like these because they have a higher heat rating than your standard sort of home pan. This is a 9"x9" So before I dump the dough in, I'm gonna add some olive oil. This is two tablespoons or about 24 grams. Rub that around, make sure you've got it into the corners. And, you know, you can go up the sides if you want a little bit. This is also helping to ensure that when we go to get this out of the pan, that it's not stuck. And then I'm just going to gently coax, without really disturbing the dough, I'm gonna coax it into the pan and be gentle. Don't overwork it, don't fold it or anything like that. We wanna maintain the beautiful structure that is beginning to happen in this dough. So, reaching underneath, just touching that oily side. I'm gonna invert it, and maybe before I set it down, I'm just gonna let it stretch for a second, and then I'll lay it into the pan. And I'll go back to the other side. And I'm just gonna let it stretch a little bit. I'm trying to maintain this beautiful structure that we have in the dough. I'm gonna go back and I'm gonna take these corners, and I'm just gonna stretch 'em. I'm overstretching just a little bit, right? I'm stretching beyond the width of the pan so that when it goes back in, it'll sort of lay into the corners. If you feel like it's really resisting you, then what you can do is give it about 30 minutes and then come back. Mine is doing pretty well. I'm just gonna give it a little bit more stretching. It doesn't have to be 100% into the corners, but you want to get about 90% of the way there or so. And if you need to give a little bit of encouragement, working from the center to the outside with your fingers, just gently encouraging into those corners, maintaining some of that bubbly quality. That's okay. All right, happy dough. Ready for its final phase. I'm gonna cover it and I'm gonna set it in a warm place to rise for 90 to 120 minutes. We're just looking for it to sort of puff up and settle itself fully into the pan. During that time period, you're gonna want to get your tools in place, you're gonna want to shred some cheese, choose your toppings, make your sauce, and get that outside oven heated up and ready to go. We'll be back soon. It's almost time to bake. It's nice out here. I had, like, a mosquito or something. Okay, y'all, the dough is ready to go. It's well risen. We have our tools at hand, and I have all my ingredients here. Let's get this into the oven. Today, we're using this beautiful little Gozney Arc. I'm gonna set a two-minute timer. The reason for that is I'm gonna parbake this first. So, the first phase of baking will be without any toppings on it or anything. And what that does is it gives the dough a chance to rise as best as it can without having any toppings on top, right? So we're parbaking first. After that initial phase of baking, I'm gonna take it out, I'll top it, and then I'll return it for the second phase, which is where we sort of brown the cheese, heat the sauce through, and do all of those things. So I'm about two minutes in, just a little bit over. I'm gonna restart my timer and I'm gonna give it a rotate. So what I've done today is I've loaded and then I've turned the oven off. I'm just using the heat that's in there to sort of cook this pizza relatively low and slow. It's not the aggressive heat that I might use when I go to a Neapolitan-style pizza. If I feel like I need to add back a little bit heat, like I lost a little bit too much, I may turn it back on and just put it on its lowest setting, just gently encouraging the pizza to sort of brown up and give me that nice sort of slightly golden look on top. So I'm about four minutes in total, and I'm just gonna look and see what I've got. Not quite there. I'm gonna get it back. Low and slow. When you bake your Neapolitan pie and you wanna try and get it through there in 90 seconds, that's the time to sort of be a little bit more aggressive. But in broad terms, what I really tell people is chill out with the heat. Like, don't go crazy on these things. A high, high flame will guarantee that you're gonna find some pies that have black rims on 'em. So be delicate, apply that heat sort of sparingly. So you can see that I've got a tiny bit of browning in spots. It's not all the way baked yet, but it is firmly set or at least, you know, starting to get golden in spots. And what I like to do here is I also like to just encourage the edge up so that I can look underneath and see what kind of color I have. That's what I'm looking for. Beautiful, golden on the bottom. It's just a little bit of check-in to make sure that the bottom isn't going too quickly. Okay, so now let's top it real quick and get it back into the oven. The hallmark of the Detroit style is this sort of cheese wall edge. And so what I'm gonna do is I'm gonna take some of my low-moisture mozzarella, and, you know, remember, this pan is hot, right? Don't go grabbing the pan with your cheese hand here. And so I start with the outside, make that little cheese wall first, and then go back in and just sprinkle it over the interior. You may not have 100% coverage, and that's okay. And then we'll go back with some of our delicious sauce. And maybe I'll just make some lines. Some people like the sauce on after the bake. That's an option too. So it's topped, and I'm gonna get it back into the oven. So, let me briefly recap how it is that I like to approach the heat with these ovens. I look at it as having a low, a medium, and a high zone. The low I use mostly for my pan pies, like the grandma-style or Detroit-style. For the medium, I like New Yorks, but I also like it for Neapolitans as well because I have a lot of control in that zone. When I'm working with these ovens, as hot as they can go, maybe up to 900 degrees, I find that it's a bit of a balancing act and a little bit risky as well. I end up burning more pizzas up there. I don't like that. Most of my baking in here is in the medium zone, except with pans, in which case I'm in the low zone, which is, you know, 5 to 600, 650 degrees. Okay, so it's had about two minutes since I loaded. I'm gonna go in here, and you'll see that I have a side which is a little bit hotter, which is closer to the flame, and over here it's a little bit lighter, so I'm gonna give it a rotation. My advice on this is that every 30 seconds or so, I'm having a look. So don't give it, you know, two minutes or so. At this point, I'm being very sort of proactive. I'm checking in, I'm making sure that it's okay. Getting pretty close. Getting pretty close. At the end, what I like to do is if I feel like the sides and bottom are definitely done, then what I do is I turn the heat back up and just give it that little bit of a kiss on the top side and then we'll get it out. Okay, there we go. So, it's out, but I like to take a pairing knife, you know, small thin blade, and just work your way around, just sort of pre-releasing the crust. Make sure that it's gonna come out. I love these pans with their sort of naturally non-stick properties. So, I like to take something like a fish spatula, some tool like that that allows me to get underneath it. And then this is sort of the tricky part a little bit to get your tool underneath the crust, so I want that underneath, and then what I do is I just slide it right out. Let's have a look underneath and just see how we did. Beautiful, crispy. I've got this nice frico on the side, you know, this beautiful cheese wall. Nice and crisp, listen to that. I think that's the part that people are surprised by most, because when they bite this, it has this crunch that's almost like it's a pastry or something like that. The cheese is so crisp and crunchy and so delicious. Let this cool off for just a second and then we'll put it onto the cutting board and we'll give it a cut. So, I give this a second to chill out, to cool off just a little bit. And then I like to add a little bit of Parm, or other hard cheese if you have a preference. Love it. Beautiful pizza. So there it is, our Detroit-style pizza baked in an outdoor pizza oven. Gorgeous structure, crisp edge. It's saucy, it's cheesy, it's everything I want on a summer afternoon, or honestly, any time of year. Man, it's so pillowy. But then you've got this incredible, like, glassy kind of crispness, this crunch on the outside. Sauce is running everywhere. Detroit-style pizza in an outside pizza oven. Thanks for joining us, y'all. Cheers.

Video Credits
Shop this video

Related Videos

Your bread fell flat. Your cookies crumbled. Who do you turn to?