

Grilling Pizza Outside This Summer
When it’s too hot outside to turn your oven to 550°F, homemade pizza doesn’t have to be off the table — use your grill instead! Martin is here to walk you through exactly how to achieve success, so you won't have to worry about things like your dough seeping through, or sticking to the grill grates. Just remember: Monitor your pizzas closely, as grills vary widely, and when it comes to toppings, less is more. Once you’re enamored with this dough recipe, use it to make grilled flatbread or grilled calzones!
Hey, Bakers. It's Martin. We're out here on the deck today. We're grilling some pizza. It's chill. It's relaxing. It's pizza like you've never had before. Grilled pizza, great recipe.
The link is below in the description. Let's make that.
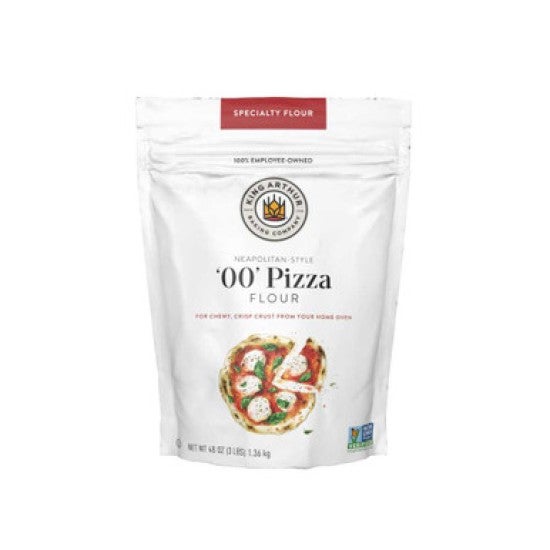
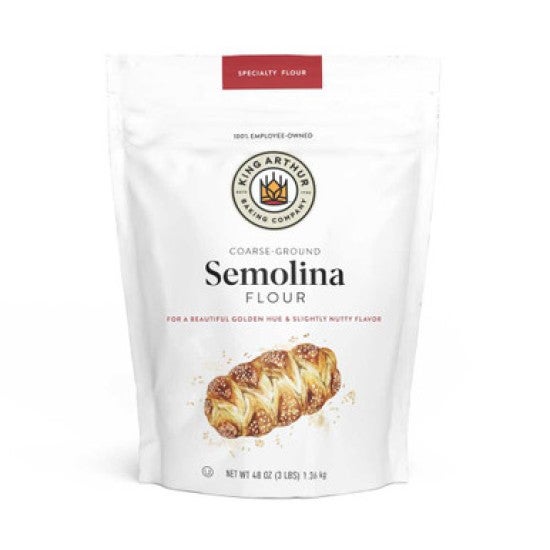
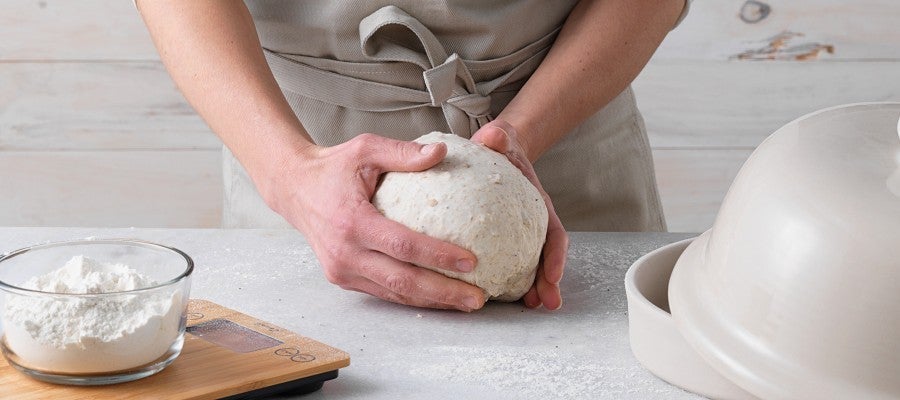
Alright, let's make some dough. I'm starting with 300 grams, double zero. Double zero has that slightly more tender quality than all-purpose and certainly more tender quality than bread flour. If you wanted to use all-purpose, you could certainly do that, and you're still gonna make great pizza. One of the hallmarks of this style of grilled pizza is that it should be approachable, right? We are not getting out our lab coats. This should be pretty like laid back, right? And then I'm gonna get some instant yeast in here. I've got a teaspoon and a half. It's a decent amount of yeast. You know, it's gonna get things going. You're gonna see that dough move at an appreciable rate. You know, we're not gonna wait around all day for this dough. If it's really hot in, you know, wherever you're grilling that day, and you know that the doughs are gonna sit around for a while, you may want to decrease that just a little bit. That wouldn't be a bad consideration. And then we're gonna get some salt in, and that's one teaspoon. Give it a little mixy mix. Get in my water. Water is 222 grams. This is lukewarm. Again, like with the yeast, think about the role of water in fermentation. If the water's warm, the dough's gonna move well. If it's cool, the dough is going to move at a slower rate. If it's July and you're in, you know, a hot place, you might consider cooler water. It wouldn't be a bad idea. It'll give you a longer window before that dough sort of matures. So think about how water can help you to guide fermentation. And last but not least, I've got some olive oil. So just a little bit of enrichment. Olive oil will not only flavor the dough, it'll also make it a little bit more tender, and we will use a little bit more when we get out to the grill as well. And we'll just stir it up. I'm using a bowl today. Sometimes I use that nice two-quart container 'cause it's got a lid, but I have some bowl covers here. Either way, just make sure that, after we get it mixed, that you're protecting it. So I get it most of the way there with my wooden spoon. And then I clean it up. The other thing about this dough is that, you know, you don't have to make pizza with it. You could also just use it to make flatbreads. Honestly, it makes a very good, like a grilled pita almost. Maybe divide this in four instead of two, round them into balls and then, you know, on a nice bed of flour, you just roll 'em out flat. Beautiful, versatile, versatile dough. All right, so cover the dough. Put it in a nice comfy spot. We'll be back in 30 minutes to fold. So while the dough rests, I'm gonna get together an oil that I'm gonna brush on the pizza as it grills. This is gonna take the flavor from like delicious and charred, and cheesy, and saucy, and all those things. And I'm gonna add this sort of fresh garlic pop. Oh, hey there. We're back. So I'm gonna do my bowl fold now. Just working around the outside of the dough. Wet hand, magic water, you know, so that it doesn't stick. Dough is already moving at quite a clip. If you notice that it's pretty puffy, and you've got hours to go before you're gonna be ready to grill, you might consider, you know, after rounding it, putting it in a place that's nice and cool. So a little bit of a bowl fold, develop a little bit of strength, get a cover on it, and then we're gonna come back. It could be as quick as 30 minutes. It could be as long as three hours. It's got a lot of flexibility, right? So our dough has rested about an hour in our case. Again, after you do that fold, you can rest it for 30 minutes, up to three hours. But be thinking about how warm it is, how fast your dough is moving, some of those things. In our case, I gave it about an hour, and it's ready to divide. I'm gonna divide these into two pieces, a little bit of flour down, and then we'll dump it out. This dough is a little bit soft, so make sure that you've got a nice bed of flour to work on. You may even want to put a little bit on top of the dough to keep your tools from sticking. And if you do that, just go around once, release it from the side, and then dump it out. Nice active dough, beautiful structure, and we'll divide it into two pieces, about 270 grams each, somewhere in that range. This will give us a pizza that's about in the 10 inch or so range, somewhere right around there. So once you have 'em divided, what you wanna think about is two things. First, I'm gonna make 'em round, now. I'm gonna give 'em a shape, which is round, right? That's what will make it easier for us to make a pizza when we get to the stretching phase. The other thing that I'm thinking about here is how long is it gonna be until I'm gonna have my pizza party or whatever it is, right? So if it's gonna be half an hour, I'm probably gonna be pretty gentle with this final shape. If it's gonna be a couple hours, then I might be a little bit sort of firmer handed. I might give a tighter form to what I'm doing. So be thinking about that. In our case, I think we're gonna be grilling these in an hour or so. And so I'm gonna be sort of medium tension. I'm gonna work my way around the dough mass, stretching, and pressing to the inside, and just holding my thumb to support that closure. Once it's rounded, I'll set it aside for a second, and I'll do the other one, and then I'll get 'em onto a covered tray to rest until we need them. And then, so where are they gonna sit while we wait? Well, I'm gonna put mine on a sheet tray, and then I'm gonna put a cover on it. And the reason for that is that if it dries out as it sits, it won't stretch, right? And the whole goal here is to make pizza, right? So we need it to stretch. We need to protect it as it rises. And in this case, I'm just gonna put a cover on top of it. Another option would be if you have some small containers, some small round containers. And what you can do with that is put some oil in there, put your dough in, and then just throw it in the fridge, if you need to pause it for say, you know, three or four hours or something like that. This is a great way to hold the round form and keep it sort of in a container that's easier to sort of tuck into the fridge than sometimes it may be with a half sheet tray. So get these covered. We're gonna let 'em rest, and we'll get our tools together, we'll get our toppings together, we'll get our grill preheated, and all of those things ready. It's almost pizza time, y'all. Okay, so we're outside and we're ready to do some grilling. Before we jump in, before I put anything on the grill, let's talk for just a half second about how every grill that exists in America, even ones from the same manufacturer, have wildly different sort of rates of how fast they heat up, how fast they cook things, the BTUs, how much you can control them, whether you've got hot side, cold side, and all of those different things. Or maybe you're even using charcoal or wood or something like that. All of those variables combined to say one thing. And that is that we are no longer baking. We are cooking. And when we're cooking, we're using all of our senses. We're checking both sides. We're making sure that it's not taking too much color. We're adjusting the heat as necessary. We're in the process, and we're right where the action is happening. So that's my little stump speech about how to grill. Basically, be close to where you're working, don't walk away, and don't make any assumptions, okay? One additional thing before we jump in. I wanna make sure that my grill is sort of prepped as best as I can, right? And so what I'm gonna do is make sure that I've scraped the grill, right? I've taken my grill brush. I make sure that I have nice clean tines. That'll help whatever I put on them to release more easily. The other prep step that I want to do is take a little bit of paper towel dipped in some oil, and I just wanna rub the grates. That will support a little bit more of the non-stick properties that we're looking for when we go to remove that bread from the grill. My grill is hot. I've got it fully preheated. I've given it plenty of time to come up to temperature. Our dough is ready to stretch. Let's jump in. I got my doughs over here on my sheet tray from before. You can see that they are ready to go. First things first. Get this dough onto a nicely floured surface. Most of pizza stretching is pressing. It's not stretching, right? So most of the work that I can do here is just pressing. So starting in the middle, working toward the sides. I'm gonna press pretty firmly, actually. I'm pressing the gas out, creating this sort of ring effect. You can turn it over. You can work at it from the other side. And I'm not pressing the edge. I'm maintaining this nice edge crust. You know, half to one inch worth of dough just forming this sort of high side, this edge that will become the edge crust of the pizza, you know, and I'm about three quarters of the way there. Then, what I'm gonna do is pick it up, and working in sort of an east-west fashion, I'm just gonna stretch it. Stretch to elongate slightly. I'm not pulling on the edge crust. I'm pulling with my thumbs just inside the edge crust so that I can maintain that sort of puff. Now, what I'm gonna do is I'm gonna move it onto my peel. On the peel to make sure it slides well, I've got a little bit of semolina. So sometimes when I move that dough piece around, it gets misshapen a little bit. So if you've got any of that, you can take a second and fix it. Next up, I've got some of the garlic oil that I made, and I'm just gonna brush the entire surface of the pizza. The other thing I want to check before I go over there is that it's not adhered to my peel. It's not. It's nice and jiggly. We like that. So let's get onto the grill, and slide it on, and get it closed. So we've got our pizza loaded. We're gonna set a timer for four minutes. And the truth here is that that's a guide for a certain type of grill. You want to think of that as a range. So around two minutes, I'm gonna open the grill just for a second. I'm gonna check the underside, and make sure that it's not taking too much color. And if it looks good, then I'll go ahead and close it. I'll probably come back in 60 seconds and quickly check it again. This is like cooking anything else at high heat, you wanna be attentive, you wanna monitor the process. In some ways, when we make grilled pizza, we have to give up some of our expectations in terms of, it's not gonna look exactly like our traditional sort of Neapolitan style pizza, but there are some trade offs, and you're gonna see 'em when we go to bite this thing: the crunch, the sort of melting of flavors, all of those delicious things. All I'm looking for right now are some nice deeply colored grill marks. I can smell it. And there they are. It's dark in spots. Let's get it off. We're gonna get this turned over, and we're gonna top the underside. You can see that it puffed well. Let's turn it over. Little bit of cheese down, and then I'm gonna get my toppings on. I have a tomato sauce, which is reduced slightly, right? You want to use a sauce, which doesn't have a lot of moisture in it. You don't wanna necessarily overdo it with sauce on this. It's better to have a little bit less as opposed to a little bit more because, again, the challenge with this style of pizza is that we don't have the top heat. And then I'm gonna go right back in. So at this point I've moved it to the cooler side of my grill. We only have one thermostat on this grill, and it's sort of one zone. But in temping it, using my infrared thermometer, I found that one side is a little bit hotter than the other. And so I started it on the hotter side, and then I shifted it over to the slightly cooler side for the second portion of the bake. This is gonna go for about another four minutes. During that time, as always, I'm gonna check in, and I'm gonna see how it's doing, and just keep an eye on it as it goes. So we're about at the halfway point here. I just checked it. It's still a little bit floppier than I want. And I was looking underneath just to see how much color do I have. That oil that I put the bottom, remember when we oiled it, and then I now inverted it? That oil is gonna help it to brown some. It's gonna get crisp. We just have to give it some time. I'm looking for that cooler part of the oven where it can take some time, get a little moisture out, get a little crunch going, and get us excited and salivating for this beautiful grilled pizza. Got a hungry crew here ready to get a slice of Martin's famous grilled pizza. Is it famous? I don't know about that. Little bit more garlic oil around the edges. And then, I've got some Parmesan, just a little bit of grated Parmesan. Got a little bit of chili flake. And I've got a little bit of basil oil. Just a little squiggle. I'm looking around. I'm looking at the rest of our crew here, and I'm like, oh my gosh. Sometimes when you make something really good, all I want to do is just give it to people, you know? It's like, let's eat it right now. We'll make this video later. That's what I want. To me, these bites that have that little bit of char and that crispness against the beautiful sauce and cheese, this is literally some of the best pizza that I have ever made because it satisfies these things in such a beautiful way, the char, the crispness, the complexity of ingredients, the ease. Beautiful, beautiful grilled pizza. Thanks for coming along, y'all. Don't forget that the recipe is right down there in the description. Be sure to also like and subscribe if you want. We're out here pumping out beautiful content. This summer we're focused on pizza quite a bit. And you'll see some other options for how to enjoy pizza all summer long. Thanks for joining us. Happy baking. Here's where I jump off the deck. Woo. Bam.

Video Credits
Shop this video
Related Videos


Your bread fell flat. Your cookies crumbled. Who do you turn to?