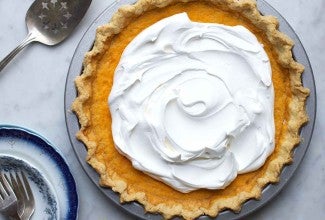
Gluten-Free Pie Crust made with Gluten-Free Pizza Flour

Recipe from the Baking School

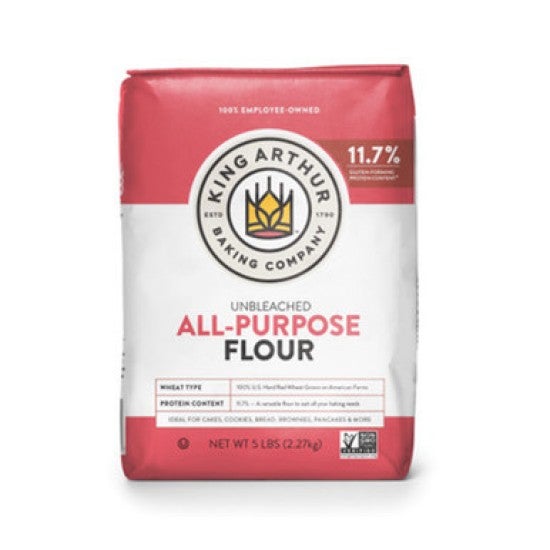
We've finally unlocked the secret to gluten-free pie crust that rolls and handles like the conventional wheat version. The trick? Gluten-Free Pizza Flour. Gluten-free wheat starch — which makes pizza dough easy to shape and stretch — works incredibly well in pie dough too, yielding a tender crust that’s easy to roll and holds its shape during baking. With just the essentials (flour, salt, butter, ice water, and a touch of sugar for flavor and color), this dough is as versatile as it is reliable. Whether you’re making fruit, custard, or cream pies, this gluten-free pie crust is destined to become your go-to.
Prep
15 mins
Total
45 mins
Yield
2 standard 9” single crusts or 1 double crust
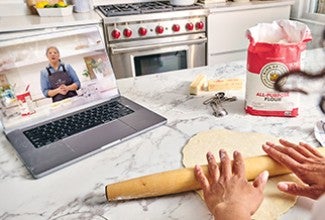
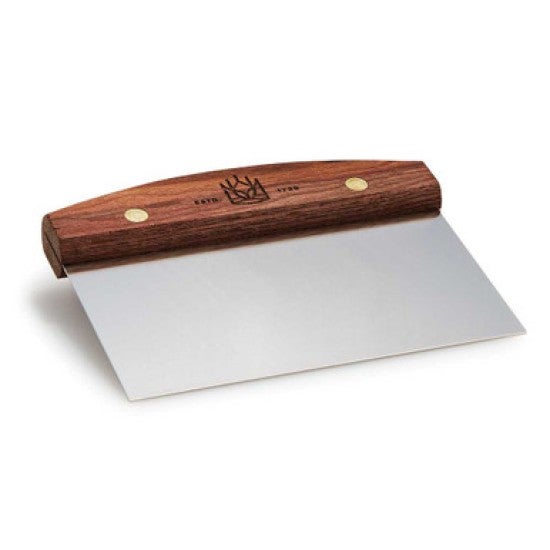
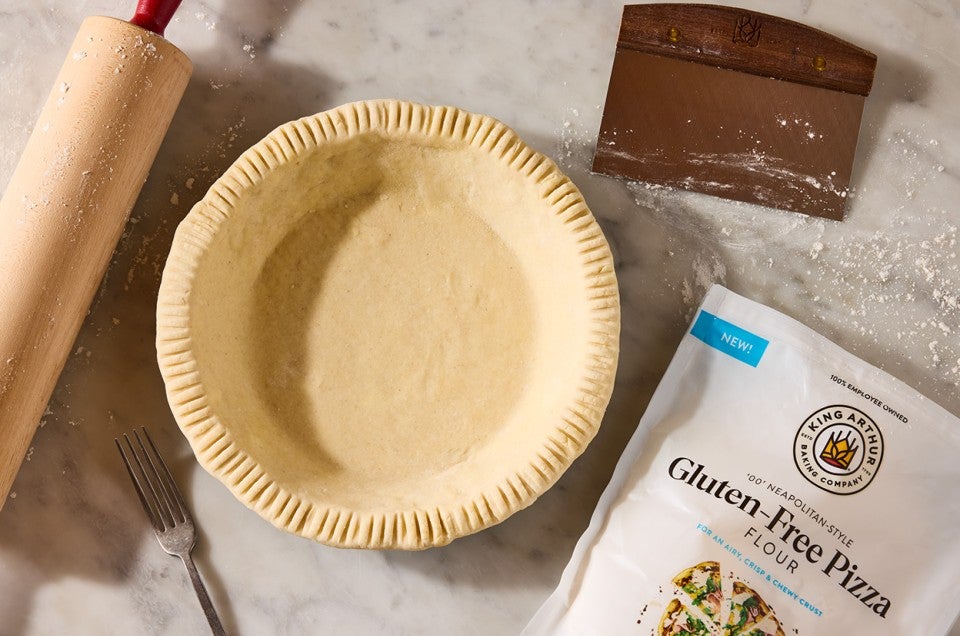
A rolling pin, pie crust, pastry knife, and bag of King Arthur Gluten-Free Pizza Flour shown on a counter and neatly arranged. - select to zoom
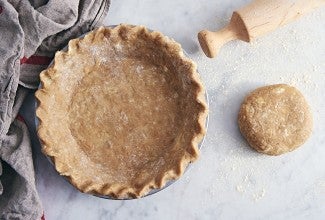
A gluten-free pie crust in a pie pan showing a smooth dough and a beautifully fork-crimped crust. - select to zoom
Our Best Products

Instructions

Prevent your screen from going dark as you follow along.
  1. Weigh your flour, or measure it by gently spooning it into a cup, then sweeping off any excess. 

  2. In a large mixing bowl, whisk together the flour, sugar, and salt. 

  3. Add the butter to the flour mixture and toss to coat. Using your fingers, a pastry blender, or a mixer fitted with the flat beater attachment, work it in roughly until well distributed but not fully incorporated. The butter should be scattered throughout the mixture in pea-size chunks.  

  4. Drizzle the water over the flour mixture, tossing gently to combine. (A bowl scraper is a helpful tool here.) If the dough feels dry and will not hold together when squeezed, add additional water, 1 tablespoon at a time, until a shaggy mass forms.  

  5. Transfer the mixture to a piece of parchment. Using the parchment to help work the dough, press it into a rough rectangle about 7" x 9" and fold the dough into thirds, like a business letter. (This helps create flaky layers.) If necessary, spritz any dry areas with cold water and flatten and fold again, repeating the process until all errant bits of dough have been incorporated.  

  6. Divide the dough into two pieces (about 330g each). Gather each piece into a rough disk. Press the disks to smooth them slightly; it's OK if they have a few cracks in the surface. Wrap the crusts in plastic or your favorite reusable wrap, then smooth their edges by running the disks along the surface like a wheel. 

  7. Chill the disks for at least 30 minutes, or up to 2 days.  

  8. When you're ready to make pie, remove the crusts from the refrigerator, leaving them wrapped. If the dough has been refrigerated for longer than 30 minutes, allow it to warm at room temperature for 10 to 15 minutes, or until it rolls easily on a floured surface. 

  9. Use as directed in your favorite pie recipe. 

Tips from our Bakers

  • To freeze unbaked pie dough, wrap it well in plastic or your favorite reusable wrap and store it in the freezer for up to 2 months. Thaw frozen dough in the refrigerator overnight and then allow it to warm at room temperature for about 30 minutes, until it rolls easily, before using. 

  • Be aware: Some of your baking ingredients can be a hidden source of gluten. Learn more at our blog post: For gluten-free baking, think beyond just flour. For additional information on King Arthur-produced products, read the complete details of our allergen program, including our contact-prevention practices.