Drop cookies: beyond the fork
How to flatten cookie dough with flair

Date
April 22, 2020


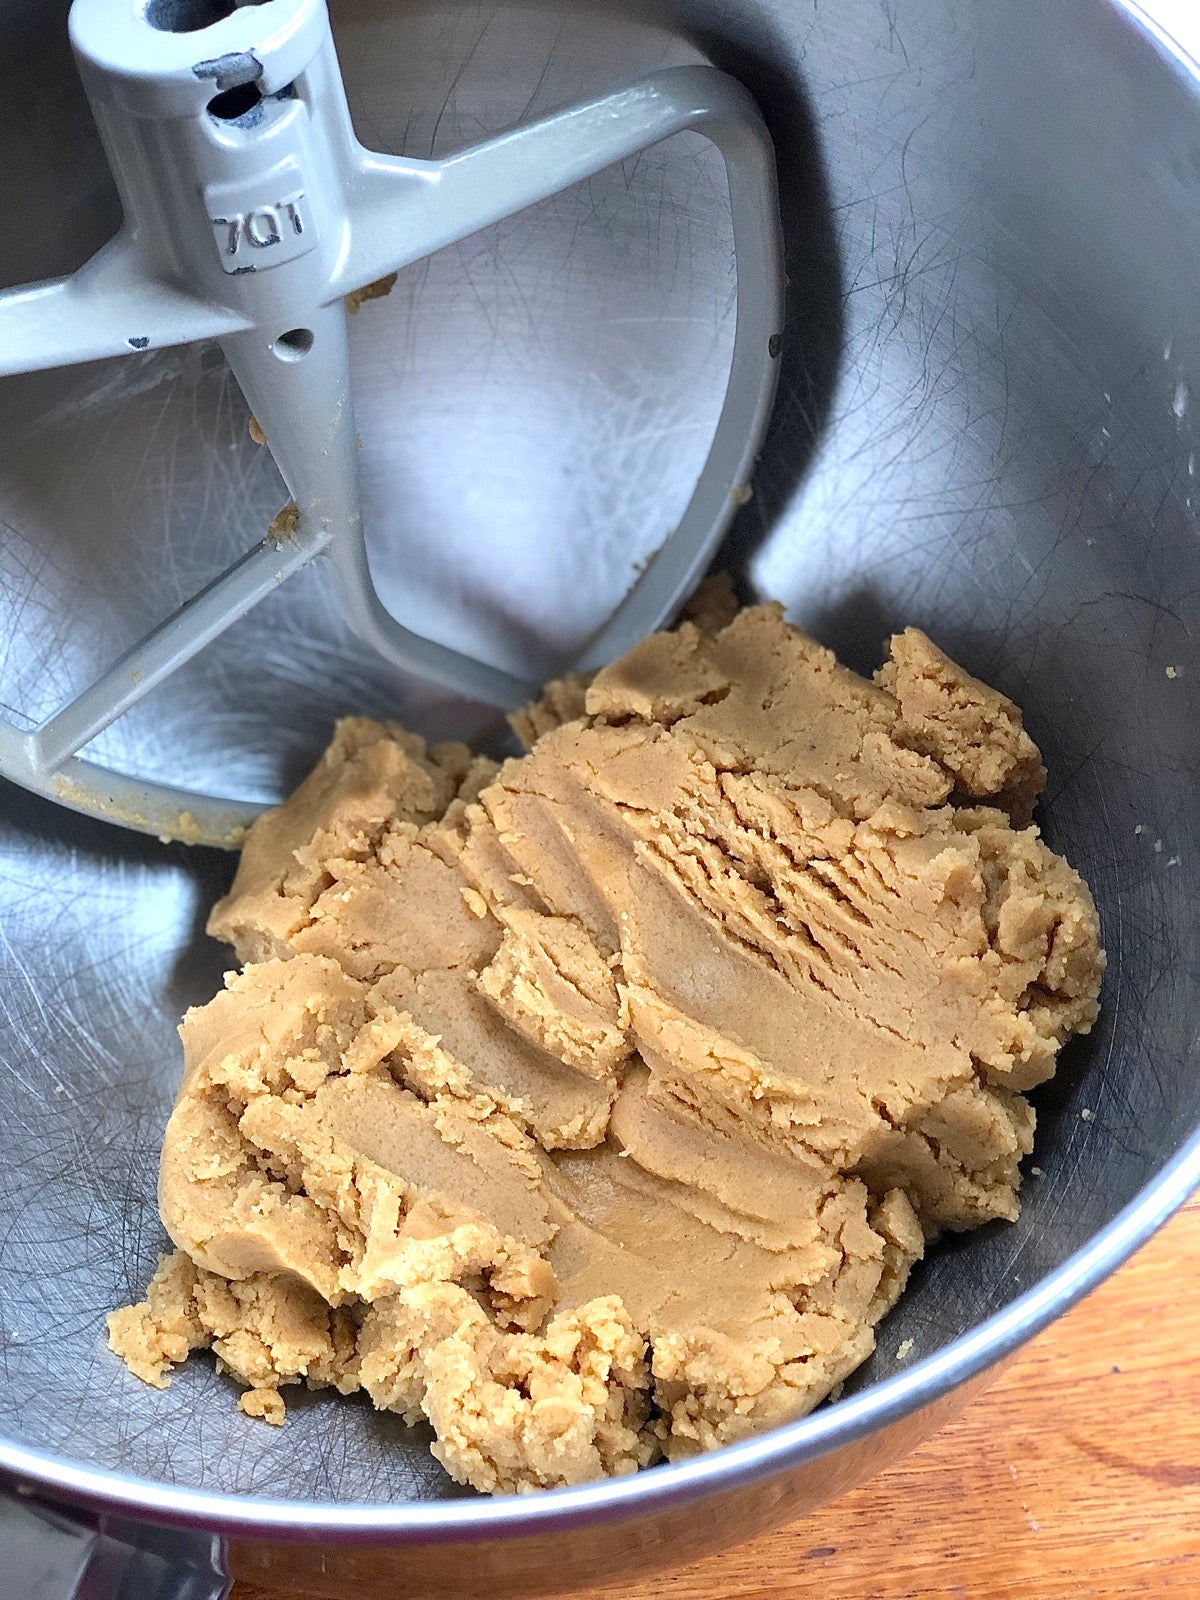
So you’ve made the dough for sugar cookies and the recipe tells you to drop it in tablespoonfuls onto the baking sheet, then flatten each cookie with the bottom of a drinking glass (dipped in sugar so it doesn’t stick).
Pretty common step, right? Certain cookies — Sugar Cookies, Snickerdoodles, Classic Peanut Butter Cookies — need to be flattened a bit before they bake, lest they end up emerging from the oven looking like ping-pong balls rather than typical flat, round cookies.
But what’s the best way to do this?
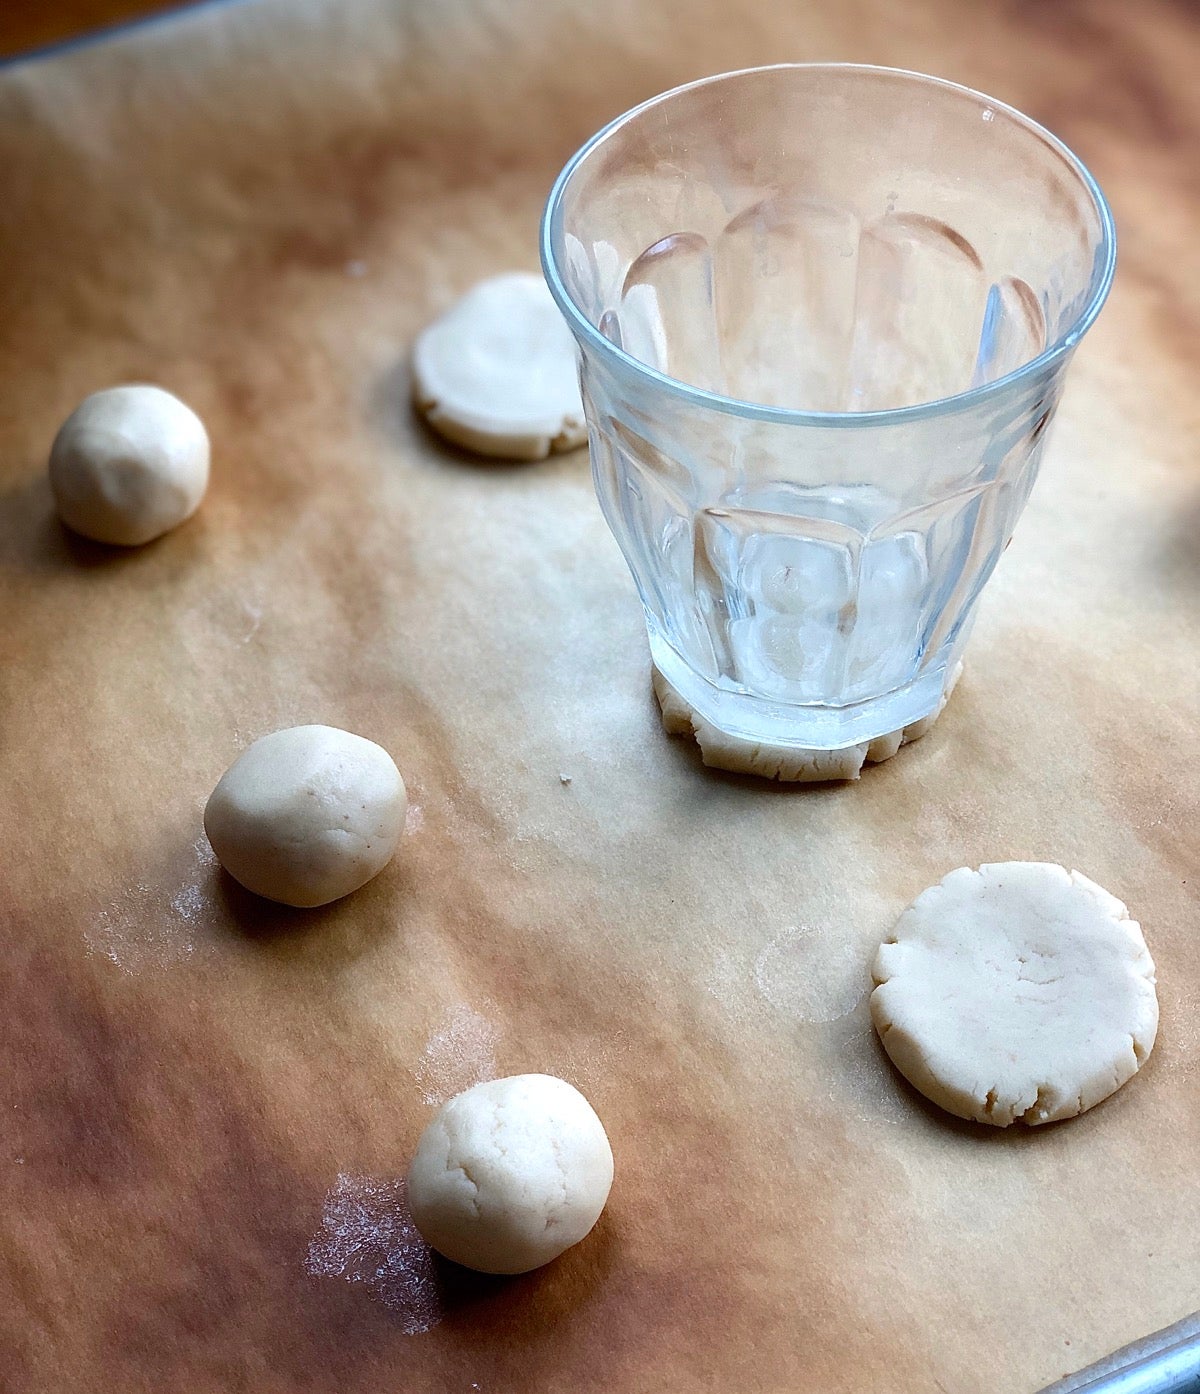
Before we get into a mud-slinging match here about “the best way” to flatten cookies before baking, let me say this: there IS no best way. And there are no baking police: If your recipe tells you to flatten your cookies before baking, you just go ahead and do that however you want. So long as they end up evenly flat, that is; squashing cookies haphazardly under your palm means they may bake and brown unevenly.
Still, if you care deeply (or even casually) about the look of your cookies, you can take the flattening step as an opportunity for enhancement. The bottom of a glass works fine, it’s true. But think of all the ways beyond a smooth-bottom glass you might choose to flatten your cookies.
Roam around your house; are there office tools, barware, or knickknacks — any of which might work brilliantly — hiding in plain sight?
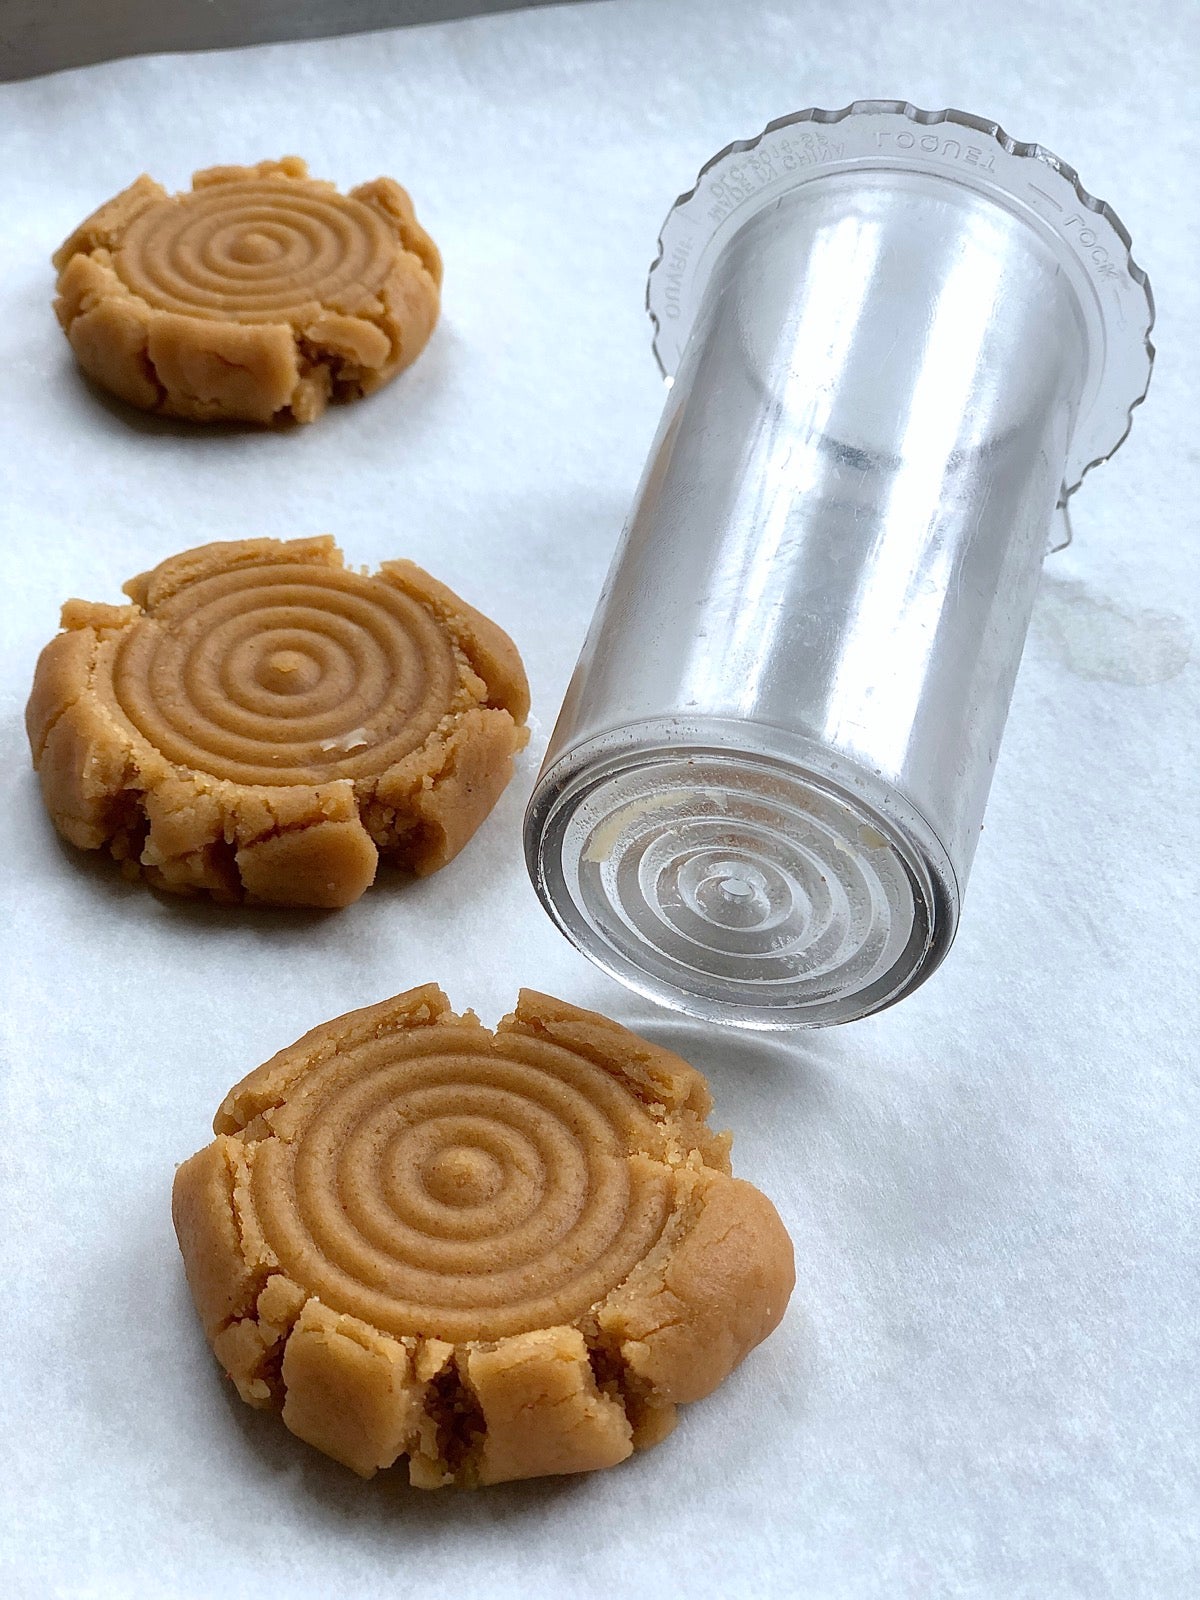
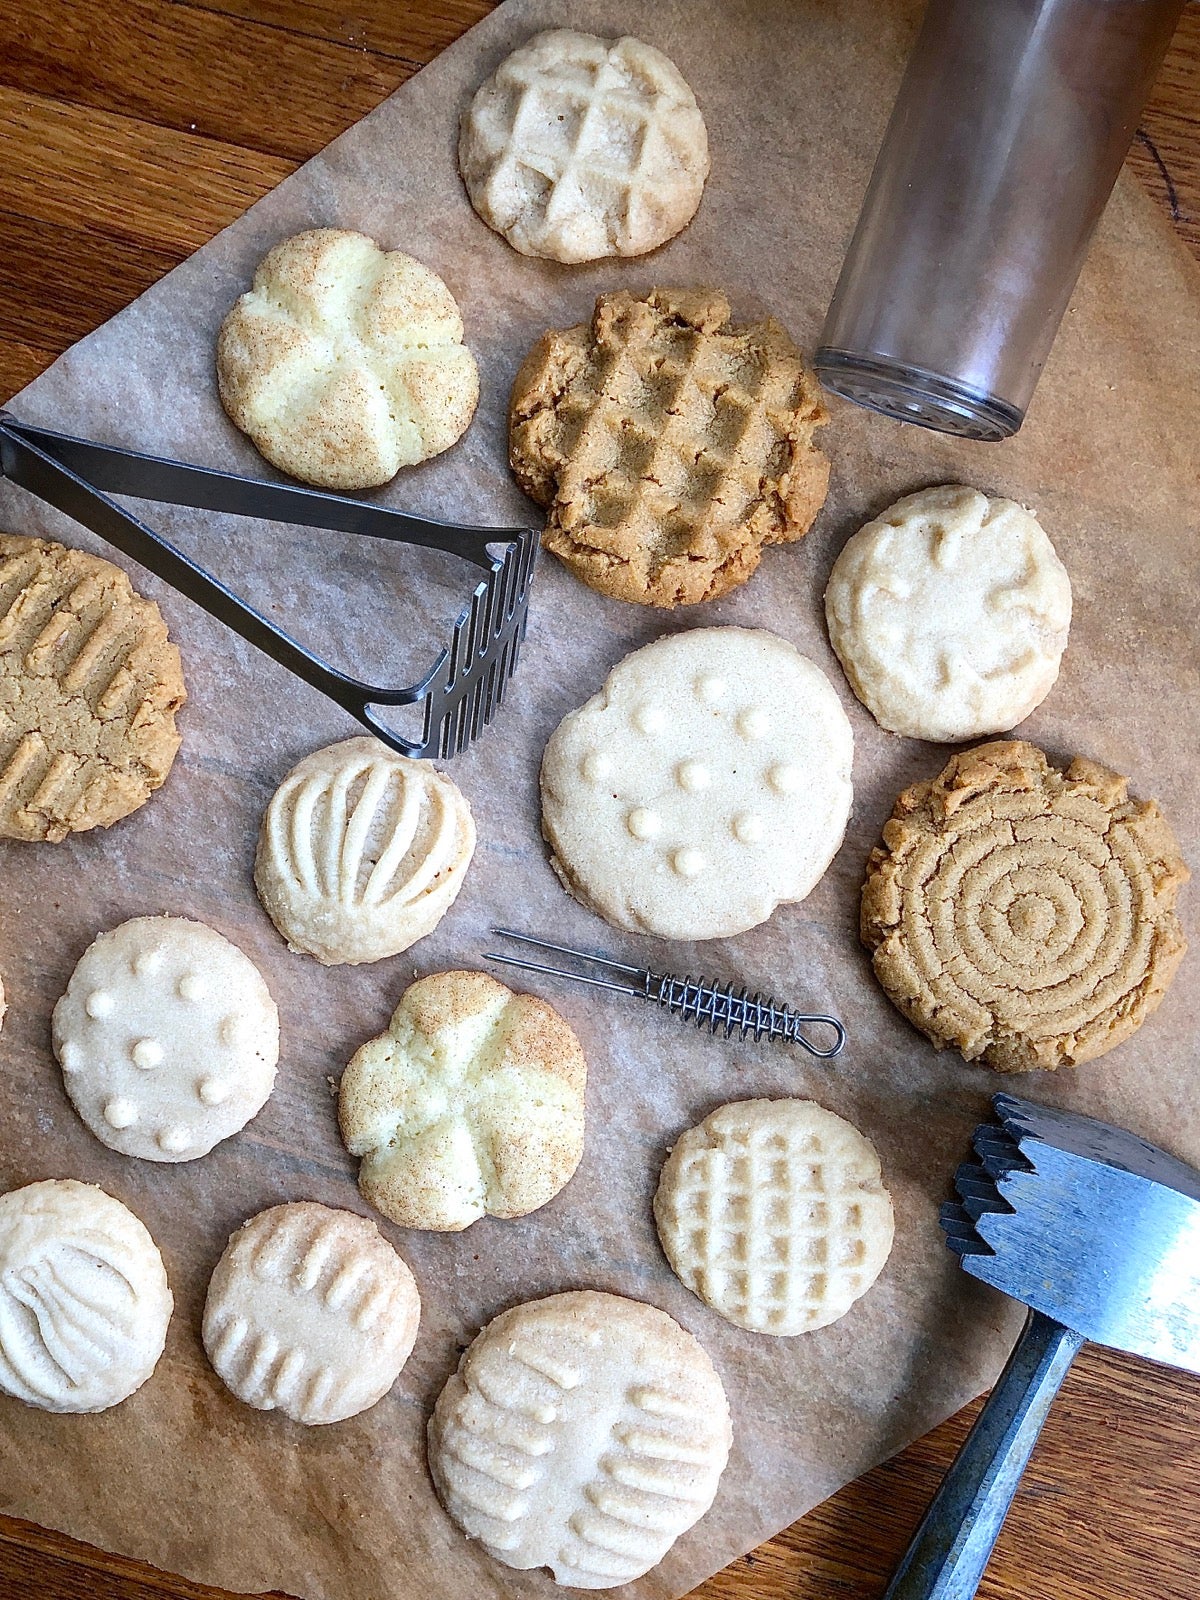
For instance, I discovered long ago that the pusher from my Cuisinart food processor has a pattern of concentric circles on its end; this has become my go-to cookie dough flattener.
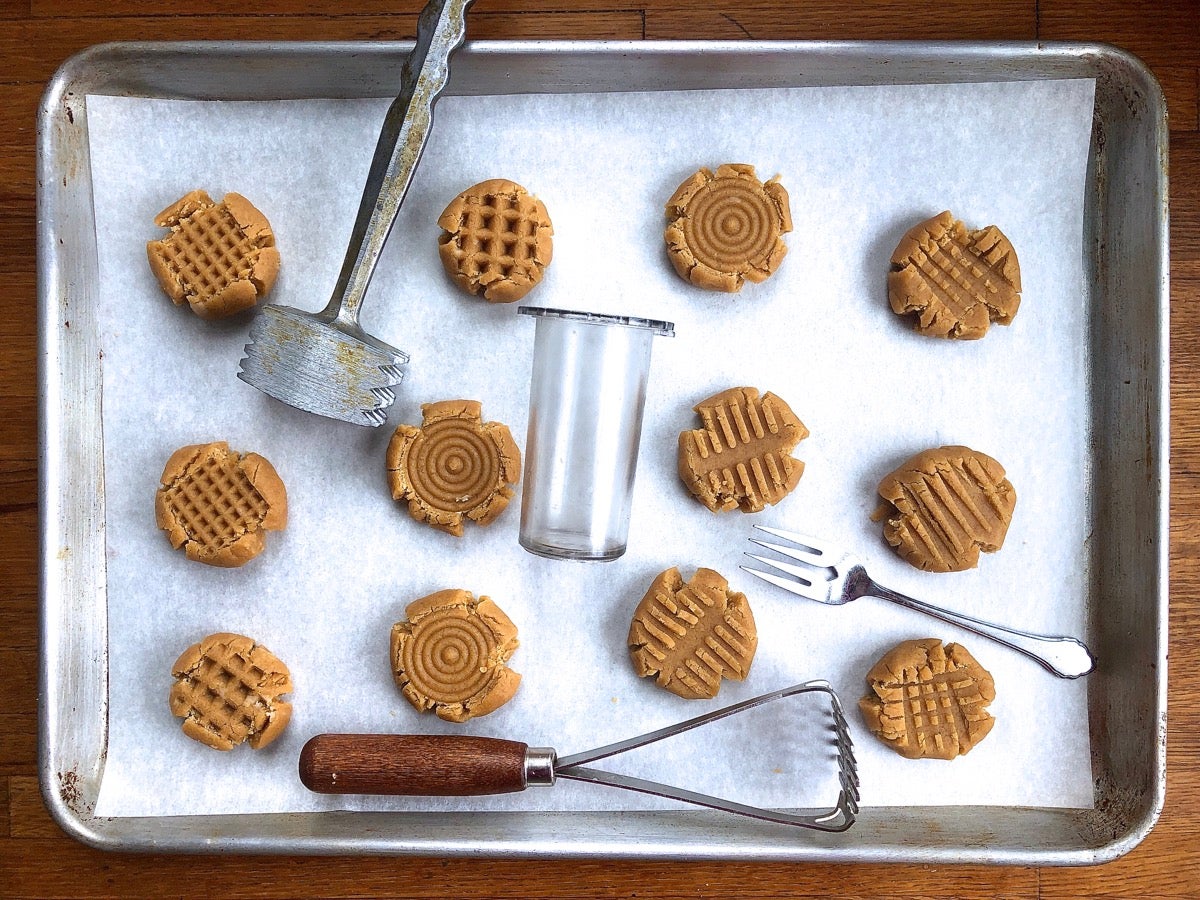
I also use a potato masher at times, whose parallel bars leave a stripy pattern. A meat mallet creates a sharp grid. A Kaiser roll stamp makes sweet little petaled flowers. And a tea strainer insert? Polka dots!
I know this is just plain common sense, but I'll remind you anyway: make sure whatever tool you're using is completely clean. If you're at all concerned, lay a square of plastic wrap over each cookie to protect it while pressing.
No, not all. Here are the attributes to look for when experimenting with imprints:
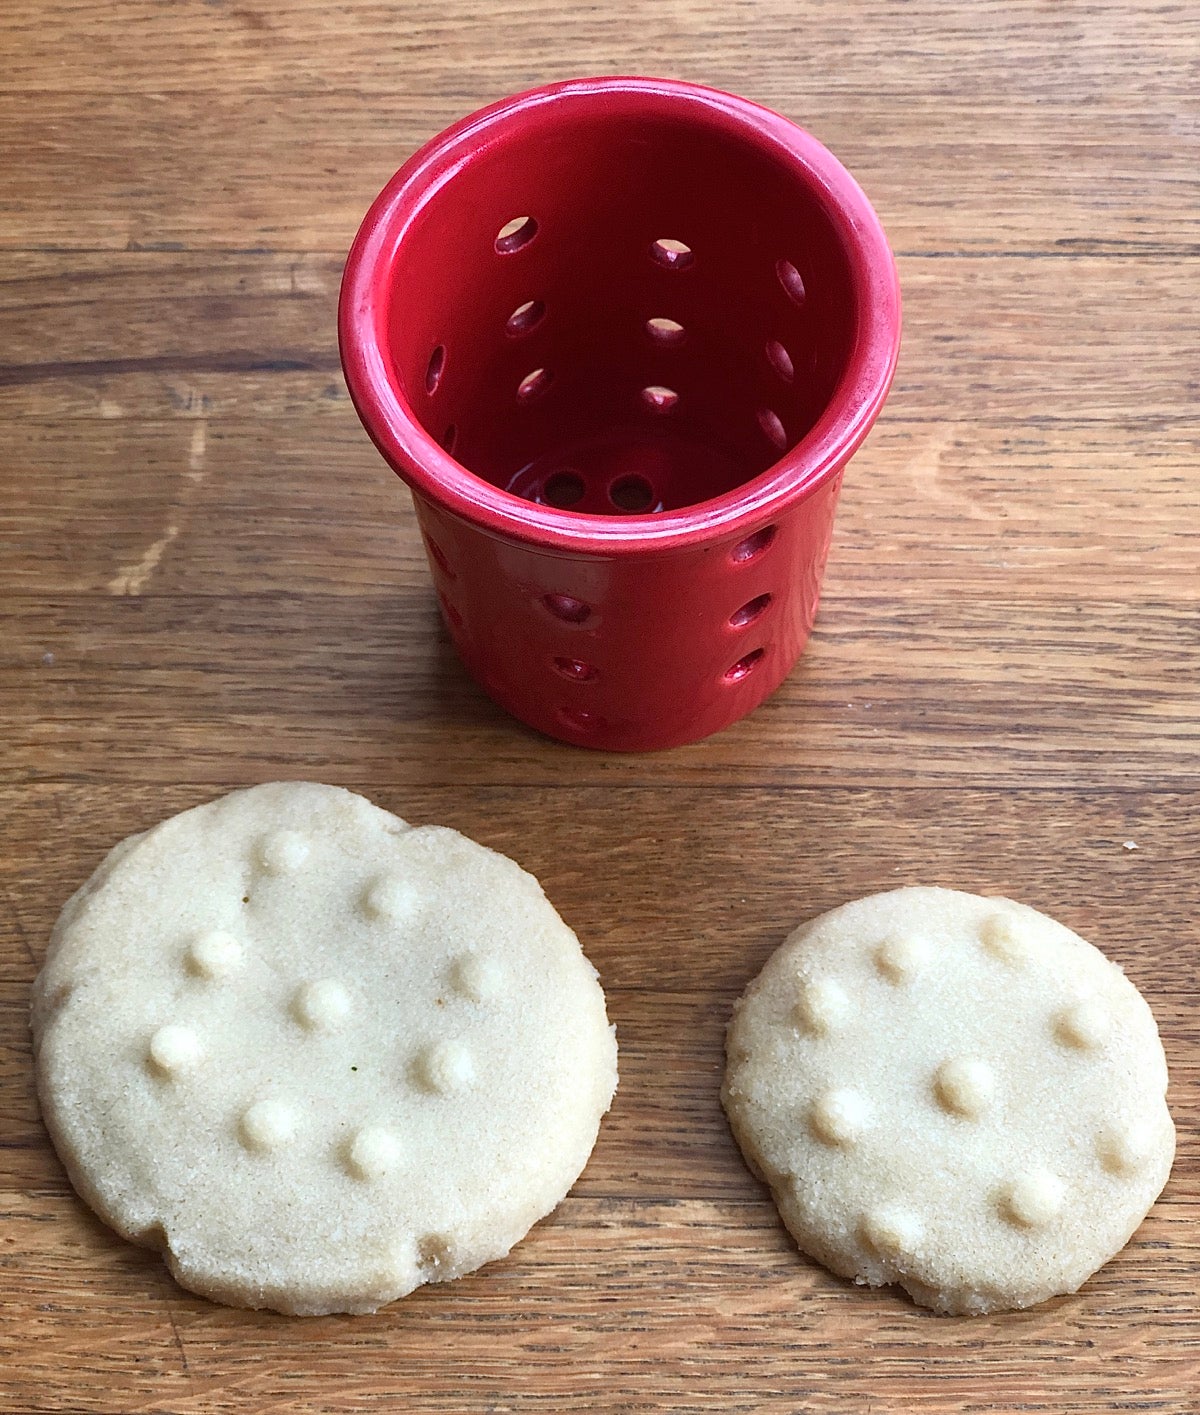
If your recipe makes big, 4” cookies and all you have to flatten the dough balls is a 1 1/2” tea strainer, you’ll be left with cookies imprinted only in the center rather than edge to edge. You may decide this is fine; just be sure to manage your expectations when choosing your flattening tool.

Center the tool directly over the middle of your cookie, and press straight down using even pressure. Be careful, though: press your Kaiser roll cutter too hard and it'll cut completely through the dough, leaving you with random tear-shaped bits to piece together as best you can.
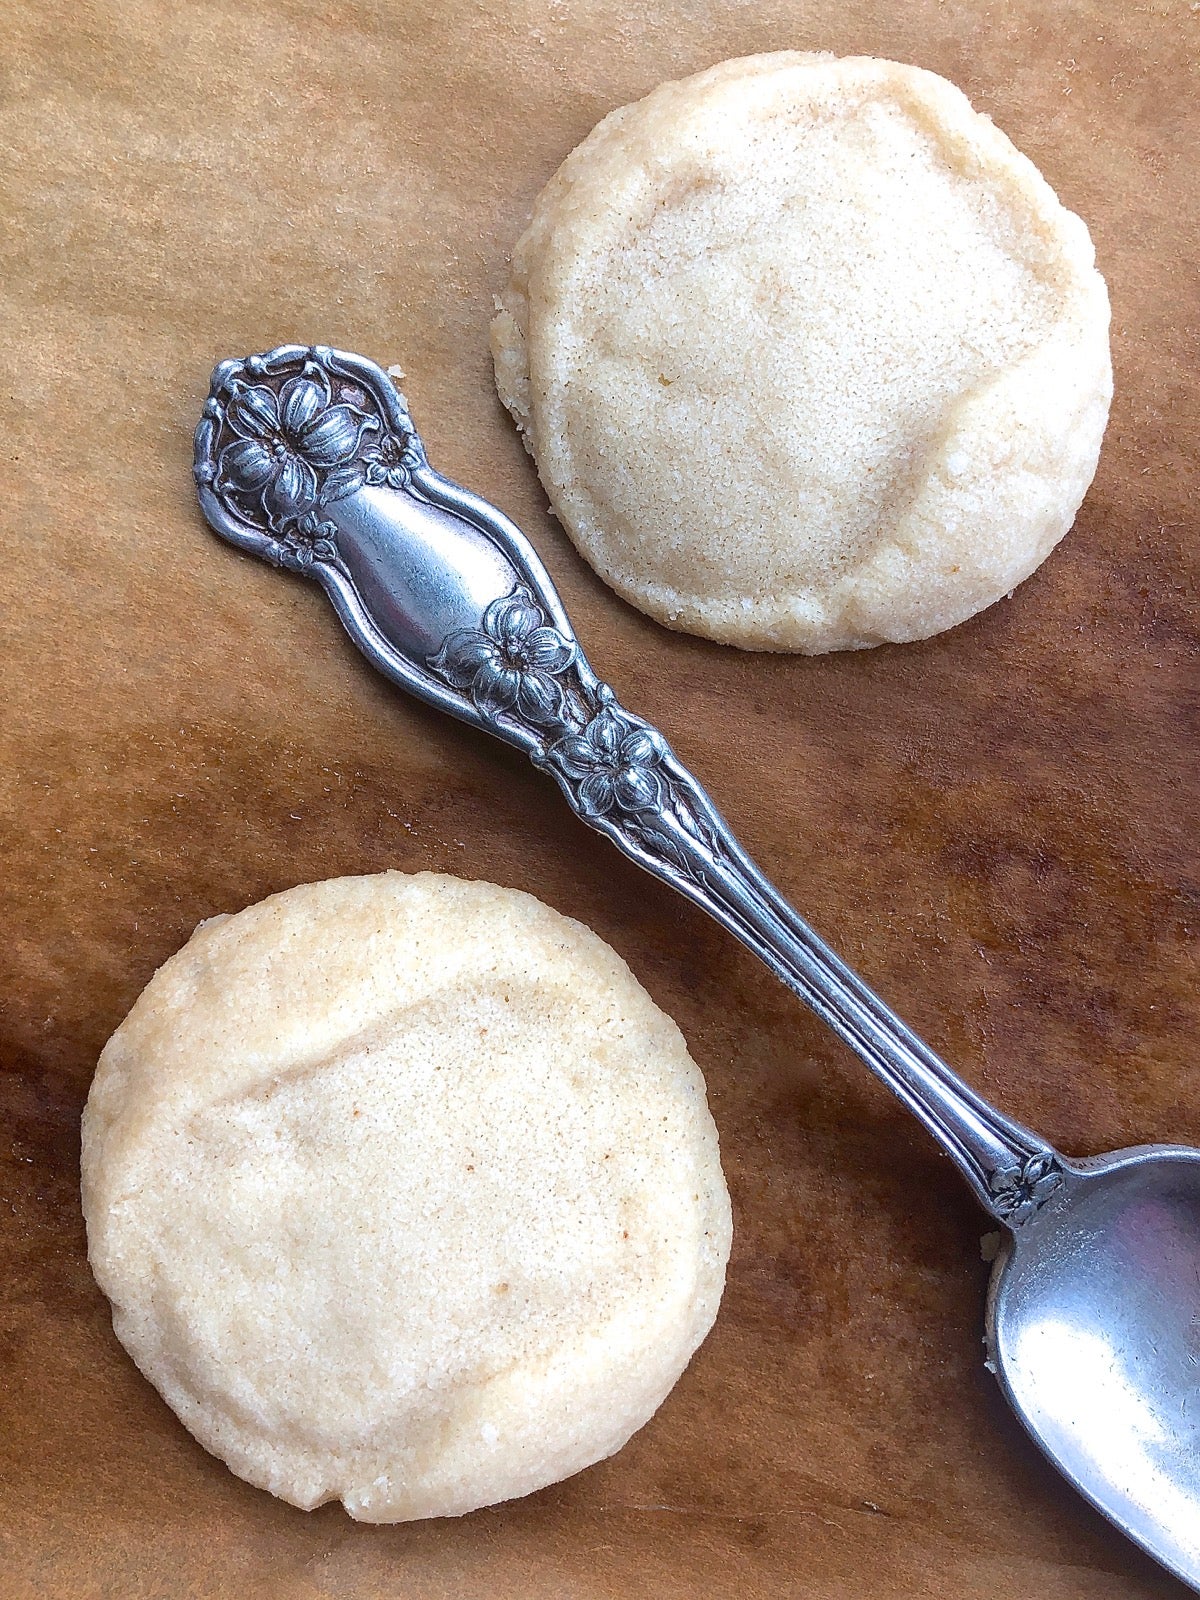
So what if the scrolled handle of your mom’s antique silver serving spoon didn’t work? The etched top of the wine bottle stopper might! Roam around your house; are there office tools, barware, or knickknacks — any of which might work brilliantly — hiding in plain sight?
Gather a promising collection of tools, make a batch of dough, and imprint two or three cookies with each tool. If they come out of the oven looking great, cheers! Next time you’re flattening cookies you’ll know what to use.
Did the imprint disappear? No worries; enjoy the cookies anyway. After all, beauty is only crust deep.
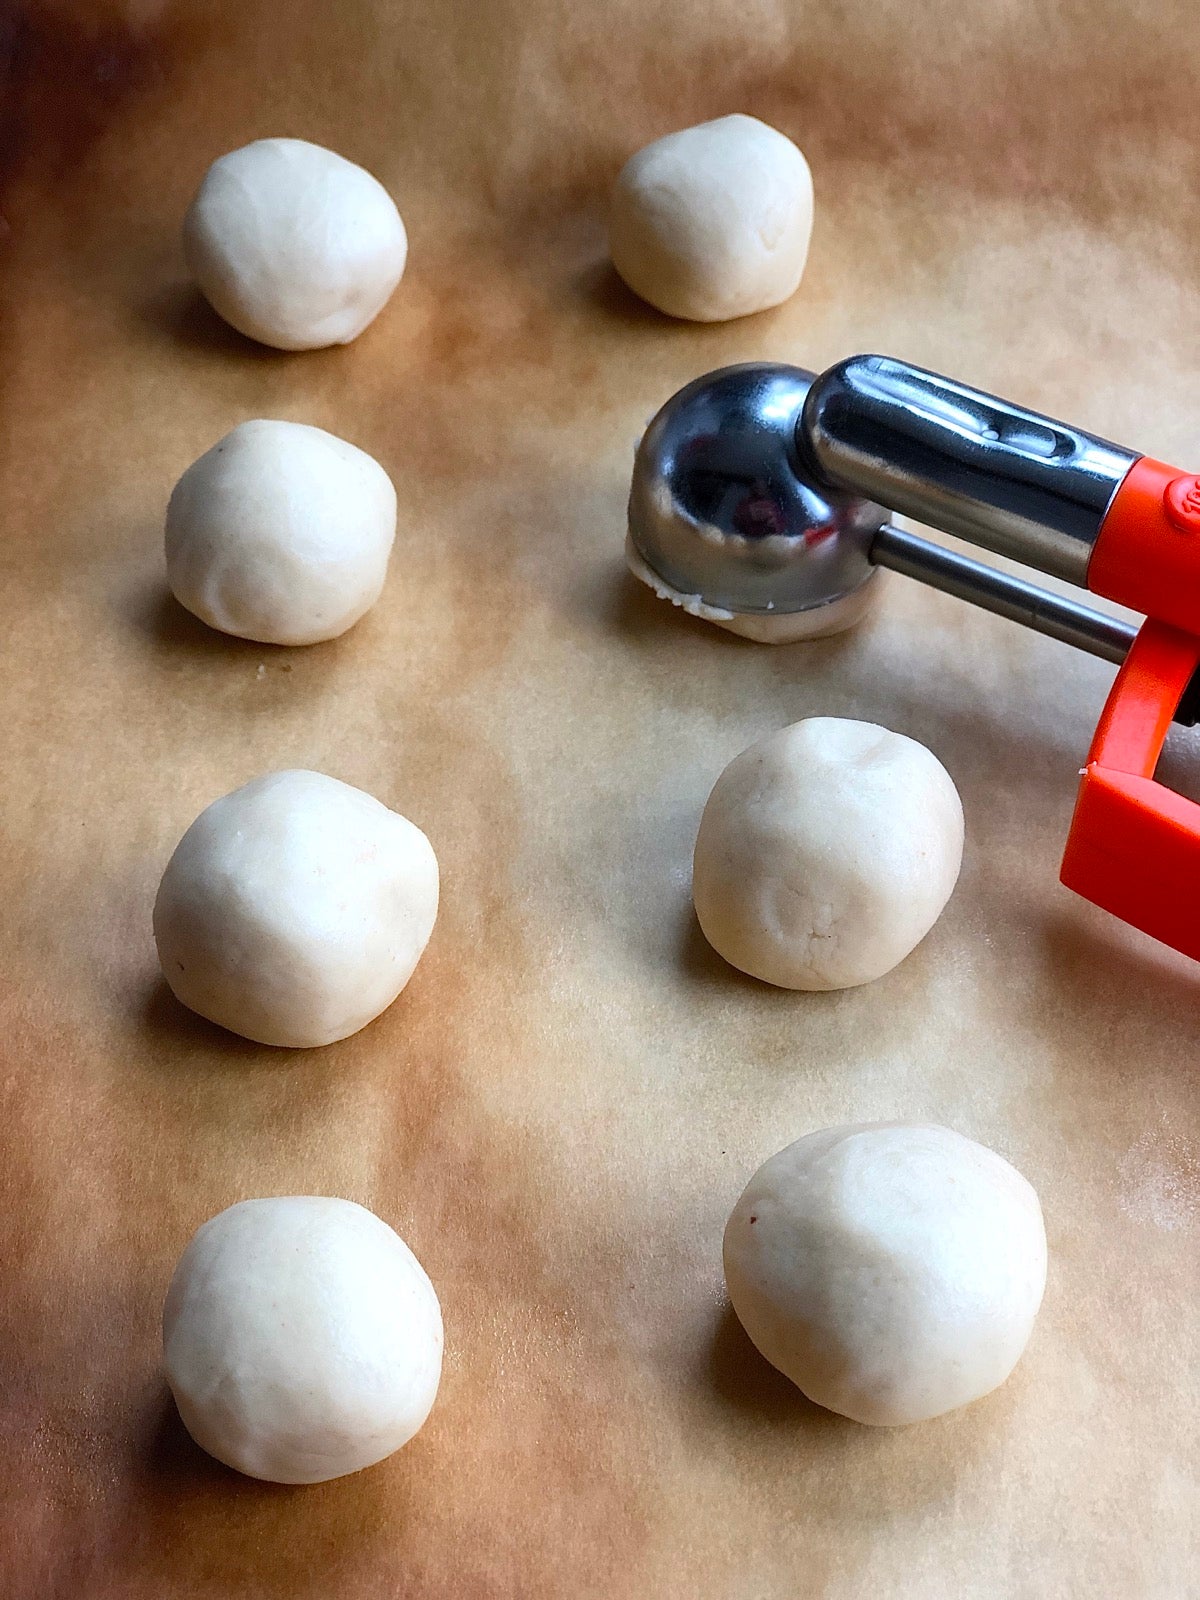
Have you found a flattening tool you're eager to try on your next batch of drop cookies? Start with our simple Shortbread recipe. Instead of pressing the dough into a pan, scoop it into balls (a teaspoon or tablespoon scoop works well). Flatten the dough balls and bake in a preheated 300°F oven for 25 to 30 minutes, or until the cookies are just beginning to brown around the edges. Enjoy your artwork!