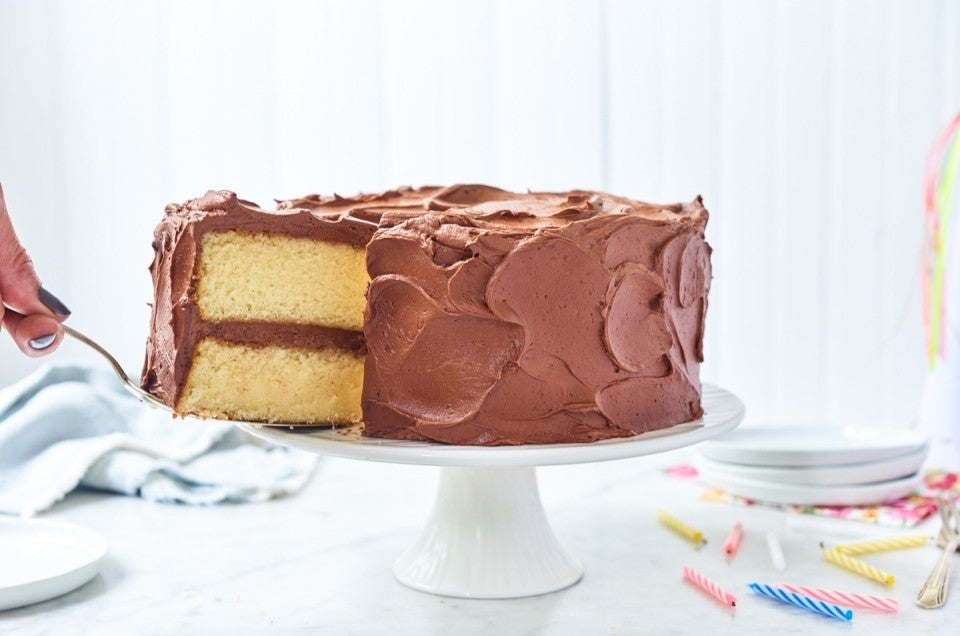


Yellow cake with chocolate frosting: what could be more familiar? Whether made into smash cupcakes for a toddler’s birthday party, baked as a potluck sheet cake, or fashioned into magnificent, towering layers, this classic combo of vanilla cake and chocolate frosting is ubiquitous in America’s baking landscape.
Yet for a dessert that's so seemingly simple, it’s difficult to find a great recipe. That’s why, over the past year, we challenged ourselves to come up with the very best version of this cake we possibly could.
The result?
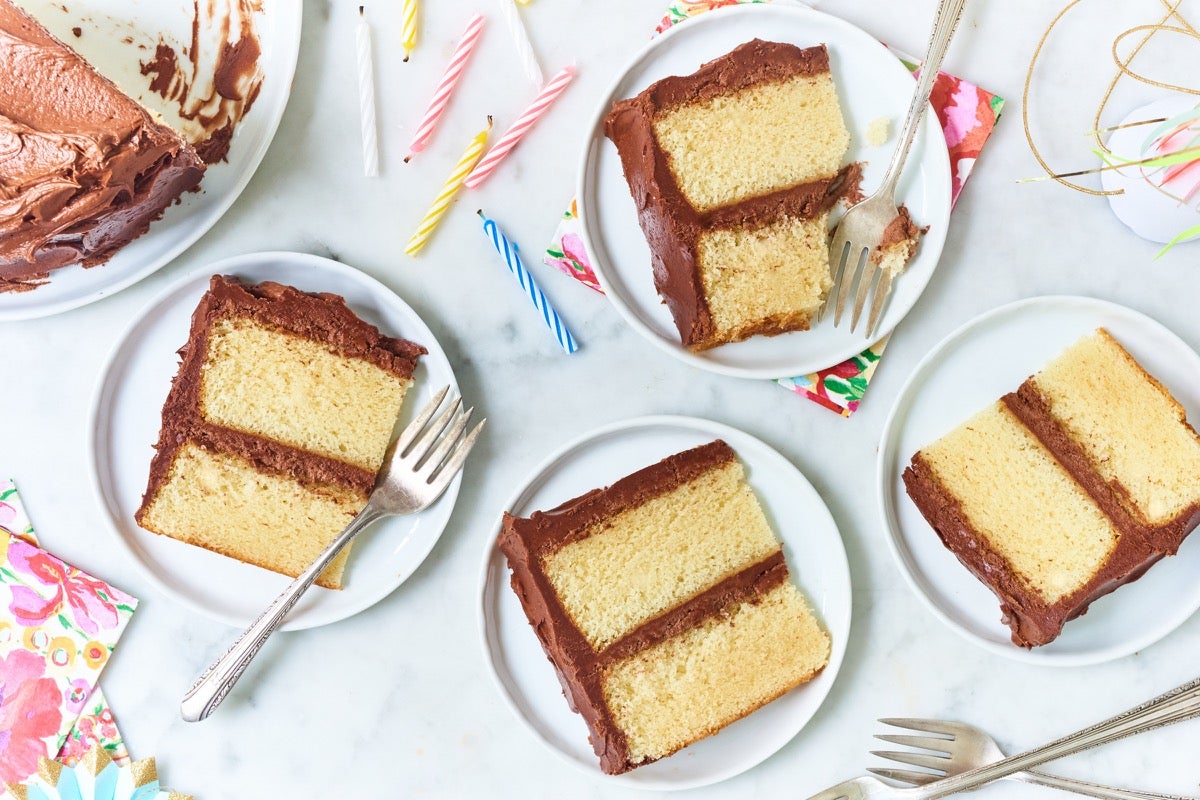
Classic Birthday Cake – our 2019 Recipe of the Year.
Why was this simplest of cakes a challenge? Two reasons.
First, many of us grew up with boxed cake mixes layered with canned frosting. And to this day those childhood memories, made rosier by time, guide our judgment of any made-from-scratch cake.
Indeed, there are still boxed cake mixes that produce a reliably tasty yellow cake: tall and light, soft and moist, with a certain tantalizing flavor that’s hard to identify. (Is it vanilla with a touch of almond ... ?)
Truth be told, much of that flavor and texture is chemically induced (propylene glycol, anyone?), and thus impossible for the home baker to replicate exactly — though many of us keep trying.
The second reason this cake recipe was a hard one to nail? It's so simple. Unlike, say, banana bread with its multiple complementary flavors and easy-to-achieve dense/moist texture, yellow cake has nothing to hide behind. The ideal yellow cake rises nicely, has a perfectly even crumb, and tastes like ... well, vanilla and butter and comfort. Period.
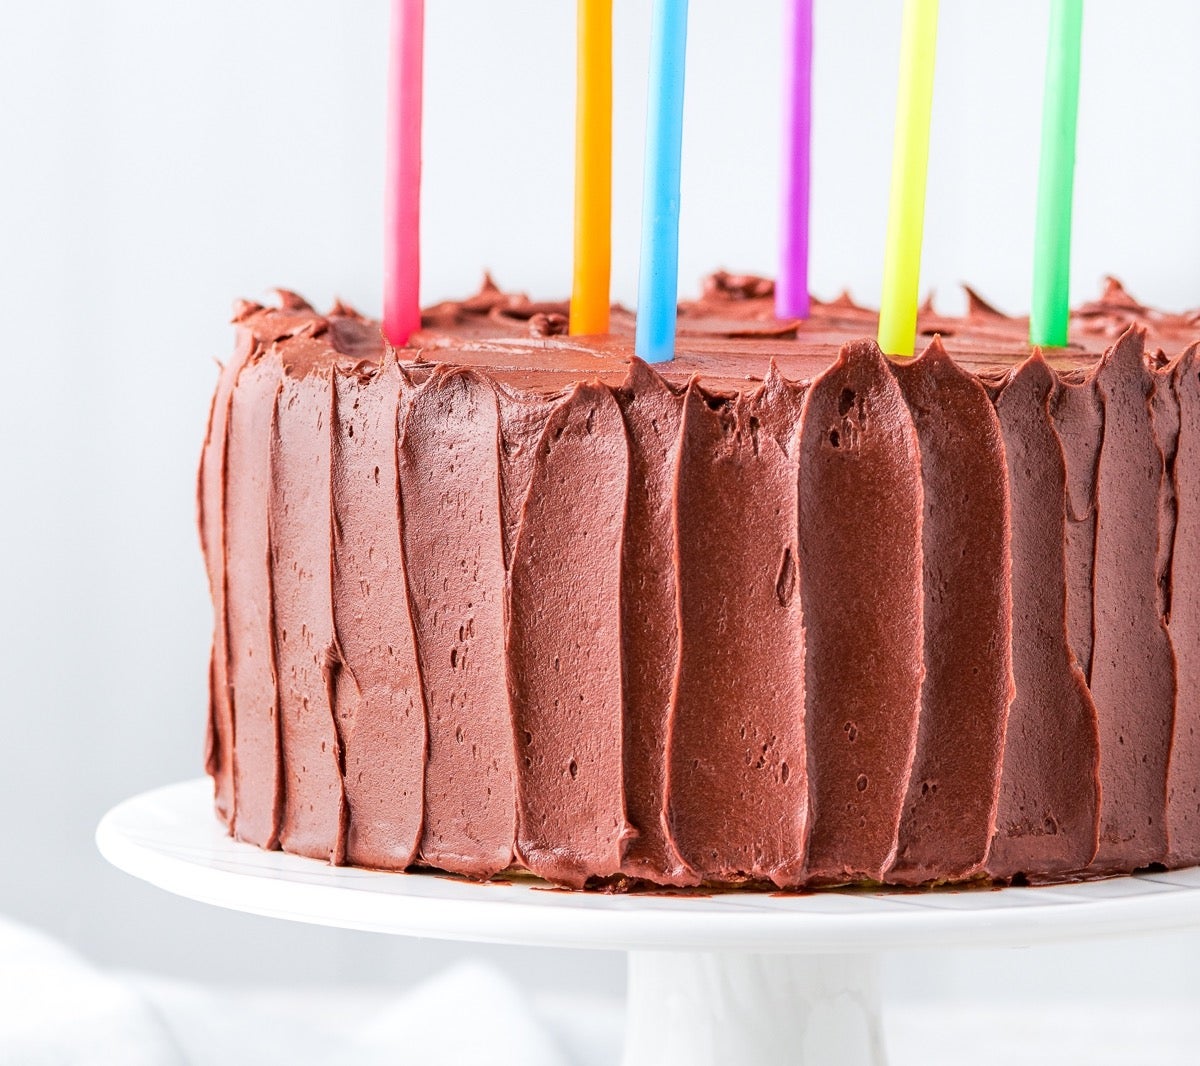
And chocolate frosting? It's simply chocolate at its most basic. No nuts, no spices; just all fudge all the time.
If anything at all is even slightly “off” with either cake or frosting, your audience will call you on it. (Right after they hold up for comparison their mom’s special box mix cake enhanced with instant vanilla pudding powder.)
Still, we persisted. And finally came up with a cake we're all proud to stand behind (and happily dig into).
We'll start with the cake. Note that it's simple to make it gluten-free simply by substituting our gluten-free Measure for Measure flour for our standard all-purpose.
2 cups (241g) King Arthur Unbleached All-Purpose Flour OR Gluten-Free Measure for Measure Flour
1 1/4 teaspoons salt
2 teaspoons baking powder
4 large eggs
2 cups (397g) granulated sugar
1 tablespoon (14g) vanilla extract
1/8 teaspoon almond extract; optional, for enhanced flavor
1 cup (227g) milk (whole milk preferred)
4 tablespoons (57g) butter, cut into pats*
1/3 cup (67g) vegetable oil
*Salted or unsalted butter? While we typically call for unsalted butter in our recipes, we find that this cake tastes just fine using either salted or unsalted butter.
Preheat the oven to 325°F with a rack in the center. Lightly grease two 8” x 2” or 9” x 2” round cake pans; for extra protection against sticking, line the bottom of the pans with parchment, and grease the parchment. If your 8” pans aren’t at least 2” deep, use 9” pans.
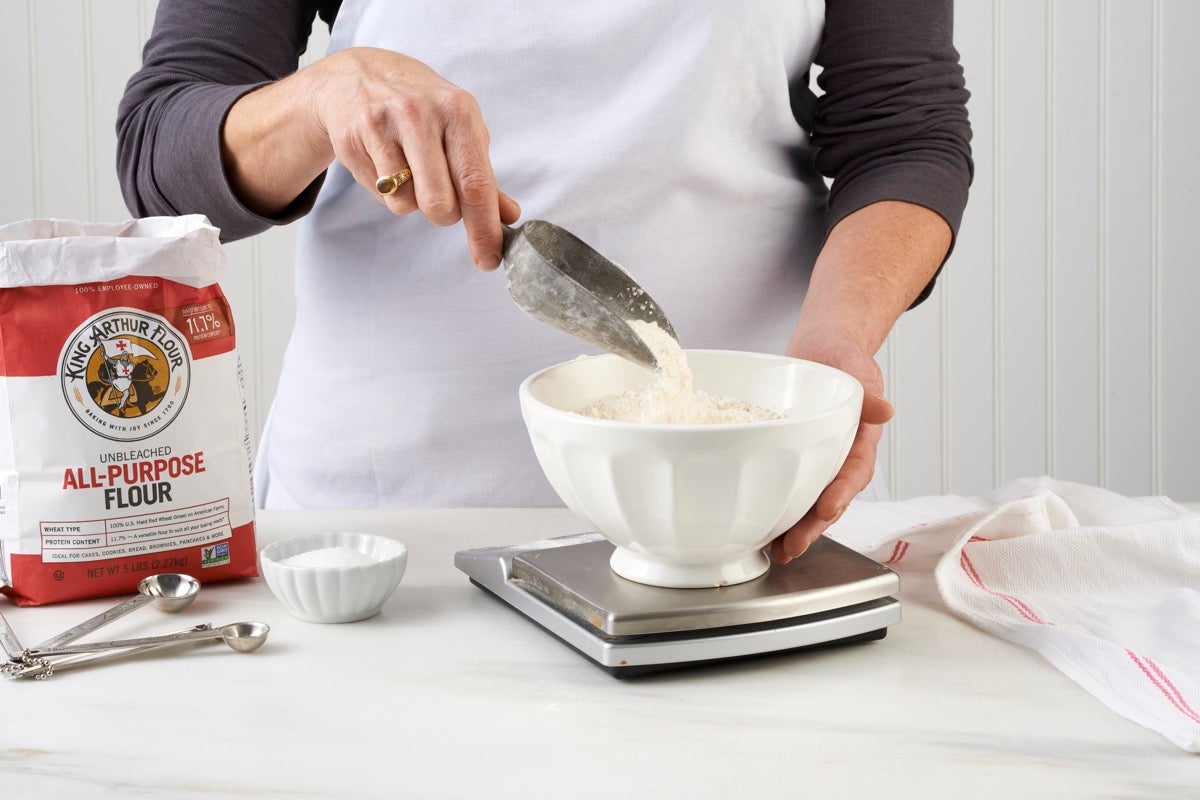
Weigh your flour; you’ll find its weight by toggling to “grams” at the top of the ingredient section above. Or measure it by gently spooning it into a cup, then sweeping off any excess.
In a small bowl, combine the flour, salt, and baking powder. Set aside.
In a large mixing bowl, either using an electric hand mixer or a stand mixer with whisk attachment, beat the eggs, sugar, vanilla, and almond extract until thickened and light gold in color, about 2 minutes at medium-high speed. If your stand mixer doesn’t have a whisk attachment, beat for 5 minutes using the paddle attachment.
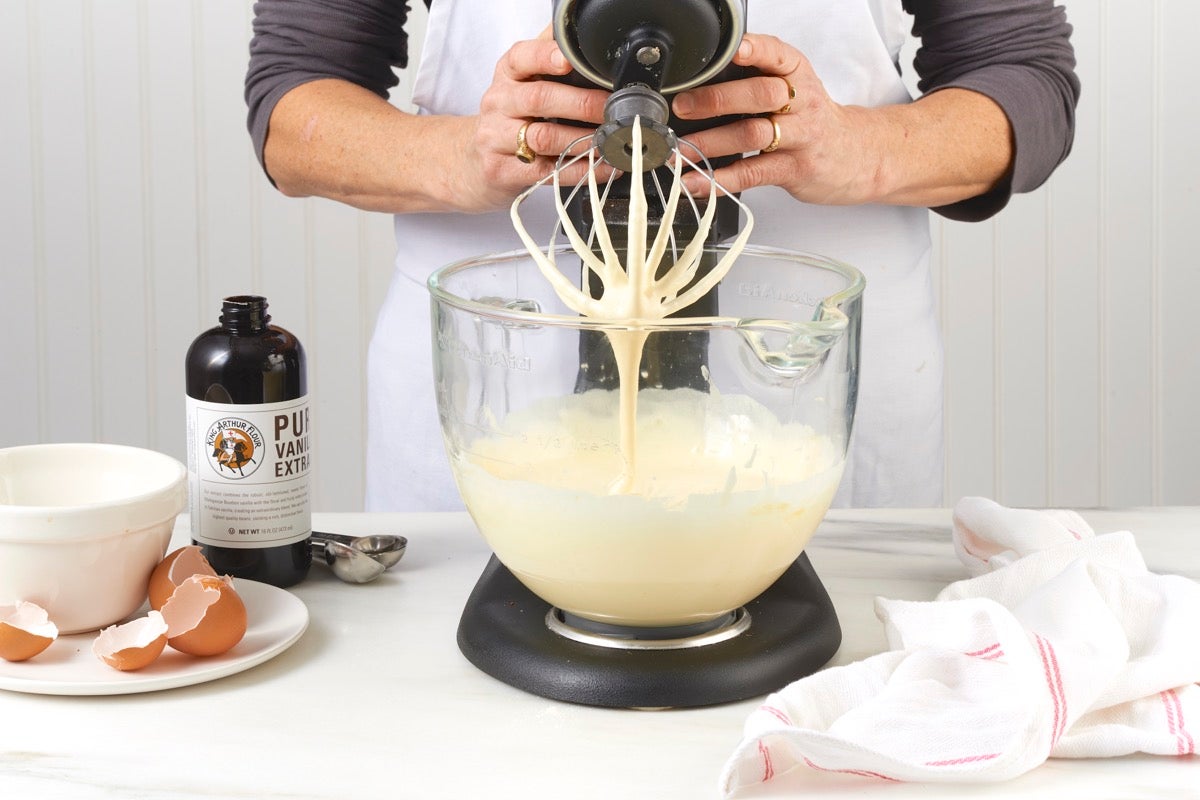
The batter should fall in thick ribbons from the beaters, whisk, or paddle.
Add the dry ingredients to the mixture in the bowl and mix — by hand or on low speed of a mixer — just enough to combine. Scrape the bottom and sides of the bowl, then mix again briefly, to fully incorporate any residual flour or sticky bits.
In a saucepan set over medium heat or in the microwave, bring the milk just to a simmer. Remove the pan from the heat and add the butter and oil, stirring until the butter has melted.
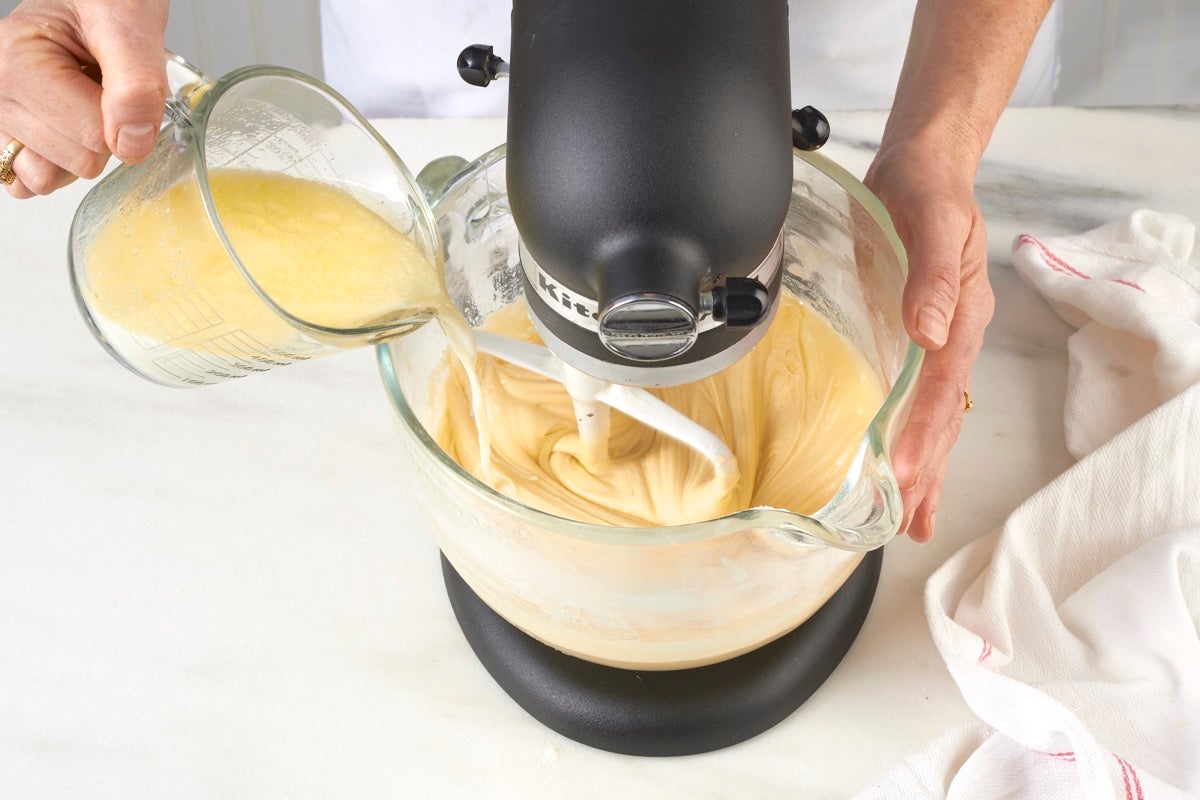
Slowly mix the hot milk-butter-oil mixture into the batter, stirring until everything is well combined. Scrape the bowl and mix briefly, just until smooth.
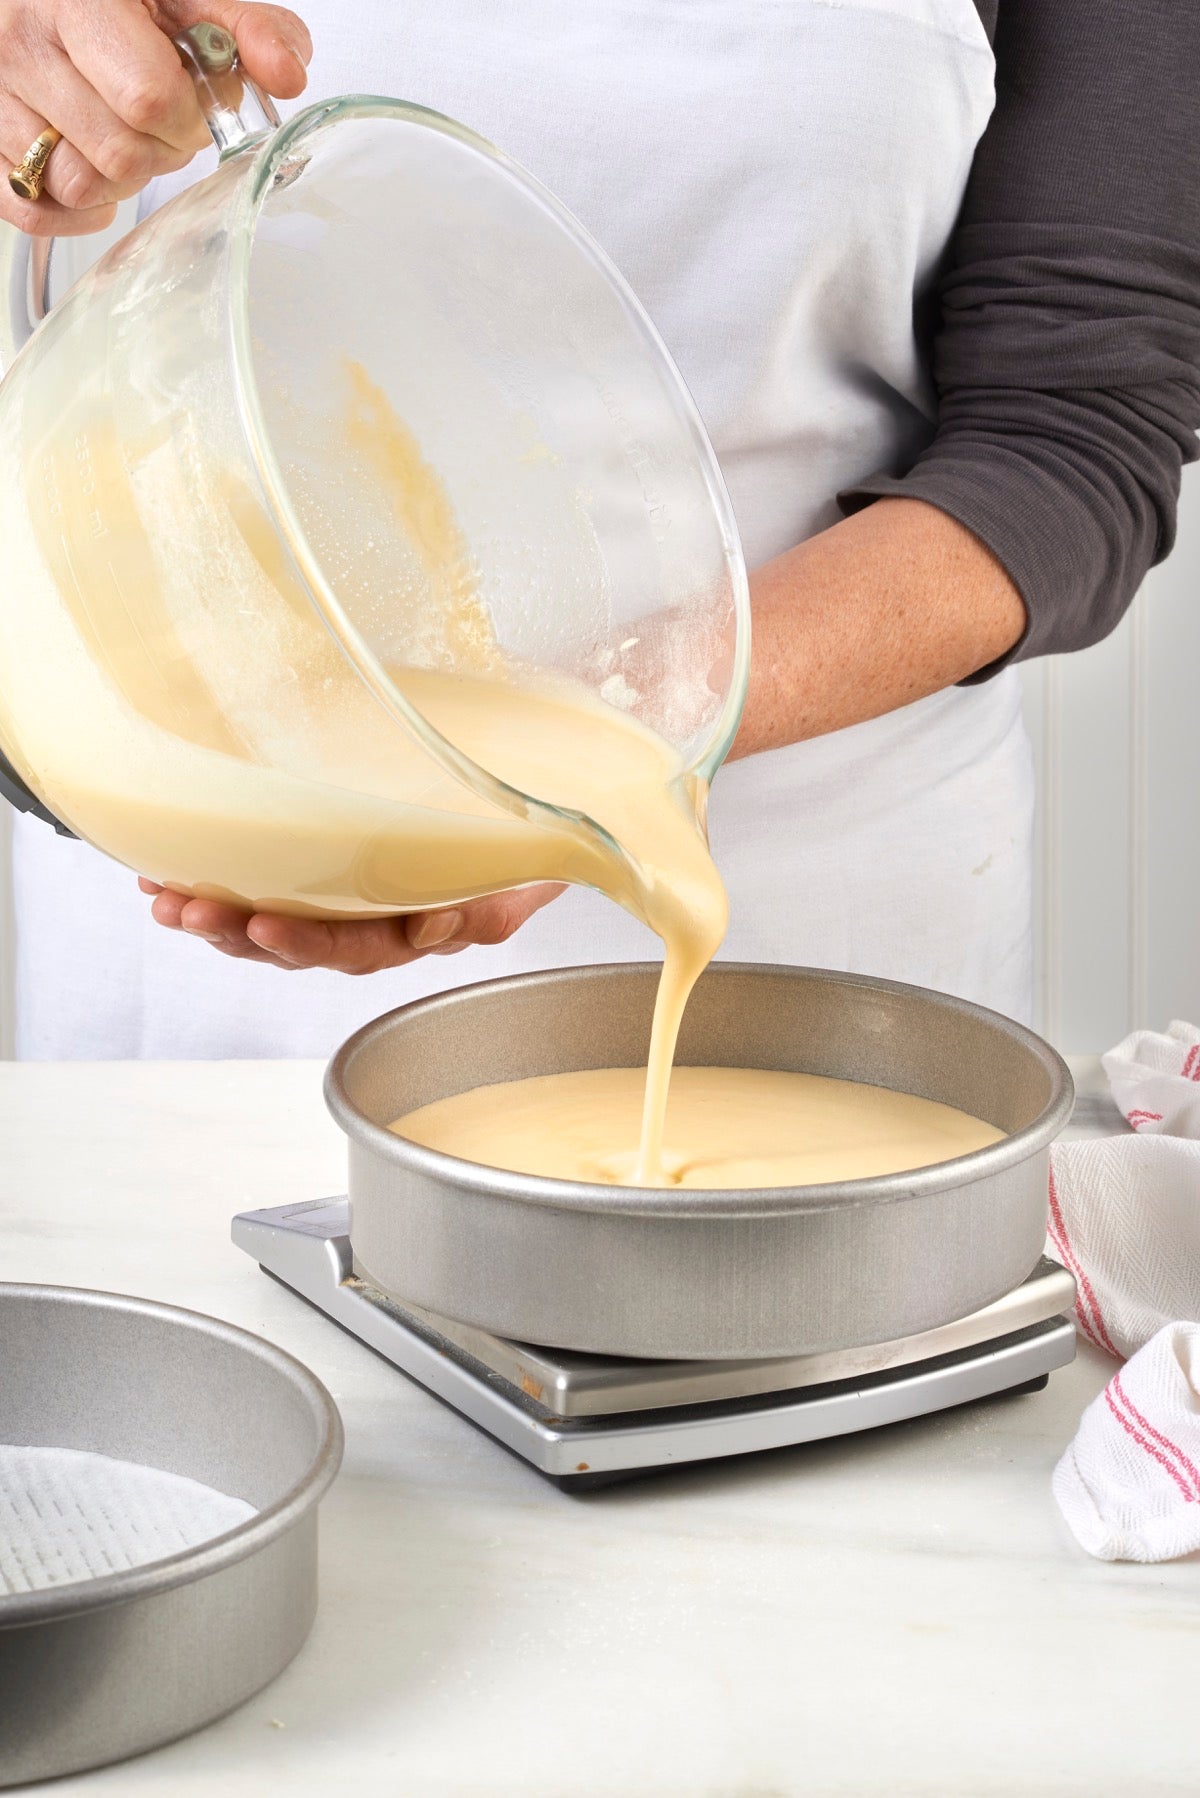
Divide the batter evenly between the two pans. You’ll use about 2 3/4 cups (about 580g) in each.
Bake the cakes until a toothpick inserted into the center comes out clean and the top feels set, 26 to 30 minutes for two 9” pans, or 38 to 42 minutes for two 8” pans. If you're using our gluten-free Measure for Measure flour, bake the cakes longer: 36 to 40 minutes for the 9" layers, or 43 to 47 minutes for the 8" layers.
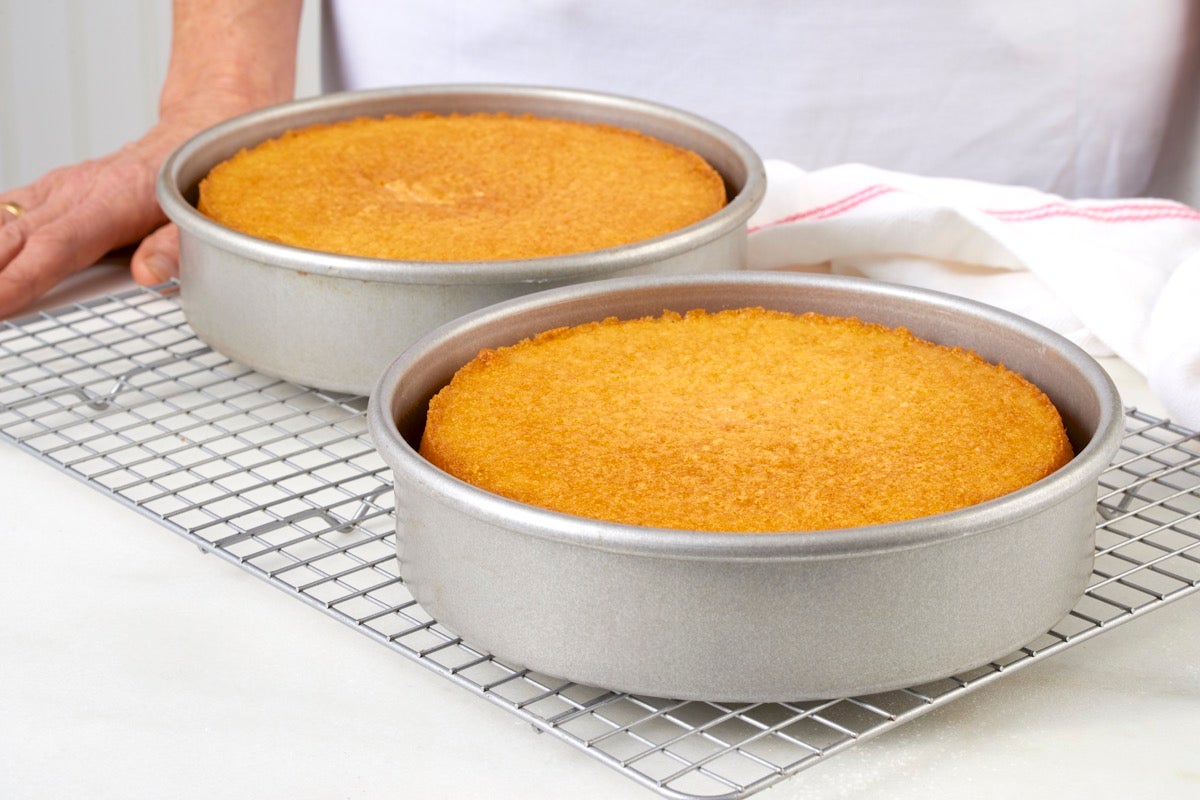
Remove the cakes from the oven, carefully loosen the edges, and allow them to cool for 15 minutes in the pans. Then turn them out of the pans, and transfer them to a rack, right-side up, to cool to room temperature.
1 1/4 cups (106g) natural cocoa powder* (sifted if lumpy)
1 cup + 3 cups (113g + 340g) confectioners' sugar (sifted if lumpy)
1/4 teaspoon salt
1/3 cup (74g) hot water
1 tablespoon (14g) vanilla extract
16 tablespoons (227g) butter, softened
*Dutch-process cocoa can be substituted for the natural cocoa in the frosting if it’s what you have in your pantry, or if you prefer a more robust, bittersweet chocolate flavor. If you prefer a lighter chocolate frosting, use just 1 cup (85g) of cocoa powder instead of 1 1/4 cups (106g). This slight change will result in a mellower flavored frosting as some of our fellow bakers have requested.
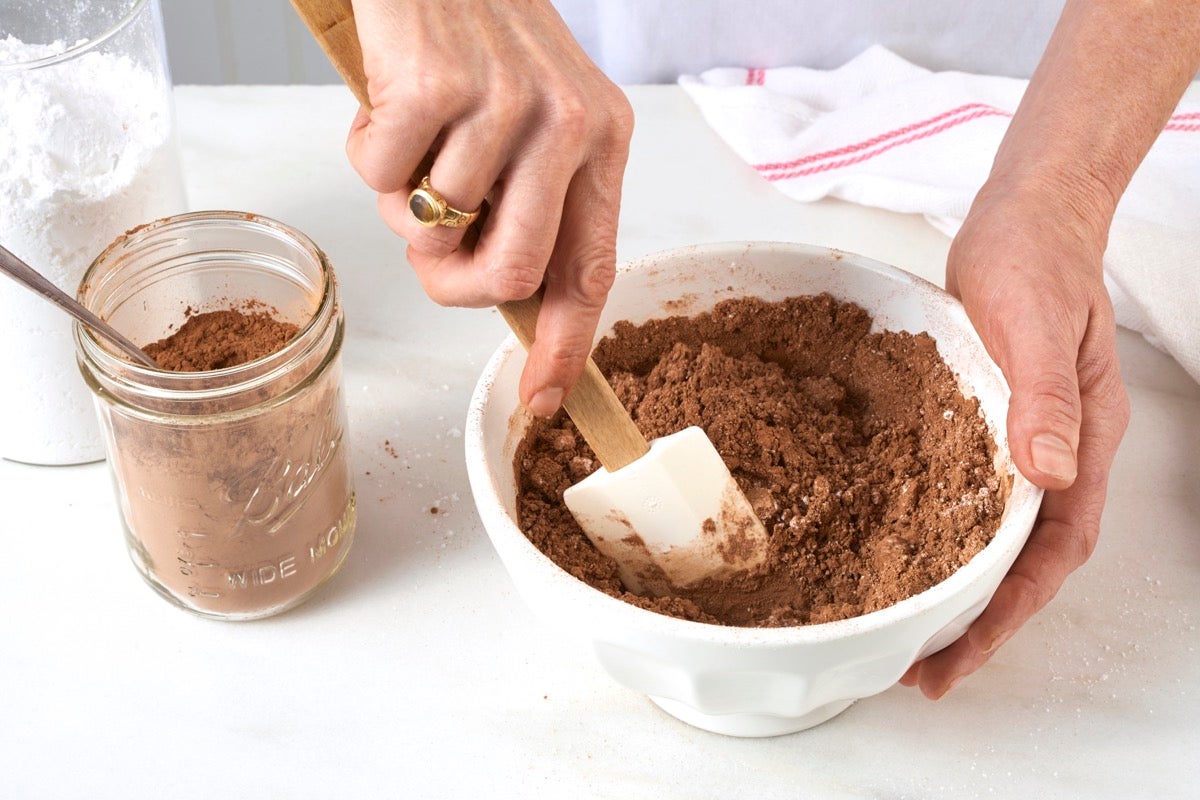
In a large mixing bowl or the bowl of your stand mixer, stir together the cocoa powder, 1 cup (113g) of the confectioners’ sugar, and the salt. Stir in the water and vanilla, scraping the bowl if necessary.
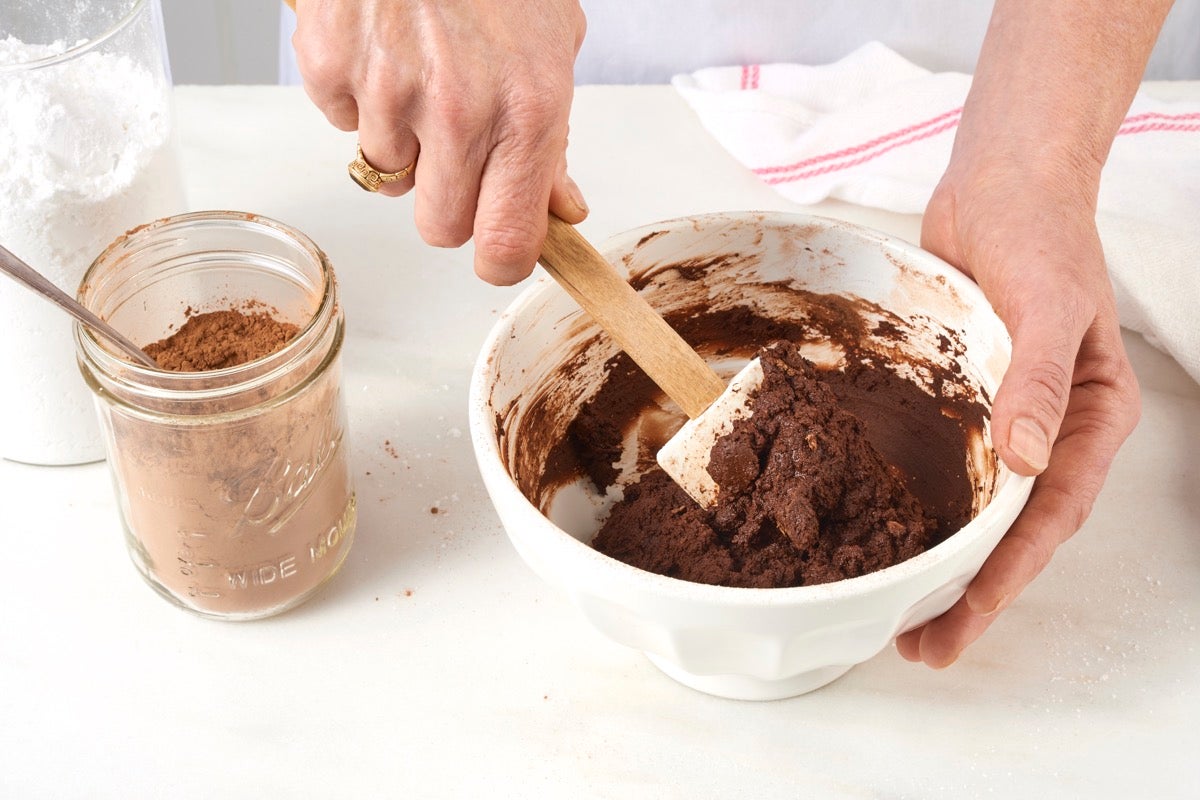
Add the butter and remaining confectioners’ sugar, stirring to combine. The mixture will be very stiff.
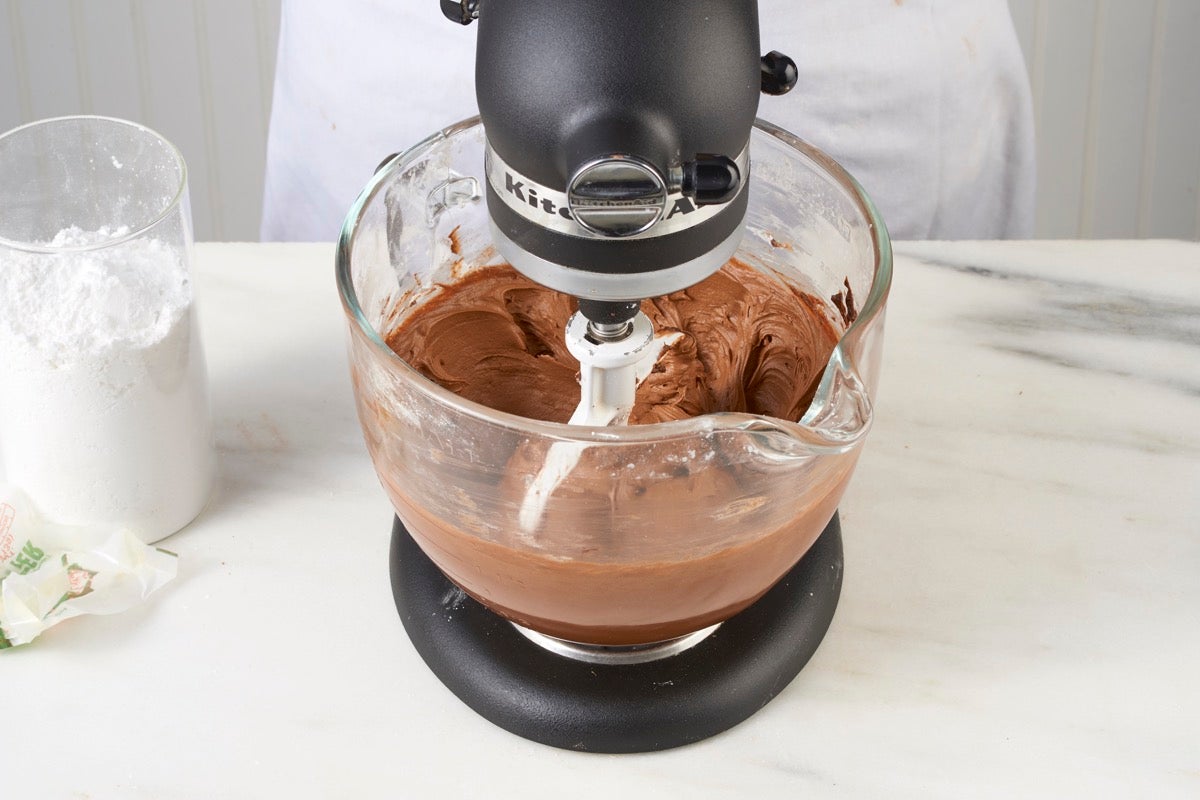
Using an electric hand mixer or a stand mixer with paddle attachment, beat the frosting at medium-high speed for 1 to 2 minutes, stopping halfway through to scrape the bottom and sides of the bowl. The frosting should be lightened in color and fluffy,
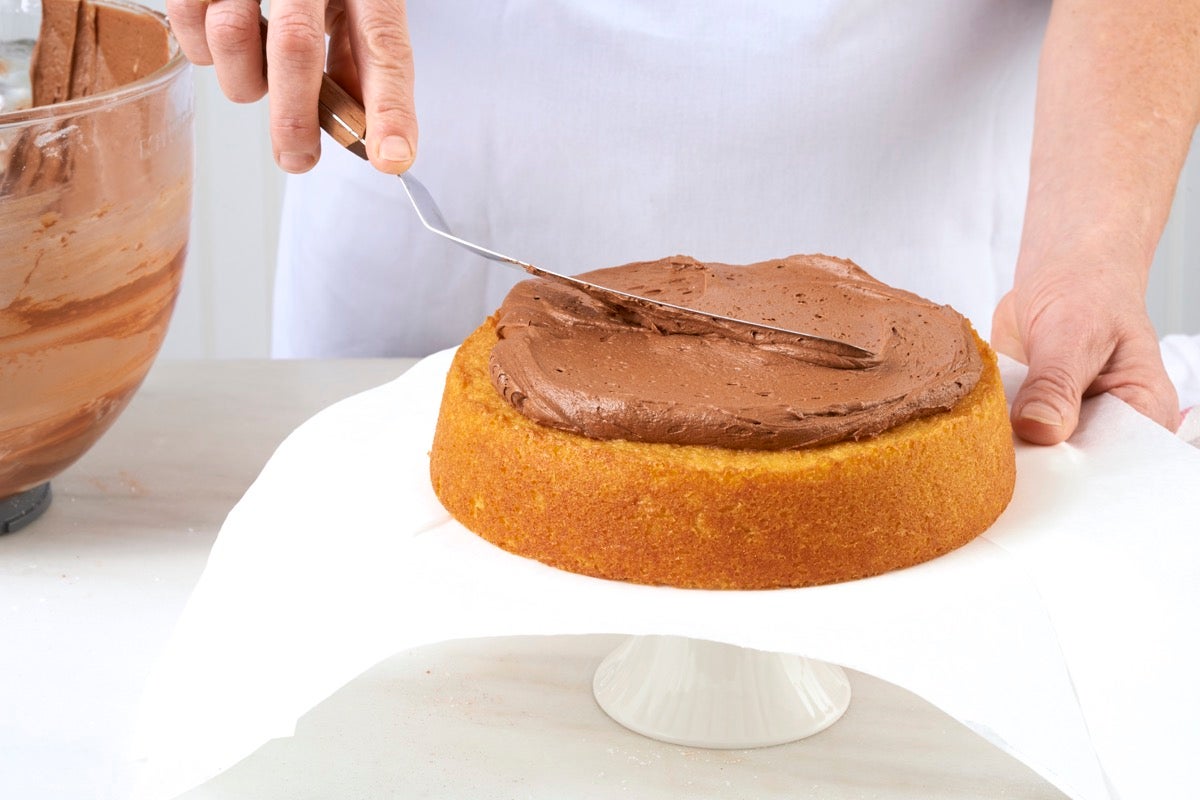
Place one of the cake layers on a serving plate or cake stand; tuck strips of waxed or parchment paper underneath the edge of the cake to keep the plate clean.
Spread the bottom layer with about 1 cup of the frosting, enough to make a 1/4” to 1/2”-thick layer. An offset spatula works well here.
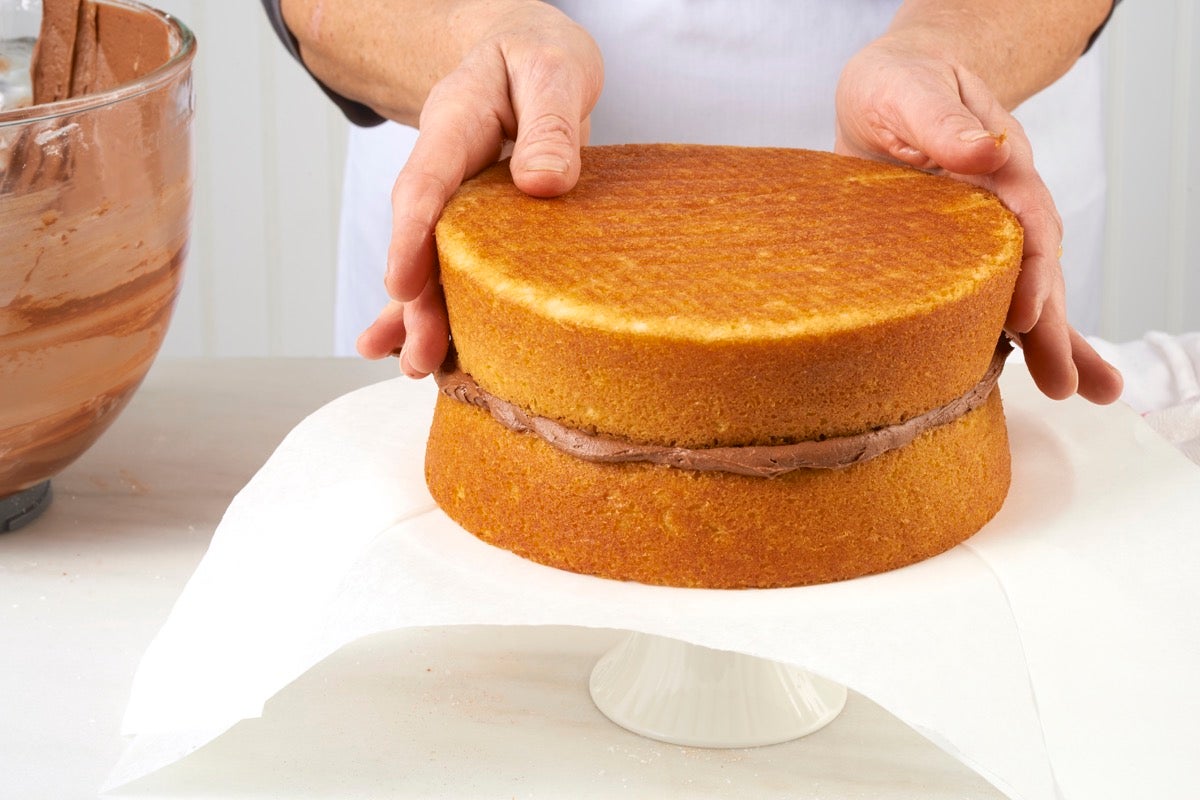
Center the second layer bottom-side up (for a flat top) over the frosted layer and press gently to set it in place.
If your schedule permits, place the cake in the refrigerator or freezer, uncovered, for at least 30 minutes (or up to 2 hours) to firm it up. This will make the layers less likely to slide around as you work, and the cake won’t shed crumbs as you frost. If you’re pressed for time, you can skip this step.
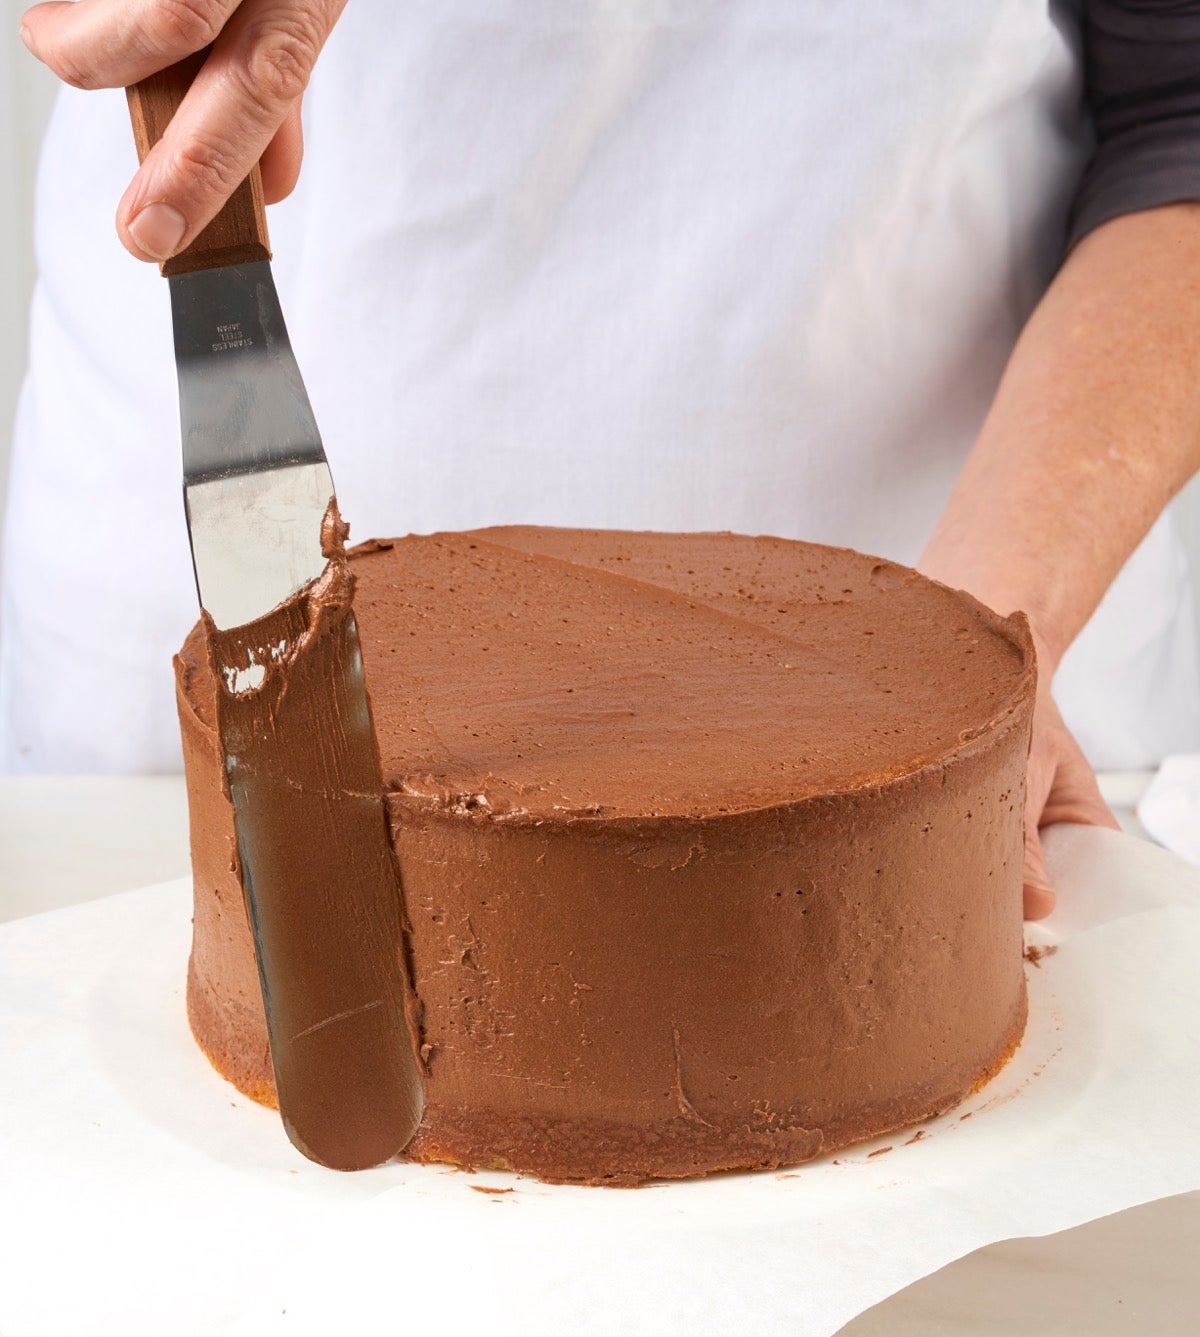
For the best-looking cake, do the frosting in two steps. First, spread a very thin layer of frosting around the sides and across the top; this is called a crumb coat. You should be able to see the cake through the frosting in spots, it’s that thin. Refrigerate the cake for 20 minutes to let this layer set. Again, skip this step if time is a factor.
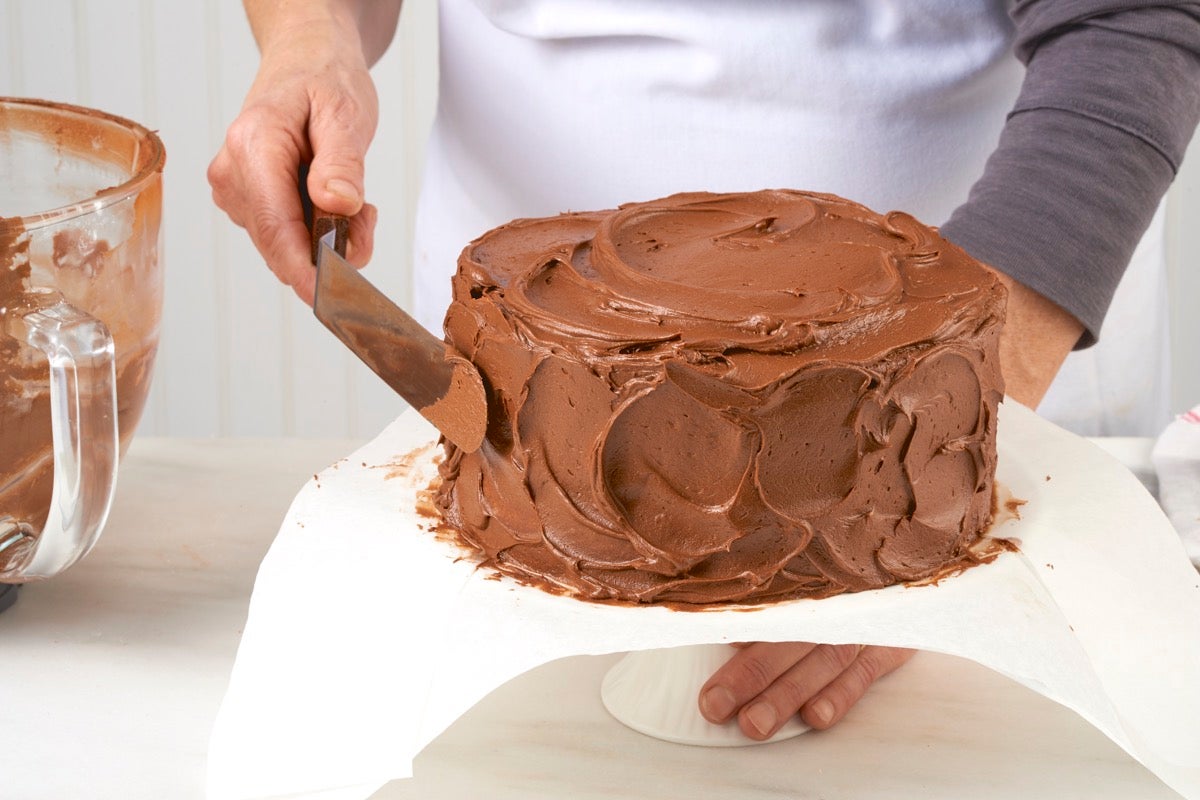
Once the cake is chilled, use the remaining frosting to coat it thoroughly and evenly. If you have any leftover frosting, you can use it to pipe decorations on the top and/or around the base.
Speaking of piping decorations, there's more than one pretty way to frost a cake: Grab your spatula and check out our cake styling guide for six imaginative techniques.
Store the cake, covered, at room temperature; or in the refrigerator if your kitchen is hot. The cake will keep at room temperature, covered with a cake cover, for up to three days; in the refrigerator, covered, for up to one week, or in the freezer, well wrapped, for up to one month. If the cake is cold, let it come to room temperature before serving.
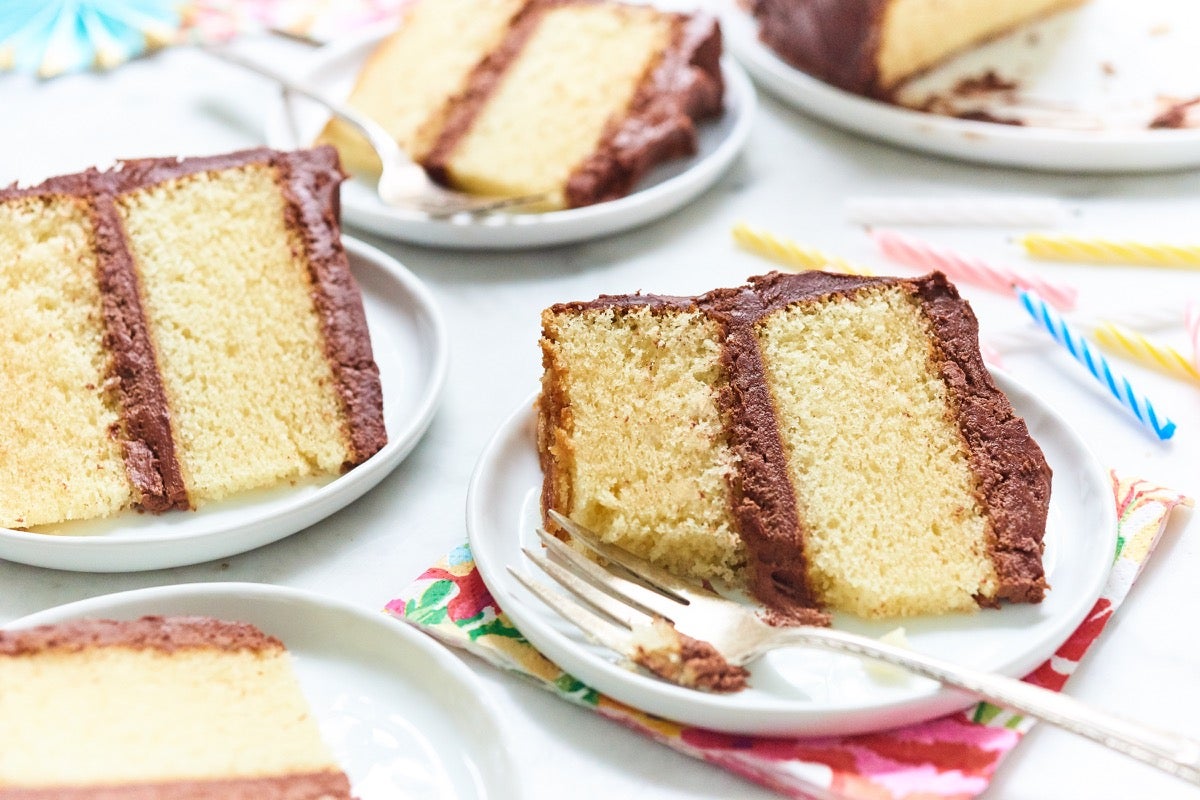
Happy birthday cake! Or maybe we should just say Happy [insert your own milestone event] cake. And hey, even if there's nothing in particular you need to celebrate — this delicious cake will make any occasion special!
Cake layers and frosting can be made up to three days ahead, refrigerated, and the cake assembled the day you wish to serve it. For storing, wrap the layers in plastic and transfer the frosting to an airtight container, or tightly cover the bowl in which you made it.
When you're ready to assemble the cake, remove the frosting from the fridge and warm at room temperature until soft enough to spread easily.
The whole cake (assembled and decorated) can be stored in the freezer for up to a month.
To follow along all of our Recipe of the Year posts, both for Classic Birthday Cake and beyond, check out our full collection here.