




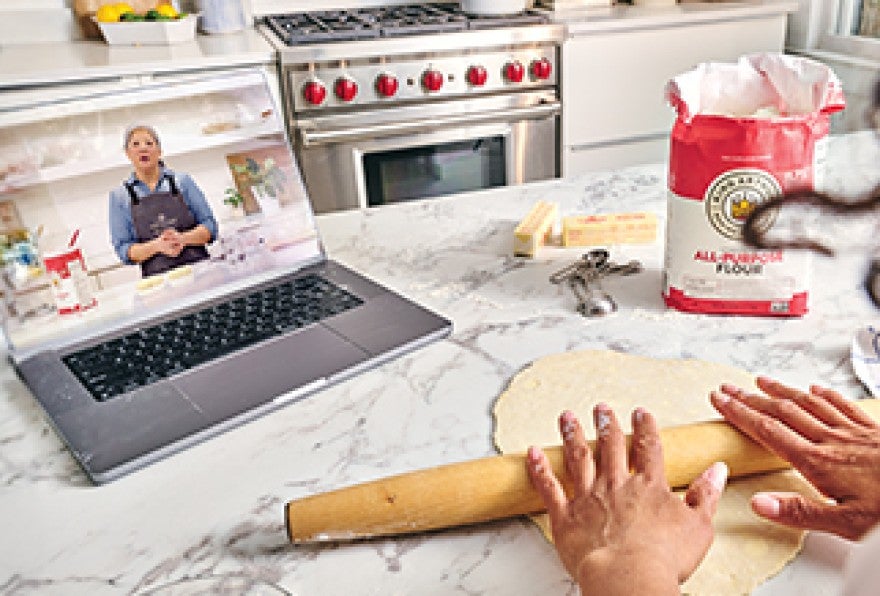
BLT Pizza
This BLT Pizza takes everything you love about summer's favorite sandwich and turns it into a craveable, sheet-pan pizza. Watch how it comes together from dough to first bite. Made with King Arthur's Flaky Puff Crust Pizza dough, the crust bakes up shatteringly crisp, light, and buttery — the perfect base for all that BLT flavor. We top it with cheese, bacon, and tomatoes before baking, then pile on fresh, crisp Romaine dressed in garlic-basil oil once it's out of the oven.
Whether you're feeding a crowd or just craving something a little different for pizza night, this one's worth the extra steps.
It looks kinda stupid, but I mean, it's not bad. Is it bad? Hey, it's Martin, I do drapes.
Hey y'all, it's Martin. Today, we're gonna do a summer treatment of our Recipe of the Year, the Flaky Puff Crust Pizza. This is BLT pizza. Let's jump into the recipe.
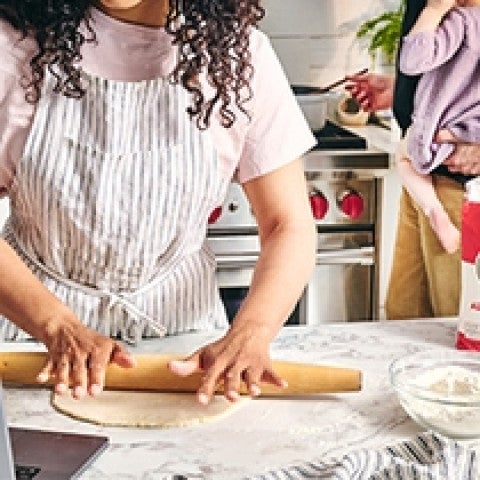
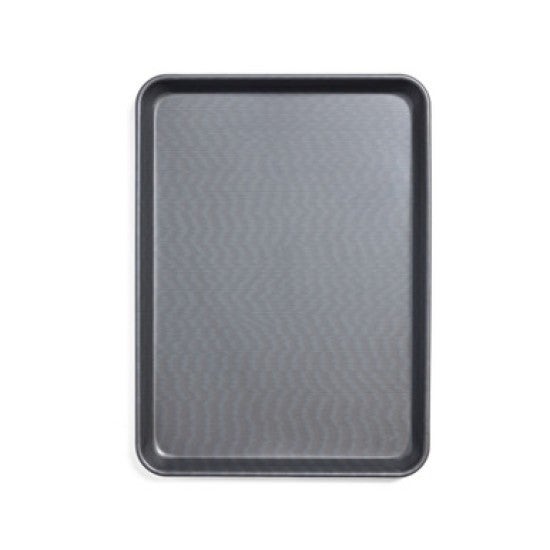
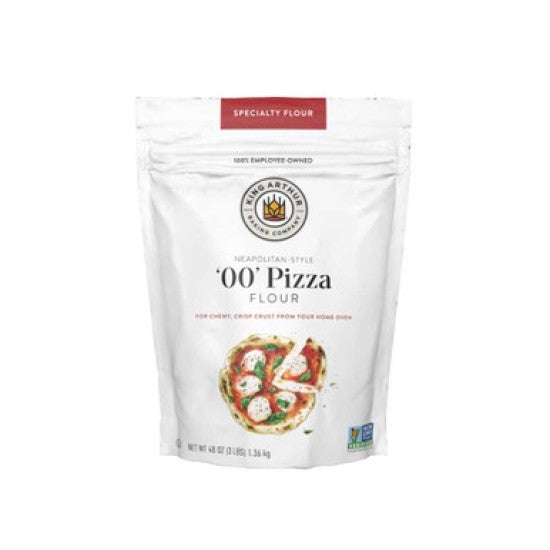
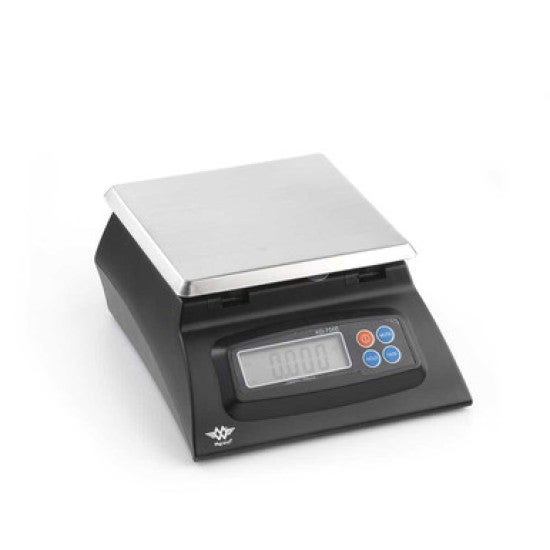
First things first today, we wanna start with preparing the butter. Remember, the Flaky Puff Crust Pizza is a laminated pizza, so I'm gonna grate some cold butter, I'm gonna throw it in the freezer, and then we'll jump to the dough process. This is half of a stick, and I'm just gonna go through the coarse side of a box grater right onto a parchment-lined sheet tray, and then we'll get it into the freezer to chill. We are in tomato season here, and if you're not celebrating tomato season with a BLT or at least a tomato sandwich, I'm not sure we can be friends, you know. It's one of my favorite flavors from childhood and continues to this day, a beautiful ripe tomato with plenty of mayo on it. Truly one of the best ways to celebrate summer. Okay, so let's get this into the freezer, and we'll come back and we'll start the dough. Okay, so let's do this mix. If you watched the original video for our Flaky Puff Crust Pizza, this is exactly the same dough process. The dough is all the same. I'm starting with 00 flour, which is slightly softer. It has slightly less protein than bread flour. So, I'm starting off 300 grams of flour in the bowl. You've heard all my lectures about why we're using a scale. This is one of those times, like always, when it's really important to control what's going into the bowl. If we're just scooping cups, you may not end up with the result that you're looking for. So, I like to scale 300 grams of 00 flour into the bowl. Next up, I've got my salt, one and a quarter teaspoons. Sugar is half a teaspoon. Little bit of sugar in there is gonna help browning. Last but not least on the dry side is a little bit of yeast. It's two and a quarter teaspoons of instant yeast into the bowl. Give a little bit of a stir to incorporate. Just a little bit. And then let's get some water in. This is 170 grams of lukewarm water, 170 grams. And then a little bit of olive oil for the base dough, tablespoon. And with the handle end of a wooden spoon, I'm just gonna stir to combine. And early on in this process, I talk about this a lot, I'm looking to make sure that I don't have flour or ingredients stuck to the side of my bowl. There will come a point in here where this tool has sort of done its job, and then I'll switch to a flexible scraper. Scrape down my wooden spoon, clean it up. One less thing to wash. And then I can start pressing and moving this dough until it comes together. This dough is on the firm side. In terms of pizzas, I would say it's definitely on the firm side, but that's good. That's good because a firm dough will be a flaky and crispy dough. It won't be floppy. I'll pop this out, and I'm just gonna knead until it smooths out a little bit and I feel like I have a nice, homogenous dough. I'm not adding any flour to my work surface. There's no need to. This dough is firm enough that you're not going to be adding anything else here. You wouldn't want to. Sometimes I hear people saying like, "I'm hand kneading, but the dough never smooths out." The truth is that it's very hard to get a dough to fully smooth out if you're kneading by hand. A better method is to knead until it's fully combined, and then let it rest. And if you really want a smooth dough, let it rest for 10 or 15 minutes, and then come back and give it a little bit more, and you'll see that the dough very much smooths out just through the action of time and hydration. So, I'll get it round. I can plop it back into my bowl. We'll get it covered. Even in the summertime, I cover things. Everybody's running AC inside, and that will dry the exterior surface of your dough, so make sure you're covering things with a nice moisture- or sort of air-proof cover. We're gonna let this rest for 30 minutes, and then we'll come back for the next step. So, in the cracks of your day, as you prepare this recipe, there are a couple things that you're gonna wanna prepare. One is this garlic basil oil that I'm gonna make first. I've got 10 grams of fresh basil, and I'm just gonna mince it. Next up, I'll get some garlic in. I've got a whole clove here. I think we said half a clove. I like garlic, so I'm gonna put the whole thing in. Next up, teaspoon of lemon juice, just for a little bit of brightness. And 50 grams of extra virgin olive oil. This is a good place where you'd use, like, your favorite oil. Use something delicious here. And then we'll season it with a big pinch of red pepper and salt. Super good. Strong flavor of olive oil, little bit of salt, little bit of heat, a little bit of brightness from the lemon and the aromatic of the basil. This is delicious. I would just toss this with fresh pasta, but we're gonna do better. So, let's make the other topping. Okay, let's get these tomatoes ready. We're gonna slice some slices. I need about 12, and I may have a few more than that, but that's okay. We're just gonna put 12 on. And I'm cutting about one-eighth of an inch thick. And I'm cutting from sort of stem end to blossom end. This way will give us a little bit better round. So, thin slices and then we're gonna salt 'em in the bowl. And in that salting process, what we're gonna do is pull off a little bit of the moisture that if we didn't do that, would transfer into the dough and wouldn't make it quite as flaky crispy as we want it, so salting them to remove some of the water. So, this is one half of a teaspoon. Just sort of move it around in there with your hands. And if you wanna give them just a little bit of massage, that's gonna help bring some of that moisture off of them. Okay. Into the bowl in a strainer, or in a colander or something like that. We're gonna reserve that liquid and we're gonna use it when we make our mayonnaise that's part of our garnish. So, we'll let these hang out for a few minutes and we'll be back. All right, so let's do these tomatoes. They've had about 15 minutes. If it's more, you know, it's one of those things. Don't fret about it. It's okay. We're just trying to get a little bit of the moisture off of them, and so now, I'll take them out of my strainer here. If you're a little bit aggressive, you know, one of them falls apart, maybe that's your snack. Cut a few extras just in case that happens. And then with a paper towel, I'm just gonna give them just a little bit of a blot just to, again, take some of that moisture off and help keep them from sogging out. And now, I've got this liquid reserved. I'm gonna use that in the mayonnaise, and so we'll set this aside. I'll be right back, and we'll make the mayonnaise. So, let's make our mayonnaise drizzle because you can't really have a BLT without mayo. I don't have many, like, hot takes on things, but I think mayo should be part of everybody's life, and I'm sorry if you haven't found the light on that one yet. So, I've got my mayonnaise in the bowl. This is one quarter cup of good mayo. And then I need a teaspoon and a half of lemon juice. And then I'm gonna start with one teaspoon of the reserved tomato juice, one teaspoon. I'll stir that in and see how the consistency is. And I've been adding two, but let's just make sure. You don't want it to be sort of sloppy-runny, but you want it to be a drizzle, so it should have some sort of flowable aspect to it. This looks just a tiny bit tight still, so maybe I go in with just a little bit more. And then a nice big pinch of black pepper. I would just eat that on toast. Delicious. Let's get cleaned up, and we're almost ready for the next thing. Let's do this. Dough's had 30 minutes, 35 minutes. It's proofed. It feels soft to me. There's actually some activity in here, which is nice, you know? Not a lot of time. Okay, so a little bit of flour on the bench, and then I'm just gonna turn my dough once just to make sure that it's coated on both sides. Don't be afraid of giving your bench some flour so that you're not sticking, because if you're rolling something thin like this, you don't want it to stick because as soon as it sticks, it fights the ability of it to expand or extend, right? So just keep it floating on the bench as you would something like a pie crust. And anytime I'm gonna go to roll something into a square or a rectangle, I always do like a little bit of a preshape because it helps you go from that round form to something that has square corners, which is what we want. And this initial roll should happen pretty easily. I'm going to roughly 10 by 13. There is some flexibility at this point. This isn't our final size. It's just getting it big enough that we can add our butter in, and I'm at 10 by 13, so let's do that. We didn't pull this butter until the very last minute. We want it to be as cold as possible. If it's starting to melt, it's gonna stick to your fingers. You're gonna have a little bit of headache with it, so keep that dead cold. And I'm gonna use all but about a tablespoon right now, so I'll sort of set about a tablespoon aside, and then I'll use the rest of it, reserving that for the next fold. I like to work with hands that are floured just a little bit. It'll help this butter keep from sticking to myself as I get it on here. And so I'm gonna go back and just press the butter so that it doesn't fall off when I fold it. That's about all it takes right there. And now, I'll start on my left, and I'll fold until that edge is about two-thirds of the way over, you know, fold it towards the middle, performing a letter fold, just like you might with puff pastry or some other laminated dough. And then from right to left. And press it. And if the dough doesn't quite make it to the corner, you can just stretch it. And press to adhere. And then what I wanna do is, I wanna make sure that I'm about four inches wide, and I think I'm a little less... Actually, you know, I'm just shy of four, and so I don't think I even really need to use the pin. I can just use my hands pressing down. And I've done a good job here. It's kind of architectural. That's often the way that I think. When I'm working with a dough like this, I think about folding paper, or maybe doing some origami if you're that talented. I'm thinking about square edges, crisp lines, all those things. Those are good sort of working habits for anything that's laminated. And then I'm just gonna distribute this last little portion here. And that looks pretty good. Little bit more flour on my hands. Often, there's just enough flour on the bench to sort of take care of that. Press. And then down from the top two-thirds of the way, press to adhere. Looks good. And then up from the bottom, one last letter fold, and I'll press to adhere. And then I'm gonna pinch that leading edge. You don't have to mess with the sides, but that sort of leading edge right here, we will go ahead and press that just to seal. Okay. Little bit more flour on the bench just to make sure that we are floating still. And I'm gonna begin this rolling process. At some point, as I proceed, I'm gonna decide that this dough is getting a little bit resistant, it's stretched about all it can right now, and at that point, I'm gonna put it on my board, cover it, walk away for 15 minutes, and come back when it's had a chance to relax. Remember, as I said before, dough gains a lot of strength when we roll it out like this. It gains a lot of strength. And so, eventually, we're gonna roll this to the size of our half-sheet tray. For now, I'm just sort of seeing how far I can go in that direction before it needs me to take a break. I can see the butter sort of showing through these layers a little bit. I like seeing that, and I like seeing it intact still. If I had used softened butter, I think that it would sort of smear into the dough a little bit more, and what we really want are these little pockets where we're creating a fence in the dough itself, and what I mean by that is that we have this sort of dough-butter-dough consistency. Okay. Little bit of flour. And then cover it with something. If you have your half-sheet tray at hand, just put that on there. 15 minutes or so, we're gonna come back, and we'll continue our rolling process. Okay. It's been 15 minutes. Let's have a look and see. It's actually rising a little bit. It has risen a little bit, so it looks great. Actually, I can tell already that this is gonna take this last roll really nicely. Okay, so I'm going all the way to 13 by 18. And it looks good, it's relaxed. So, I've got my pan here. If you watched the original video, you heard my sermon on why I like these Lloyd Pans. They're dark and they produce a crisper, more sort of well-baked and dark crust. I think it's perfect for this. If you don't have it, just use our regular half-sheet tray. We're not gonna oil it and we're just gonna dump this dough into the pan or just lay it in here. And I'll just coax it into the corners just a little bit further. And the dough is gonna sit in the pan for about 30 to 45 minutes. Somewhere in there, you're gonna come back to it, and you're gonna press it up the sides slightly, okay? So, you're gonna come back and press this dough just a little bit further up the sides slightly during the next 30 to 45 minutes. I would wait about 15 and then come back and do it. You're gonna cover it as well, and it's also time to get your oven preheated to 475 degrees. Okay, dough has relaxed and risen. We have our toppings ready. Let's go ahead and finish this and get it in the oven. Got some Parmesan. I'm gonna put that on first. You know, hard cheeses like this add their own level of flavor. When we were working on the pizza book, there's a whole sidebar in there about how hard cheeses can add their own sort of unique contribution and flavor. So, I'm starting with the Parm, and then I'm putting some grated low-moisture mozz, low-moisture mozzarella. And just make sure that you're distributing it nice and evenly. And then I have a little bit of fresh mozzarella. Just a little bit here and there. And then we'll go with our bacon, which is chopped. It's a really nice element. You know, when you're eating this pizza, you'll come across a bite of that bacon at various points, and it just really makes it feel so savory and, I don't know, maybe even decadent. But it's not that decadent because you're eating salad on top, right, so this is like one-stop shopping. You got your vegetable and everything. And just make sure, again, that you've got some distribution. And then I'll grab my tomatoes. And we're doing three by four here because after it comes out, I'm gonna cut this into 12 even pieces so everybody gets their own tomato. And I would encourage you to follow the topping quantities and method, but what we found in testing was that this was the right amount of tomato for this pizza. If you go too heavy with the tomato, you lose some of that snap and crunch, which we don't want. Beautiful BLT pizza, ready to go into the oven. I have my oven preheated, 475. I'm gonna give it 15 to 17 minutes. What I'm looking for is that the cheese is deeply browned and the crust is, at a minimum, golden in all spots. We wanna really make sure that we give this a nice, full bake. I may even peek underneath just to make sure that I have full color on the bottom as well for maximum crunch. Let's get it in. Smells really good. The cheese has browned really well. If that feels like too much color for you, pull it sooner, but I'll tell you that if you pull it too soon, you're gonna compromise crispness. The one thing that I heard about from my neighbor Mike, who's Tucker's neighbor too, was like, "The first time I made it, I didn't bake it quite far enough." And I said, "Yes, you have to bake it the full way." So, Mike highlighted that for us, and I'm passing it along to you. Make sure that you give this a nice, full bake. It will be crisper, crispier. It's just better. Beautiful on the top, also beautiful on the bottom. That level of color is okay, that's flavor. Now, let's get together our toppings. Actually, let it cool first. Give it three to five minutes, put it on a cooling rack. That way, it can evacuate some of that moisture, which will also support crispness, right? Let me get this lettuce ready. Maybe I'll chop the lettuce and then I'm gonna cut the pizza. We'll put the lettuce on. We'll do our mayo drizzle. You'll see what's happening here. I've got a head of good, beautiful romaine. So, I sort of ribboned it, little bit of like a chiffonade. Lettuce into a bowl. And then we have this beautiful, basically it's a vinaigrette, but it's more of like an herb oil with a lot of garlic in it. And three to five teaspoons, something like that. Sometimes, in this case, I might just toss it and just see how it looks before I add the full quantity. This looks pretty good, but I think it needs just a little bit more. Just a little bit more of the good stuff. Save that, don't get rid of that. You can come back with your crust and sort of clean the bowl. Okay, let's cut this. We're gonna cut it in a way that gives everybody a slice, right? 12 tomatoes, 12 pieces. I think this one might even be crispier than the one that I made when we did the Recipe of the Year video. This one sounds super beautifully baked. Wow, looks beautiful. I kinda wanna eat one just, like, right now, but I'm not going to. I'm not gonna do that. I'm gonna wait, but I am looking at my handiwork. Okay, I see some beautiful layers, it's what I want. I can sort of... I'll be able to sleep better tonight. Okay, let's get some of this beautiful lettuce on here. Distribute this however you like. You could do it in full coverage, but I don't know. There's a part of me, like if I'm serving the people that I love in the world, or maybe even people that I don't even know, having some gaps in here where I can sort of see through to the cheese and the tomato and the other ingredients that we've taken so much care with is really pretty. Right now, it's really pumping with the... The garlic and the basil is really pumping. Okay. So, I've got my mayonnaise here, and I'm just gonna do a little bit of a drizzle. Some's gonna hit the counter. It's okay. Just go for it. Beautiful. That's it, that's our BLT pizza. It's a great riff on our Recipe of the Year. If you're looking for more pizza content, check out our pizza playlist on YouTube. This is Martin and Tucker and Lydia in the studio saying thanks, y'all.

Video Credits
Shop this video
Related Videos

Your bread fell flat. Your cookies crumbled. Who do you turn to?