-
To make the cake: Preheat the oven to 350°F. Lightly grease two 8" round pans, then line the bottom with parchment rounds, and lightly grease the parchment, too.
-
Beat the butter and sugar until well combined. Add the eggs one at a time, beating after each addition.
-
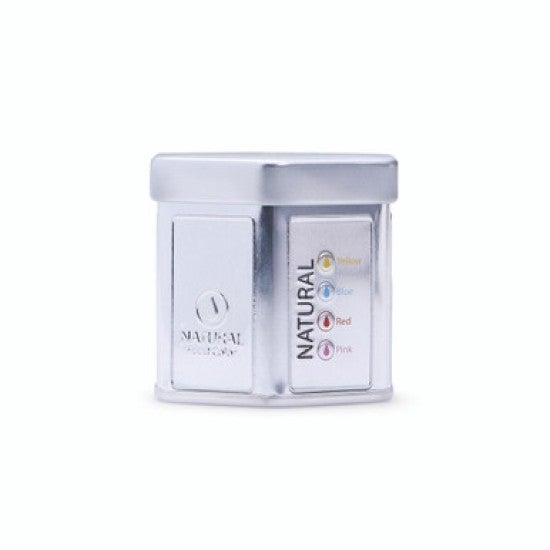
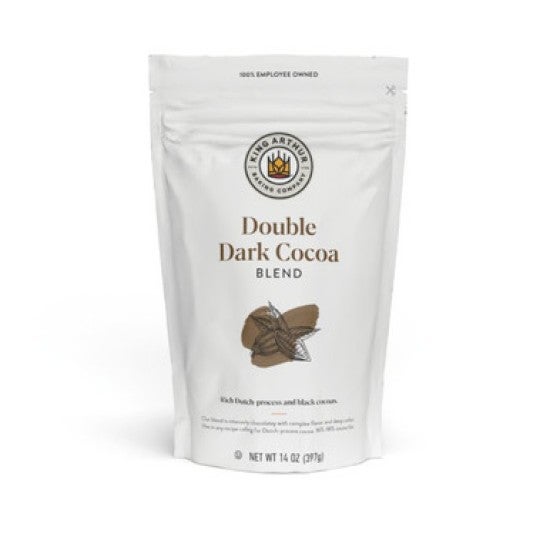
Stir in the food color, cocoa, salt, baking soda, and vinegar.
-
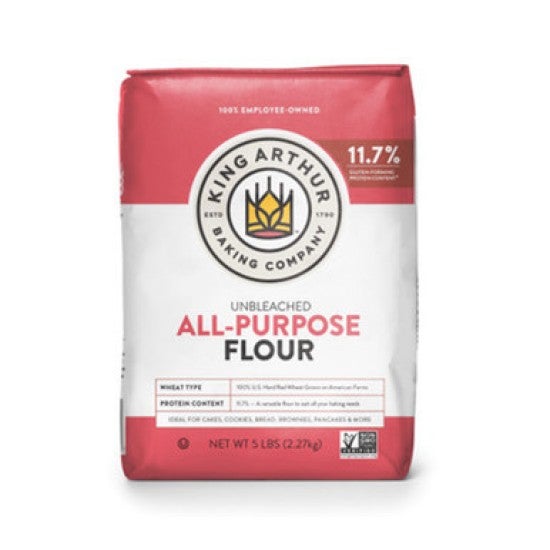
Beat in the flour alternately with the buttermilk or yogurt, beginning and ending with the flour. The point is to keep the mixture smooth, which is more easily accomplished if you add the flour and yogurt in portions.
-
Scoop the stiff batter into the pans; wet your fingers or a flexible spatula and spread it to cover the bottom of the pans, smoothing the top a bit in the process.
-
Bake the cakes for 25 to 30 minutes, until the tops feel set and a toothpick or paring knife inserted into the center comes out clean.
-
Remove the cakes from the oven, and allow them to cool for 10 minutes before turning them out of the pans onto a rack to cool completely.
-
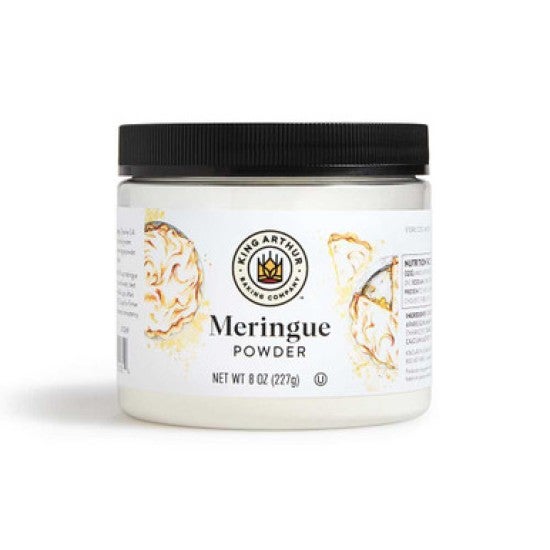
To make the frosting: In a large bowl working with an electric hand mixer or in the bowl of a stand mixer fitted with the flat beater attachment, Beat together the butter and shortening until fluffy. Stir in the salt, meringue powder, and vanilla.
-
Add the confectioners' sugar and milk, and beat thoroughly.
-
Scrape the sides and bottom of the bowl. Adjust the consistency of the frosting as needed by adding more sugar or milk. If you're not going to use the frosting right away, keep it at room temperature, covered, to prevent it from developing a crust.
-
When the cake is cool, slice each layer horizontally, to make a total of four layers. Spread each layer with frosting, stacking them as you go. We like to show off the lovely contrasting colors of this cake by frosting only the top, not the sides. See our blog post, How to assemble and frost a layer cake, for additional details.
-
Slice the cake and serve it at room temperature. Store any leftovers, well wrapped, at room temperature for a day or two; freeze for longer storage.