Equally as stunning as they are flavorful, rainbow cookies are created by sandwiching layers of almond cake together with apricot jam. The layers of these Italian cookies are traditionally red, white, and green to pay homage to the Italian flag, but the colors can be customized for any celebration. For a classic look, glaze both sides in chocolate and use the tines of a fork to make a squiggle design for texture and panache.
Prevent your screen from going dark as you follow along.
Preheat the oven to 350°F. Lightly grease three 8" square pans or line each pan with a parchment sling. If you only have one 8" square pan, that’s OK; you can bake the layers one at a time.
To make the cake: Break the almond paste into large chunks and place them into a large bowl or the bowl of a stand mixer. Add the sugar and salt, and mix using an electric hand mixer or the flat beater attachment on a stand mixer until sandy. The almond paste should break down into smaller pieces and become uniform in size.
Add the butter and almond extract. Beat until the mixture is slightly fluffy and lightened in color, stopping to scrape the sides of the bowl as needed.
Add the eggs, one at a time, mixing until each is fully incorporated before adding the next.
Add the flour and mix until smooth.
Divide the batter into thirds: Portion approximately 1 cup (235g) of batter into 2 medium bowls. Leave the remaining third in the mixing bowl.
To one bowl, add red coloring. To another bowl, add green coloring. The remaining batter in the mixing bowl is the plain layer.
Transfer each of the batters to one of the prepared pans and spread evenly (a small offset spatula is a helpful tool here); the layers will be thin. If you only have one 8" square pan, start by baking the plain layer first while the other batters rest at room temperature, then bake the green layer, then the red layer. There’s no need to wash the pan between bakes — just be sure that the pan has cooled completely before baking the next layer.
Bake each layer for 9 to 11 minutes, or until the cake springs back to the touch and looks dry in the center.
Remove the cakes from the oven and cool in the pan for 10 minutes before turning them out to cool completely on a rack. Be sure that all of the cake layers are completely cool before assembling.
To assemble the rainbow cookies: Spread 1/4 cup (85g) of the jam on top of the green layer of cake, spreading it all the way to the edges. Place the plain layer of cake on top of the jam and apply firm pressure to sandwich the two layers together.
Spread the remaining 1/4 cup (85g) jam over the top of the plain layer, spreading it all the way to the edges. Place the red layer of cake on top and, again, apply firm pressure to sandwich all 3 layers together. Wrap tightly in plastic wrap.
Place the wrapped layers in a 9" x 13" pan (or any pan larger than an 8" square) and place an 8" square pan on top. Place 4 to 6 heavy cans (or something of comparable weight) inside the 8" square pan to weigh it down, compressing the cake layers below. Refrigerate the layers overnight with the heavy weights on top.
To glaze the rainbow cookies: Remove the cake layers from the refrigerator, unwrap, and place the cake, green-layer down, on a cutting board. In a medium microwave-safe bowl, place 1/2 cup (85g) of the chocolate wafers and heat in 20-second increments at 50% power until melted. (Alternatively, melt the chocolate in a small saucepan over low heat, stirring frequently.) Stir the chocolate until smooth.
Spread the melted chocolate over the top of the red layer of cake, spreading it all the way to the edges. It’s OK if some chocolate drips down over the edges.
Allow the chocolate to set either at room temperature or in the refrigerator. Before the chocolate fully sets, use the tines of a fork to create wavy lines in the chocolate.
Once fully set, flip the assembled layers over. In the same microwave-safe bowl or saucepan, melt the remaining 1/2 cup (85g) chocolate wafers until smooth.
Spread the melted chocolate over the top of the green layer of cake, spreading it all the way to the edges. It’s OK if some chocolate drips down over the edges.
Allow the chocolate to set either at room temperature or in the refrigerator. Before the chocolate fully sets, use the tines of a fork to create wavy lines in the chocolate.
Once fully set, use a warm chef’s knife to trim the sides of the square (baker’s snack!) for a neat presentation before cutting the remainder of the rainbow cookies into pieces. (We like using an 8 x 4 pattern to make slices about 1 3/4" x 1” in size.) Serve the rainbow cookies at room temperature.
Storage information: Store any leftover rainbow cookies in the refrigerator in an airtight container for up to 2 weeks; freeze for longer storage (see "tips," below). Allow the pieces to come to room temperature before serving.
Tips from our Bakers
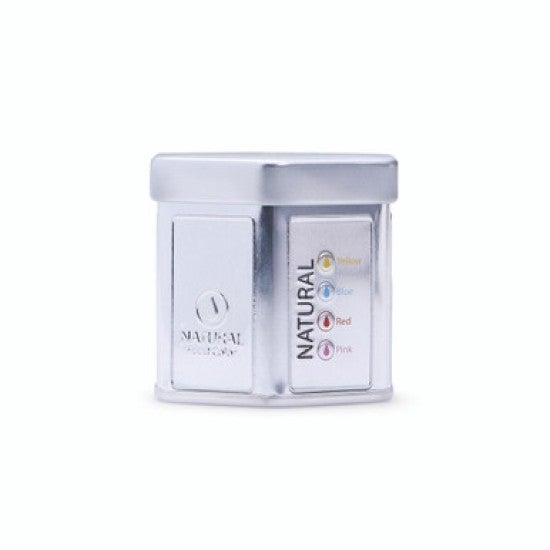
You can use either artificial or natural food coloring in this recipe. If using artificial liquid or gel color, add it gradually until you reach your desired color. If using natural color, we prefer the powdered form; use a scant 1/4 teaspoon of hydrated red color for the red layer, and, if available, the entire packet of hydrated green color for the green layer. Natural gel color can also be used, but the final colors may be more subtle.
Chocolate chips can be used for the glaze, but we’ve found that wafers have a smoother finish.
The sandwich of assembled bars can be frozen, well-wrapped, for up to 2 months. When ready to serve, defrost in the refrigerator overnight, then glaze, cut, and serve.