-
Note: This is a three-day process. On day one, you’ll mix the preferment; on day two, you’ll mix the dough, perform a series of folds over the course of about 2 hours, and let the dough rise for another 4 hours before shaping it; on day three, you’ll bake the final loaf. (See “tips,” below for a sample timeline.)
-
Day 1: Make the preferment. Weigh your flour; or measure it by gently spooning it into a cup, then sweeping off any excess. In a large bowl or container, combine the flour, water, and ripe sourdough starter. Stir to combine, then let rise at room temperature until at least doubled, 8 to 12 hours.
-
Day 2: Mix the dough. To the bowl with the preferment, add the lesser amount of water and the egg yolk and whisk until well combined. Add the remaining dough ingredients and stir, starting with a dough whisk or the handle end of a wooden spoon and transitioning to a bowl scraper and your hands, until fully combined and homogenous, adding more water as necessary to make a soft but not soupy dough. Place in a lightly greased container (a 2-quart dough rising bucket works well), cover, and place in a warm spot (72°F to 78°F) to rise for 20 minutes (see this post, Where to put dough to rise, for tips).
-
Use a wet hand to vigorously fold the dough over itself in the container until it becomes smooth and shiny, 1 to 2 minutes. Cover and let rest for 20 minutes.
-
Perform a bowl fold: Use a wet hand to grab a section of dough from one side of the container, then lift it up and press it into the center. Repeat this motion, grabbing a new section of dough each time, until you've made a full circle around the bowl, about 8 to 12 times. Once you’ve circled the bowl, flip the dough over in the bowl so that the smooth side is up. Cover and let rest for 20 minutes.
-
Laminate the dough: Transfer the dough to a moistened surface and gently stretch and press into a 14" square of mostly even thickness; use a bowl scraper to ensure no parts of the dough stick to the surface.
-
Using the large holes of a box grater, grate about two-thirds of the frozen butter over the entire surface of the dough, distributing it as evenly as possible. Fold the dough in thirds like a business letter to form a rectangle that’s about 5" x 14" in size. Grate the remaining butter evenly over the top, then roll the dough towards you, tightening it as you proceed, to form a roughly 5" log. Place the dough back into the lightly greased container and let it rest for 30 minutes.
-
Perform a coil fold: With wet hands, reach under the dough and stretch the middle upward until the dough releases from the container. Roll it forward off your hands, allowing it to fold over (or “coil”) on itself. Rotate the container 90° (a quarter turn) and repeat once more. Cover the container and let the dough rest for 30 minutes.
-
Perform a second coil fold, then cover the container and let the dough rise until puffy and marshmallowy but not necessarily doubled in size, 2 to 4 hours.
-
Lightly dust a lined proofing basket with flour. Transfer the risen dough to a lightly floured surface and shape it into a bâtard (there's no need to preshape the dough). Transfer the loaf to the prepared basket, seam-side up. Cover and let it rest at room temperature for 1 hour, then refrigerate for 12 to 24 hours.
-
Day 3: Bake the bread. One hour before you plan to bake, preheat the oven to 475°F with a covered baker on the center rack, or a baking stone or steel on the center rack and an empty cast iron skillet on the lower rack.
-
Turn the loaf out of its basket onto a sheet of parchment. Fold up the sides of the parchment slightly to help contain any leaking butter (a small amount of leaking is normal during the baking process).
-
Use a baker's lame or razor blade to score the top of the loaf, then transfer it (still on the parchment) into the covered baker, or use a baker’s peel or inverted baking sheet to transfer it to the stone or steel. If using a stone or steel, pour about 1 cup of warm water into the cast iron skillet, then quickly close the oven door to trap the steam.
-
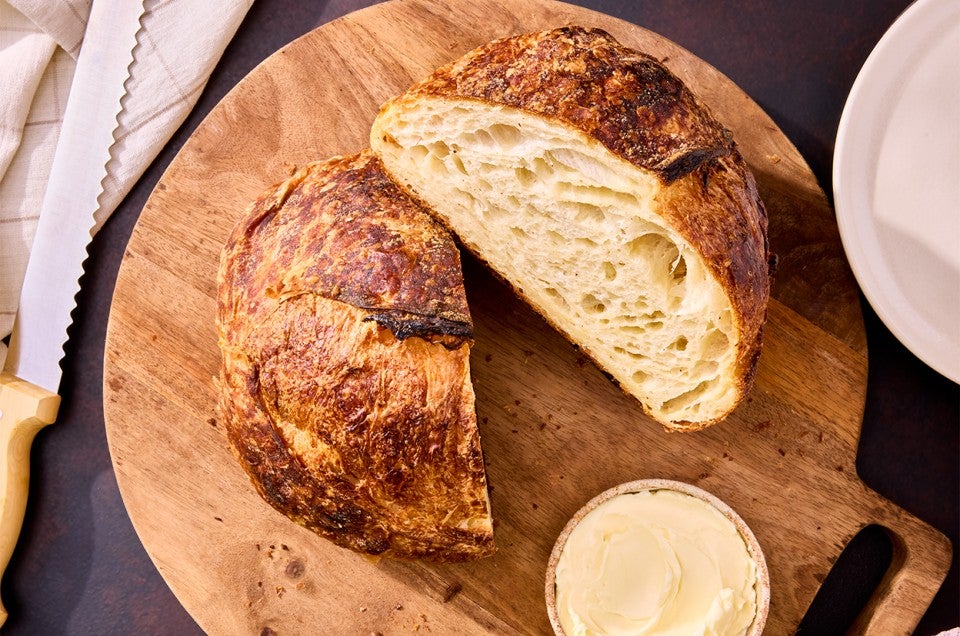
Immediately reduce the oven temperature to 450°F and bake for 35 to 40 minutes, removing the lid of the baker after 20 minutes, if using. Check the bottom of the loaf during the second half of the bake time; if it's becoming too brown, slide a second piece of parchment underneath. The top crust should be deeply colored when done baking.
-
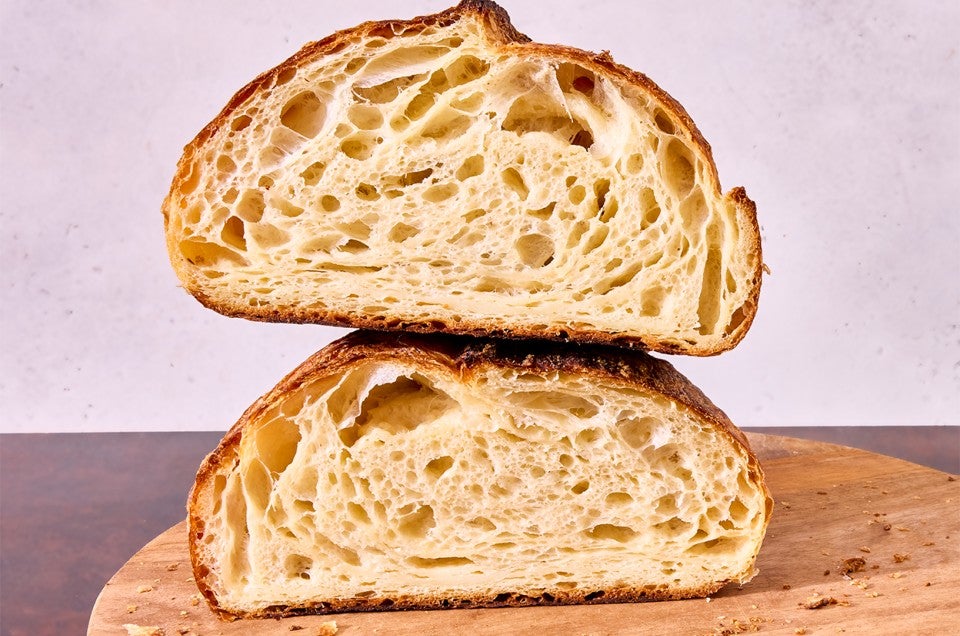
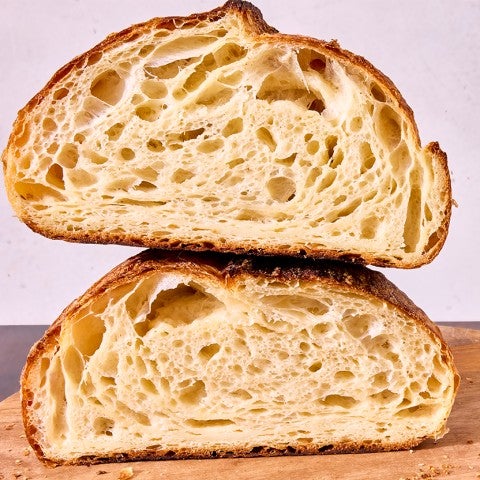
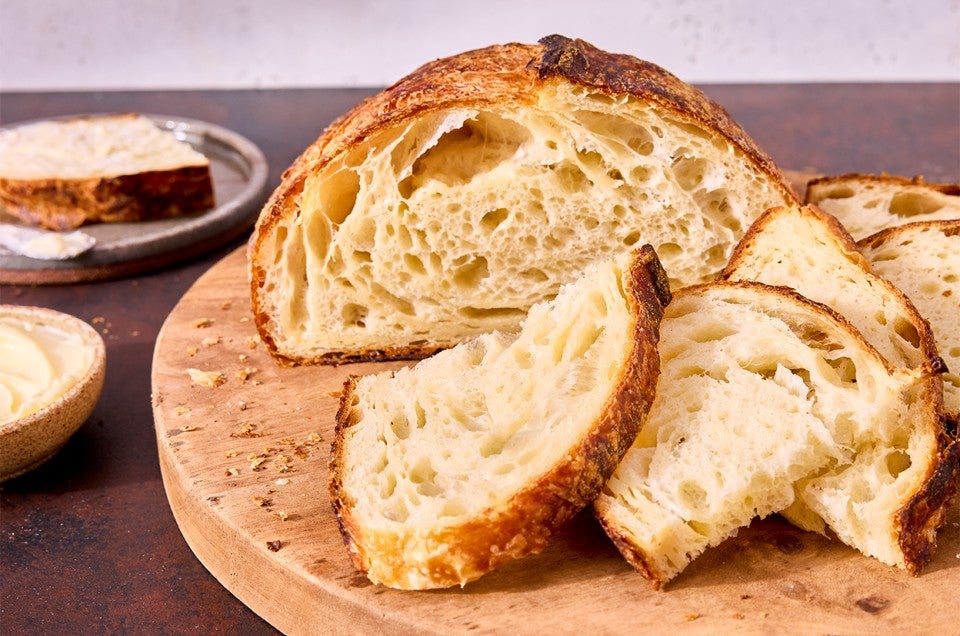
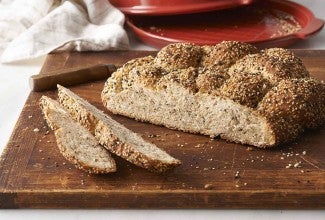
Allow the Croissant Sourdough Bread to cool (mostly) before enjoying, and slice with a sharp serrated knife to avoid compressing it. For the neatest presentation, wait until day 2 to slice.
-
Storage information: Store leftovers, well wrapped, at room temperature for several days.
