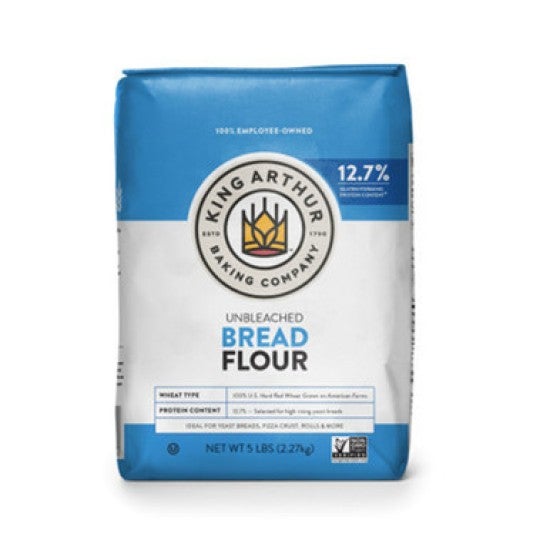









The night before you’d like to bake, feed your starter: In the bowl of a stand mixer or in a large bowl, use a sturdy spatula to combine the starter, water, and flour. Cover and let rest at room temperature for 12 to 16 hours; it will become bubbly and double in size. (See “tips,” below for details on how to feed your starter and bake the same day.)
Note: For the most balanced flavor, we recommend following the method above. If you regularly keep ripe sourdough starter on hand, you can skip this step and use 3/4 cup (170g) ripe sourdough starter to make the dough (step 2). Be sure your starter is healthy and ripe for best results.
The next day, make the dough: To the bowl with the ripe starter, add all the ingredients except for the flour in the order listed. Weigh your flour; or measure it by gently spooning it into a cup, then sweeping off any excess; add it to the bowl with the other ingredients.
Mix on low speed with a stand mixer fitted with the dough hook until the dough starts to come together, about 2 minutes.
Increase the speed to medium-low and knead for 8 to 10 minutes, until the dough is smooth and elastic; it won't clear the sides of the bowl and should remain slack, soft, and sticky. (Don’t be tempted to overwork the dough.)
Alternatively, bring the dough together in the bowl with a bowl scraper or dough whisk, then transfer it to a lightly floured surface and knead, lightly sprinkling with flour as necessary, until the dough is smooth and responsive, 15 to 20 minutes.
Shape the dough into a neat ball and place it in a lightly greased container or large bowl, cover, and allow it to rise for about 1 1/2 hours, until puffy but not necessarily doubled in size. If your schedule allows, transfer the dough to the refrigerator for 15 to 60 minutes after it has risen. (This will make the dough easier to shape during the next step.)
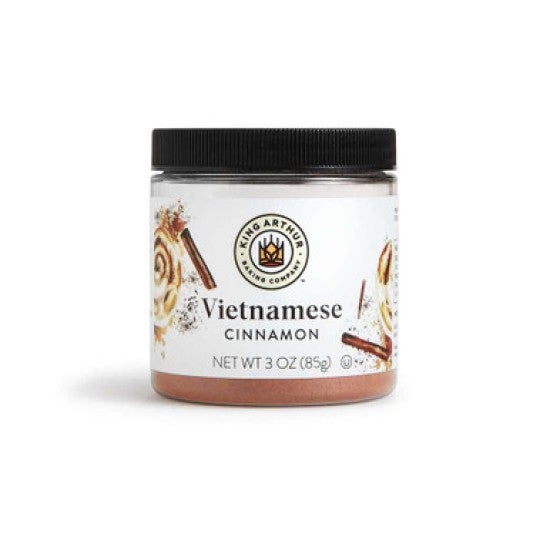
To make the filling: In a small bowl, combine the sugar, flour, cinnamon, and salt. Transfer half of this mixture (a scant 1/4 cup or 48g) to a second small bowl. Add half of the raisins or dates to each bowl and toss to coat in the dry ingredients, separating any clumps of fruit that stick together.
Alternatively, use a food processor: Combine the sugar, flour, cinnamon, and salt in the bowl of a food processor and pulse to combine. Add raisins or dates, torn into several pieces, and pulse several times until the fruit is finely chopped. Divide the filling evenly between two bowls (a scant 1/2 cup or 70g each). Set aside.
Grease a 9" x 4" Extra Tall Loaf Pan (a 9" Pullman pan without the lid) or a 9" x 5" loaf pan.
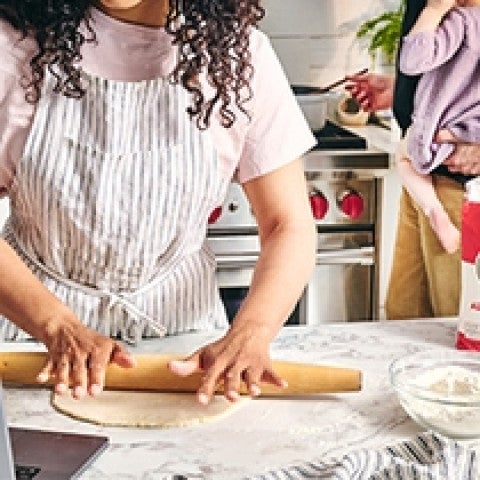
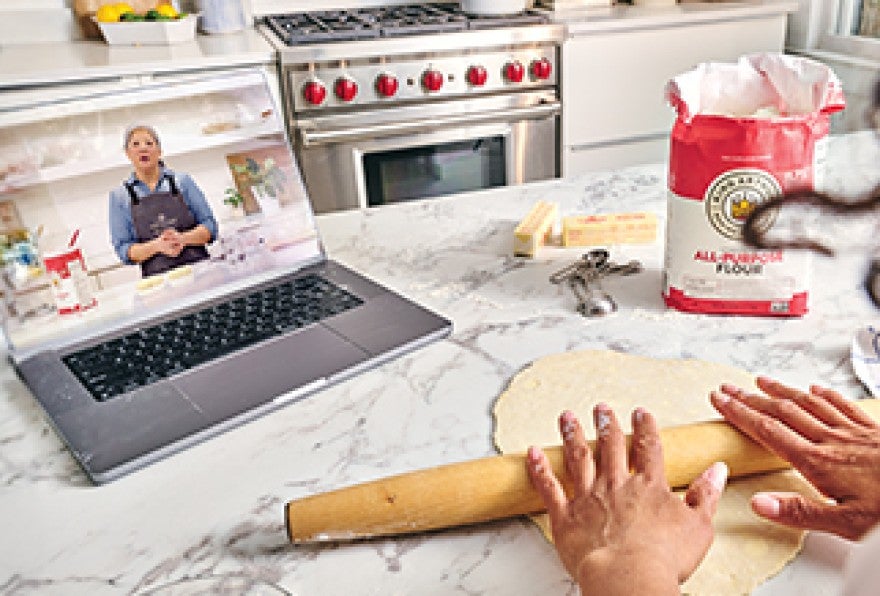
Transfer the risen dough to a lightly floured surface. Using a rolling pin and your hands, roll and pat the dough into a 12" square of even thickness.
Use a fork to beat the reserved egg white, then brush it evenly over the entire surface of the dough (reserve the excess). Use your hands to sprinkle one bowl of filling over the bottom half of the square, leaving a 1/4" to 1/2" border around the edges. Fold the top half of the dough (without filling) over the filling-covered bottom half and press to seal; deflate any large bubbles. You should now have a 6" x 12" rectangle of dough.
Use a rolling pin to widen and lengthen the dough into a long rectangle about 8" x 20" in size.
Brush the entire surface of the dough with some of the beaten egg white, reserving the excess. Sprinkle the remaining filling over the dough, leaving a 1/4" to 1/2" border along one of the short edges. Starting at the filling-covered short end, roll the dough into a log, keeping it snug as you roll but not tightening it excessively; pinch the seam shut to seal. (No need to pinch the ends.) Gently roll against the counter to extend it to an even 9" log.
Transfer the log to the prepared pan and press it down, flattening it with the palm of your hand so the dough fills the pan evenly. Cover the pan and let the dough rise just until it reaches the top of the pan, 2 to 3 hours.
Toward the end of the rise time, preheat the oven to 375°F with a rack in the center. When the bread is fully proofed, gently brush the surface evenly with the remaining egg white. Place the bread in the oven and reduce the temperature to 350°F.
Bake for 50 to 55 minutes, until the loaf is deep golden brown on top. Check the loaf after 30 minutes and tent loosely with aluminum foil if it's browning too quickly. When the loaf is finished baking, the internal temperature should be at least 205°F when measured with a digital thermometer.
Remove the bread from the oven and turn the oven off. Let the loaf rest in the pan for 5 minutes, then turn it out and return it to the turned-off oven for 5 minutes. (Returning the loaf to the turned-off oven briefly helps set the edges of the loaf and prevents it from caving inward slightly as it cools.) Remove from the oven and transfer it to a wire rack to cool completely before slicing.
To make the salted maple butter: In a medium bowl, combine the butter, maple syrup, and salt and stir with a flexible spatula until combined. Mix slowly at first, then more vigorously until the mixture is smooth. Transfer to a small, airtight container and store at room temperature or in the refrigerator. Spread the butter onto slices of the bread as desired.
Storage information: Store leftover bread, well-wrapped, at room temperature for several days. Freeze slices for longer storage.
For a more intense cinnamon flavor, add Cinnamon Sweet Bits to your filling! To do so, sprinkle 1 tablespoon (9g) Cinnamon Sweet Bits over top of the filling in step 8, and another 3 tablespoons (26g) over top of the filling in step 10. Follow the recipe as otherwise directed.
Looking for guidance on how to fit this into your schedule? Here’s a sample timeline:
Day 1
8:00 p.m. Feed your starter
Day 2
8:00 a.m. Make the dough
8:15 a.m. to 9:45 a.m. First rise
9:45 a.m. Shape dough
10 a.m. to 12:00 p.m. Second rise
12:00 p.m. Bake
If you’d like to feed your starter in the morning and bake on the same day, use the following quantities: In a large bowl, combine 1/4 cup (57g) sourdough starter, a scant 1/2 cup (57g) King Arthur Unbleached Bread Flour, and 1/4 cup (57g) water. Let the starter rest for about 6 hours, until it becomes bubbly and roughly doubles in size, then proceed with the recipe as written. Note that bread made with starter fed using this same-day process will be less sour than bread made using the overnight process outlined above. Here’s a sample timeline for this same-day feeding process:
8:00 a.m. Feed your starter
2:00 p.m. Mix dough
2:15 p.m. to 3:45 p.m. First rise
4 p.m. Shape dough
4:15 p.m. to 6:15 p.m. Second rise
6:30 p.m. Bake