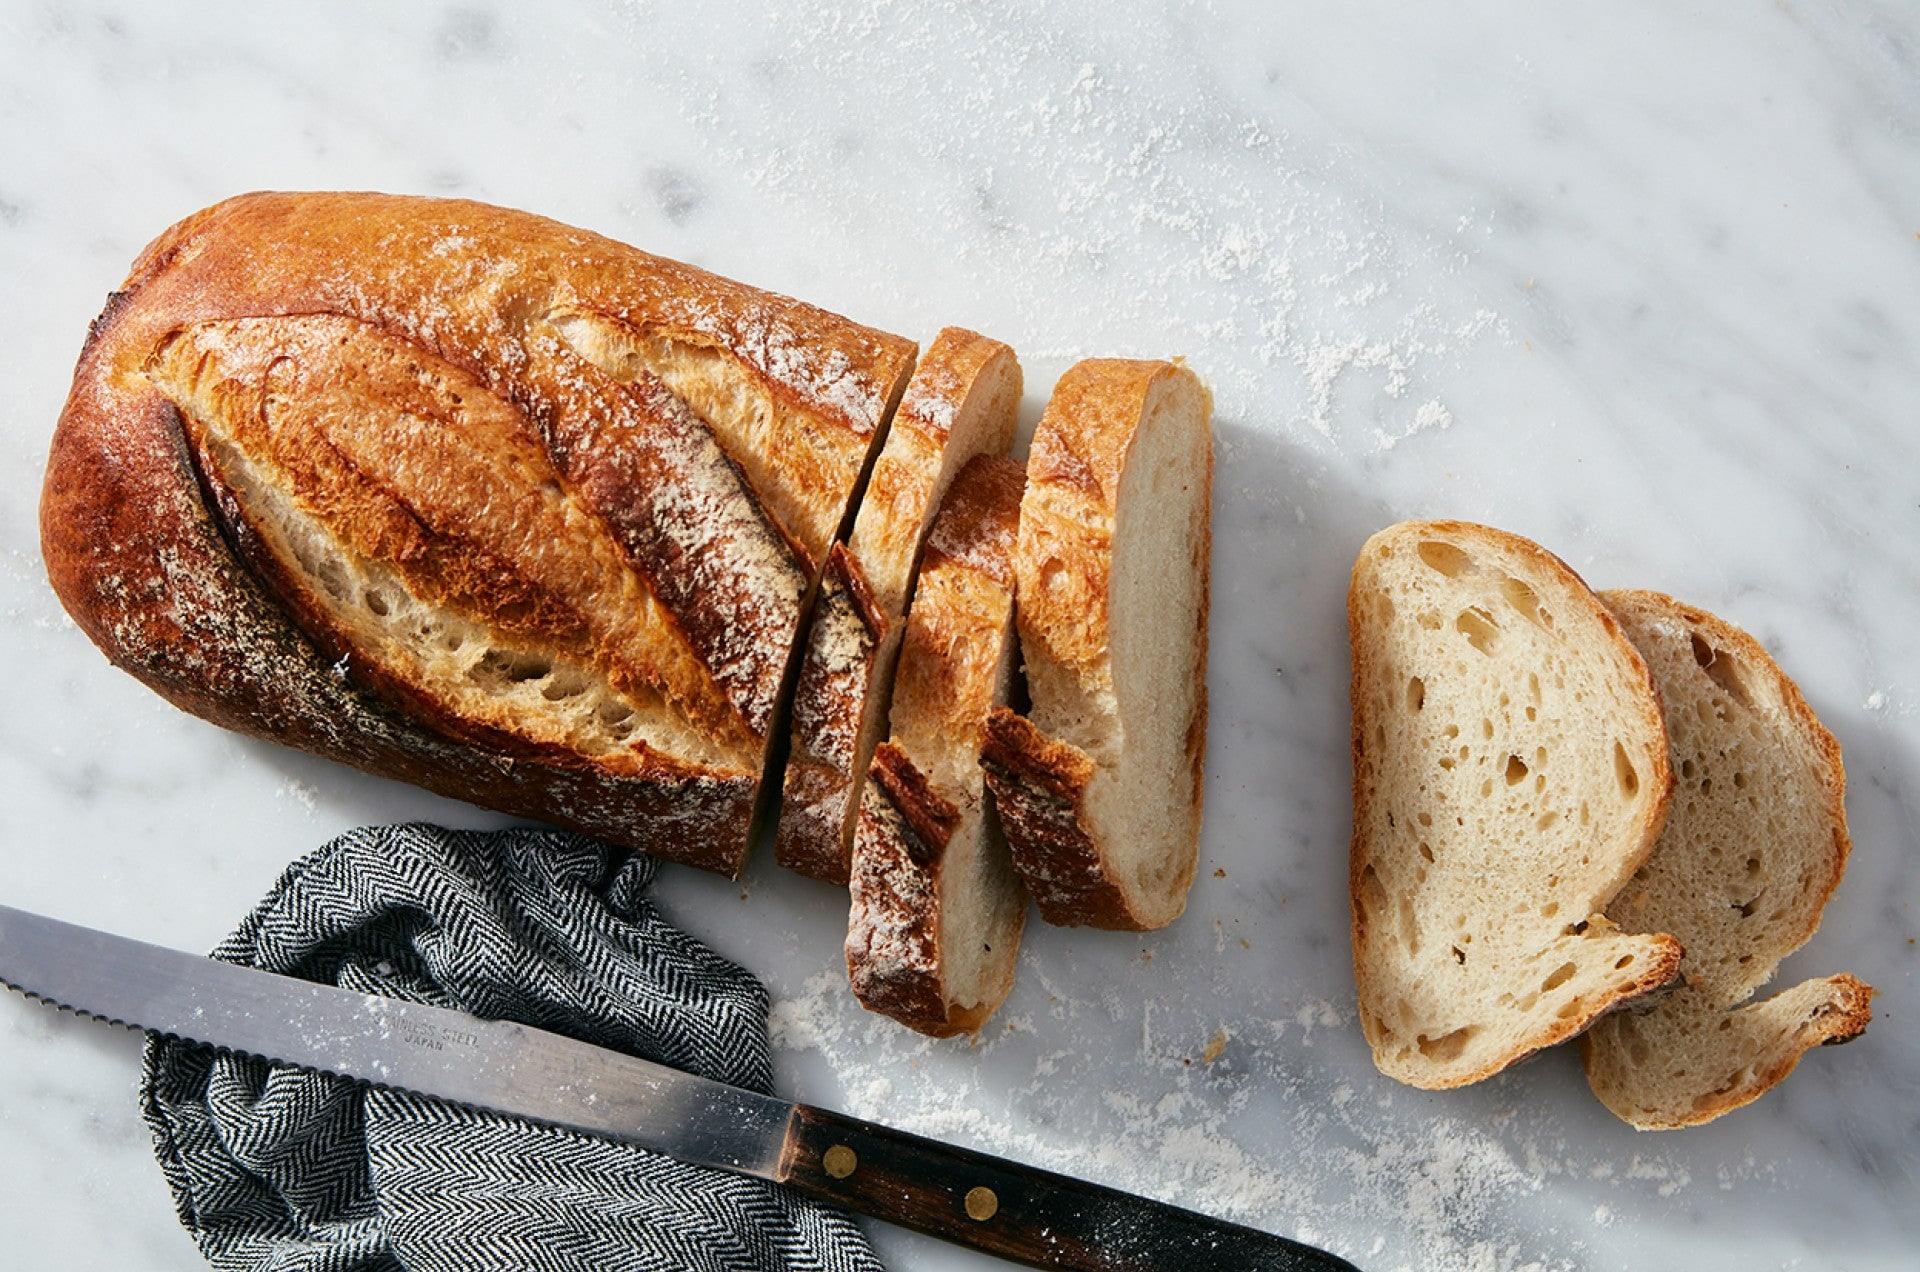


Rustic Sourdough Bread
Rustic Sourdough Bread
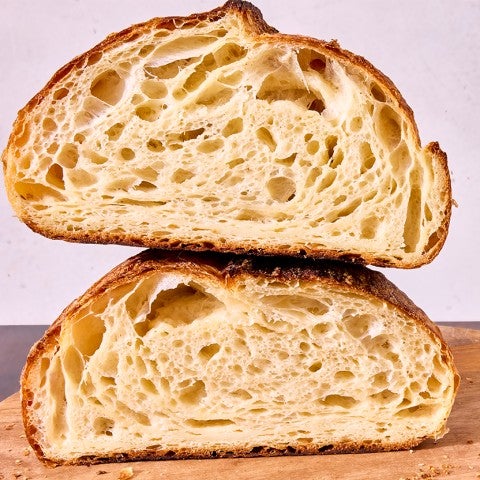
This chewy loaf of sourdough bread has rich, deep, flavor with mild tang. Since it includes commercial yeast as well as starter, you're guaranteed a good, strong rise — even if your starter isn't quite up to snuff. Whether you're new to baking sourdough bread or you're looking for a reliable and relatively quick sourdough bread recipe, you'll want to give this a try.
Prep
12 mins
Bake
25 to 30 mins
Total
3 hrs 7 mins
Yield
two 10" loaves