


Lately Vermont has been serving up long, cool spring seasons. This year and last have been slow to get to the lemonade and run-through-the-sprinkler weather, but we know those half-dozen days where the thermometer flirts with 90° are out there, waiting for us. Being a New Jersey native, I remember weeks and weeks of 80+° weather, with the humidity matching the temperature digit for digit.
Which is why, as soon as I was old enough to be employed, I got a job as a lifeguard. If I had to live in that climate at least I was in the right place to cool off when I couldn’t take it any more. I’m sure people in warmer places think we’re overreacting, but hey, you’re a hot weather person or you’re not.
Of course, our New England weather gives us more months when firing up the oven to bake something (and thus making the kitchen even hotter) isn’t as oppressive as it would be in say, Houston or the Carolinas in June. But even here we take advantage of outdoor cooking whenever we can, and these Grilled Asiago Rounds are a great way to get a whole lot of flavor in a handy little bread, without bringing the oven into it.
This recipe is easy to mix up, forgiving in its timeline, and great fun to cook on your grill. Quick heads up: you’ll need to make a starter the day before (literally a 1-minute task). You can serve these breads with a nice spread, like Baba Ghanoush (another recipe that will put your grill to work).
You could also split one and fill it with a grilled Portabella mushroom, onions and cheese for a great vegetarian sandwich; don’t forget a splash of arugula for color and crunch. Personally, I think two of these rounds are just about right for surrounding a big old burger, or a nice piece of grilled salmon, tuna, or bluefish. We even made a video of the recipe, from start to finish, if you want to see them made in live action.
Hungry yet? Let’s make some Grilled Asiago Rounds.
First, we make a quick starter. A bit of flour, some water, and 1/8 teaspoon of yeast.
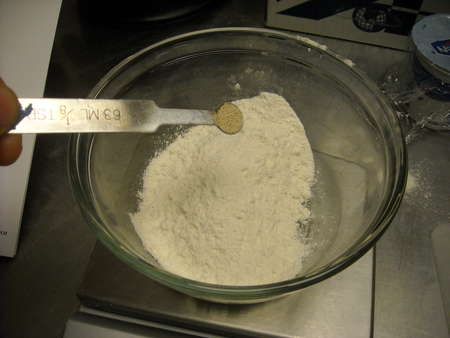
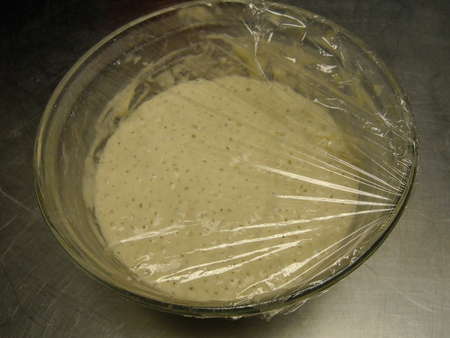
Mix up, cover, and let sit on the counter overnight.
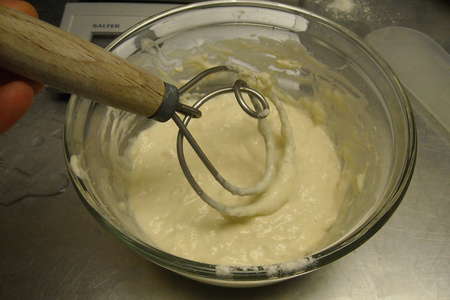
This is the perfect task for our Danish dough whisk. Once everything's evenly moist, we cover the dish and let the yeast do its magic. It grows and divides, going from a little tiny force to a significant flavor-maker. Here’s how it looks the next day. Obviously, there've been a whole lot of bubbles going on.
Now to make the dough. We’ll take the starter and put it in the bucket of our bread machine. You can just as easily put the starter in your mixer’s bowl, fitted with a dough hook.
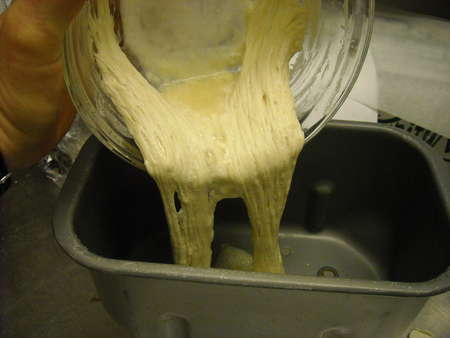
I always use the remaining water in the recipe to collect any traces left in the starter’s bowl, so no flavor gets left behind.
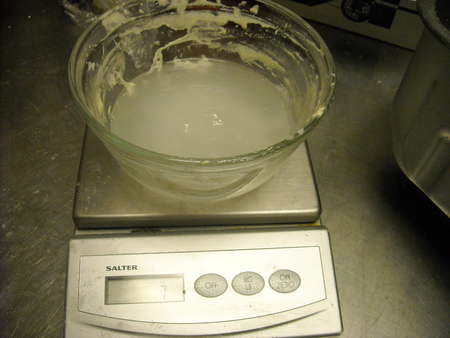
It's hard to see, but we need 7 more ounces.
Next add the semolina, additional yeast, and olive oil.
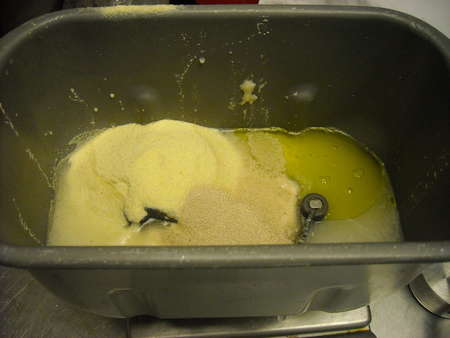
If you’re using a mixer, the step is the same. If you happen to be using active dry instead of instant yeast, the step is still the same: Mix everything up in your bowl and let it sit for 5 minutes so the yeast can soften and get moving before adding anything else.
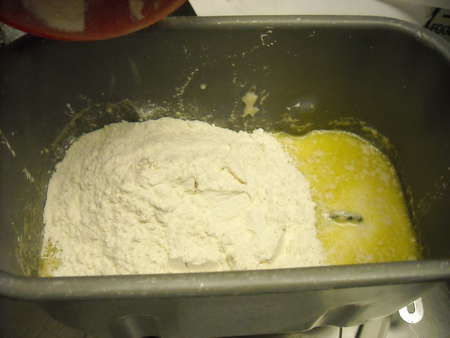
Now for the flour, salt,
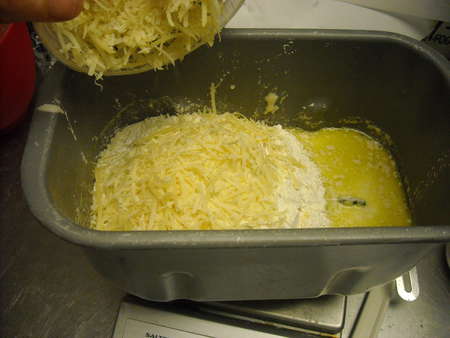
cheese,
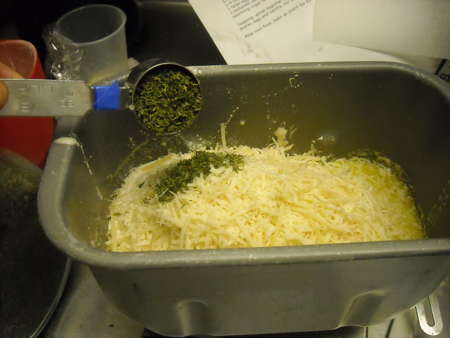
and parsley.
I’m letting the machine do the kneading here,
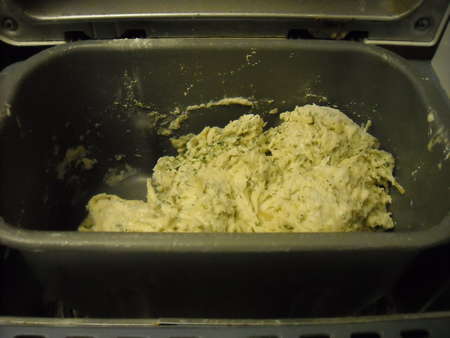
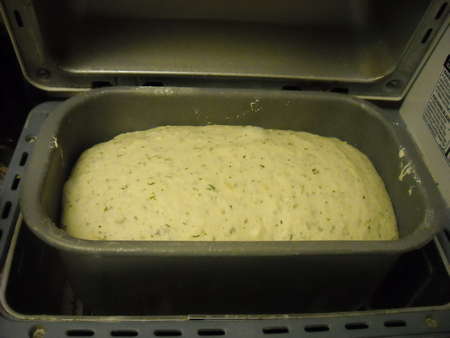
but it would be just as simple to let the mixer bring the dough together. Once it’s formed, you can either let the dough hook work for 6 minutes, or turn the dough out on a floured surface and get your hands into it. Any way you get there, once the dough is mixed, it needs to rise , covered, for 45 minutes to an hour. Here it is, ready for the next step.
The dough gets divided into 16 pieces. Of course, if you want to make some pizzas or a bigger flatbread, you can do that just as easily. There are so many more choices when you’re baking for yourself, which is one of the great things about it. To get to 16, I divide the dough in quarters, then
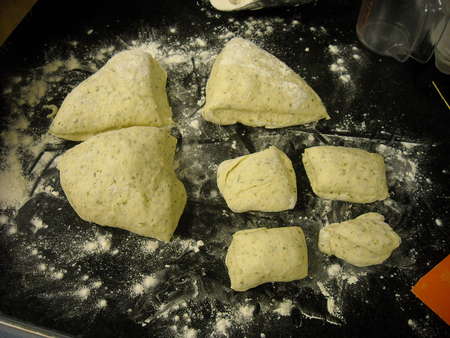
quarter each quarter. Simple enough. You could also weigh the dough, calculate the ounces, and divide by 16 to see how much each piece should weigh, then scale the dough out. That’s how bakeries do it.
Once you've divided the dough, round the pieces into balls by cupping your hand over each, and pressing gently as you move your hand in a small circle.
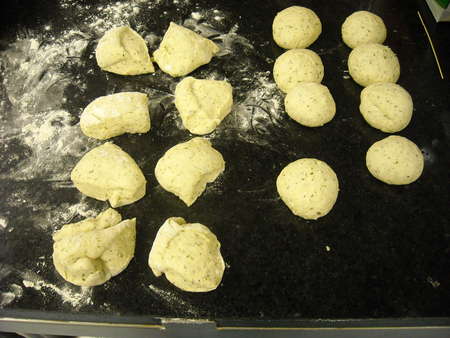
Let the dough rest after rounding for a few minutes, then flatten each ball into a 4" circle.
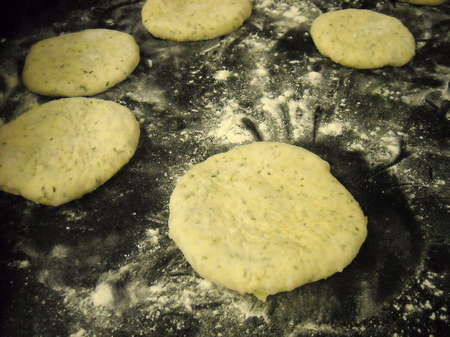
At this point, you can put the rounds on some floured parchment in the refrigerator, covered, for up to 3 hours, until you're ready to grill.
We were having a couple of rainy days when I worked on this recipe, so I used my trusty stand-in for an outdoor grill in the test kitchen: my big old cast iron griddle with raised ridges, which does a nice job without having to run down the hall, down the stairs, and around the corner for every photo.
Once the grill is hot, it's best to make sure it's clean. I demonstrated this recipe for a group that came to shoot it on video, and when I showed them this tip, they were pretty excited about the technique I showed. Cut an onion in half, stick a fork in the back of it, and dip the cut edge in oil. Rub the grill with this to season and clean it. All of you Princess Bride fans will appreciate the live action grilling tip, complete with flame spurt, that we captured on video.
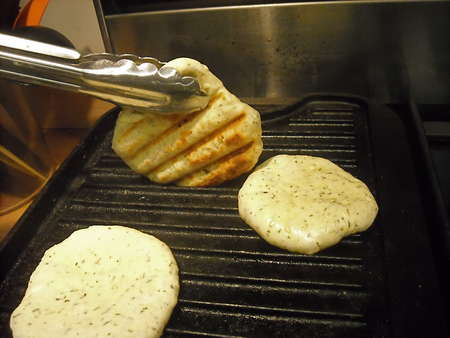
Okay, the grill is clean and hot. I sprayed each round of dough with some olive oil, and put it down on the grill. After about 2 minutes, I turn the rounds 45°, without flipping them over, to get a nice crosshatch pattern.
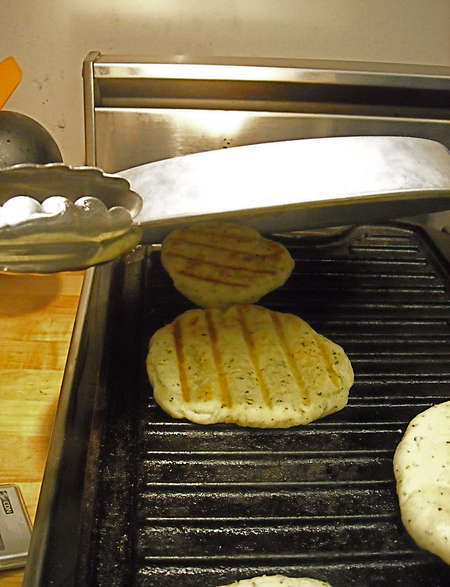
After the first side is nice and golden brown, I flip them over, and reach for my "portable oven." A metal pie pan or bowl inverted over the rounds while they cook on the second side will help the heat circulate, and help the rounds cook all the way through, so there's no gumminess in the the center.
As with most grilling adventures, you generally have several going at once in different stages of the process. These are really, really tasty when they're hot off the grill.
If you're still hungry for more, you can see me flinging flour and mixing dough on video, making Asiago Rounds and Zucchini Caponata. But after that, I'll tell you what my mom told me every summer. "It's beautiful out! You should be outside!" So mix up some dough, grab the spice rub and your favorite meat or vegetables, and head for the grill. Now you can bring your baking with you.
Please read, make, and rate our Grilled Asiago Rounds.