Jalapeño-Cheddar Bread is Spicy Cheesy Perfection
A recipe directly from host Martin Philip, this tender bread is studded with pockets of cheddar cheese and slices of pickled jalapeño, creating the perfect balance between creamy richness and tangy acidity. The large batch of dough will make a loaf (think of it: the ULTIMATE grilled cheese...) plus eight large rolls perfect for dipping in any soup or stew.
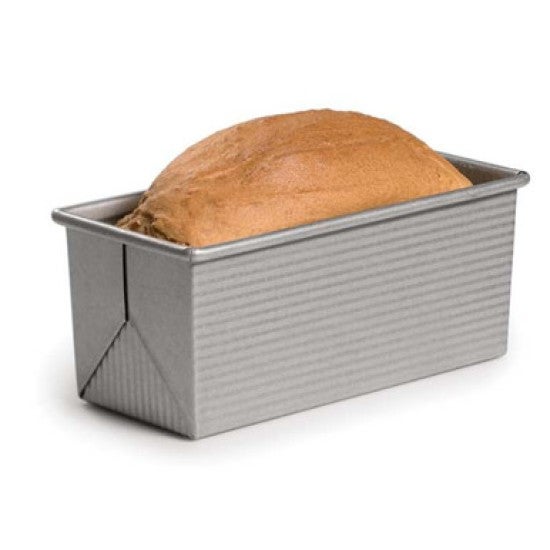
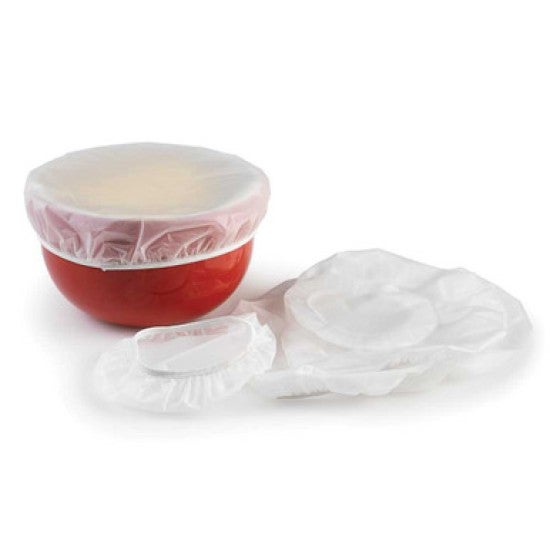
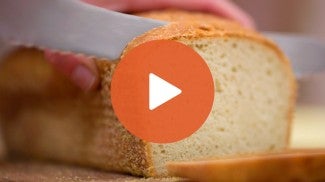
Hey, bakers, it's Martin here in the studio today and I'm making a Jalapeño Cheddar Bread. It's spicy, it's cheesy, it's delicious. Let's make it. So, what I have here is all my ingredients laid out. I'm gonna add my inclusions after I mix a base dough. So, this base dough is based on a standard sort of Pain de Mie recipe. Beautiful, slightly sweet, little bit of butter in it. Let's mix it. So, I'm starting with all-purpose flour. You could also use bread flour here. That would be fine. And then when I was writing it, I was thinking, I wanted the bread to be yellow. I wanted it to have a beautiful yellow hue. And so, I used one of my favorite flours, durum flour, in equal parts to the all-purpose that's in the recipe. So, I've got 318 grams of all-purpose in the bowl. And then, I'm adding an equal quantity of my durum flour as well. Thinking about how much more yellow color I could put into the dough, I also added some cornmeal. So, I got 40 grams of cornmeal going in. I've got some instant yeast, 7 grams. Got salt at 14 grams and sugar at 34 grams. Sugar's gonna bring just a little bit of sweetness. It's also gonna help the loaf brown in the oven. So, I've got my flour and dry ingredients in. I've got a little bit of soft butter here. You know, Pain de Mie has that classic, like, slightly enriched quality when it toasts. It's incredible butter supports that. And last but not least, I've got some warm water, 406 grams. So, everything is in the bowl except for the cheddar and jalapeños. I'm gonna start it sort of slowly, but then I'm gonna work up to about a medium speed in this big KitchenAid, that's about speed four. And I'm gonna go for about 6 to 8 minutes. Okay, this looks good. The dough's cleaning the sides of the bowl. I know that we have a good amount of base strength. Let's get our inclusions in. So, I have some cheddar here. Some of it's grated, some of it is in small cubes. I found over time in making this bread that if I left the cubes too big, it would produce these holes in the loaf that I didn't like as much. And so, I do a combination of sort of like small chunks and grated. So, that's gonna go straight in. Even if you don't make this bread, I really recommend that you actually make the pickled jalapeños. There's a great recipe in there. If you don't like spice, you can always use a sweet pepper. What I'm really looking for though, is this sort of piquancy that the brining liquid provides. A little bit of vinegar, a little bit of salt, a little bit of sugar in there. What you have leftover is great for marinating things. Put a spoonful on your beans, whatever you want. So, pickled jalapeños going in. Cheese in, jalapeños in, and get this bowl back up. And I'm just gonna let it spin for another 10, 15 seconds, something like that, just to make sure that all the inclusions are really well incorporated. So, I give 'em a few seconds. Sometimes I might even just pop it out on the bench for a second and knead it. You don't need any flour. There's enough sort of enrichment in here that it shouldn't stick too bad. And then, what I'll do is I'll just make sure that it's sort of well incorporated. Make sure you don't leave any peppers or cheese chunks on the bench. Back into the bowl, right? Part of the reason I scaled into the bowl was to clean less things. So, I'll put it back in there for the bulk rise. So, we're gonna give this 45 minutes. Put a nice cover on it, set it in a warm place to rise. We'll be back for a bowl fold in no time. All right, 45 minutes and I've had it up here in this little magic chamber. You know, when you are proofing doughs, think about how best you can nurture them. That changes seasonally at my house. Sometimes it's on the basement steps, sometimes it's above a warm oven. Just be thinking about that, right? Okay, so let's do this bowl fold. Dough looks very happy. I mean, almost feels like it could be shaped now. But we know that with a little bit more time, it'll gain a little bit more flavor, right? Bread is fermentation. Fermentation is flavor. Okay, so standard bowl fold, y'all have seen me do this a thousand times. So, grabbing a portion of dough on the outside, I stretch and press to the middle, working my way around the bowl until it feels like it's tensioned. It feels like it doesn't really wanna stretch anymore. And once I get there, you can either stop. Sometimes I like to invert it just so I have a nice smooth side on top. It's just a little thing I do. I don't know that it actually makes a difference. So, another 45 minutes and we'll come back for the divide and shape. All right, it's been about 45 minutes. If it's been a little bit longer, ours has been a little bit longer, that's okay. Don't get too stressed about those timings really. We're watching the dough, not the clock. What I'm looking for is a dough that's well risen. It's rounded, it's sort of puffy. And guess what? That's what we've got. It looks beautiful actually. So, what I'm gonna do is put a little bit of flour down. Just a very light amount. And then, I'll get my dough out of the bowl. Should just roll right out like that. Happy dough. So, we're gonna divide it into two pieces initially. One will be about 800 grams and the other will be about 600 grams. With the 600 gram piece, we're gonna make eight rolls. With the 800 gram piece, we're gonna make a single loaf. See what I got here? Eight. Okay, let's set that aside for a second. Now, I need eight pieces. And you know, sometimes when I'm dividing rolls, if I know I need eight, I'll just go ahead and divide my pieces into halves, halves again. And that's a good initial start on some rolls that are even. And then, these will end up being about 75 grams each. I think we're pretty good here. And now, we can do the pre-shape and then I'll set 'em aside. Okay, so pre-shape looks a lot like a bowl fold. It may sound crazy, but all it is is me grabbing a portion of the outside of the dough, stretching upwards, pressing to the center. Sometimes you'll see me use my thumb to hold that piece in place as I work my way around. These are small for my hands, but you can do pre-shape like that. So working your way around, similar to the way that we do a bowl fold, just a loose gathering. Eventually you'll get up to speed and you'll be able to just quickly go through 'em with two hands at two at a time. Get 'em rounded. Got one more here. Set that guy there. We're gonna set those aside and let 'em relax for just a second. And then, we're gonna come back and give them their final shape. While those relax for a second, let's shape this loaf. This is a standard pan loaf. It's a nice soft dough. And what I'm gonna do is pat it to remove any large gas bubbles and also pat it just to sort of give myself this homogenous thing to work with, right? So, if I have a dough that has these high spots and low spots, it's harder for me to make an even shape. I'm gonna start on this sort of east-west axis, and I'm gonna come in just a little bit with my hands and I'm gonna press the seal. So once I have that, all I need to do is roll it down, tensioning as I pull it. So, roll it, press it. Press it, meaning tensioning it. I can use the heel of my palm to press it or I can just use my fingertips. And what I'm thinking about here is that I want a form that will fit in my Pullman pan, right? So, I don't want it to be longer than nine inches in this case, right? I think I'm probably in the eight range here. Should be fine. If you have a piece of cheese that's on the outside, just grab it, put it in the end, and that'll be fine. The loaf could go into the pan like that. But as a baker, one of my favorite things is to think about how to make things more beautiful and also more flavorful. And when I wrote this loaf, I thought, wouldn't it be beautiful to have cornmeal on the outside that would toast during baking? It would add crunch and it would add this beautiful visual contrast, right? So, we're gonna add a cornmeal crust now. Set that aside and tell you what I got here. So, I have some cornmeal in the pan, and on the other side I have a towel that is sopping wet. Quite wet, right? If you've ever seen me make a seed tray, you know, a tray where I would put a roll onto the wet portion, and then use that wet side to grab seeds. That's the same principle here. I'm just using that cloth to sort of add moisture, and then I'm applying the cornmeal crust. The only other thing I need here is my pan. And I'll get this prepared and sort of set so that once I have the loaf with the seed on it and it's scored, we'll be ready to go in. So, little spray. Oh, and the other thing I've got at hand is a lame. This is a baker's razor. You could also use a very sharp knife or a small serrated knife will work as well. Not entirely necessary, but another way to add a little bit of intention and a little bit of beauty to your bread. So, roll it across the moist towel. When it comes off, it should be shiny. If it's not shiny, that loaf is telling you, hmm, might need some more water on that towel. Set it aside, get it wet, come back, do it again. In this case I just got it nice and moist. It's good to go. So, wet and then right across the cornmeal. And if it's wet, it should really pick up everything. Should look like a beautiful ray of sunshine. Honestly, just gorgeous, right? Now what I'm gonna do is I'm gonna proceed down the loaf at about a 45 degree angle to the side wall. And I'm gonna make cuts that sort of try to wrap the loaf. I wanna hit more than just the height of the loaf. I wanna cross down the side just a little bit, wrapping the loaf with my blade as I proceed. And it's a pretty deep cut. If you've scored baguettes or lots of other things, generally we're trying to just sort of get through that surface skin. In this case, I'm being pretty aggressive. It's probably 1/2" to 3/4" into the loaf. Somewhere in the 8 to 10 cut range, something like that. And now just be brave, grab that loaf and get it into the pan. With my fingers sort of flattened, I'm just gonna press it just a little bit to make sure that it fills the pan. The other thing you can do is you can take your bench knife, that great bench tool. You can go in and just make sure if you've sort of not landed it exactly where you wanted, you can go in and make some adjustments. Not entirely necessary. If it's not perfect, it's okay, because remember this loaf is gonna rise to the top of this pan and a lot of those inconsistencies or the ways that it's not perfect are gonna sort of proof out okay. It's gonna be okay. Trust me. Okay, I'm gonna get my cover on this and I'm gonna place it in a warm spot in just a second. But first, we've got those rolls to finish. Like I said, another chance for you to come back and practice your shaping. So, the way that I'm gonna finish these is exactly the way that I did the pre-shape. Stretching from the outside, pressing to the middle. You can also work on your sort of two-handed baker shaping. You know, this sort of like cage method where I've got my hands surrounding the dough rounding like that. Same as the loaf, top side onto the moistened towel. Give 'em a little wiggle, bring 'em up. They should be shiny. And then, right onto the cornmeal and you're good to go. Beautiful rolls. And then, the last little detail here is that when you go to the tray, make sure that you distribute them evenly. This is an eight pattern. So, an eight pattern is always a 3, 2, 3. And the reason for that is that we wanna have 'em evenly distributed on the pan. Even distribution means even bakes. Okay, so get 'em covered, right? Make sure you've got a nice moisture-proof, airtight, whatever you want to call it. A nice lid on top that keeps 'em from drying out. We're gonna put 'em in a warm spot to rise for 60 to 75 minutes. Okay, end of proof. These have moved really well. We got a nice warm day in the studio here, which is kinda rare, but nice because it means that everything is encouraged to move at this nice rate that has us eating sooner rather than later. So, the rolls are beautiful. They're high, they're light. I can tell that the loaf is in a similar condition. You know, it's one of the nice things about pan breads and rolls as well, is that you can really give them a full level of proof. You can really push the proof. We scored them before the proofing process so we don't have to worry about going back and cutting them and deflating them in this case. Now, in spite of that, I am gonna go ahead and cut these open just a little bit with the rolls and they will be fine. They will recover well. And the reason for that is that I'm gonna add a little bit of jalapeño and a little bit of cheese to each one. So, with a pair of scissors, I'm cutting about an inch deep all the way across each roll. And then, I'm gonna go back through and just add a piece of jalapeño. If you don't like spicy, skip it. Or you know, when you make your pickled jalapeños, just use a sweet pepper instead and you don't have to worry about the heat. When I put 'em in, I'm pressing them all the way to the bottom of the roll. I'm not pressing 'em through the bottom, but I'm making sure that they really sort of land well-seated in that roll. Otherwise what'll happen is that these are gonna really pop during baking. Remember all that strength that we developed? High quality flour, all of those things coming together. They're gonna pop. And if you don't press those jalapeño pieces down in, they'll sort of fall off the top. You have a nice spicy surprise waiting for you. And then, I just go back with some cheese. I'm just doing a pinch on each roll. The point is not to sort of hide the whole roll, it's just to give each one this little crispy, cheesy, melty sort of garnish. Okay, those are good. Ready to go. Maybe we look at the loaf for just a second. You know, one of my favorite things about this bread is that score before the proof and what that does. So, I have these nice lines, beautiful yellow cornmeal sort of broken up by the dough where it exposed as it rose. This in my 9 by 4 Pullman has crested the top. When you are proofing at home, I'd say anytime you're sort of at the top level, you're in the zone, you can push it further as I have and it will still be delicious and also beautiful. Let's get 'em into the oven. I have my oven preheated to 425 degrees. I'm gonna bake my rolls for 18 to 22 minutes with steam. The loaf is gonna stay in a little bit longer, 30 to 35 minutes. As always, all the details are right down there below. Click on that description for the full recipe. Let's get 'em in the oven. So, everything is out and it looks beautiful. It has a level of color that I'm excited about. And our oven here took about 22 minutes for these rolls. Look for color, don't just watch that timer. The same with your dough. Remember the clock is not always right. Let your eyes be the judge. It's done when you say it is, when it looks delicious. And these rolls for me are screaming, you know, beautiful, delicious, crispy bits of cheese, a nice dark crust on the bottom that will give some good texture. They're perfect plain like that. You could open 'em up and toast 'em and put eggs on 'em. And for breakfast in the morning, lots of great uses for those. They're beautiful. And the loaf, I mean, the effort between how we mixed it. Nice high rise to the way that we created this beautiful crust on the outside with the cornmeal and the contrast between where I scored it and where the cornmeal sort of adds this sort of matte aspect to it. Let's cut it open and see what we got inside. Beautiful, homogenous, even structure. I can see little daubs of cheese here and there. I see some jalapeño as well. So there it is, our beautiful Jalapeño Cheddar bread. I'm glad to have you along today. I hope that you try these rolls and this loaf. It's a beautiful way to accompany any meal or just eaten by itself. This is Martin and everybody in the studio saying thanks for joining us. Happy baking.


