No-Bake Chocolate and Date Energy Bars

Recipe by Sarah Jampel

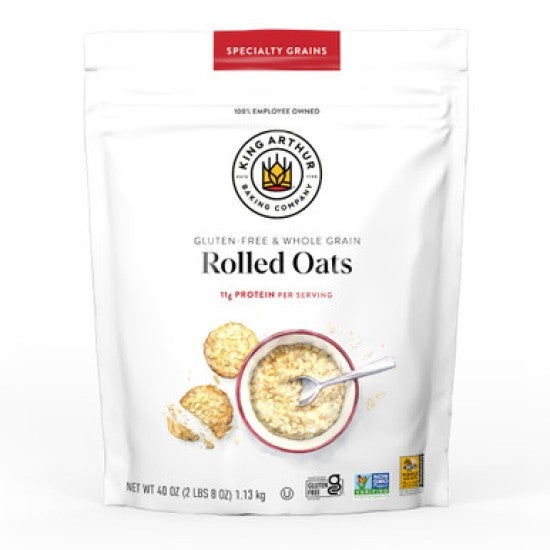
These no-bake energy bars take a perfect snack — a split date filled with nut butter and dipped in chocolate — one step further. The base is a blend of ground cashews and oats, which yields a texture that’s simultaneously fudgy and chewy. The mixture is sweetened with honey (or maple syrup) and dates, then pressed into a loaf pan and covered in a layer of semisweet chocolate. They’re a wholesome, homemade alternative to store-bought bars and the ideal pick-me-up for long car rides, lunchboxes, or that mid-afternoon slump. Thanks to Molly Yeh, whose Cookie Dough Oat Bars from Home Is Where the Eggs Are, greatly inspired this recipe.

Prep
20 mins
Total
1 hr 20 mins
Yield
one 8 1/2" x 4 1/2" loaf pan (about 8 bars)
No-Bake Chocolate and Date Energy Bars on a plate - select to zoom
No-Bake Chocolate and Date Energy Bars on parchment paper - select to zoom
Our Best Products

Instructions

Prevent your screen from going dark as you follow along.
  1. Line an 8 1/2" x 4 1/2" loaf pan with a parchment sling

  2. To make the bars: In a skillet over medium heat, toast the oats, stirring occasionally, until fragrant and a shade or two darker, 5 to 7 minutes. Immediately transfer the oats to the bowl of a food processor. 

  3. Add the cashews and salt to the food processor and pulse until the texture is a coarse meal (slightly coarser than breadcrumbs), 20 to 30 seconds. Add the dates and pulse until they’re smaller, about 20 seconds. (Aim for the dates to be small enough so that the bars are easily sliceable, but not so small that they’re fully incorporated and disappear into the mixture.) 

  4. Add the coconut oil, honey, and vanilla and pulse until the mixture comes together, about 10 to 15 seconds. 

  5. Transfer the mixture to the prepared loaf pan and press into an even layer (use the flaps of the parchment sling, if helpful). 

  6. To make the topping: Dice the last 1 tablespoon of chopped dates into smaller pieces. 

  7. In a small microwave-safe bowl, combine the chocolate and coconut oil. Melt in the microwave in 20-second increments until fully melted; stir until smooth. 

  8. Pour the melted chocolate mixture over the bars and tilt the pan so that it evenly coats the top. (If using chocolate chips, you’ll need to spread the mixture with a spatula.) Sprinkle with the diced dates and flaky sea salt.  

  9. Transfer the bars to the refrigerator to set, uncovered, for about 1 hour. 

  10. Run an offset spatula or nylon spreader around the edges of the pan, then remove the energy bars and slice into bars or squares. 

  11. Storage information: Store energy bars, well-wrapped, in the refrigerator for up to 1 week; freeze for longer storage.   

Tips from our Bakers

  • Be aware: Some of your baking ingredients can be a hidden source of gluten. Learn more at our blog post: For gluten-free baking, think beyond just flour. For additional information on King Arthur-produced products, read the complete details of our allergen program, including our contact-prevention practices.

  • For another layer of flavor, incorporate your choice of salted roasted nuts. Our Test Kitchen especially likes these energy bars when made with salted roasted peanuts: Reduce the amount of salt to a level 1/4 teaspoon and add 3 tablespoons (27g) of peanuts to the food processor after the dates have been added in step 3. Garnish the bars with 1 tablespoon (9g) of finely chopped peanuts to finish.