Butterscotch Blondie Ice Cream Sandwiches

Recipe by Melanie Wanders

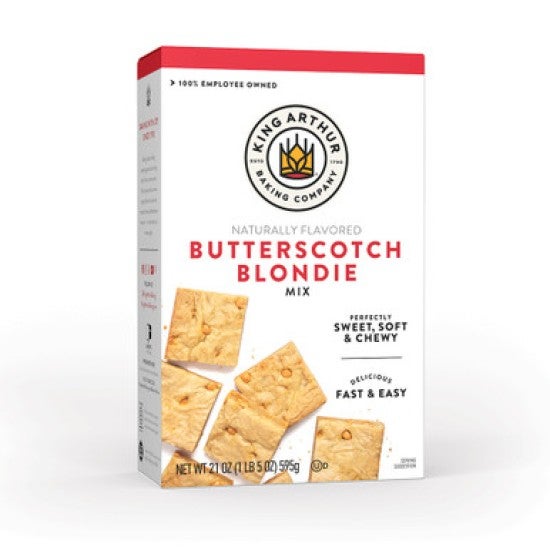
With soft, caramelly cookie bars surrounding smooth vanilla ice cream, these irresistible butterscotch blondie ice cream sandwiches look impressive but are simple to pull off. The cookies come from our Butterscotch Blondie Mix, while the no-churn ice cream is made by whipping heavy cream and sweetened condensed milk. It’s the perfect easy project for a warm day, and once the blondie ice cream sandwiches are assembled and frozen, they’ll keep in the freezer all summer long.

Prep
30 mins
Bake
14 to 18 mins
Total
13 hrs
Yield
16 medium (about 2" x 3") bars
Mix Tips
Butterscotch Blondie Ice Cream Sandwiches stacked high on a sheet pan - select to zoom
Butterscotch Blondie Ice Cream Sandwich on a plate - select to zoom
Butterscotch Blondie Ice Cream Sandwiches on a sheet pan - select to zoom
Our Best Products

Instructions

Prevent your screen from going dark as you follow along.
  1. Preheat the oven to 350°F with a rack in the center. Line a 13" x 18" rimmed baking sheet (half-sheet pan) with parchment and lightly grease the parchment. 

  2. To make the blondie bars: In a large bowl, combine the mix and baking soda. Add the butter and eggs, stirring until smooth. 

  3. Use a small offset or flexible spatula to spread the batter evenly in the prepared pan, making a thin layer that reaches the corners and ensures the butterscotch chips are evenly distributed. 

  4. Bake the blondie bar for 14 to 18 minutes, rotating halfway through, until it’s set in the middle and the top is lightly golden brown. Remove the blondie bar from the oven and cool completely in the baking sheet before assembling the sandwiches. 

  5. To make the filling: In a stand mixer fitted with the whisk attachment, beat ingredients on medium speed until medium peaks form. 

  6. To assemble: Remove the blondie bar from the baking sheet and cut it in half crosswise to make two pieces each approximately 8 1/2" x 12". 

  7. Line a 9" x 13" pan with plastic wrap, allowing it to generously overhang on all sides. Place one of the bar halves in the pan, bottom-side up. 

  8. Top the bar with the whipped cream mixture. Spread it toward the corners, leaving a 1/2" border on all edges bare. 

  9. Place the other blondie bar on top of the filling bottom-side down, gently pressing down to evenly spread the whipped cream mixture to the edges. It’s OK if some of the filling oozes out the sides. 

  10. Using the overhanging wrap, completely cover and tightly wrap the assembled sandwich. Place the pan in the freezer overnight or for at least 12 hours. 

  11. To serve: Remove the sandwich from the freezer. Unwrap and place it on a cutting board. For the neatest look, trim the edges of the sandwich (baker’s treat!). Cut into bars that are the size and shape of your choice (we recommend 2" x 3") and serve immediately. 

  12. Storage information: Store the cut blondie ice cream sandwiches bars, individually wrapped, in the freezer for up to 3 months. 

Tips from our Bakers

  • Want to get more creative with your ice cream flavor? Go right ahead! Aim for about 5 cups of your favorite homemade or store-bought ice cream in place of the above filling. Let the ice cream soften for 20 to 25 minutes so it’s easily spreadable; assemble, freeze, and serve as directed above.