


Baker and cake designer Dawn Konofaos is known for her stunning cakes, and today, she's sharing how to accomplish one of the cake decorating techniques she's most known for: painting with buttercream.
* * *
Cakes have become more adventurous over the years. The classic white wedding cake is being swapped for daring designs in an array of colors. As a baker and cake decorator, I love playing around with frosting like an artistic medium.
Lately, painting has been the inspiration behind my designs. I studied art for a bit in college, and acrylic paint was my favorite medium to experiment with. My love of art flows right into my love of cake and cake designs, from the flavors I choose to the finishes I try.
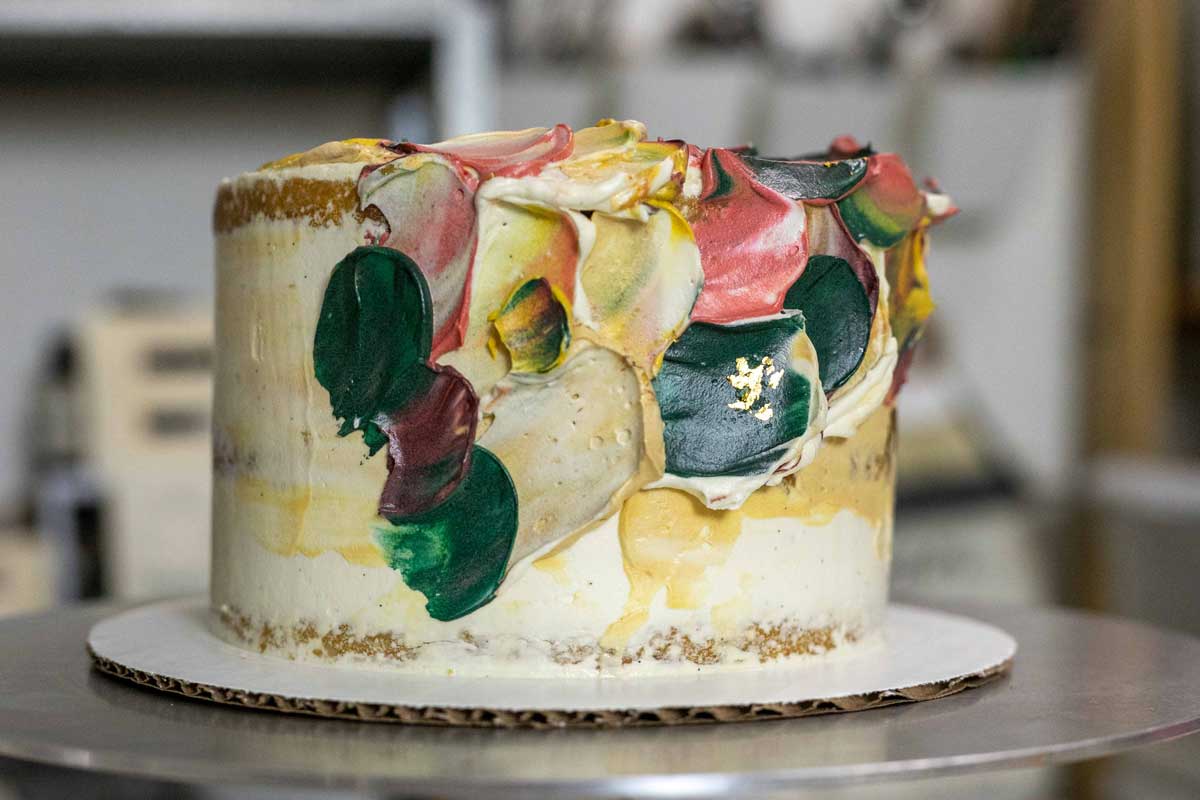
Buttercream-painted cakes gained some real popularity this year, and I completely understand why. With their striking abstract design, they're arresting to look at and truly beautiful.
In this tutorial, you’ll learn how to achieve this look, plus gain insight into what makes buttercream-painted cakes so lovely.
As you experiment with this decorating technique, just remember: the trick is to have fun with it!
For this technique, it's best to use a meringue buttercream because of its smooth and silky texture, which lends a more painterly effect. I recommend either Swiss or Italian Buttercream.
For this tutorial, we’re using Swiss Buttercream. I happen to be vegan, so I’ve adapted King Arthur’s Swiss Buttercream recipe so it’s suitable for vegans. Feel free to stick with the regular recipe; if you want to make the vegan version, simply follow the recipe as written with two small ingredient swaps:
Next, we’re going to dive into mixing colors for the cake. I find it best to use a color wheel to help with color theory when mixing — you can find them at any arts and craft store or even online. Another good tip is to head to the paint section of a hardware store and pick up some paint chips in colors that inspire you.
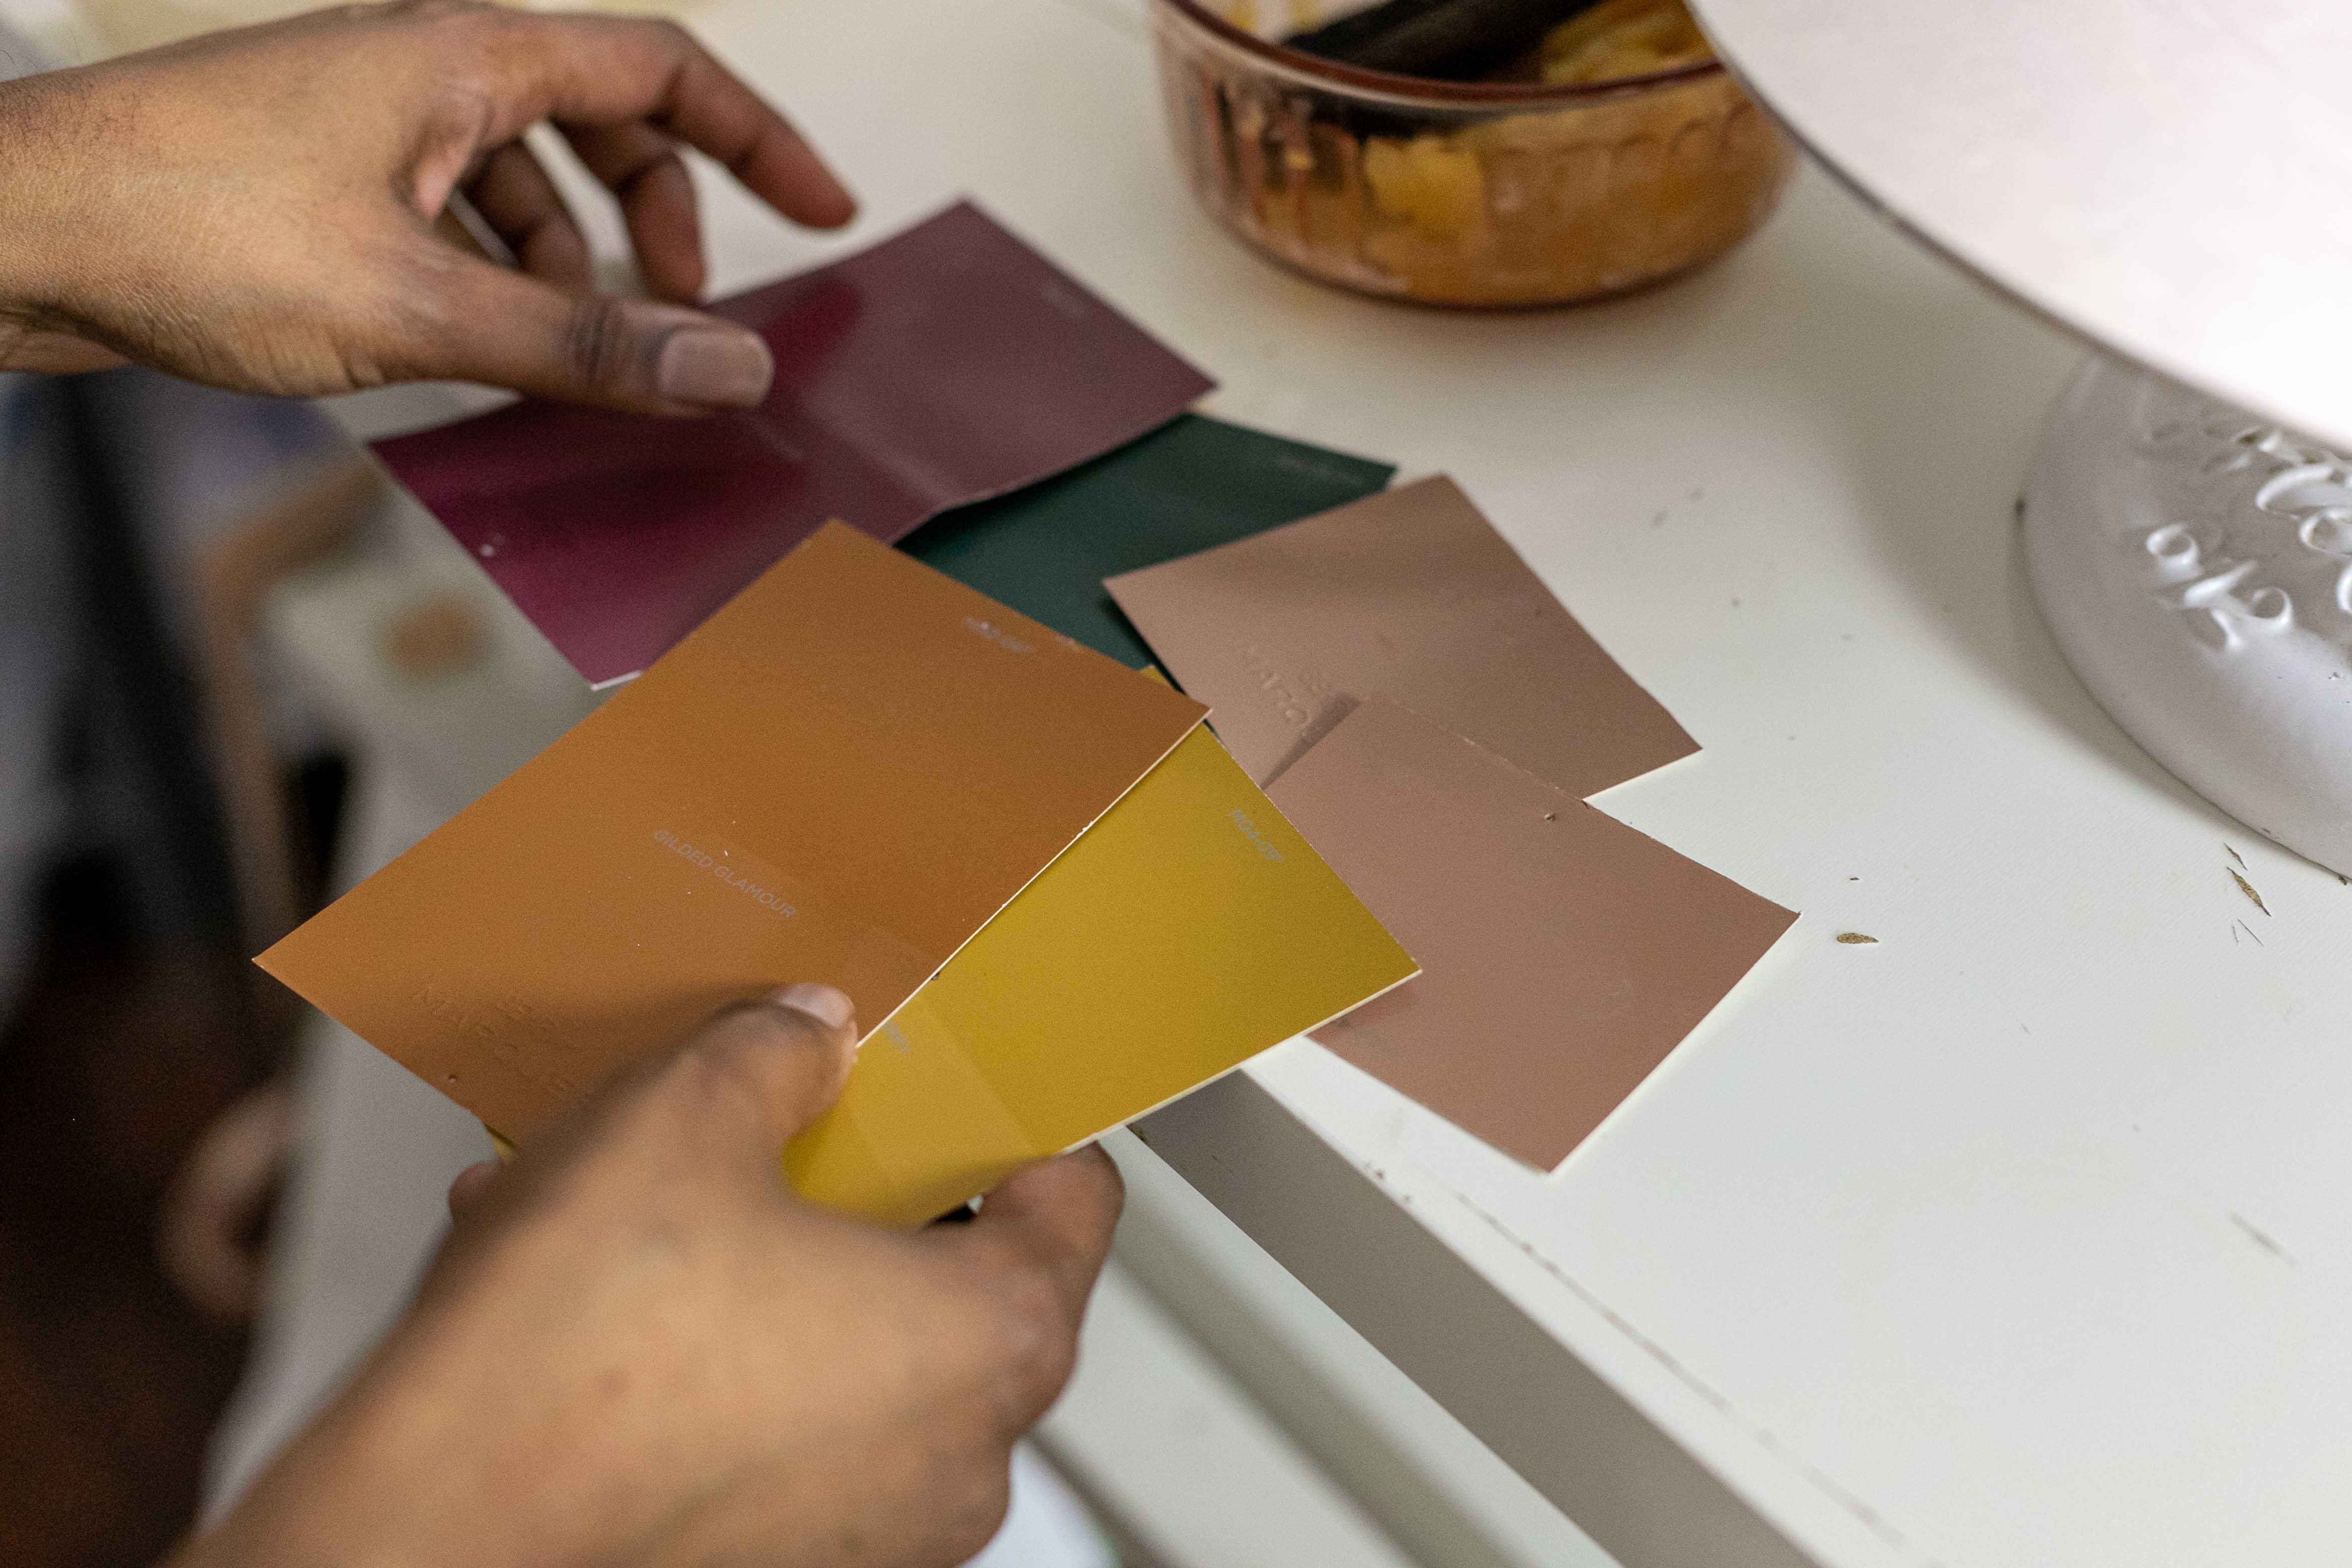
To select my color palate for a cake, I like to look at artwork on Pinterest, which I use to create my color stories. I often find myself attracted to oil paintings, watercolors, and line drawings.
When you find something that inspires you, take a look at it and see what colors you’re drawn to — from there you should be able to come up with a color story. This can come from just one point of inspiration or many. One note: you should try to keep your colors within three points of inspiration so the design doesn’t become too overwhelming.
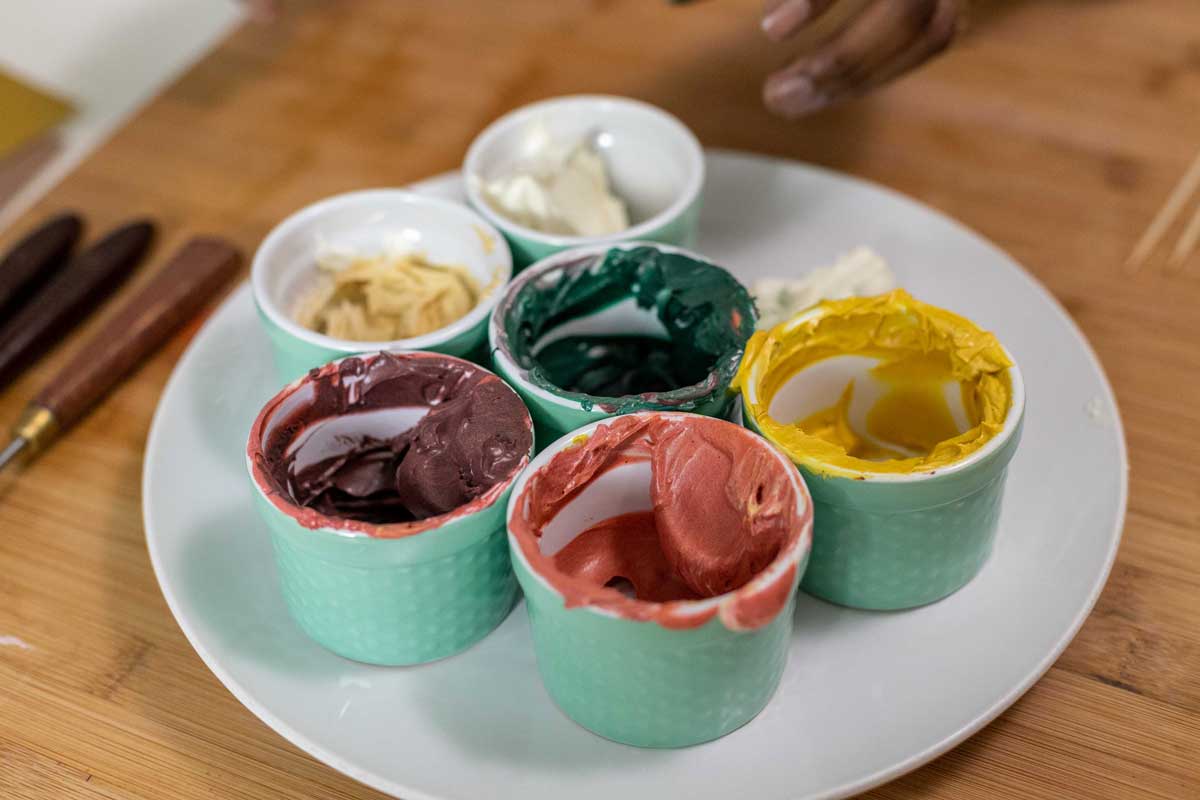
I recommend making three to six colors, with at least two colors contrasting. (For instance, a light color like ivory and dark color like emerald would be contrasting.)
For this step, you'll need:
To prepare, simply divide your buttercream into small bowls based on the number of colors you want to work with. Add coloring to each bowl of frosting and stir gently to combine, until the whole amount of frosting is tinted.
Before we get started on our artistic painting, we need to cover the basics of cake decorating. Having a cake in the best state possible will ensure you have a great foundation for any cake design. So good stacking practices are essential.
You'll need:
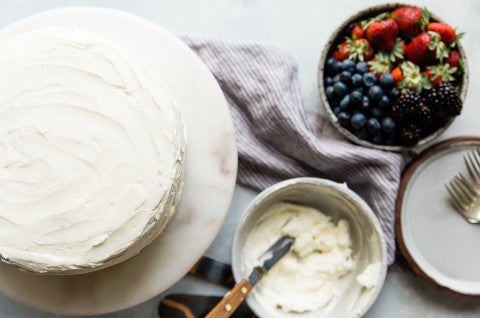
Start by preparing one batch of buttercream. Divide the buttercream in half, using one half to create three to six colors for decorating (per the previous step), and leaving the other half plain to frost the outside of the layer cake. I frost my cake with a thin, semi-naked look; if you want your cake completely covered, consider preparing two batches of frosting.
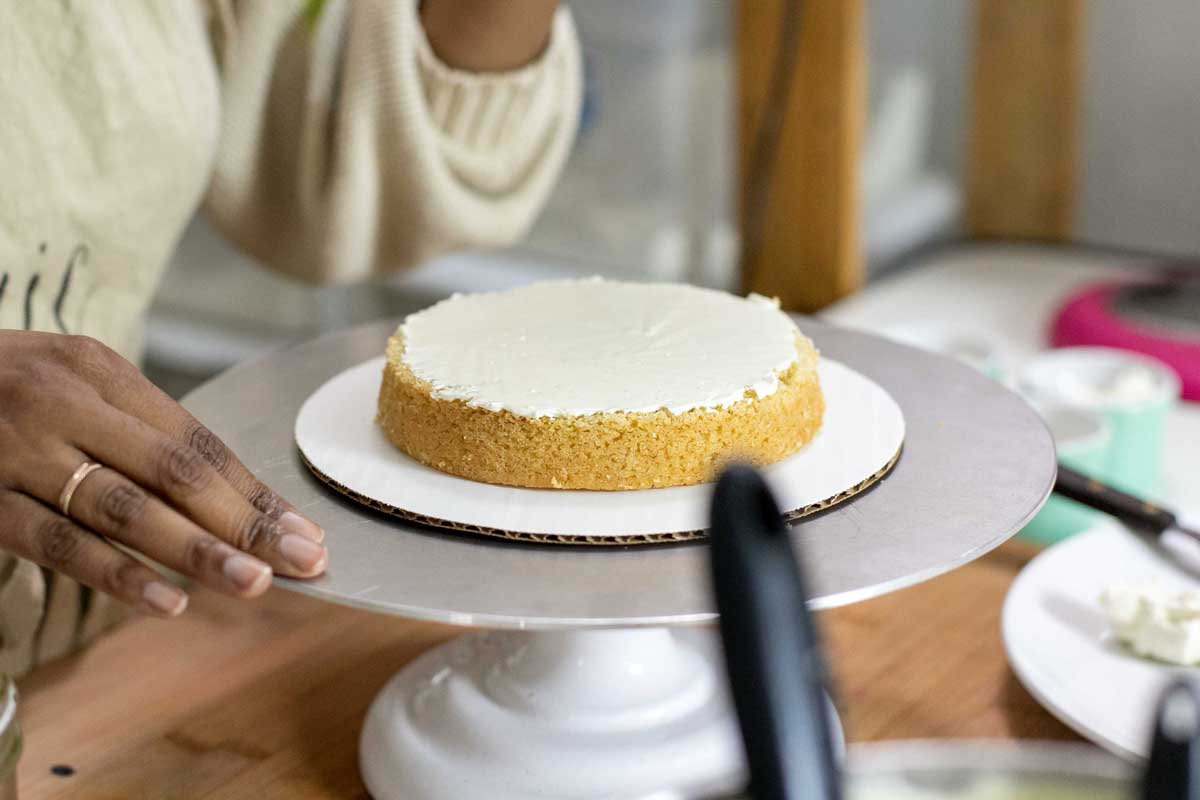
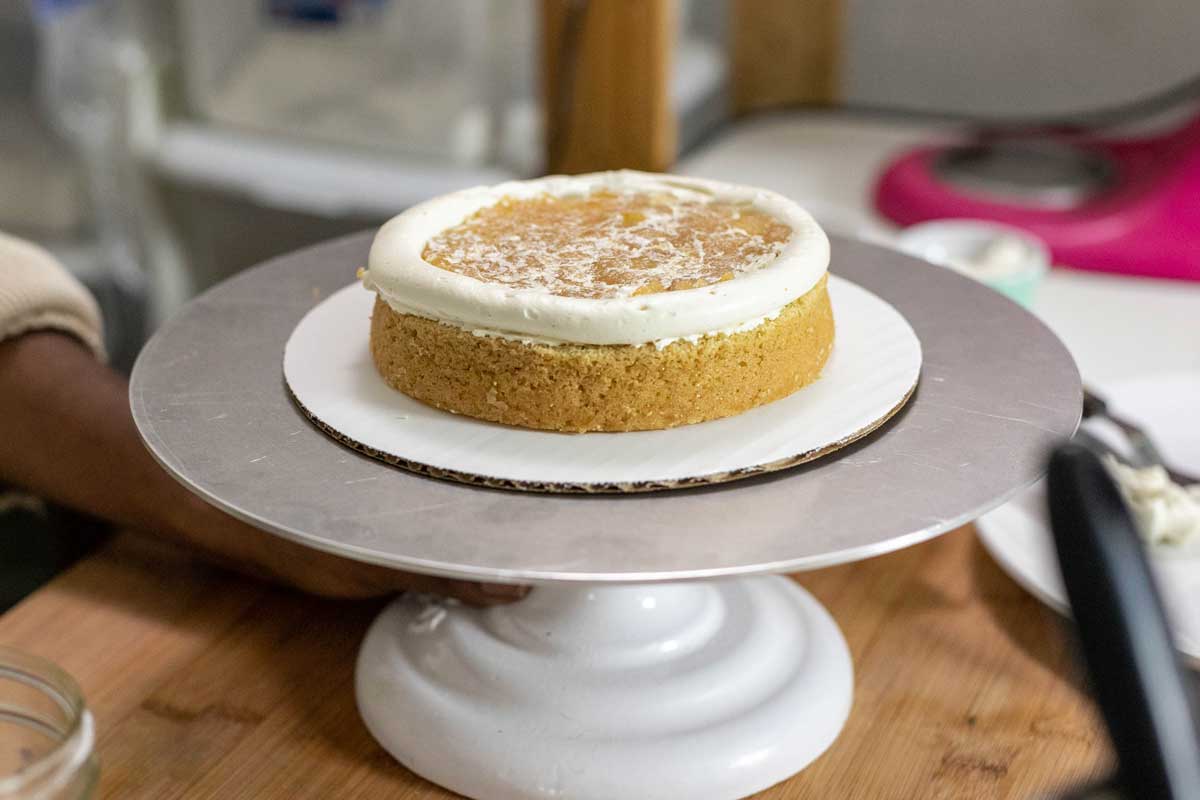
I like to make sure the cake will be secure on the revolving cake stand. This is where I place my non-stick cake stand pad (you can also use a damp paper towel), then on top of that the cake board. Dab a small amount of buttercream in the center of the board before placing the first layer of cake — this will help the cake layer stay in place.
Add some buttercream to the top of the first layer of cake and use the offset spatula to smooth to the perimeter, making sure the buttercream is in an even, flat layer.
If you’re filling your cake with fruit or jam, fill your pastry bag with buttercream and pipe along the perimeter of the cake to create a dam for your filling. Fill the center with your choice of filling, then top with the next layer of cake.
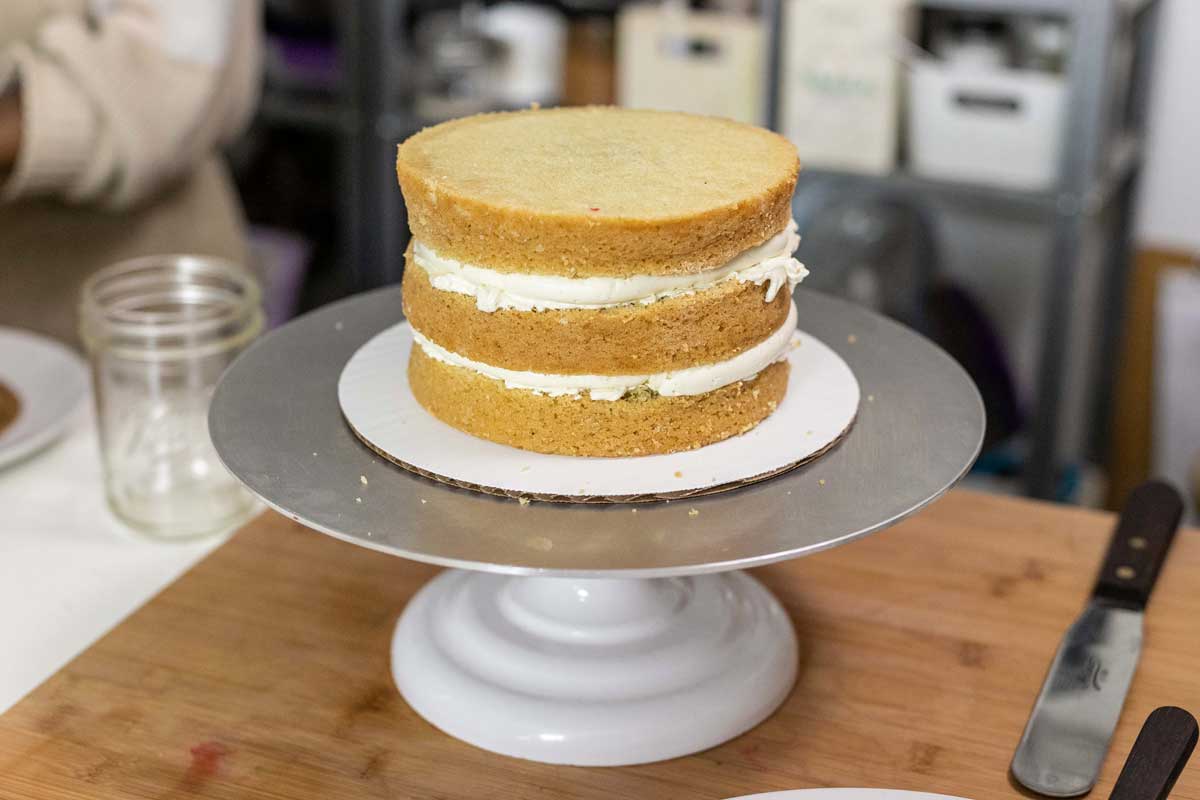
Repeat these steps until all the layers are stacked, being sure to flip the last layer so that the flat bottom of the cake is facing up.
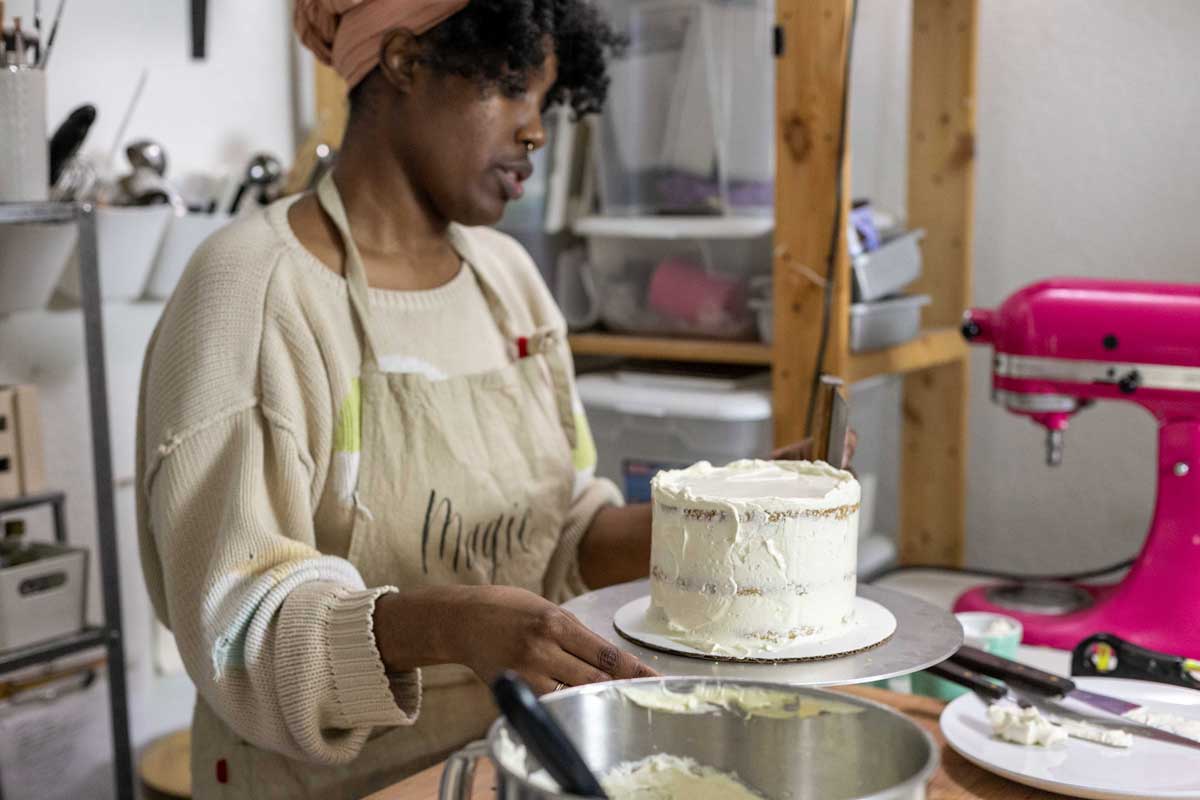
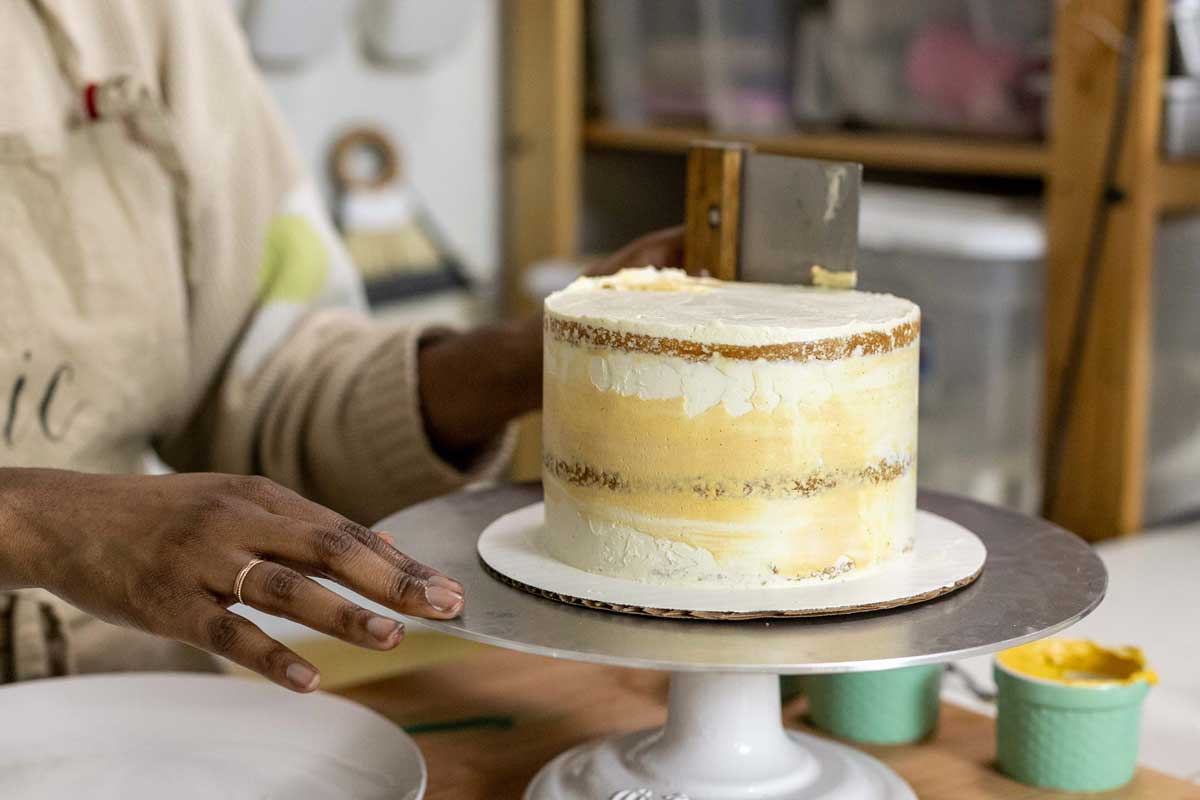
Now it’s time to cover the whole thing with buttercream. You’ll be adding two coats of frosting to the cake — this first layer is the crumb coat. Start by adding a heaping scoop of buttercream to the top of the cake. Using your offset spatula, smooth the buttercream to the perimeter of your cake.
Next, take the straight spatula (or nylon spreader) and add buttercream to the sides of the cake, making sure to keep the spatula parallel to smooth the buttercream around the sides. Add more frosting as needed until the whole cake is covered. Finish it off by using the bench knife to make the sides nice and smooth.
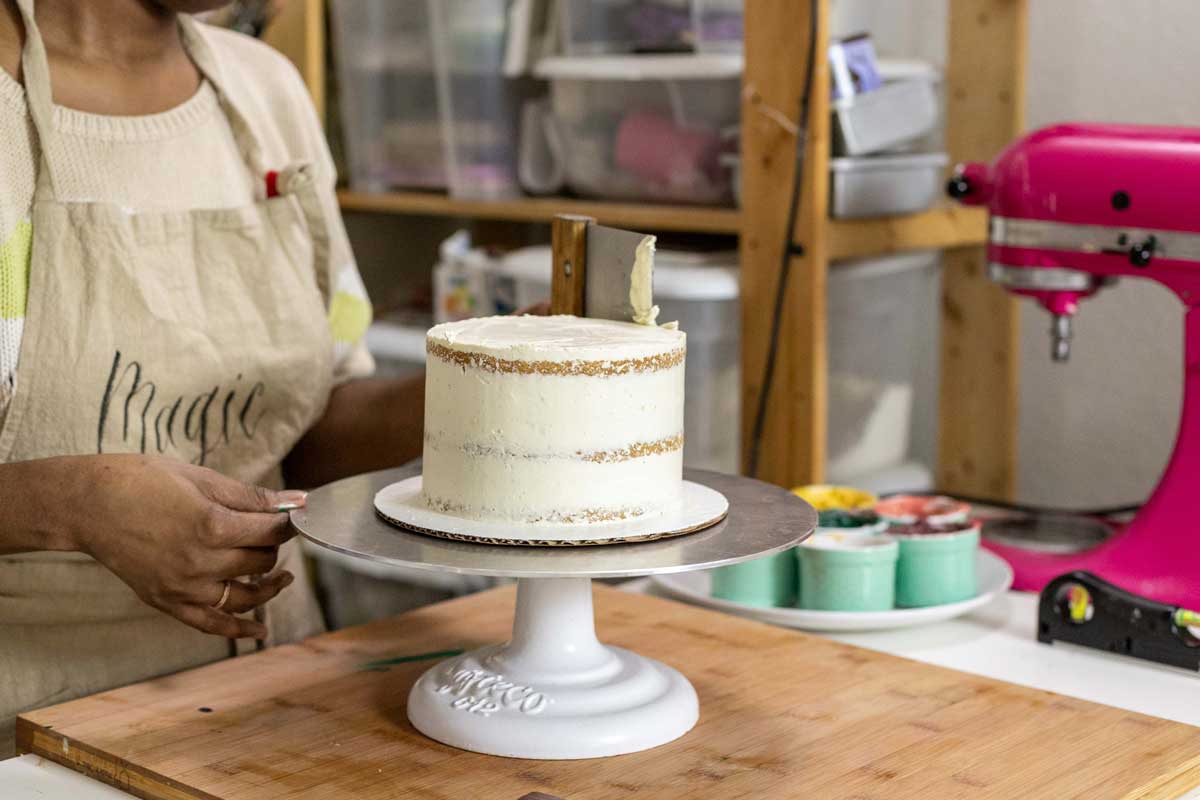
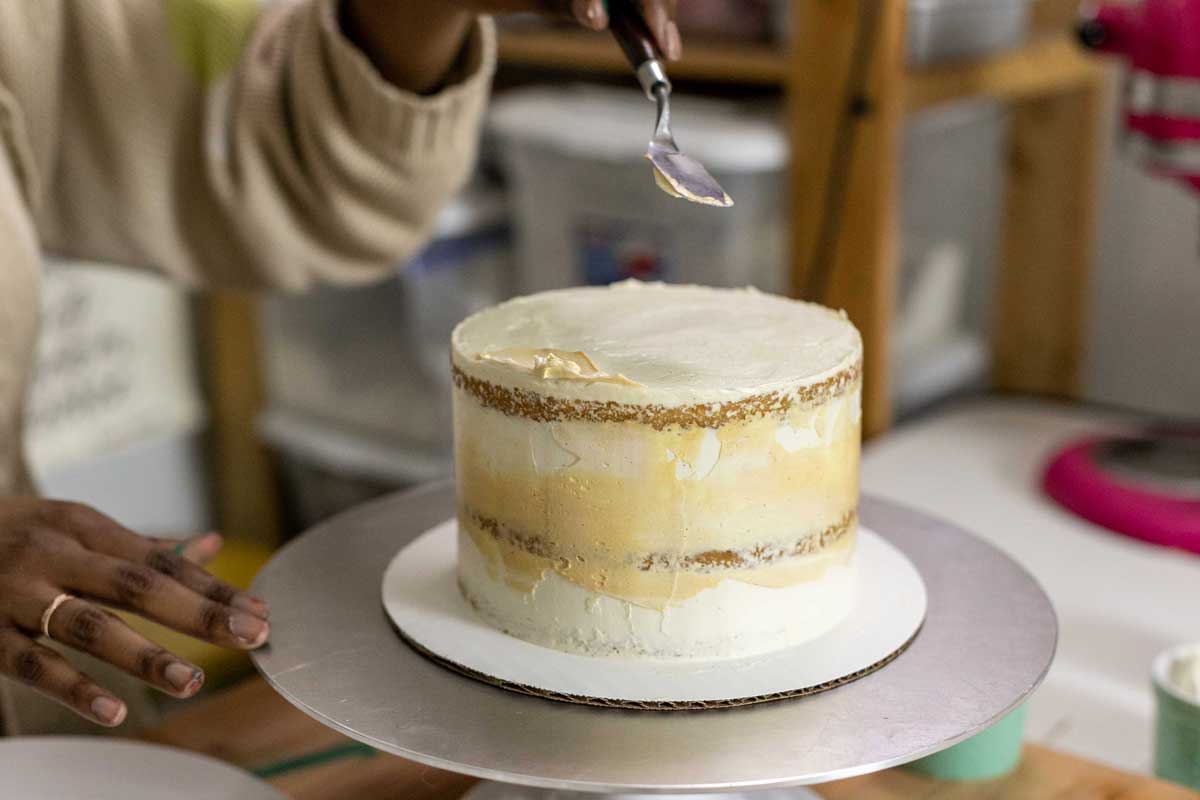
To level the top of the cake, use the offset spatula to smooth the buttercream in towards the center of the cake; be sure to scrape off the buttercream after each smoothing swipe to get a nice clean finish. Place your cake in the fridge for 15 to 20 minutes.
Repeat these steps once more for your final coat. I've kept some cake peeking out for a semi-naked finish, or you can cover your entire cake.
Here’s where things get really fun — we get to paint with food! I like to paint with my emotions, so I try to always be in the best mood when I’m baking so the energy that goes into my creations is positive. To encourage this, I like to put on some music to get me in the mood to paint. I use my color palette to choose a song and let my inspiration flow from there.
You'll need:
*These are tools you'd use for actual painting, and I find they provide the right amount of control and finesse for decorating. You can find these at an art supply store. A small offset spatula will also work here, if needed.
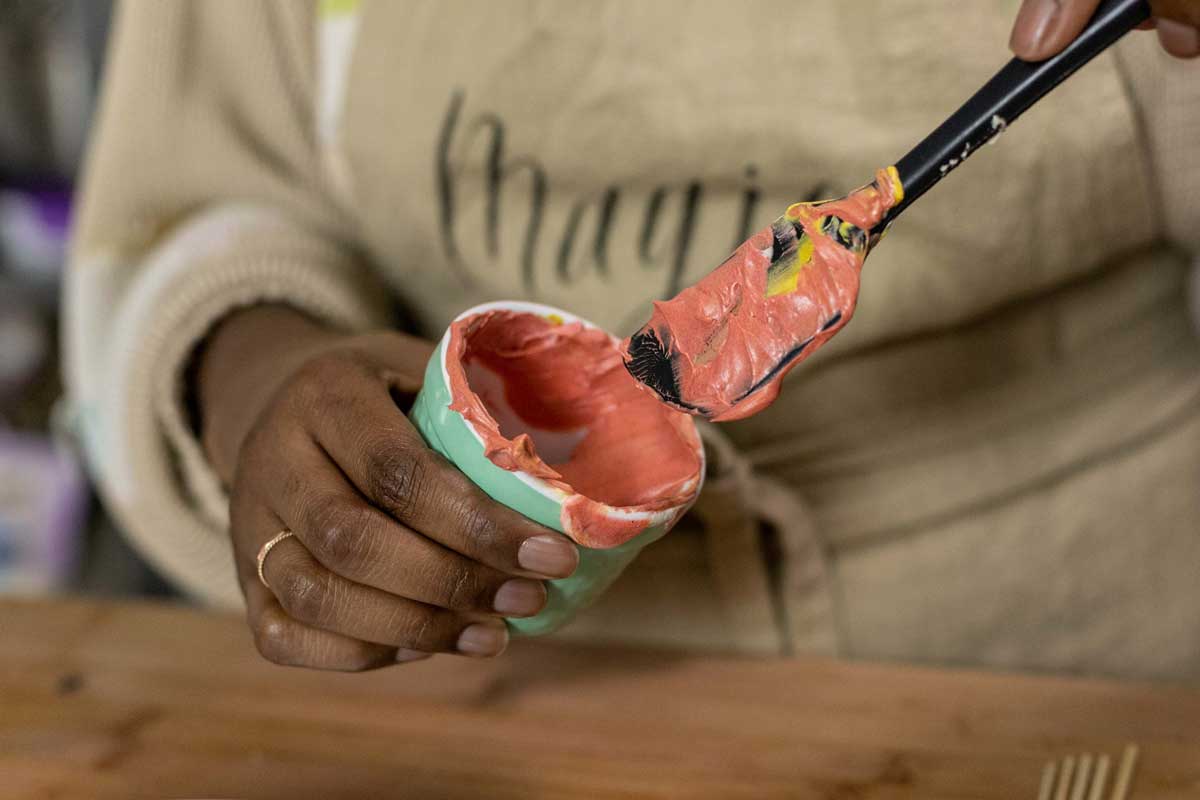
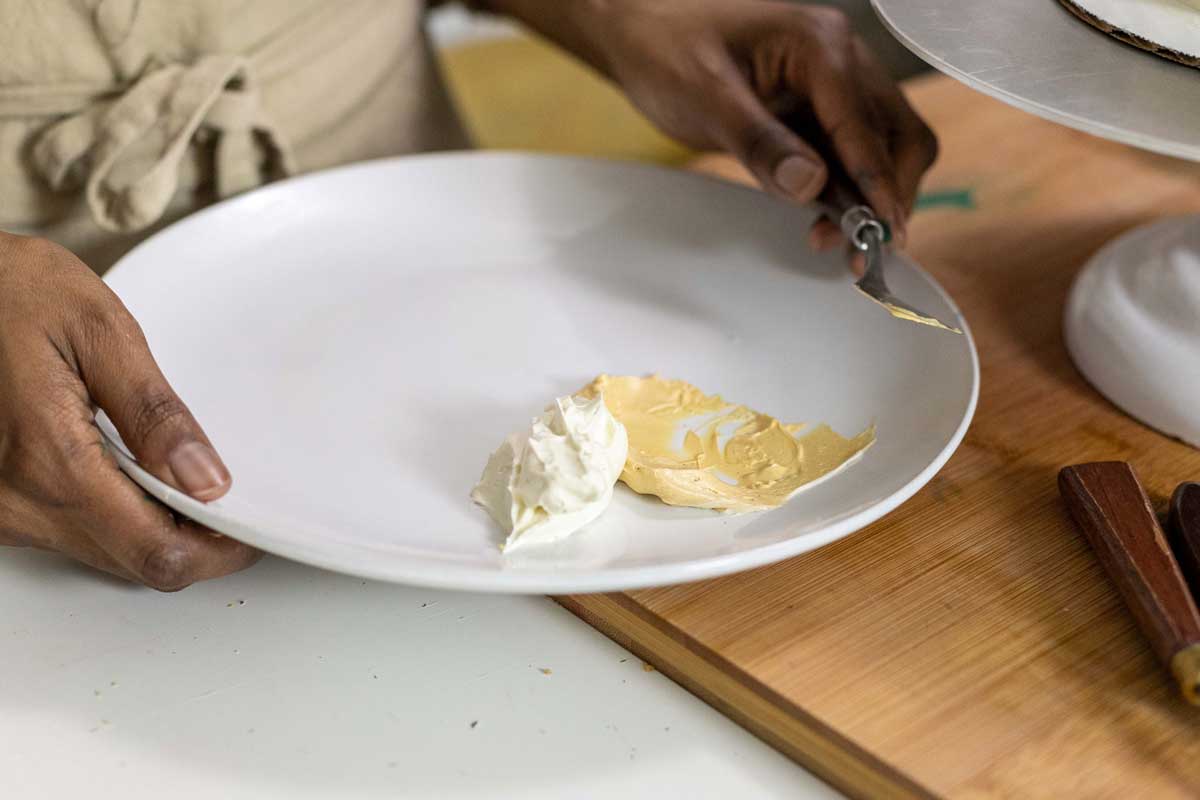
Place large dollops of your buttercream colors next to each other on a plate, the same way you would prepare a palette for painting.
For these painted cakes, I like to cover some sections of the cake with colored frosting and leave some sections bare for a striking visual contrast. How much or how little you choose to paint is entirely up to you.
You can create a second color dimension to your cake base by adding a layer of colored frosting to the sides of the cake. I use my palette knife to swipe through my dark ivory and ivory buttercream, collecting a small mound of buttercream at the tip of the palette knife. With the palette knife, I then swipe the frosting in any direction on the side of the cake (moving the knife up or to either side works best) to create a smear. Finally, I use the bench knife to smooth the colors along the sides, so they partially cover the white frosting base.
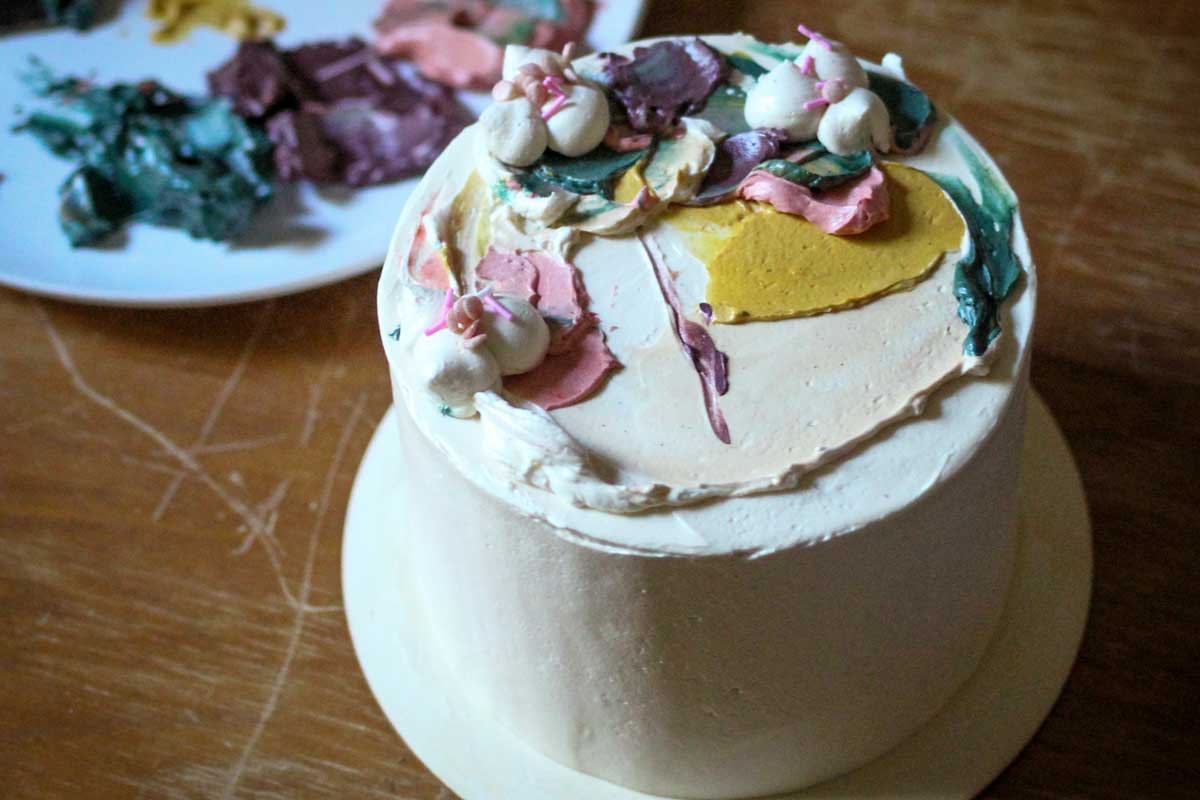
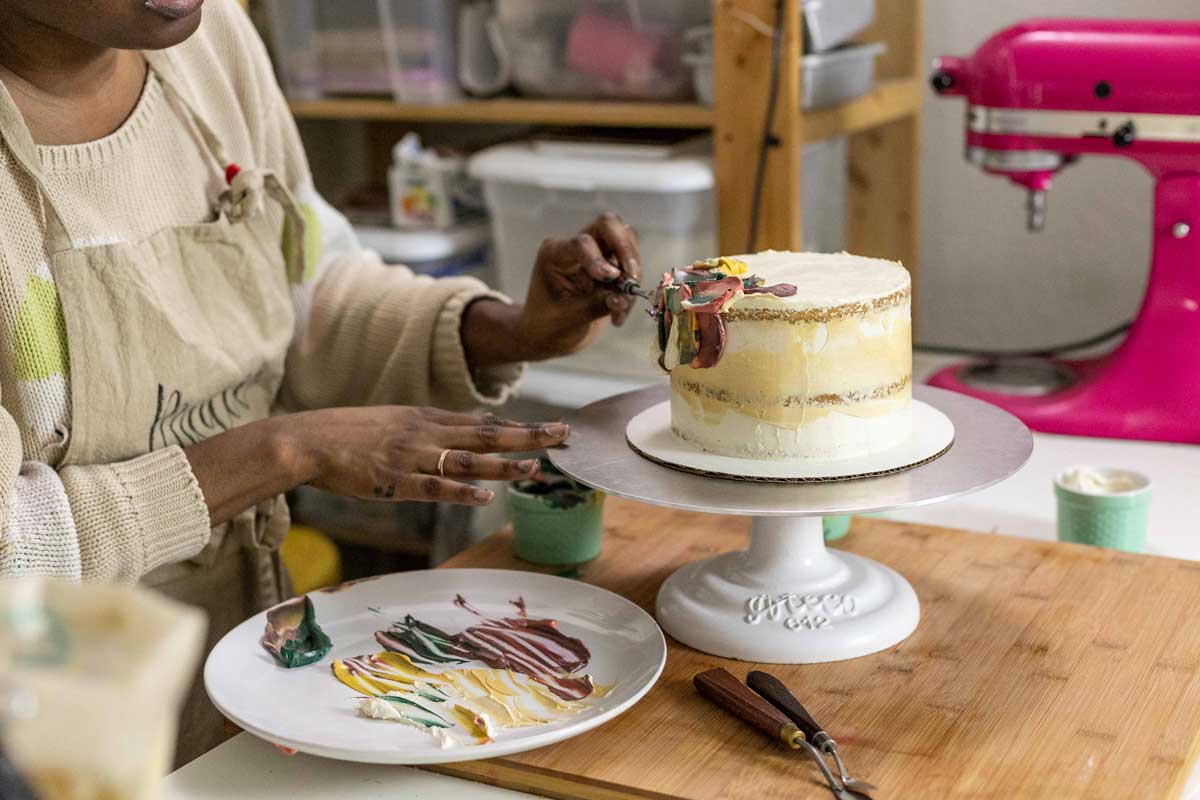
Now, you're ready to add bold swoops of buttercream paint to complete your design. For this cake, I decided to paint part of the top and the side. Starting with dark ivory and ivory as my colors again, I swipe through the buttercream with my palette knife, then swipe on top of the cake to create a thick smear.
Continue to make small smears of color around the perimeter of the cake, across the top, and down the sides. You can blend the colors on your plate or on the cake itself for an even more artistic touch.
At this point, look at the colors that you choose to see what speaks to you and what flows with the music, then go for it! There’s no wrong way to go about it. If you mess up, simply remove the buttercream with a palette knife and add the color you desire.
It’s important to remember that a decorative method like this is all relative — it’s meant to be an expression of your feelings and creativity, not a contest in perfection. Keep an open mind and maybe even give in and work with “mistakes” as they come.
There’s no wrong way to do this, so just have fun and get creative!
See more of Dawn's beautiful cakes and other work by following along on Instagram. And if you'd like to brush up on some key cake skills before you start painting with buttercream, watch the videos provided in our blog post, Cake decorating tips.
