How to bake bread using less yeast
Smart ways to tackle the yeast shortage

Date
April 30, 2020

The recent flour shortage seems to be easing. Gradually, oh so gradually, flour is making its way back onto supermarket shelves. Maybe your favorite variety or brand (and we hope it’s King Arthur!) isn’t available yet, but rest assured there’s lots of flour in the national pipeline, and all manufacturers are working hard to keep America fully stocked.
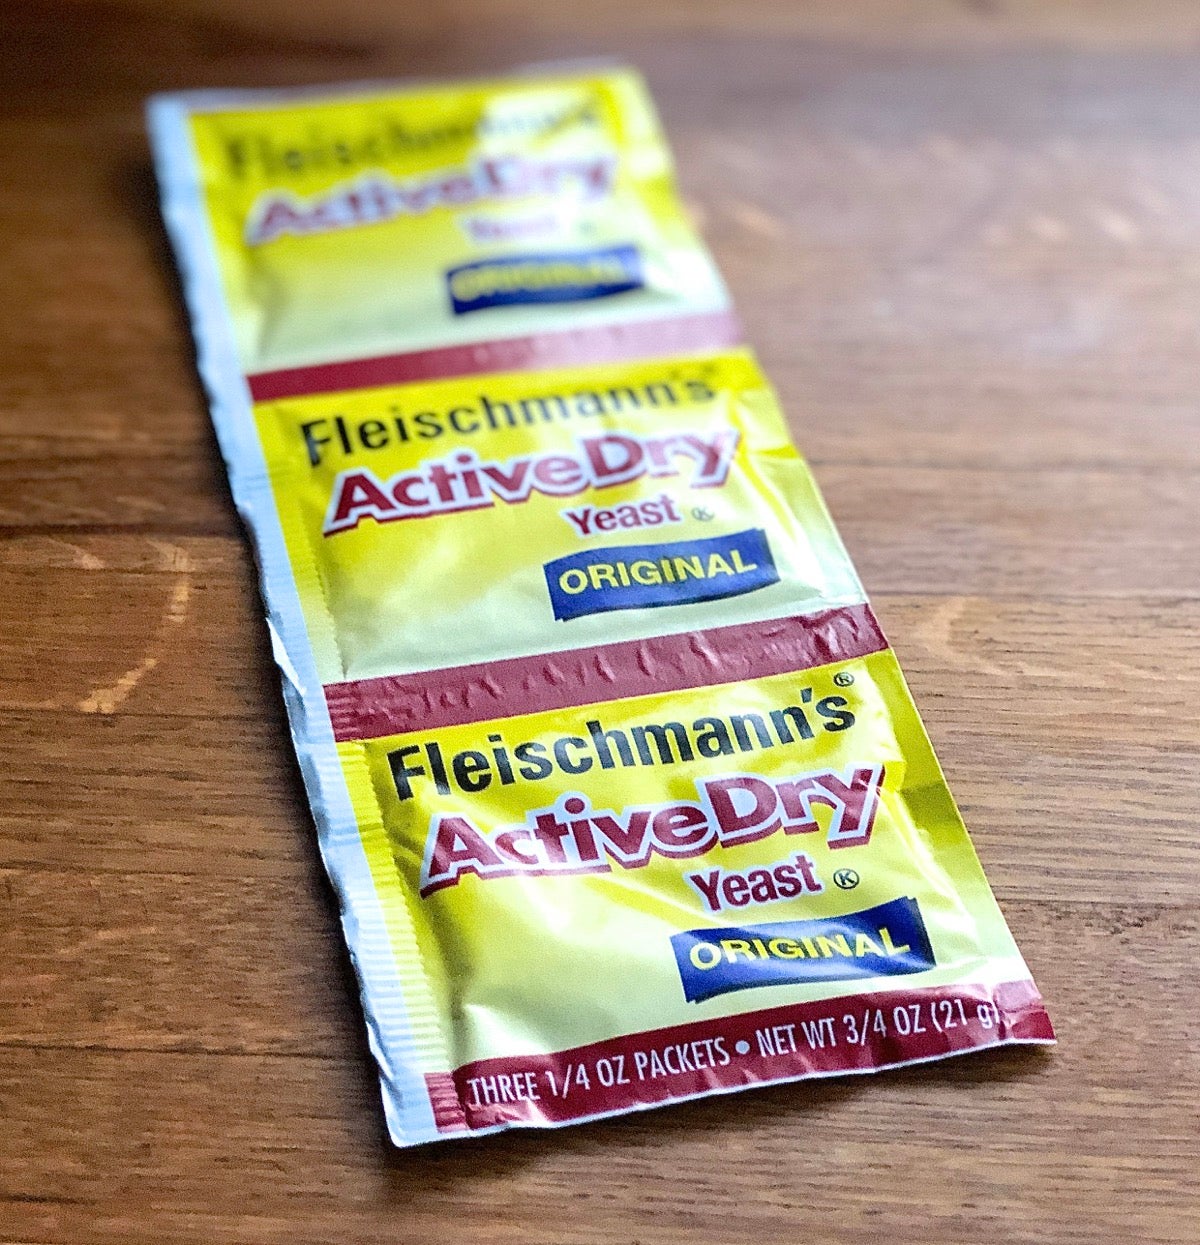
Unfortunately, commercial yeast is another matter. Whether you’re partial to packets of active dry yeast or spoonfuls of instant, yeast takes time to manufacture and package. Word has it that packaging has been the main challenge so far. But beyond that, yeast is a living organism; you can only rush its growth so much. Thus it may be a bit slower returning to its rightful spot in the baking aisle.
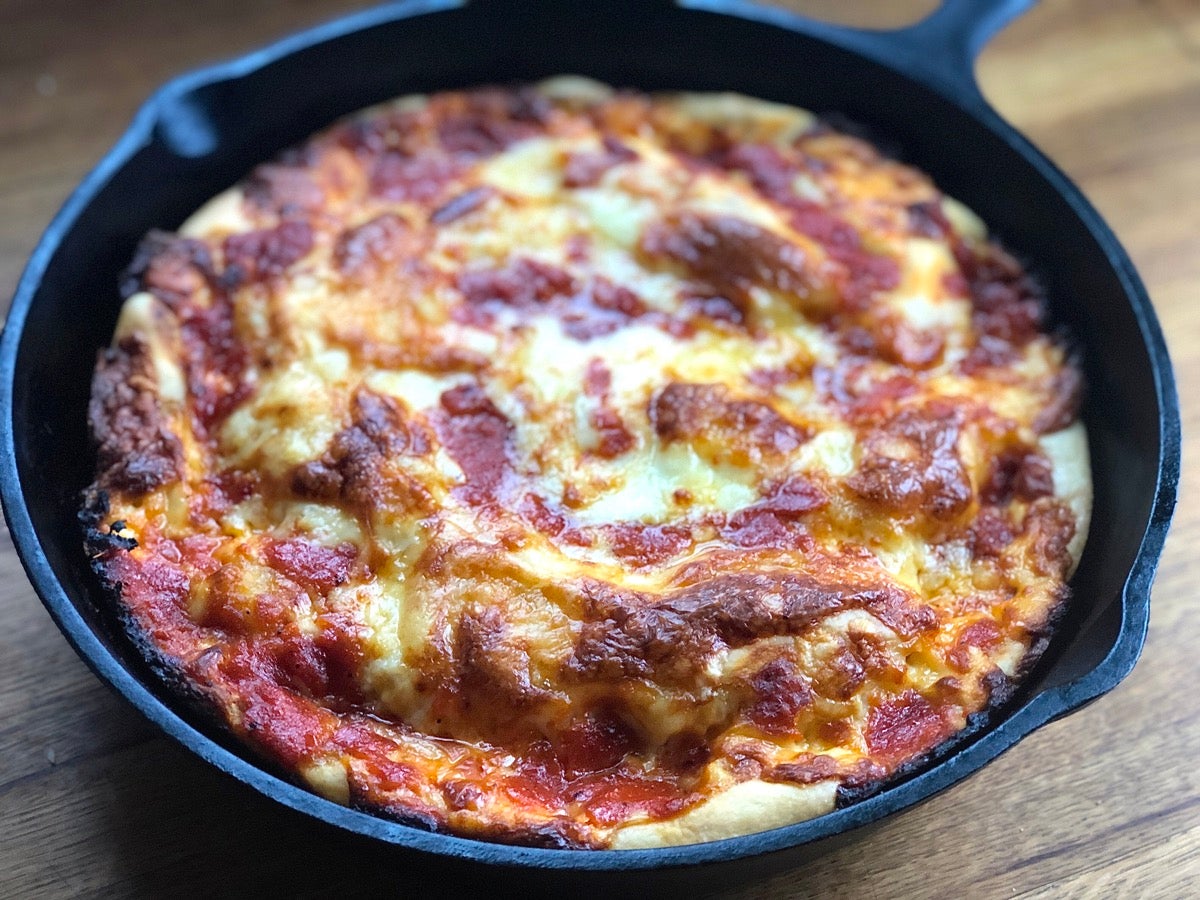
What’s a yeast baker to do? Forgo those delicious cinnamon rolls, the pleasure of family pizza night, or the pure comfort of a slice of warm homemade bread and butter? Perish the thought!
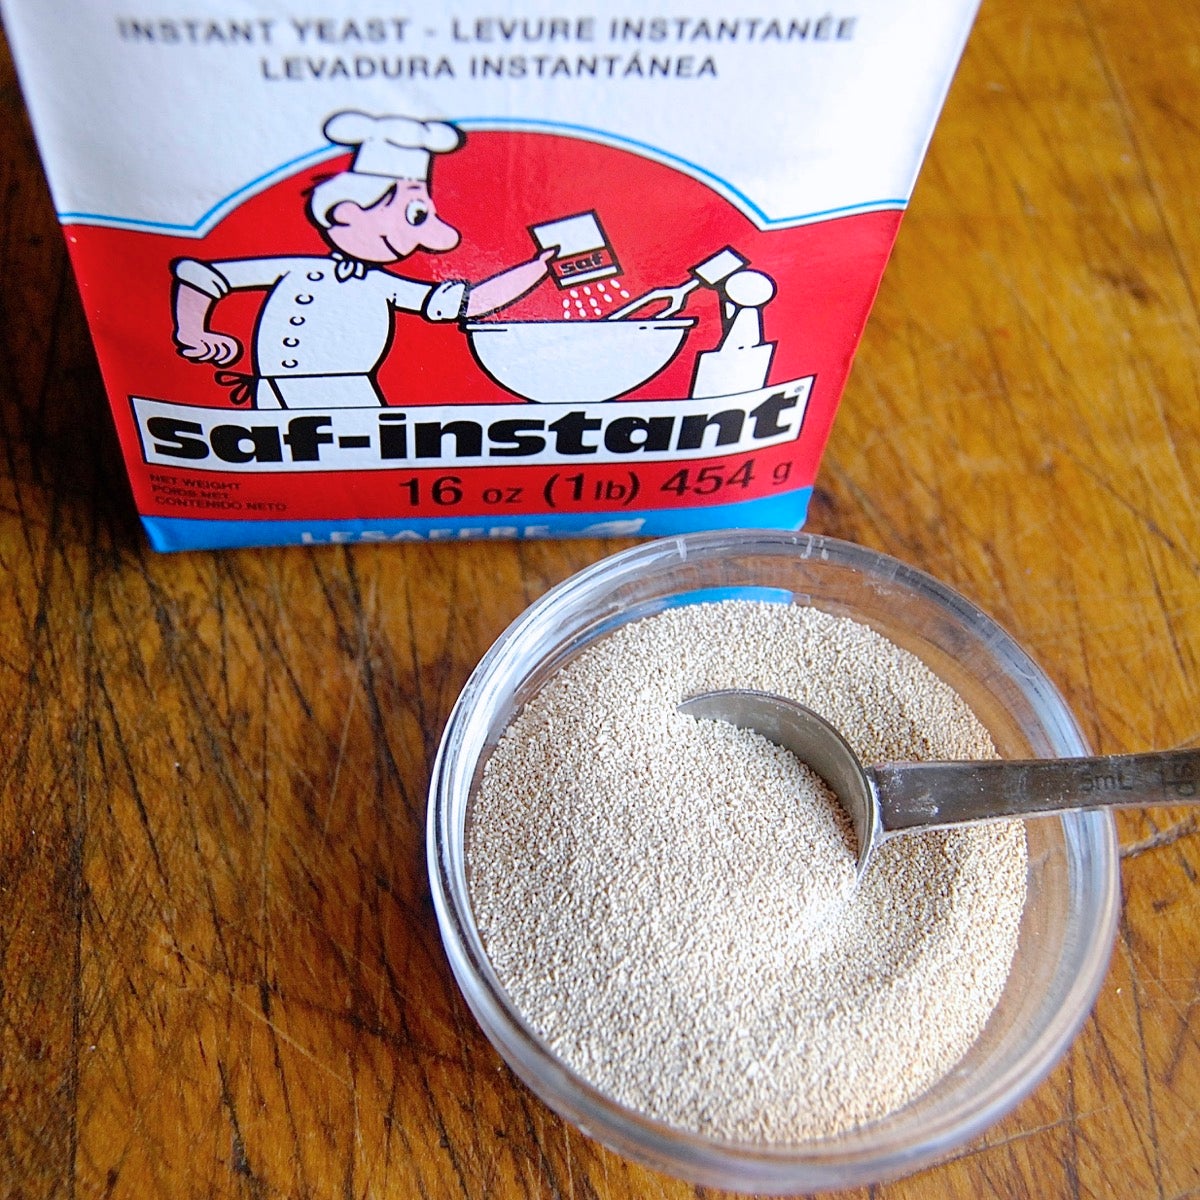
Maybe you only have three packets of yeast left, or a few ounces at the bottom of your 1-pound bag. But even if you’ve got a half-pound of SAF safely stashed in your freezer, you’ll probably feel safer using as little of that precious hoard as possible.
Let’s discover the best ways to stretch your yeast supply as far as it can possibly go.
First, choose your recipes wisely. Now is not the time for brioche, Portuguese sweet bread, or any rich, sweet loaf that requires lots of yeast (like a tablespoon or more).
In order to use less yeast you’re going to add time and/or warmth to the dough preparation process. Enriched doughs (those with lots of butter, eggs, milk, and/or sugar) can develop off flavors in a warmer environment, or in the time it takes for reduced amounts of yeast to grow and work at cool room temperature. So save those sweet bread recipes for better times.
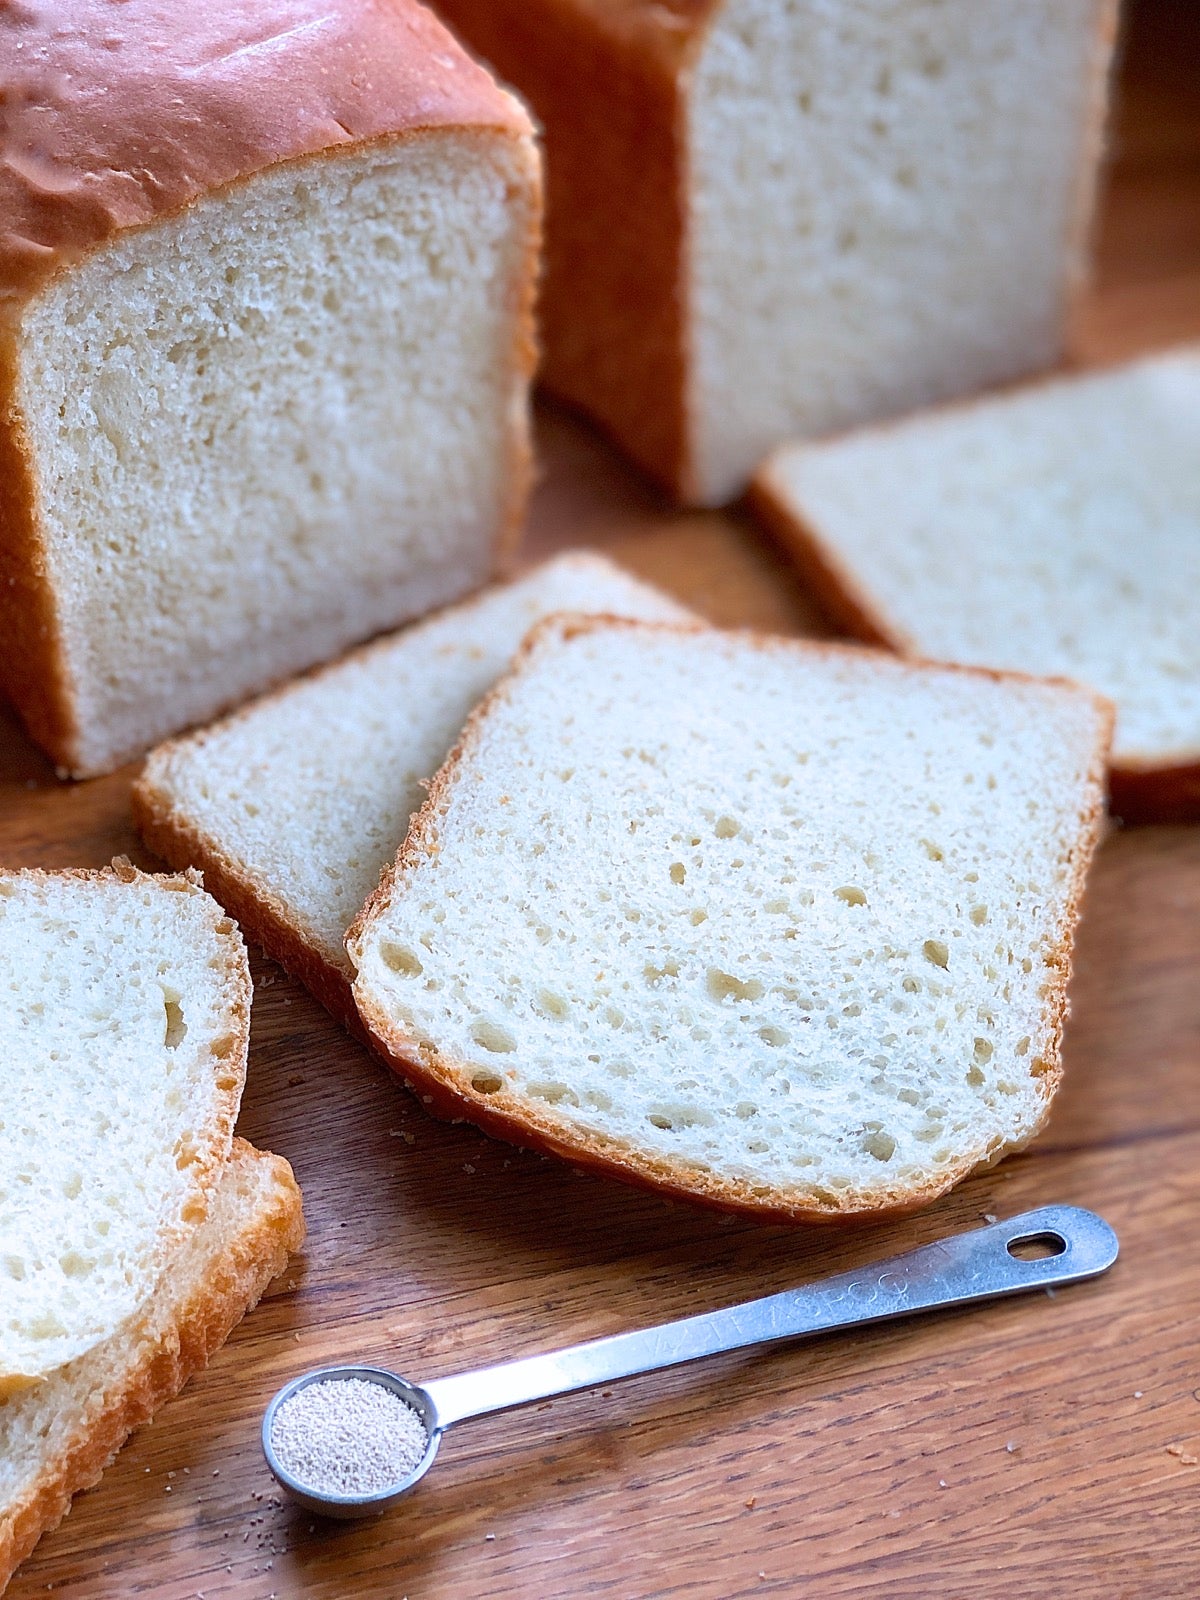
A typical sandwich bread recipe often calls for 1 packet (2 1/4 teaspoons) of active dry yeast or a couple of teaspoons of instant yeast. What if you could make that same bread using half the amount of yeast — or even less?
You absolutely can — but not by following the same procedure you do ordinarily. When you reduce the amount of yeast, you have to compensate in one (or both) of two ways: raise the rising environment temperature and/or give the yeast more time to do its work.
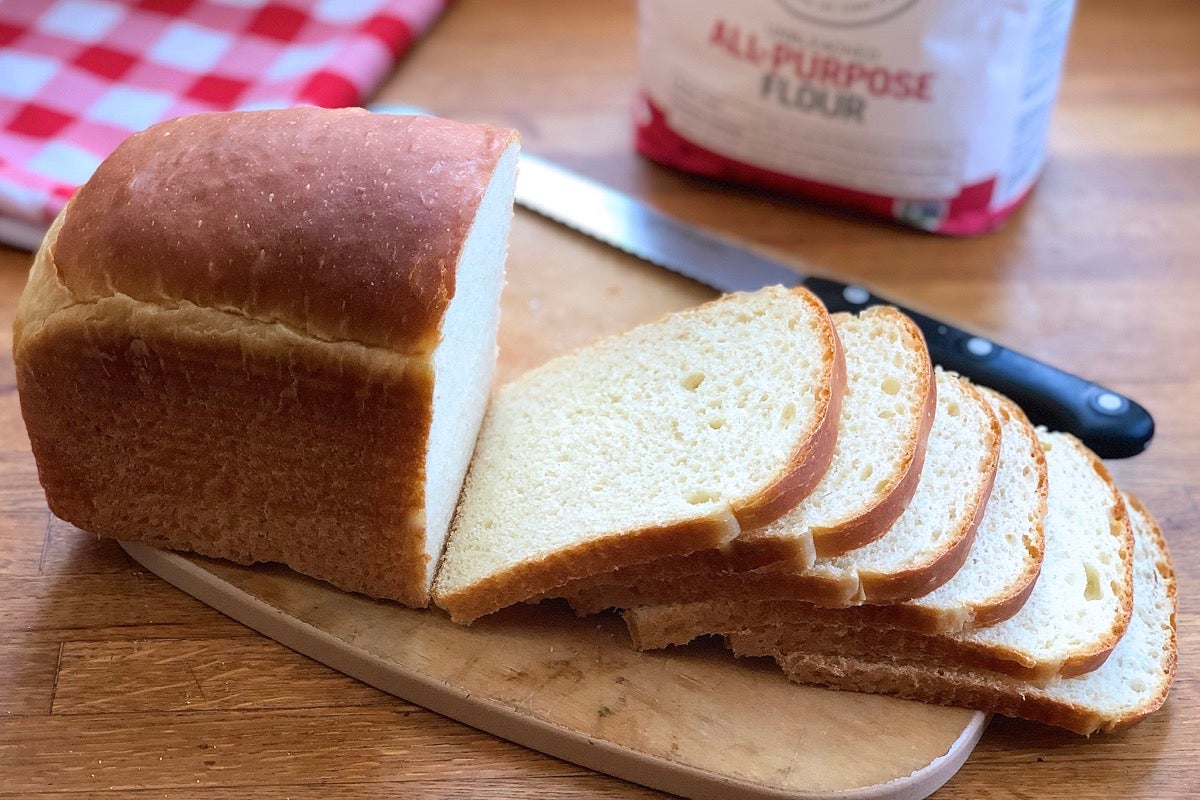
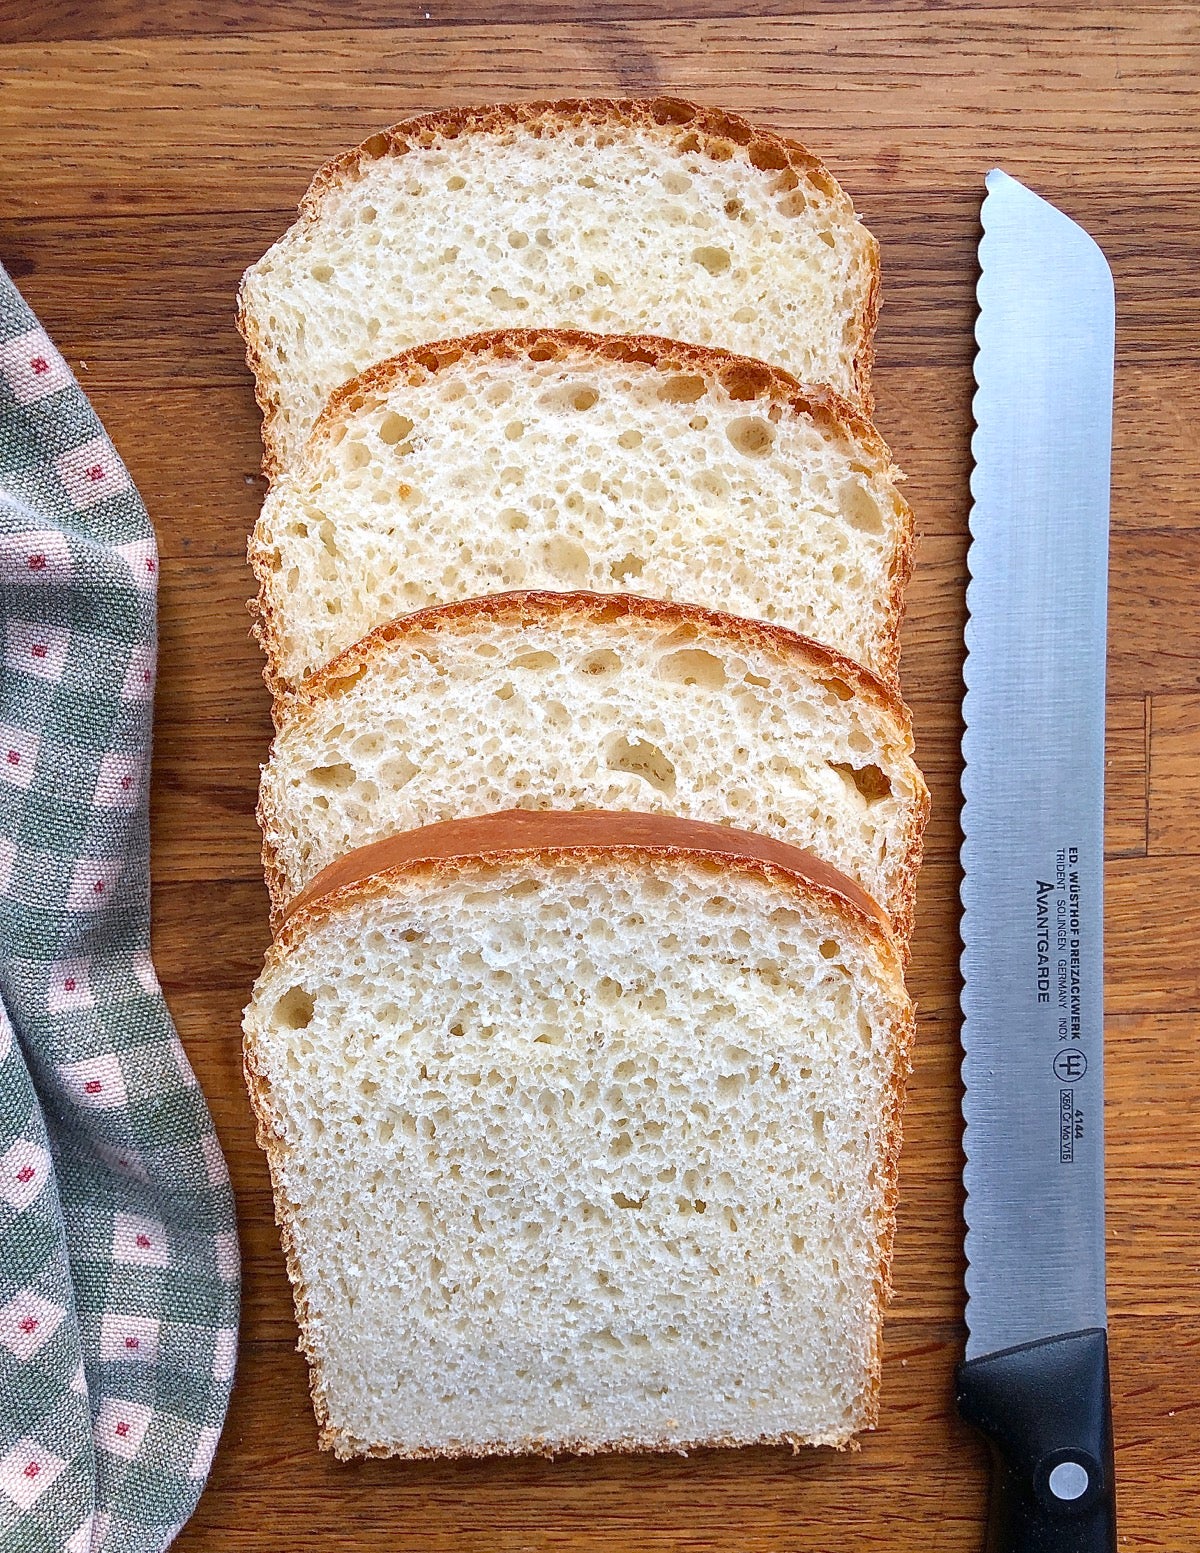
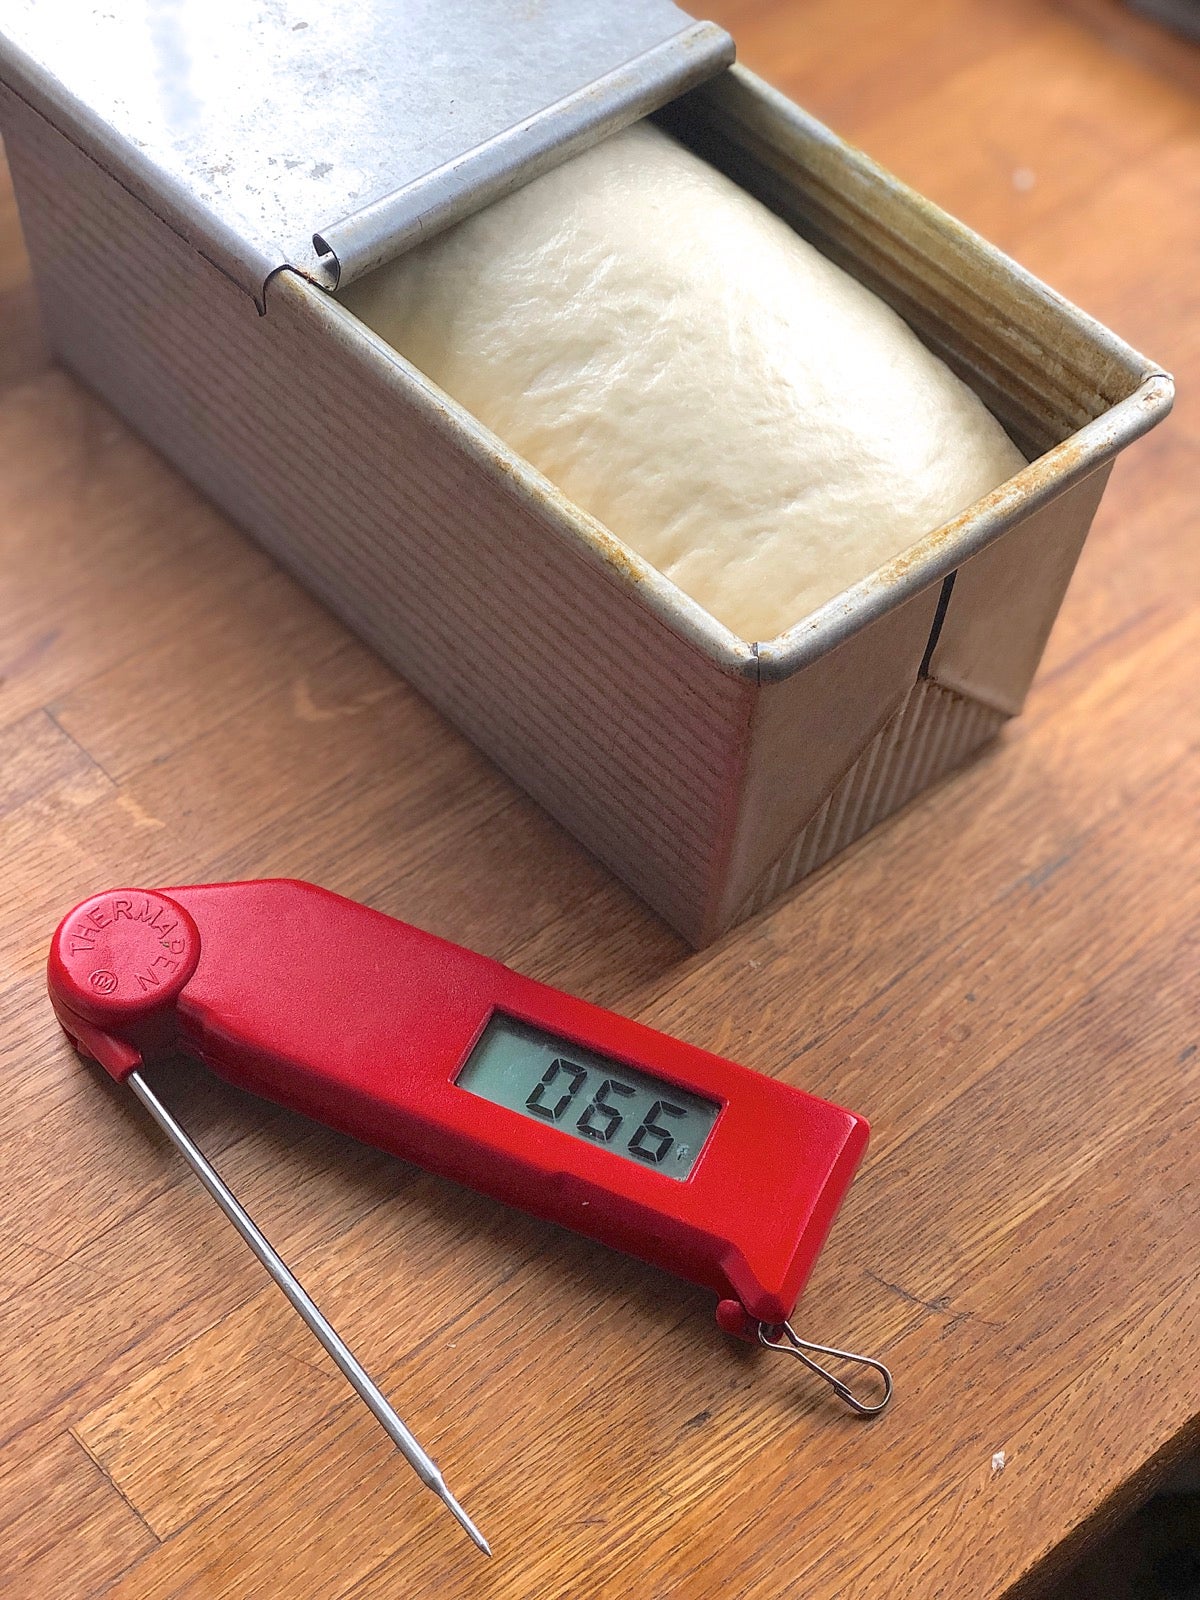
Let’s test this with one of my favorite sandwich loaves, King Arthur’s Classic White Sandwich Bread. The original recipe calls for 2 1/4 teaspoons active dry or instant yeast. Instead of using the full amount of yeast I’ll cut it back and see if I can still get good results: high-rising bread in a reasonable amount of time.
I make the sandwich bread dough using 1 teaspoon of yeast (less than 50 percent of the original amount) and place it in a large (8-cup) measuring cup to easily track its progress. I put the dough in my oven, shut the oven door, and turn the oven light on: no heat, just the light. This is my go-to warm rising environment.
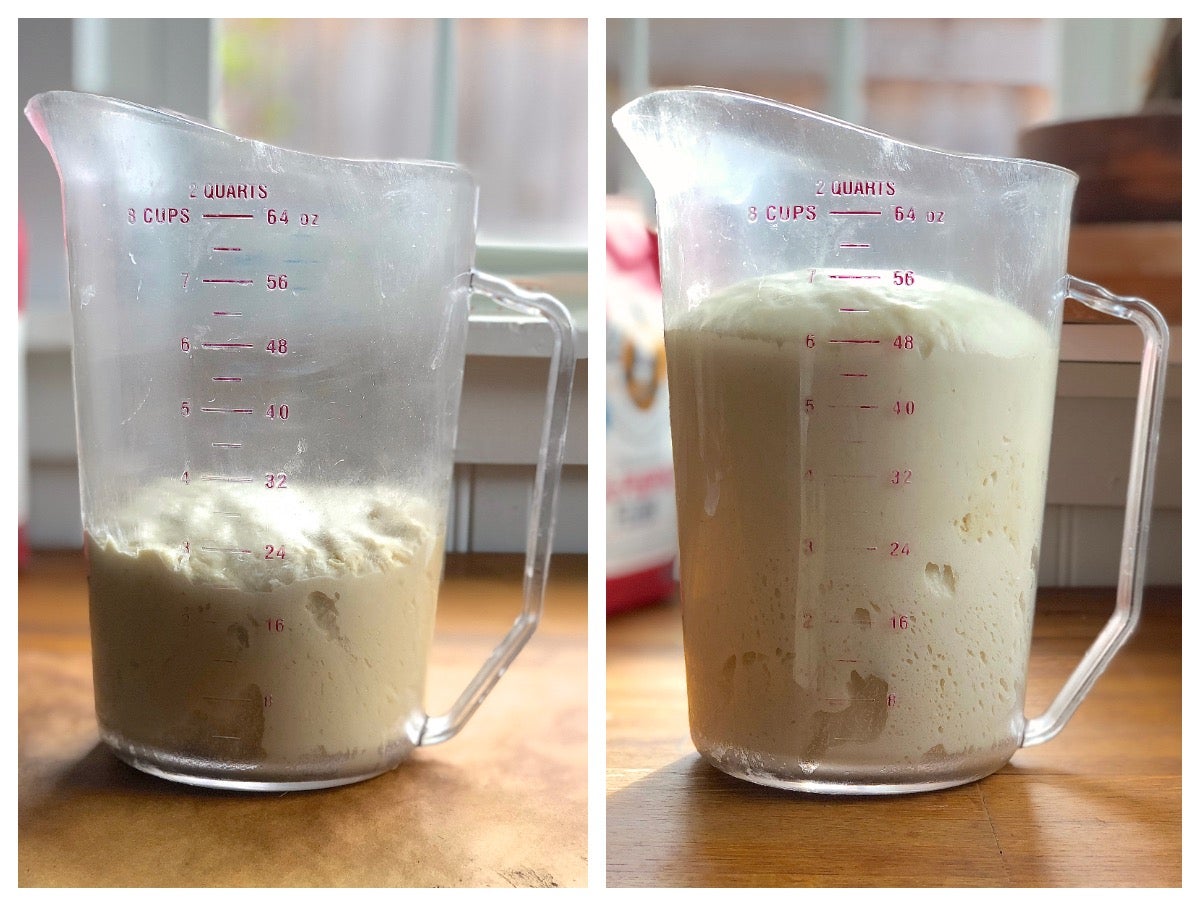
Initially, the oven is a couple of degrees warmer than room temperature, making it about 68°F. Over the course of the next couple of hours, thanks solely to the oven light, the temperature in the oven rises from room temperature to about 88°F, and the dough doubles in size.
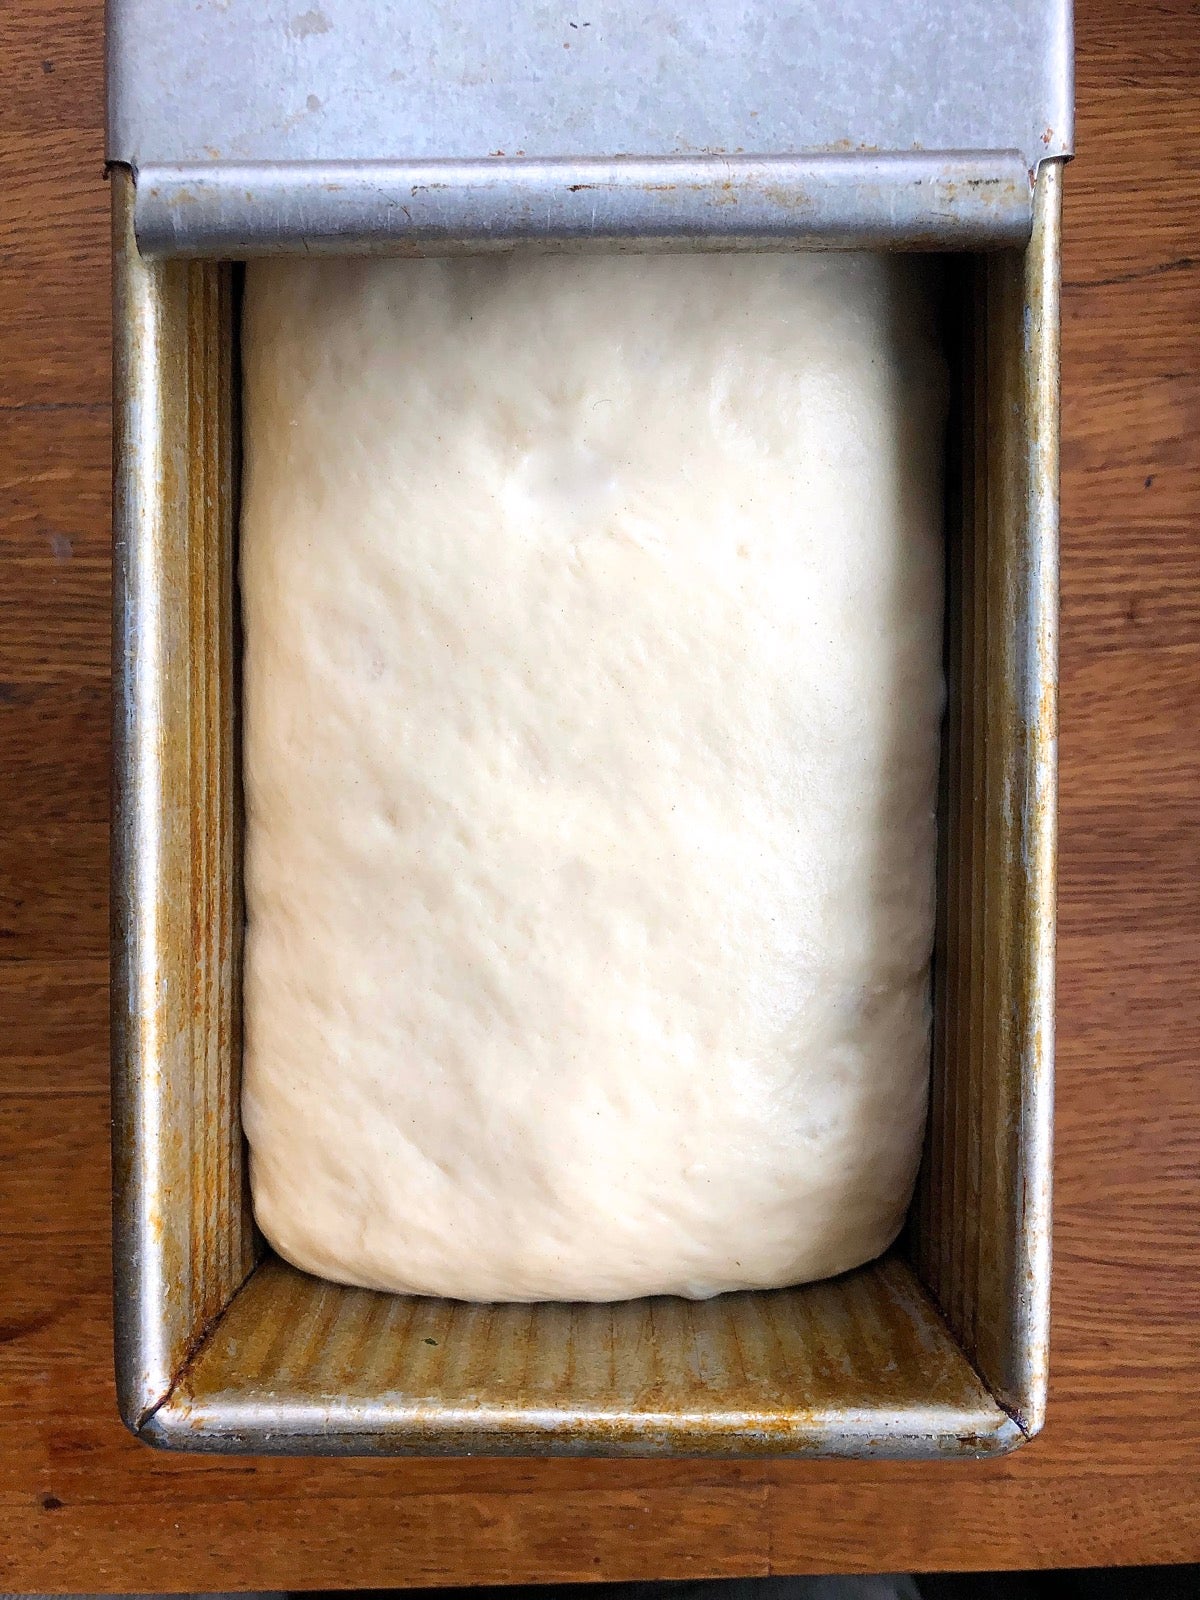
Once it’s shaped into a loaf, it takes another hour in that same 88°F oven for the loaf to rise to double its volume and be ready to bake. The original recipe calls for a total rising time of 2 to 3 hours, so my 3 hours of total rising time is well within reason, given I’ve reduced the yeast fairly precipitously.

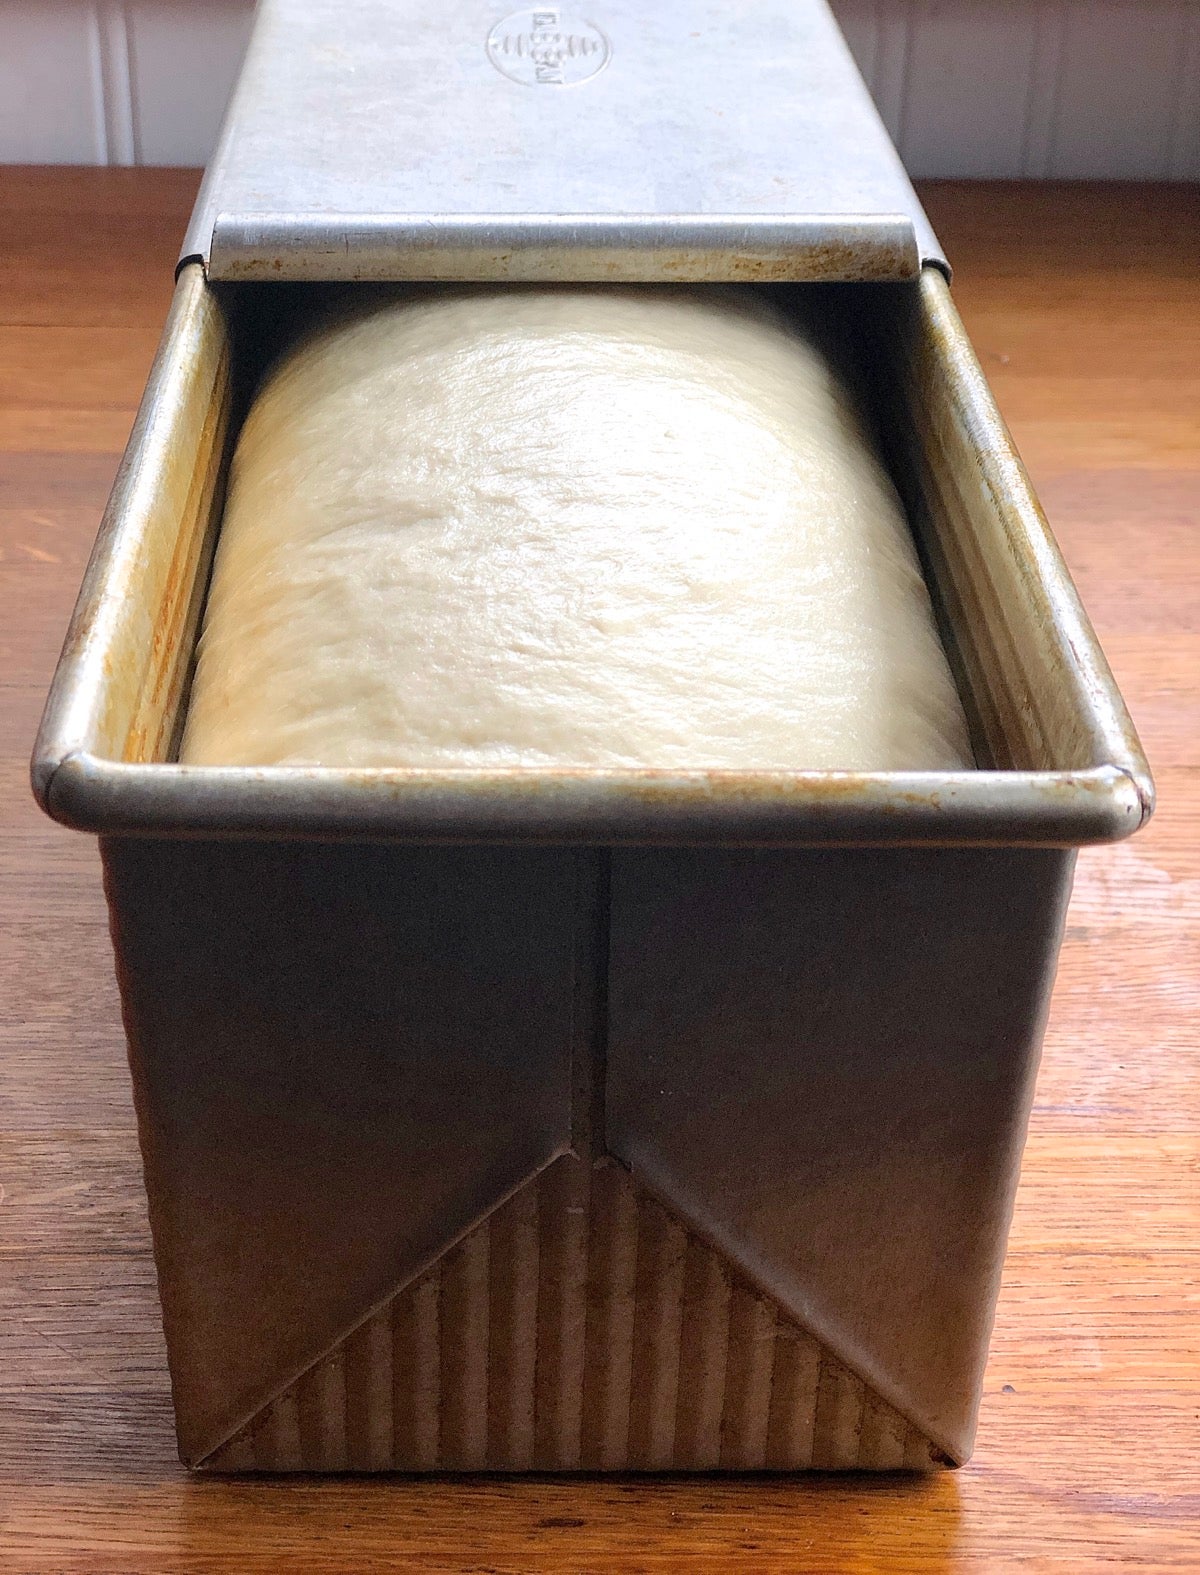
What happens if I again make the dough with 1 teaspoon of yeast, but let it rise at cool room temperature (about 64°F) instead of in a lukewarm oven?
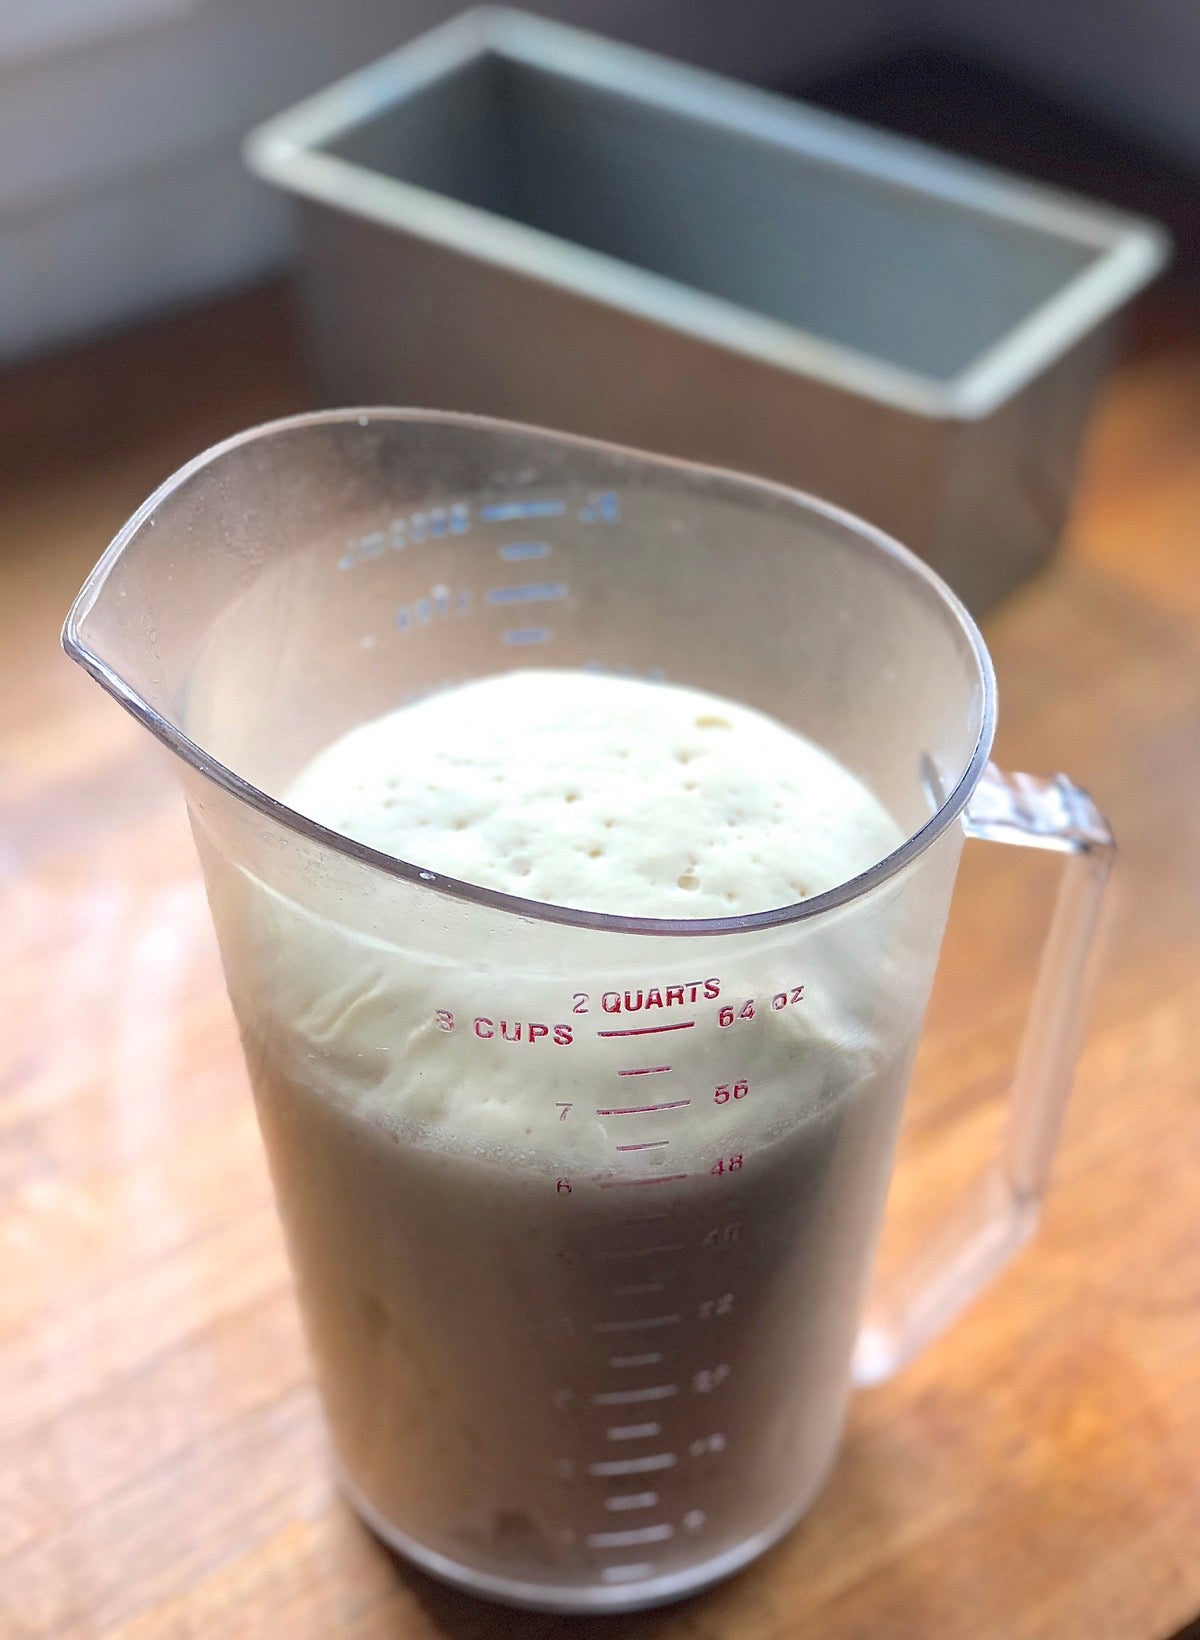
I make the dough and let it rise at room temperature (about 64°F). It takes a little over 3 hours for the dough to double during its first rise in the measuring cup; and another 3 hours to double in the pan prior to baking. So instead of the recipe’s called-for 2 to 3 hours rising time using 2 1/4 teaspoons yeast, it takes 6 1/4 hours using 1 teaspoon yeast (while keeping the rising temperature cool).
Which works just fine. I made the dough at 6 am. and put it on the kitchen counter by a window, so it would get a bit of warmth from the rising sun. I walked the dogs, had breakfast, answered emails, shaped the risen dough at 9:15 a.m., worked on some Facebook posts, baked the risen loaf at 12:20 — and had delicious warm bread for a late lunch.
If you’re not so much interested in speed as with convenience, and have trouble finding a warm spot to place that bowl of dough, it’s fine to just leave it on the countertop. Yes, it’ll take longer; but if you’re home anyway (as so many of us are these days) and you have the time, who cares?
Reducing the yeast in a recipe and letting the resulting dough rise at cool room temperature also has the benefit of loosening up your schedule. Dough that dawdles won’t have you nervously checking the time every 15 minutes to make sure it’s OK and hasn’t risen too far, too fast. Bonus: The longer yeast dough rises (within reason), the more complex and interesting its flavor.
What if I cut the yeast from 2 1/4 teaspoons to 1/2 teaspoon — a greater than 80 percent reduction? I suspect I’ll have to compensate by letting the dough do all its rising in a warm oven over an extended period of time; let’s see if that works.
Heck yes! Using 1/2 teaspoon yeast (instead of 2 1/4 teaspoons) and letting my bread dough rise in a lukewarm oven (85°F to 88°F or so), it takes just short of 3 hours for the dough to double on its first rise; and just over an hour for its second rise. The total time elapsed is 3 hours, 55 minutes. Compare that to the original recipe’s 2 to 3 hours and we’re right in the ballpark timewise — using 80 percent less yeast.
You can follow your favorite recipes and make three loaves of bread using a three-pack of active dry yeast. Or you can take that same three-pack, reduce the amount of yeast you use in each loaf, and make 13 loaves. For as long as yeast is still scarce, I know which choice I’d make!
With any yeast recipe there are always variables; and that means when you try cutting back the yeast in your favorite bread recipe you may not experience the same results I've detailed here. But potentially using much less of your dwindling supply of yeast? I'd say it's worth a try.
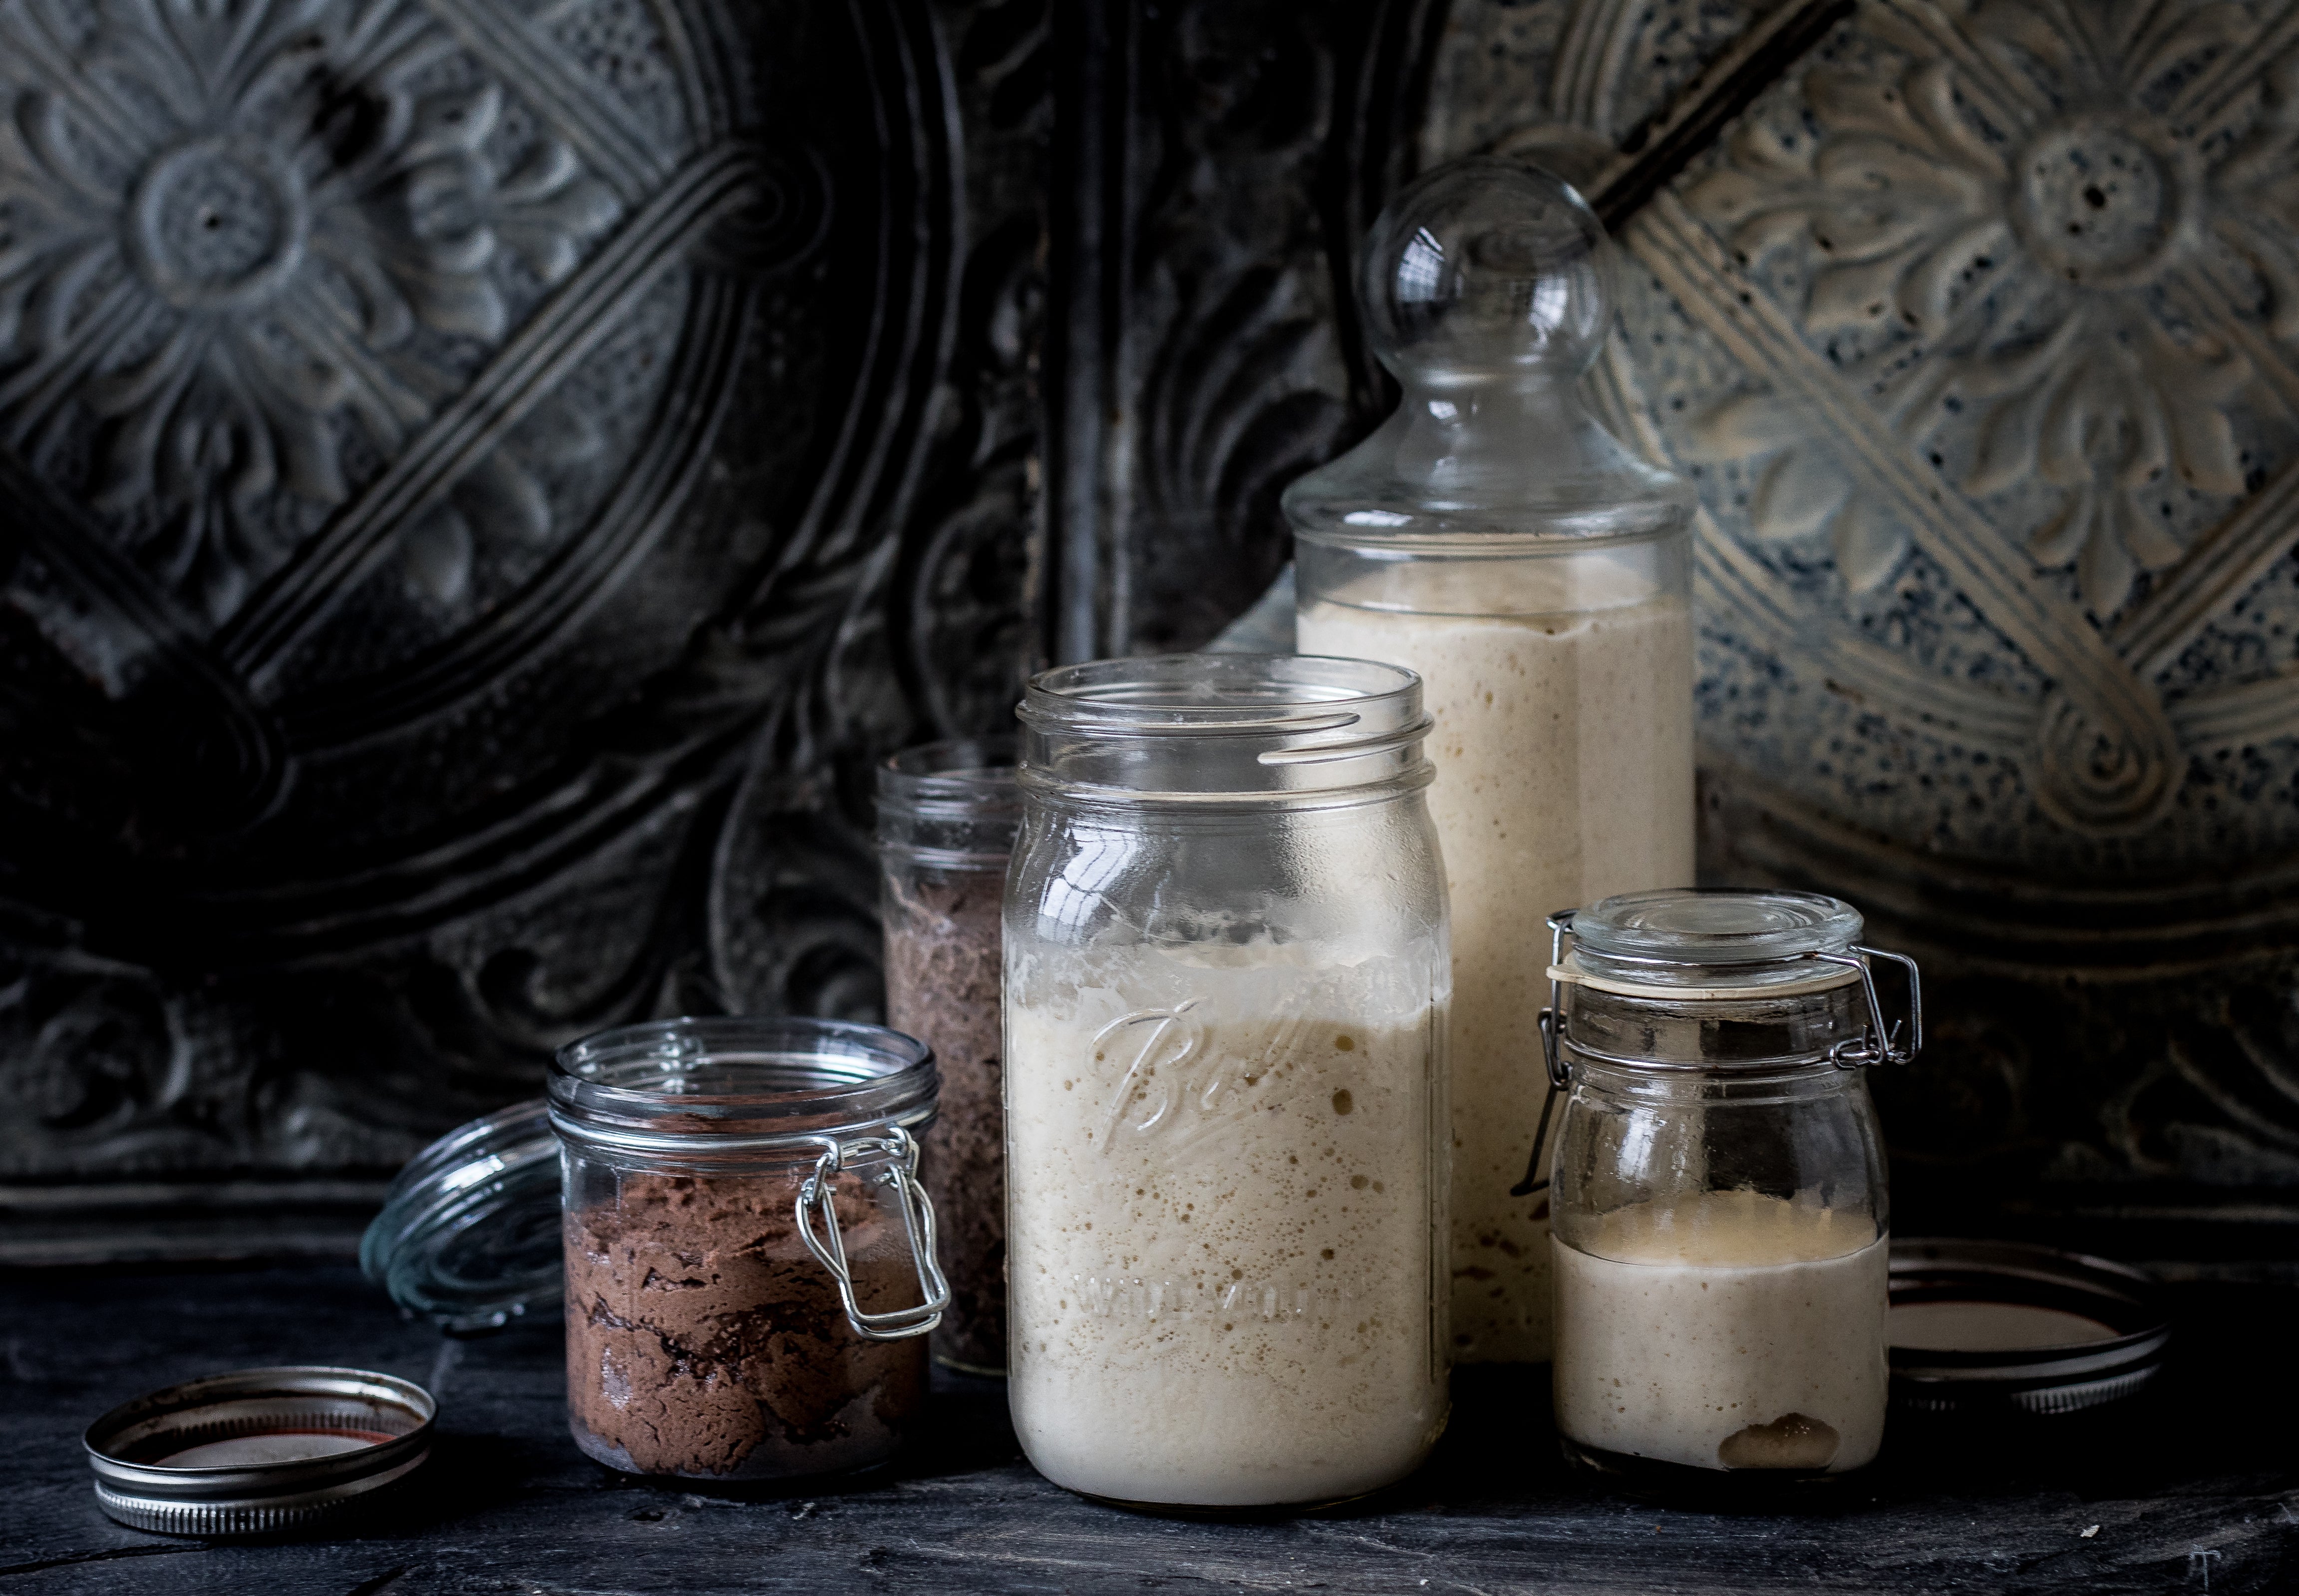
While simply reducing the amount of yeast you spoon into your bowl is certainly straightforward, there's another way to make yeast go further: by mixing a tiny bit with some flour and liquid and giving it time to grow on its own.

Naturally Leavened Sourdough Bread is the ultimate expression of cutting back on yeast: it relies on a fed, active sourdough starter for its leavening and includes no commercial yeast at all.
But you don’t have to go the complete sourdough route to gain some of the benefits of a starter. Instead, you can use a one-time starter — one you make, let rise (usually overnight) and then use up, rather than keep going indefinitely via regular feedings.
What’s a yeast baker to do? Forgo those delicious cinnamon rolls, the pleasure of family pizza night, or the pure comfort of a slice of warm homemade bread and butter? Perish the thought!
The general name for this type of single-use starter is preferment (pronounced PRE-ferment). Poolish, biga, starter, or sponge: these are all terms for preferments. All are simply a mixture of flour, water, and a tiny bit of yeast (or sourdough starter) made in advance of your bread dough and left to ferment (rise) for a time, anywhere from an hour or so to 18 hours or more.
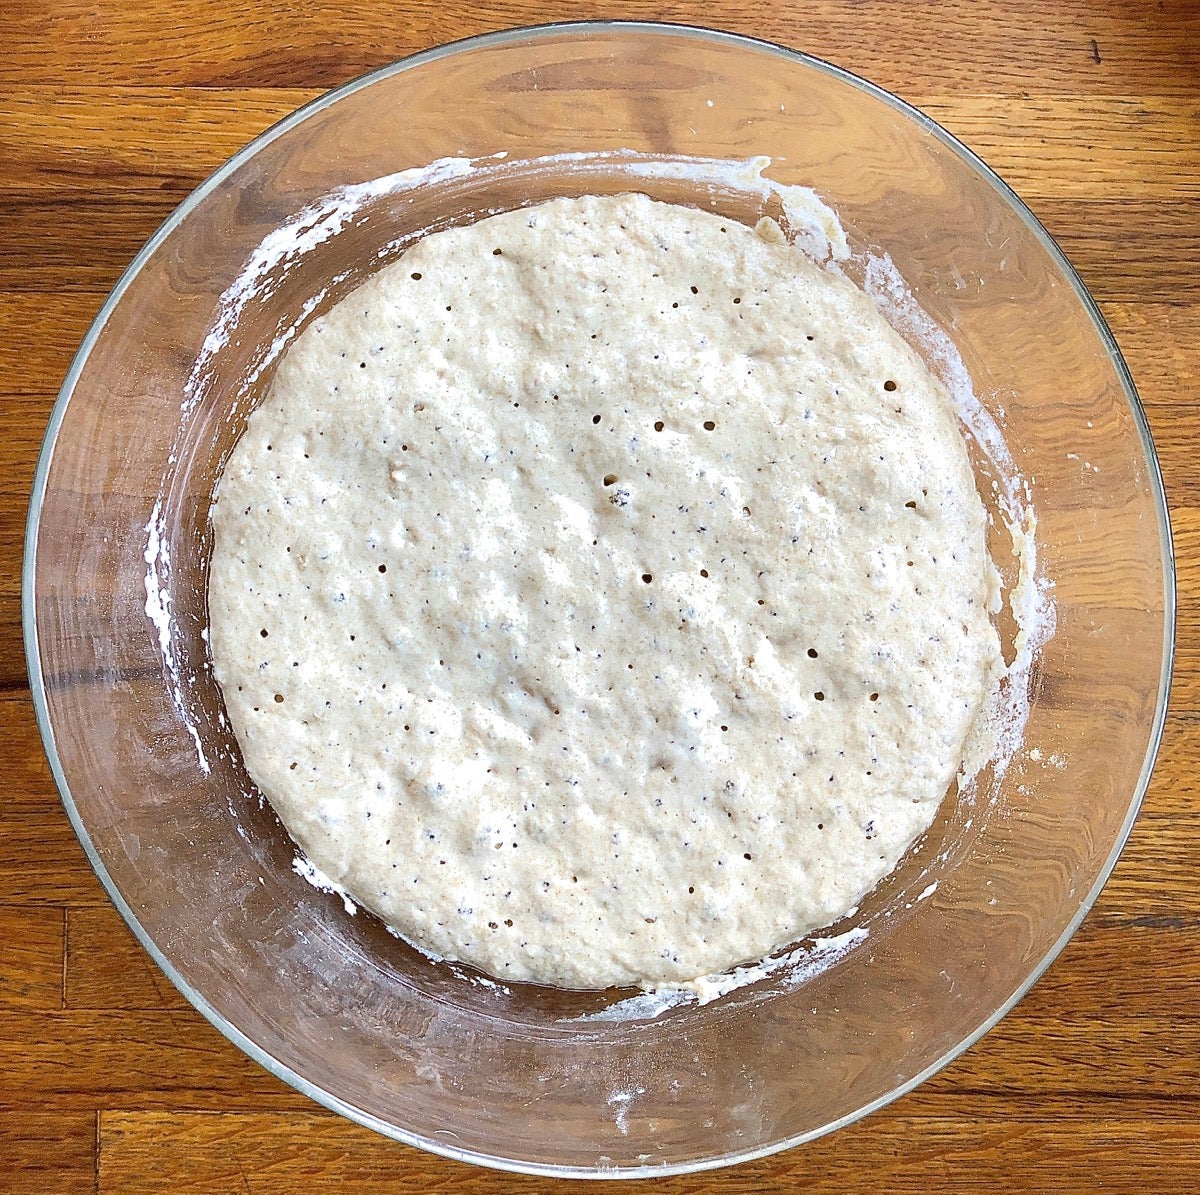
During this fermentation the yeast cells you started with multiply exponentially. At its favorite temperature, about 76°F to 78°F, commercial yeast (saccharomyces cerevisiae) doubles its population approximately every 90 minutes; so it’s not long before that small bit of yeast has grown and is doing the work of a much larger amount.
Making a preferment the foundation of your yeast dough is like adding a couple of teaspoons of yeast to the recipe — without actually having to tear open a packet. Plus, as the yeast in the preferment grows it creates alcohol and organic acids, both of which are richly flavored. So your bread will taste better, its flavor deeper and more nuanced.
How exactly do you use a preferment? Your best bet, especially if you’re a beginning bread baker, is to follow a recipe that includes one.

For instance, our recipe for Chewy Italian Rolls makes 8 large sandwich rolls using just 5/8 teaspoon of yeast: 1/8 teaspoon in the overnight starter and another 1/2 teaspoon in the dough. Our recipe for a dozen Crusty European-Style Hard Rolls needs even less yeast: just 3/8 teaspoon total.
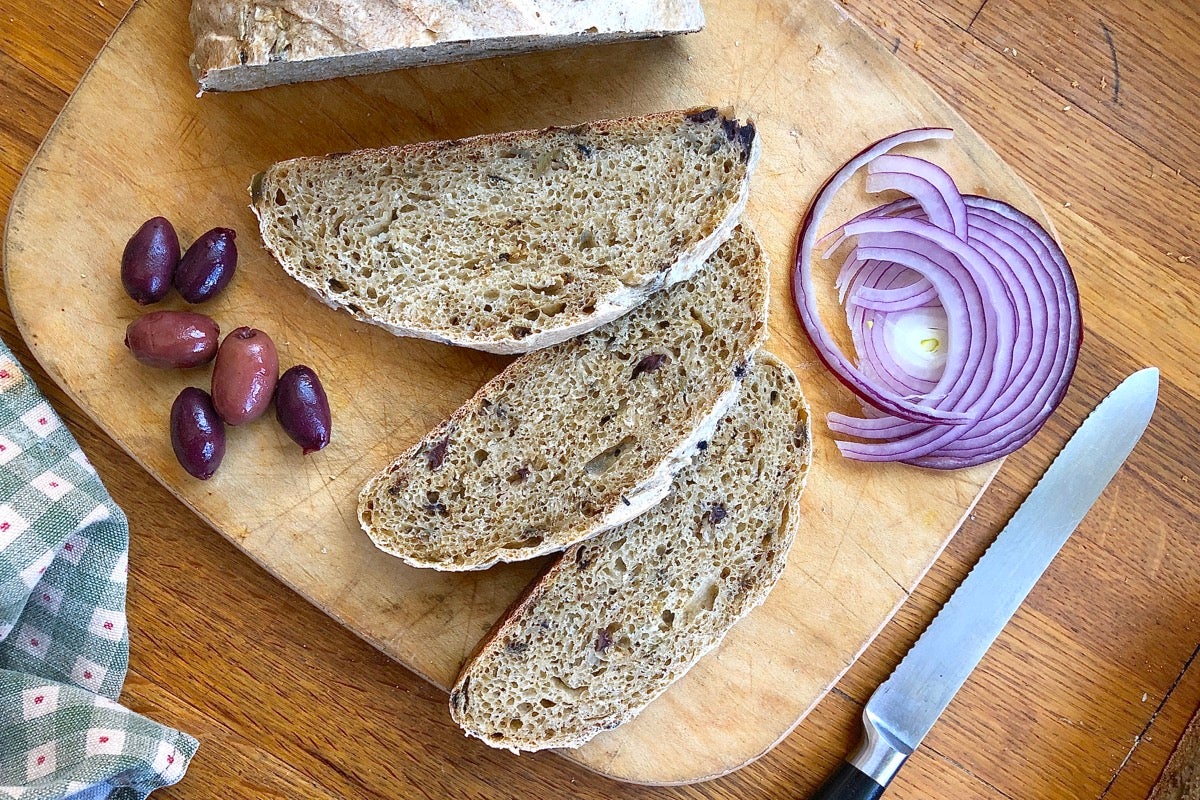
Or try our Greek Olive and Onion Bread, a recipe yielding two crusty, flavorful loaves that uses 1/2 teaspoon yeast in the starter — and none at all in the dough. Make all three of these recipes (Italian rolls, hard rolls, and savory Greek loaves) and have more than enough bread to keep your family going for several days or more using less than 1 1/2 teaspoons of commercial yeast. Can’t beat that, eh?
Not every recipe does well with a preferment, but most do. Can you figure out your own? The answer is yes, but the process (like sourdough baking) can follow multiple paths; so it’s going to have to wait for a future blog post. For much more on preferments — how they differ, and what each type brings to your bread — see our post, Baking with preferments.
While doing the tests for this post, I serendipitously discovered a jar of SAF instant yeast hidden at the back of my freezer: score! But who knows how long it's been there — and whether it's still good for baking?
We're all digging deep into the back of our cupboards and freezers these days, aren't we? If you've found some old yeast in your rummaging, it’s worth giving it a try. Even yeast that’s well past its sell-by date is often still viable, especially if it’s been stored in the refrigerator or freezer.
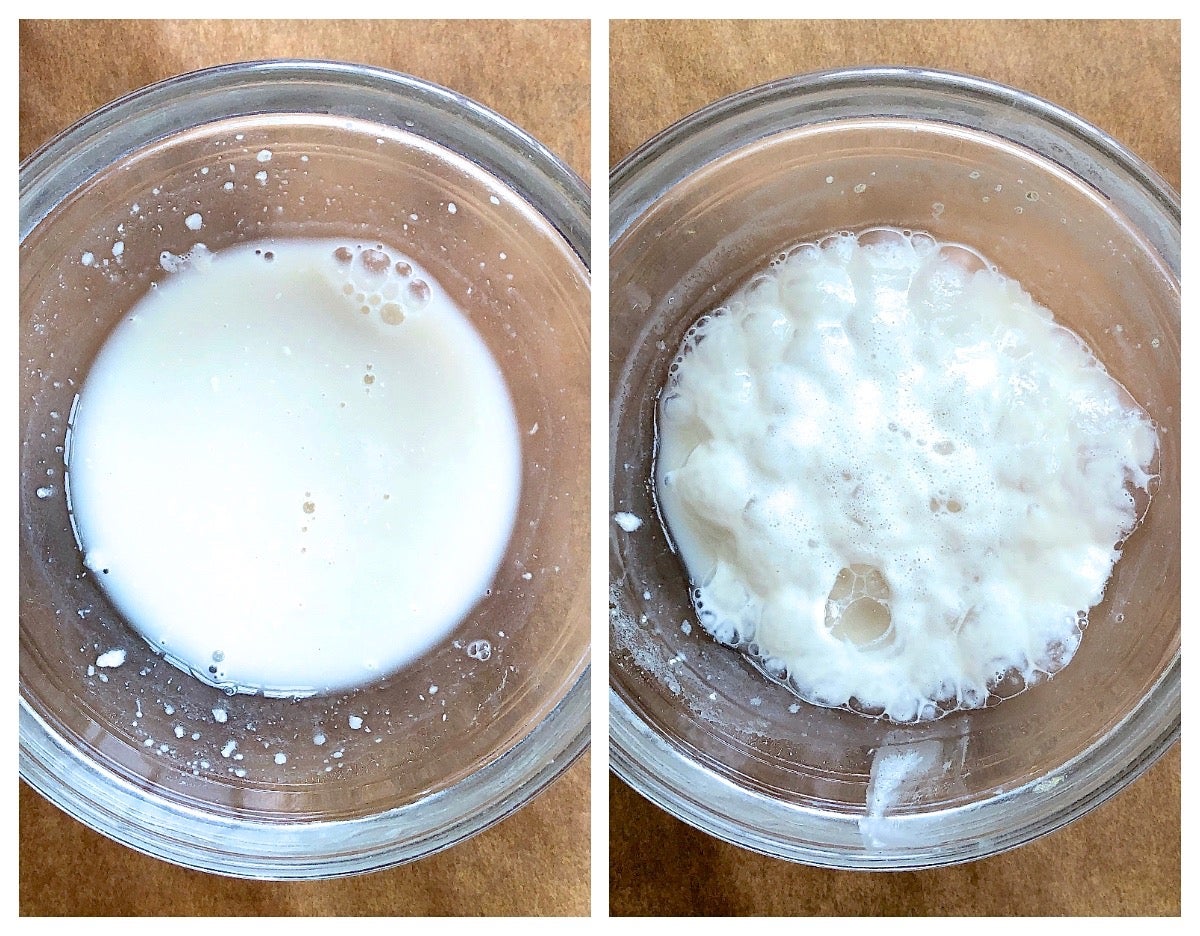
Put it to the test: Combine 1/4 teaspoon of yeast with 2 teaspoons of lukewarm water (about 100°F) and 1/8 teaspoon granulated sugar. Wait 10 minutes. If the mixture becomes foamy and expands, you’re good to go; if it just sits there dead in the water (literally), then unfortunately your yeast must have passed away. Beer bread — here you come!
We all hope that yeast will be widely available (at a reasonable price) soon. But until then, ration what yeast you have by reducing how much you use in each loaf, batch of rolls, or pizza crust.
Just remember: the less yeast, the longer the rising time (and/or the warmer the rising temperature). Start by cutting the yeast in your recipe by 50 percent and if the results are reasonable, lower the amount even more next time. I think you'll be happily surprised at just how far you can make a little bit of yeast go.