

Self-rising flour: What is it, and how do I bake with it?
It’s the key to soft baked goods and streamlined steps.

Date
January 18, 2024


Self-rising flour is one of those “if you know, you know” ingredients. Anyone who bakes with self-rising flour regularly knows that it can be the secret to softer, more tender baked goods. It’s also a brilliant baking shortcut, cutting out steps and streamlining your recipes.
Want to start baking with self-rising flour? Here’s what you need to know.
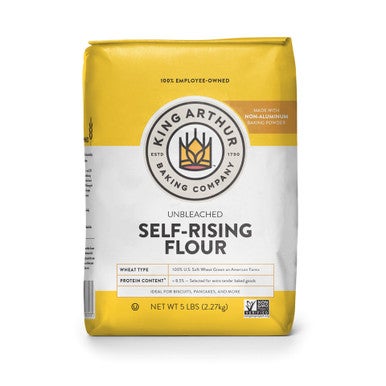
Self-rising flour is flour to which baking powder and salt have been added.
Milled from a softer wheat than all-purpose flour, it’s also lower in protein (around 8.5%), meaning it produces softer, lighter, more tender baked goods. Self-rising flour is common in the South, where it’s used for biscuits, cakes, and other traditional Southern favorites; part of its appeal is that because baking powder and salt are already in the flour, you don’t need to add them separately, streamlining your baking.

Many recipes already call for self-rising flour, taking advantage of its convenience, tenderness, or both.
To try self-rising flour in recipes that don’t call for it, look for baked goods that use baking powder. Any recipe calling for at least 1/2 teaspoon (and up to 1 teaspoon) baking powder per cup of flour is a good choice. If subbing in self-rising flour for all-purpose flour, simply omit the baking powder and salt called for in the recipe; if the recipe calls for baking soda, leave that in — you'll need it to enhance rising and browning.
Pancakes, biscuits, scones, cake, and muffins are all good candidates for self-rising flour because it gives those baked goods an especially tender crumb. Since it’s lower protein and its absorption will be a bit less, you’ll want to reduce the amount of liquid called for in the recipe just a touch, to achieve the desired dough or batter consistency. Start by holding back a few tablespoons of the liquid, then add it in by the tablespoon until your dough has reached the desired consistency.
Learn more here: How to substitute self-rising flour for all-purpose flour

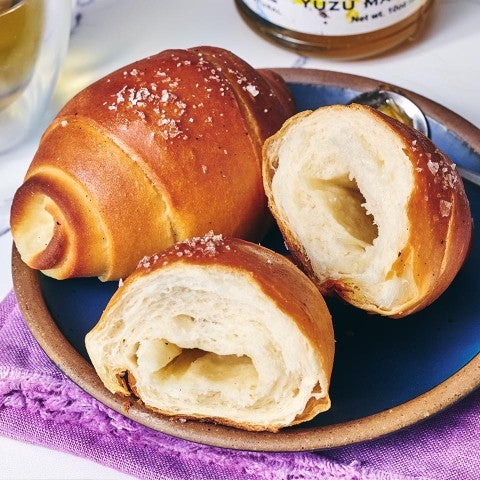
Some of our favorite recipes are made with self-rising flour. Take these Easy Drop Biscuits: Made from just two ingredients — self-rising flour and heavy cream — they come together in mere minutes and bake up to light, fluffy drop biscuits. (If you’re looking for a layered biscuit instead of a drop one, try Easy Self-Rising Biscuits.)
Or, for a quick and easy breakfast, make Light and Fluffy Pancakes with Self-Rising Flour. They’re a simple dump-and-stir recipe, baking up super fluffy without any extra steps like whipping egg whites.
You can also streamline your cakes by making Self-Rising Yellow Cake. Not only does self-rising flour reduce the amount of measuring, but the cake itself turns out soft and tender because of the lower protein wheat.
Self-rising flour is made from a softer, lower-protein flour, but this homemade version, which uses higher-protein all-purpose flour, can be used in any recipe that calls for self-rising flour. Because of the slightly higher protein, be prepared to increase the liquid in the recipe somewhat, and expect the resulting baked goods to be a bit less tender. If you want to replicate lower-protein, Southern-style self-rising flour, you can use Pastry Flour Blend (10.3% protein) or Pastry Flour (8.0% protein) instead of all-purpose flour when making your DIY version.
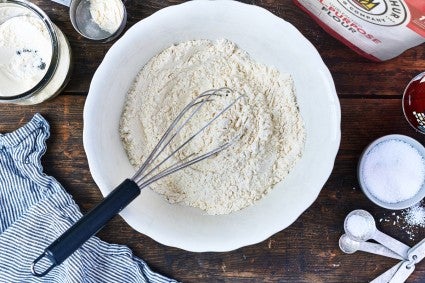
To make homemade self-rising flour, whisk together 1 cup (120g) all-purpose flour (or another flour of choice), 1 1/2 teaspoons baking powder, and 1/4 teaspoon table salt. Substitute 1:1 by weight or volume in any recipe calling for self-rising flour.
If you need gluten-free self-rising flour for a recipe, follow the same recipe above, but swap Gluten-Free Measure for Measure Flour in for all-purpose flour.
Ready to bake with self-rising flour? Pick up a bag (or make your own) and try one of our many self-rising flour recipes.
Cover photo (Self-Rising Crunchy Sugar Cookies) and food styling by Liz Neily.