


A bread for sharing
Half a loaf is better than none – and sometimes even better than one

Date
October 15, 2009

As much as I love summer – with its respite from boots, icy roads, and heating bills – I'm never devastated to see it go. Because hard on its heels is my favorite season, fall: best baking time of the year.
Think about it. Fresh, crisp apples, ready to slice, dice, and chunk into a cinnamon-y apple pie, or streusel-topped crisp, an apple challah, or my favorite totally moist, ridiculously dense apple cake with over-the-top brown sugar frosting.
And then there's all that zucchini, crying to be made into chocolate zucchini cake. And the butternut squash (and potatoes, and onions, and peppers), perfect for roasted vegetable pizza.
And how about the holidays? Halloween pumpkin cookies. Rosh Hashanah raisin challah. And my favorite baking holiday of all: Thanksgiving, with its pies, cranberry-orange muffins, and soft dinner rolls.
Perhaps, at the end of the day, it's simply the cooler weather that makes autumn baking so compelling. After months of hesitating to turn on the oven, it feels good to warm your kitchen again. And it just feels right to knead dough, give it a good, long rise on the counter, shape it, let it rise again and, pleasurable hours after you started, pull an aromatic loaf of fresh yeast bread out of the oven.
If you're a bread baker, you know what I mean by “pleasurable hours.” If you're not a yeast devotée, join the fun. Bread-baking isn't difficult. And it's not time-consuming, in the sense that you spend lots of time actually performing some task.
Bread-baking is simply a series of simple steps, separated by blocks of time when you can read a book, take a walk, rake leaves, go shopping... or bake cookies.
And yeast is a saint in the pantheon of ingredients: it forgives all of your baking sins, growing inert dough into beautiful loaves, despite all your mistaken efforts to waylay it.
Bread is a wonderful thing to share. The following recipe came to me via a surgical nurse at our local hospital. As we chatted prior to my shoulder surgery, we discovered our mutual devotion to bread. We exchanged email addresses, and Gail's go-to bread recipe arrived in my inbox the next day. Filled with oats, and flax, and whole wheat, it still makes a wonderfully light, moist bread, perfect for sandwiches and toast.
Perfect for sharing.
Perfect for autumn.
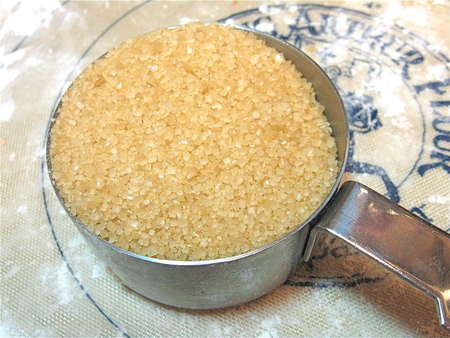
Gail is a veteran bread baker, and so likes to use an array of artisan ingredients. For instance, Demerara sugar (above), a coarsely granulated “raw” sugar – granulated sugar in its less refined state. Tasting very mildly of brown sugar or molasses, it's a good-looking decorating sugar, as well as a tasty sweetener.
First, we'll make a starter. You can let this starter rest at room temperature anywhere from 4 hours to 2 days. Yes, 2 days; really, it's OK. It'll get bubbly, and then just sit there getting more and more tangy, and generating more and more liquid. More about that later.
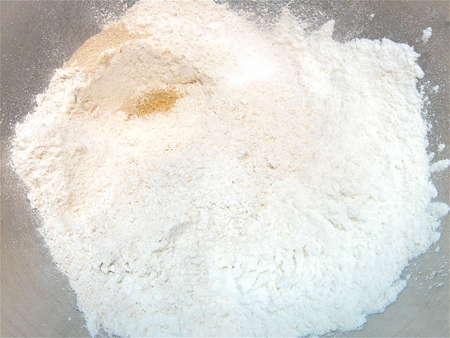
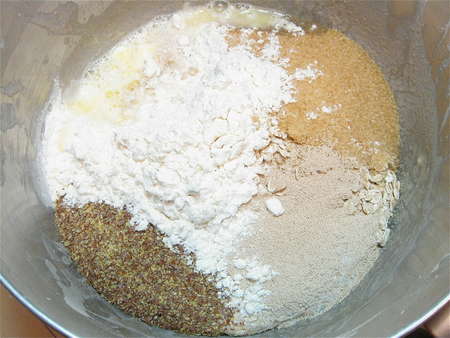
Put the following in a medium-sized bowl or other container:
1 cup (120g) King Arthur Unbleached Bread Flour
1 cup (113g) King Arthur Golden Wheat Flour
1/4 teaspoon sugar, Demerara preferred
1/4 teaspoon instant yeast
2 cups (454g) cool water
Stir to combine.
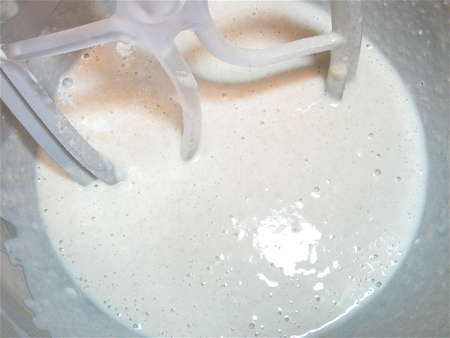
Mix till smooth. It's very thin.
Cover, and let rest for 4 hours; or for up to 2 days, at cool room temperature.

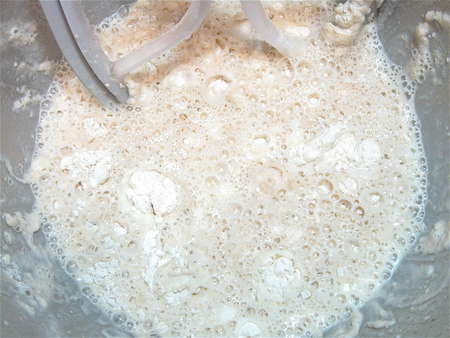
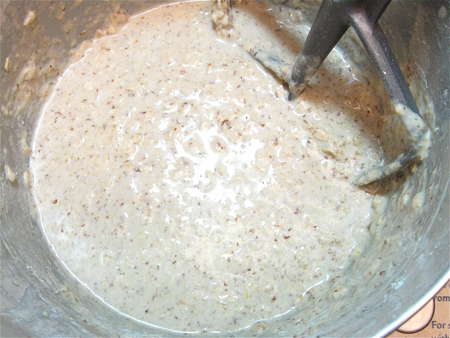
Here's what it looks like after 2 days. Bubbly!
When you're ready to make bread, stir the starter to recombine it with any freestanding liquid it's generated.
If it's been resting a full 2 days, there may be quite a lot of liquid underneath.
Read the note at the bottom of the list of ingredients below, about how much water to add. Then, combine with the starter in the bowl:
2 cups (198g) old-fashioned rolled oats
4 1/2 cups (539g) King Arthur Unbleached Bread Flour
1 tablespoon kosher salt or 2 teaspoons table salt
6 tablespoons (89g) Demerara sugar or 6 tablespoons (74g) granulated sugar
4 teaspoons instant yeast, SAF Red or SAF Gold (special for sweet breads or sourdough) preferre
1/4 cup (32g) ground flax meal
4 tablespoons (57g) butter or 1/4 cup (50g) vegetable oil
1/2 cup (113g) lukewarm water*
*The amount of water will vary here. If your starter has rested less than 2 days, and doesn't have any freestanding liquid at the bottom, use 1/2 cup water. If the starter is very liquid and soupy, use just 2 to 4 tablespoons water.
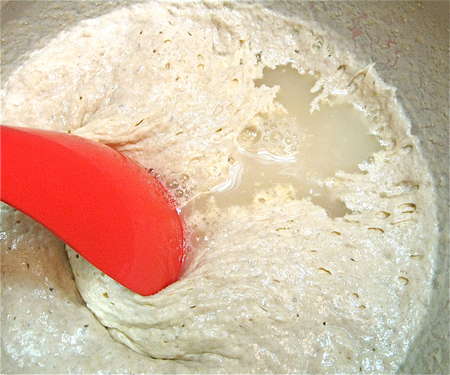
Mix everything till thoroughly combined.
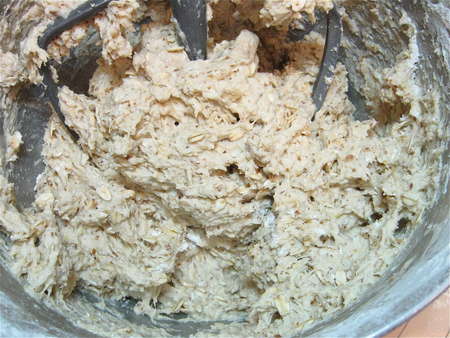
Sitr in an additional 3 cups King Arthur Unbleached Bread Flour.
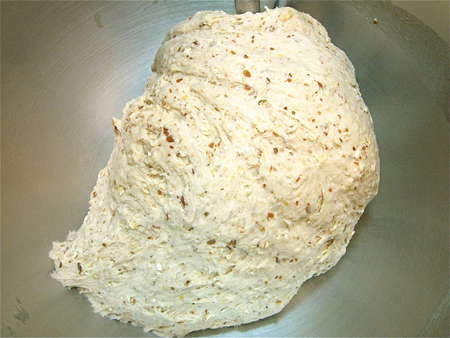
Beat till thoroughly combined. The dough may be VERY sticky, as it is here.
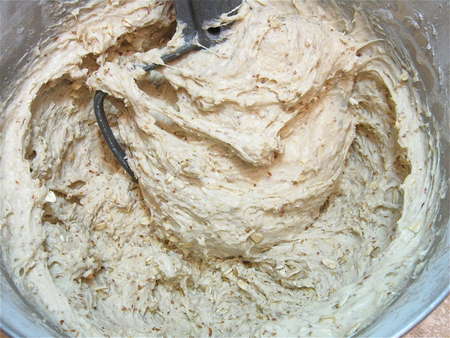
If so, scrape down the sides of the bowl, then switch to the dough hook. Knead for about 7 minutes, till the dough is smooth and elastic.
The dough may also be quite stiff, as it is here. A lot depends on how much liquid the starter generated, and how much water (if any) you added to the dough.
It's OK for the dough to be sticky. It's also OK for it to be firmer. A lot depends on the season, and the weather. You don't want the dough so sticky it can't hold its shape. Neither do you want it so dry it's tough and stiff. An old rule of thumb is, when you poke “good” dough it should feel like a baby's bottom: firm, yet giving.

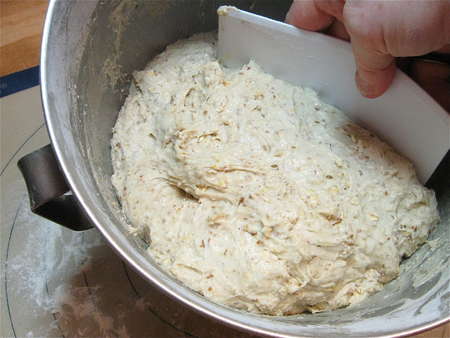
Cover the bowl of kneaded dough, and let it rise till it's very puffy.
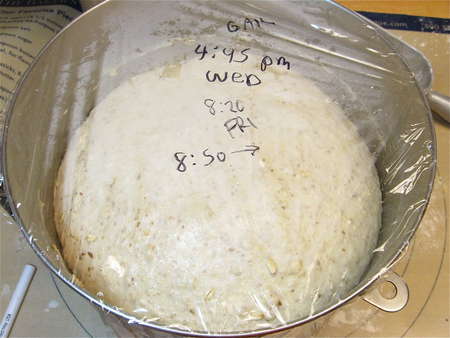
Like this. This will take 1 to 2 hours.
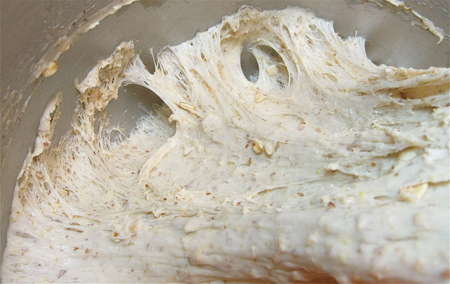
Scoop the dough out of the bowl, gently deflating it. Notice how nicely the gluten has developed, despite the whole grains.
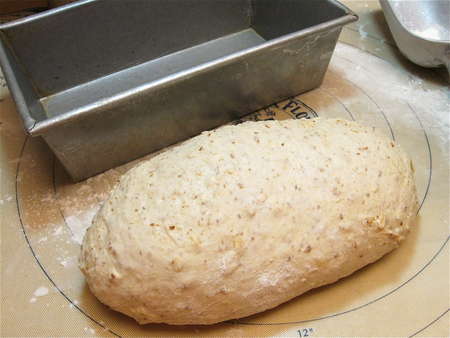
Next, divide the dough in half. Shape each half into a 9” log.
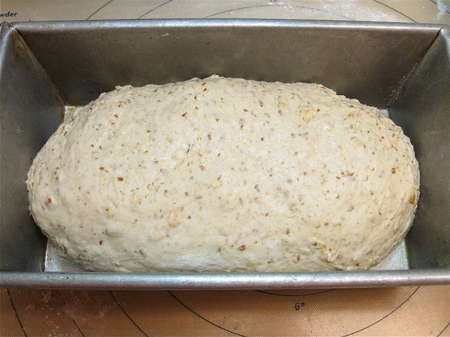
Lightly grease two 9” x 5” loaf pans, and place each half of the dough in one pan.
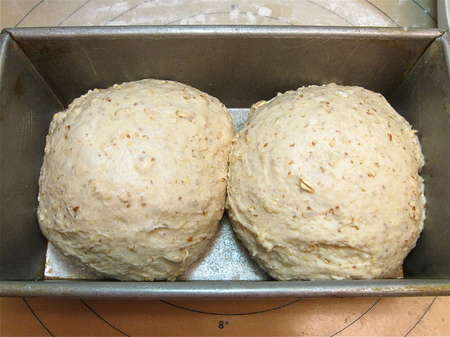
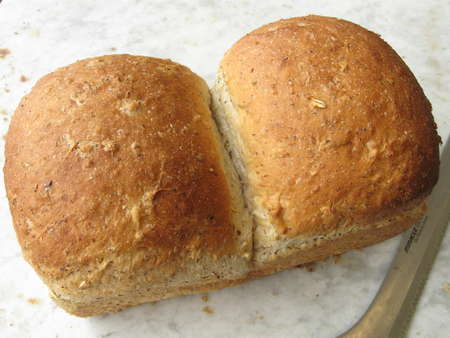
To make four loaves for sharing, divide each half of the dough in half again. Shape each piece into a ball, and nestle two balls, side by side, in each loaf pan.
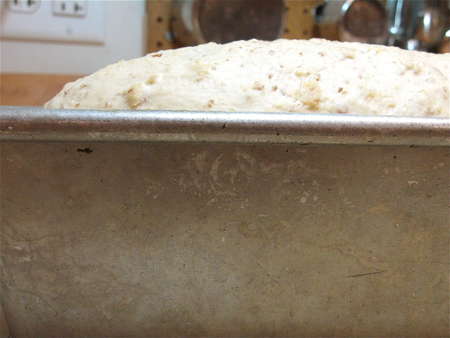
Cover the pans, and let each loaf rise till it's crowned about 1” over the rim of the pan. This will take about 60 to 90 minutes. Towards the end of the rising time, preheat your oven to 350°F.
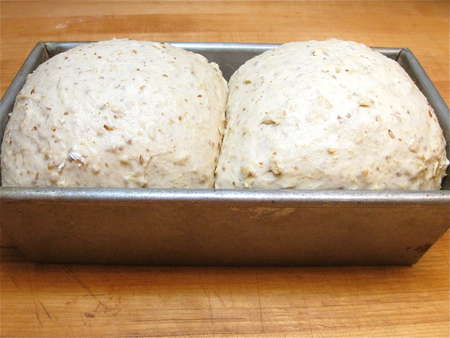
The sharing loaves will snuggle into one another.
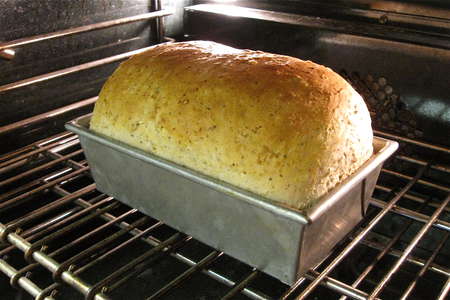
Uncover the pans, and bake the bread for 20 minutes. Tent lightly with foil, and bake for an additional 20 to 25 minutes, or until the center of the loaf registers 190°F on an instant-read thermometer.
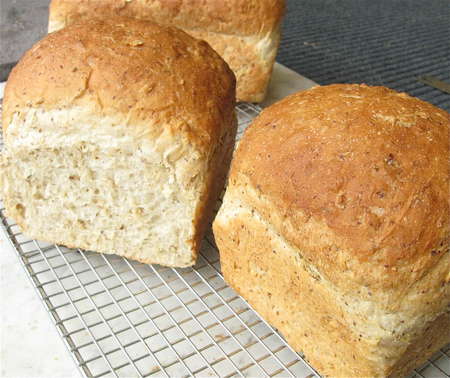
Remove the bread from the oven, and place it on a rack to cool. After about 5 minutes, turn the loaves out of the pans to cool completely on the rack.
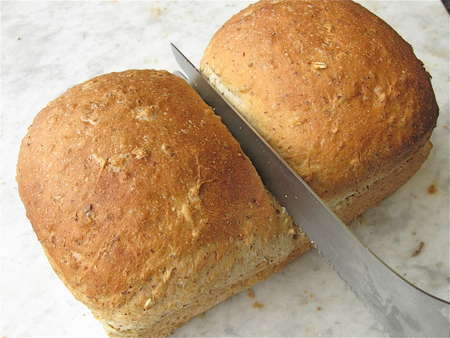
If you've made two loaves in a single pan, wait till they're completely cool to gently separate, cutting with a knife if necessary.
The sharing loaves are nice-looking, and a good size.
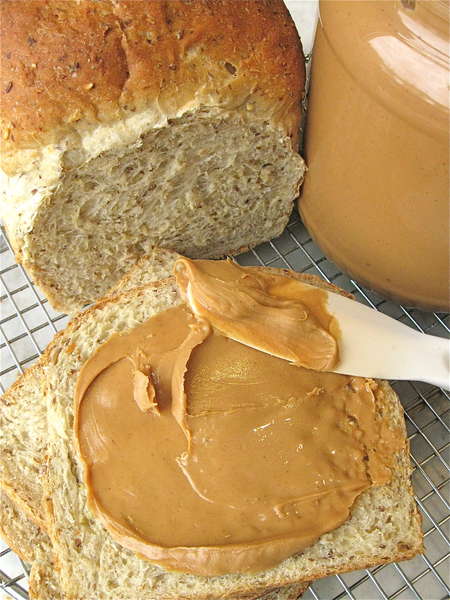
This multigrain loaf makes wonderfully rustic peanut butter sandwiches. It's also a tasty toasting bread. Thanks for sharing with us, Gail. Little did you know the recipe you slipped me one day last February would be shared with thousands of bakers around the world!
Read, rate, and review (please!) our recipe for Sharing Bread.
