-
Weigh your flour or measure it by gently spooning it into a cup, then sweeping off any excess.
-
To prepare the pastry: In a large bowl or the bowl of a stand mixer, whisk the flour and salt to combine. Add the butter to the flour mixture and work it in with your fingers, a pastry blender, a hand mixer, or the flat beater of a stand mixer until a sandy consistency is reached, 5 to 7 minutes by hand or 4 to 5 minutes in a stand mixer on low speed.
-
In a small bowl or liquid measuring cup, use a fork to whisk the milk and egg yolks together. Pour this mixture into the bowl and mix by hand or on low speed until all the ingredients are just incorporated without any dry bits; avoid overmixing the dough.
-
Transfer the dough to a lightly floured surface and divide into eight equal pieces (about 110g each). Shape each piece into a rough ball and place on a baking sheet. Tightly cover and place in the refrigerator to chill for at least 30 minutes or up to overnight. This rest allows the dough to hydrate and relaxes the gluten.
-
When ready to bake the pastry, preheat the oven to 350°F with racks in the upper and lower thirds. Line two baking sheets with parchment or lightly grease.
-
Remove the pastry from the refrigerator. It should be firm but soft enough to roll easily with a rolling pin. (If the dough was chilled for longer than 30 minutes, allow it to rest at room temperature, covered, for 10 to 15 minutes until soft enough to roll.) Working with one piece at a time, roll the dough into a 9" round on a lightly floured surface; repeat with a second piece of dough. Place the two rounds on one of the prepared baking sheets. (It’s OK if they overlap slightly; the dough rounds will shrink by about 1" in diameter while baking.) Repeat with two more pieces of dough and place them on the other prepared baking sheet.
-
Use a fork to poke holes (“dock”) the pastry to reduce puffing in the oven.
-
Bake the pastry for 20 to 25 minutes, rotating the baking sheets top to bottom and front to back halfway through, until light golden brown all over with some slightly darker spots.
-
Remove the baked pastry rounds from the oven and transfer them to a wire rack to cool.
-
Meanwhile, roll out the remaining four pieces of dough. Carefully place them on the still-warm baking sheets. Repeat the docking and baking process, transferring the pastry rounds onto a rack to cool completely once baked.
-
To assemble the Torta Chilena: Spread about 1 teaspoon of dulce de leche into a thin layer onto a serving plate and place a layer of pastry on top, making sure it is firmly adhered.
-
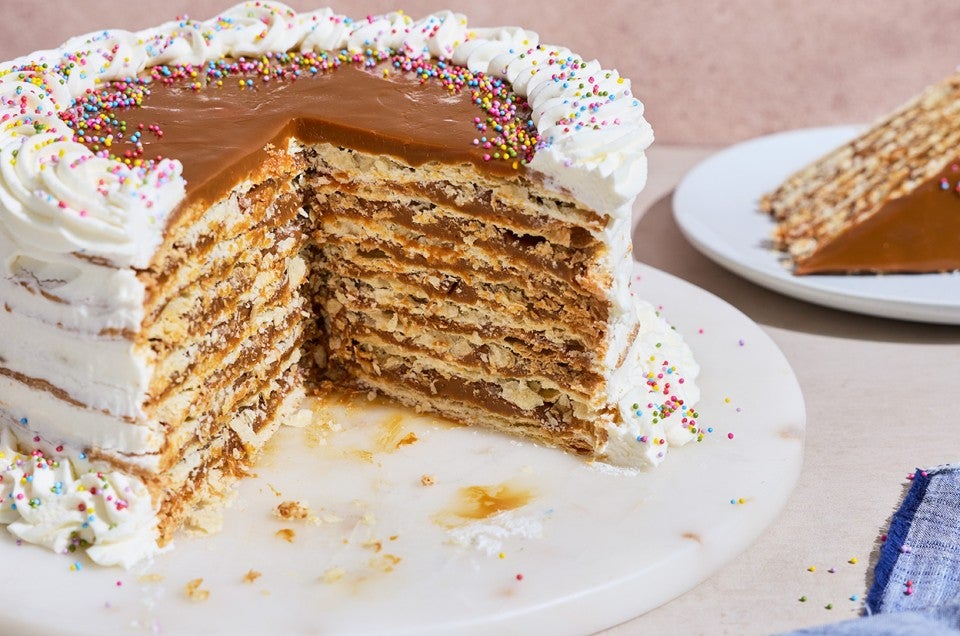
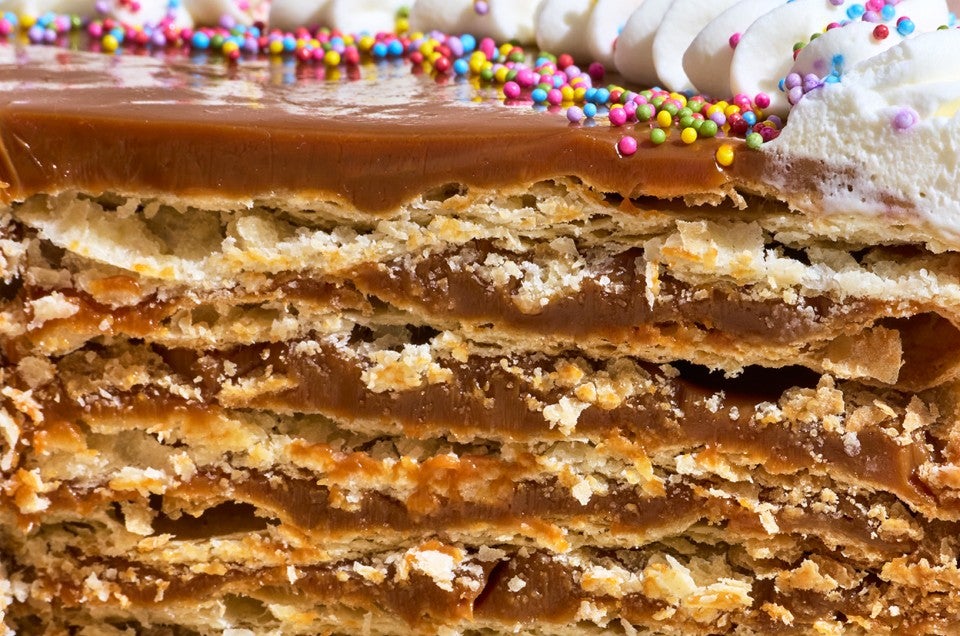
Portion about a 1/2 cup (140g) of dulce de leche onto the pastry round. Using a small offset spatula, spread it into a thin layer, leaving a 1/4" border bare. Place another layer of pastry on top and repeat this process until all the rounds of pastry and dulce de leche are used, ending with a layer of dulce de leche. Some small cracks in the pastry are OK, but work carefully as the layers are delicate and tend to break easily.
-
Transfer the assembled Torta Chilena to the refrigerator, uncovered, while you make the topping (At this point, it can be refrigerated for up to 24 hours.)
-
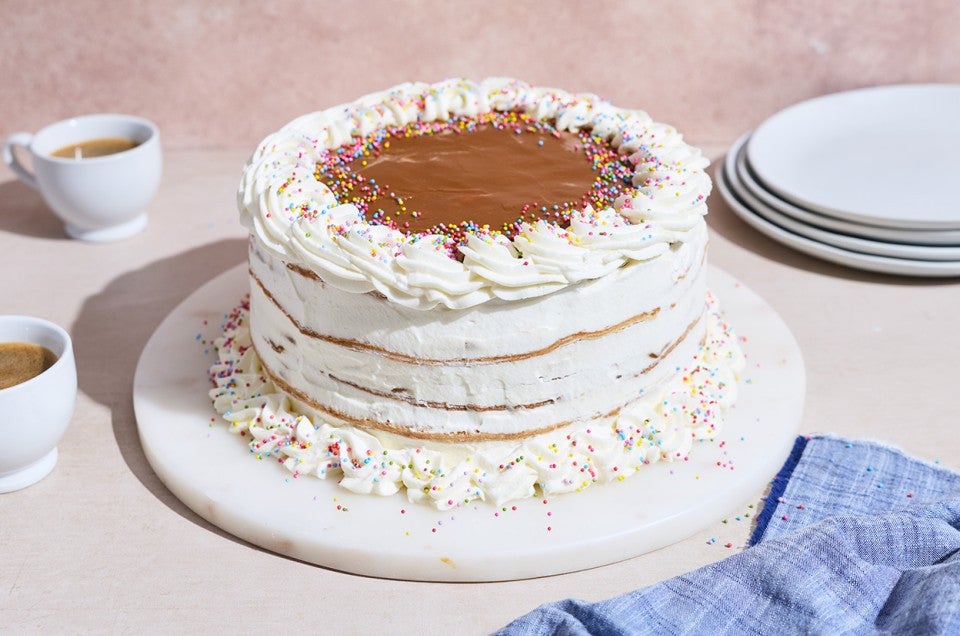
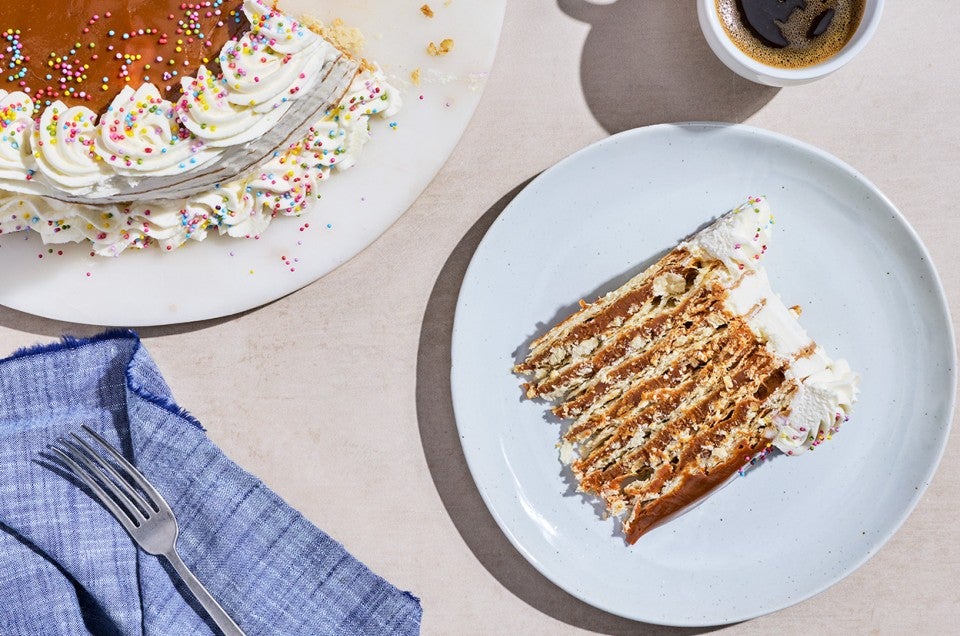
To make the topping: In a large bowl or the bowl of a stand mixer fitted with the whisk, combine the heavy cream, crème fraîche, and confectioners’ sugar. Whip on medium-high speed for 3 to 4 minutes, or until stiff peaks form. Pipe or spread the whipped topping onto the top and sides of the Torta Chilena as desired.
-
If time allows, chill the Torta Chilena, uncovered, for at least 24 hours. (It can also be served immediately after topping, but an extended chill allows the flavors to meld).
-
When ready to serve, let the cake sit at room temperature, uncovered, for 1 hour before decorating with nonpareils or sprinkles. Slice with a serrated knife, wiping it clean between slices.
-
Storage information: Store leftover Torta Chilena, covered, in the refrigerator for up to 1 week.
