Gluten-Free Pumpkin Scones

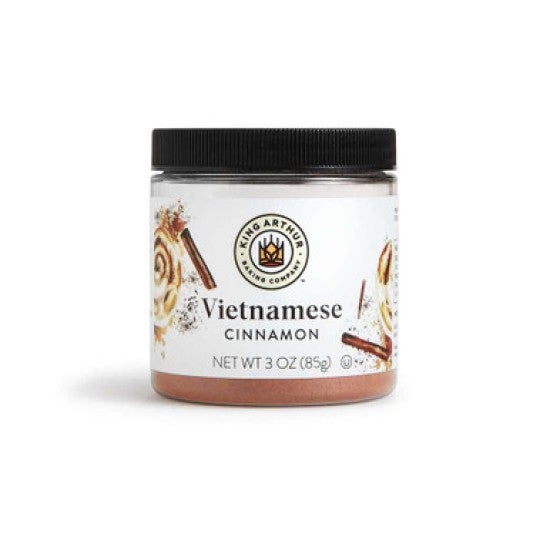
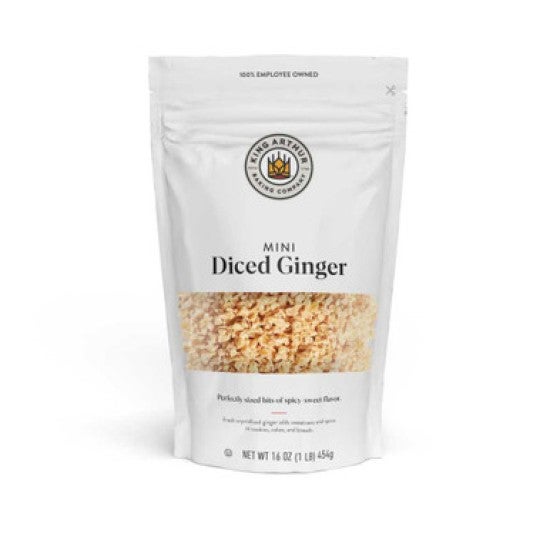
When fall rolls around and your thoughts turn to pumpkin, you can't do better than these simple scones. Nicely spicy and studded with ginger or cinnamon bits, they're equally good with coffee, tea, or just on their own. 

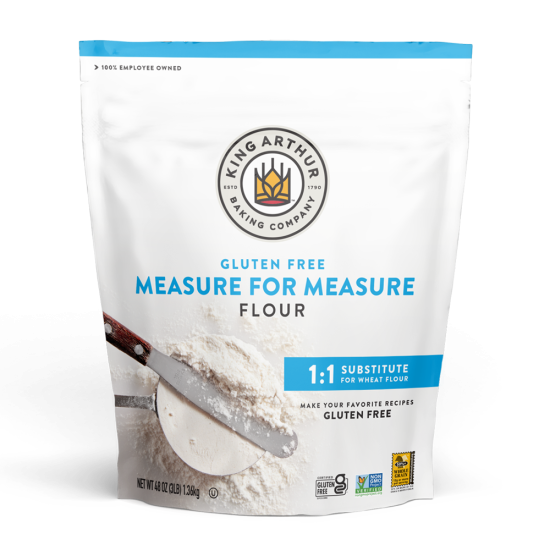
We know you’ll love this gluten-free version of our Harvest Pumpkin Scones recipe, a long-time favorite here on our site. Substituting Gluten-Free Measure for Measure Flour for the flour in that original yields pumpkin-spiced, golden-hued scones that are sure to be a hit with friends and family following a gluten-free diet. Enjoy!

Prep
15 mins
Bake
20 to 25 mins
Total
1 hr 5 mins
Yield
12 scones
Gluten-Free Pumpkin Scones - select to zoom

Instructions

Prevent your screen from going dark as you follow along.
  1. In a large mixing bowl, whisk together the flour, sugar, baking powder, salt, and spices.

  2. Work in the butter just until the mixture is unevenly crumbly; it's OK for some larger chunks of butter to remain unincorporated.

  3. Stir in the ginger and/or chips/bits.

  4. In a separate mixing bowl, whisk together the pumpkin and eggs until smooth.

  5. Add the pumpkin/eggs to the dry ingredients and stir until thoroughly combined.

  6. Line a baking sheet with parchment; if you don't have parchment, just use it without greasing it. Sprinkle a bit of flour atop the parchment or pan.

  7. Scrape the dough onto the floured parchment or pan, and divide it in half. Shape each half into a 5" round (if you haven't incorporated any add-ins); or a 6" round (if you've added up to 2 cups of chips/bits). The rounds should be about 3/4" thick.

  8. Brush each dough round with milk, and sprinkle with coarse white sugar or cinnamon sugar.

  9. Using a knife or bench knife that you've run under cold water, slice each circle into 6 wedges.

  10. Carefully pull the wedges away from the center to separate them just a bit; there should be about 1/2" space between them at their outer edges.

  11. For best texture and highest rise, place the pan of scones in the freezer for 30 minutes, uncovered. While the scones are chilling, preheat the oven to 425°F.

  12. Bake the scones for 22 to 25 minutes, until they're golden brown and a toothpick inserted into the center of one comes out clean, with no wet crumbs. If you pull one of the scones away from the others, the edges should look baked through, not wet or doughy.

  13. Remove the scones from the oven and serve warm. Wrap any leftovers airtight, and store at room temperature for several days; freeze for longer storage. Reheat very briefly in the microwave, if desired.

Tips from our Bakers

  • Wondering what to do with the rest of the canned pumpkin? Scoop onto plastic wrap or into a small container, and freeze. It'll be ready and waiting next time you want to make these scones. If you're really serious about using your ingredients most effectively, use a scant 2/3 cup pumpkin (a scant 5 1/4 ounces), rather than the full 2/3 cup called for. You'll find a typical 15 1/2-ounce can of pumpkin will then be enough for three batches of scones.
  • Want to use fresh pumpkin purée rather than canned? It’s simple to make your own; see how it’s done.

  • Be aware: some of your baking ingredients can be a hidden source of gluten. Learn more at our blog post: For gluten-free baking, think beyond just flour. For additional information on King Arthur-produced products, read the complete details of our allergen program, including our contact-prevention practices.