


Every January, I make a baking resolution: I choose a staple baked good to perfect in the coming year. It’s thrilling to imagine that in 12 months, I’ll have expanded my baking repertoire and conquered something new (or that’s the goal, at least). I've focused on scones, tortillas, banana bread and, in the most recent year, homemade bagels.
I vowed to learn how to make bagels that were so delicious, my family would choose mine over the best bagels in town. (High stakes, I know!) Whether I succeeded entirely is still up for debate — but after a year of practice, I can now make crispy, chewy, pretty darn tasty bagels.
With a year of bagel baking under my belt, I’m ready to share stumbling blocks, learnings, and successes.
The best place to start this particular journey is where most home bakers struggle: learning how to shape bagels. It’s easy to end up with something that vaguely resembles a bagel, but it's tricky to make it look just as impressive as it tastes. It all comes down to shaping.
I’ll cover three techniques for how to shape bagels — two traditional and one for bakers looking to make something eye-catching. You’ll learn tips and tricks so you can make perfect homemade bagels in (hopefully) less than a year.
My year of bagel baking started by exploring the dozen or so bagel recipes on our website. From Chewy Bagels to Montreal Bagels to Baby Bagels, there are many to choose from.
In the haze of so many choices, I focused on one recipe named, simply enough, Bagels. This tried-and-true classic won’t let you down. It’s the recipe we’ll use to explore our three shaping techniques. (Feel free to use your favorite bagel recipe.)
Prepare your bagel recipe through kneading the dough. Don’t skimp on the kneading time if you’re looking for superb texture. (Kneading develops gluten and builds structure, which is what gives bagels their characteristic chewiness.)
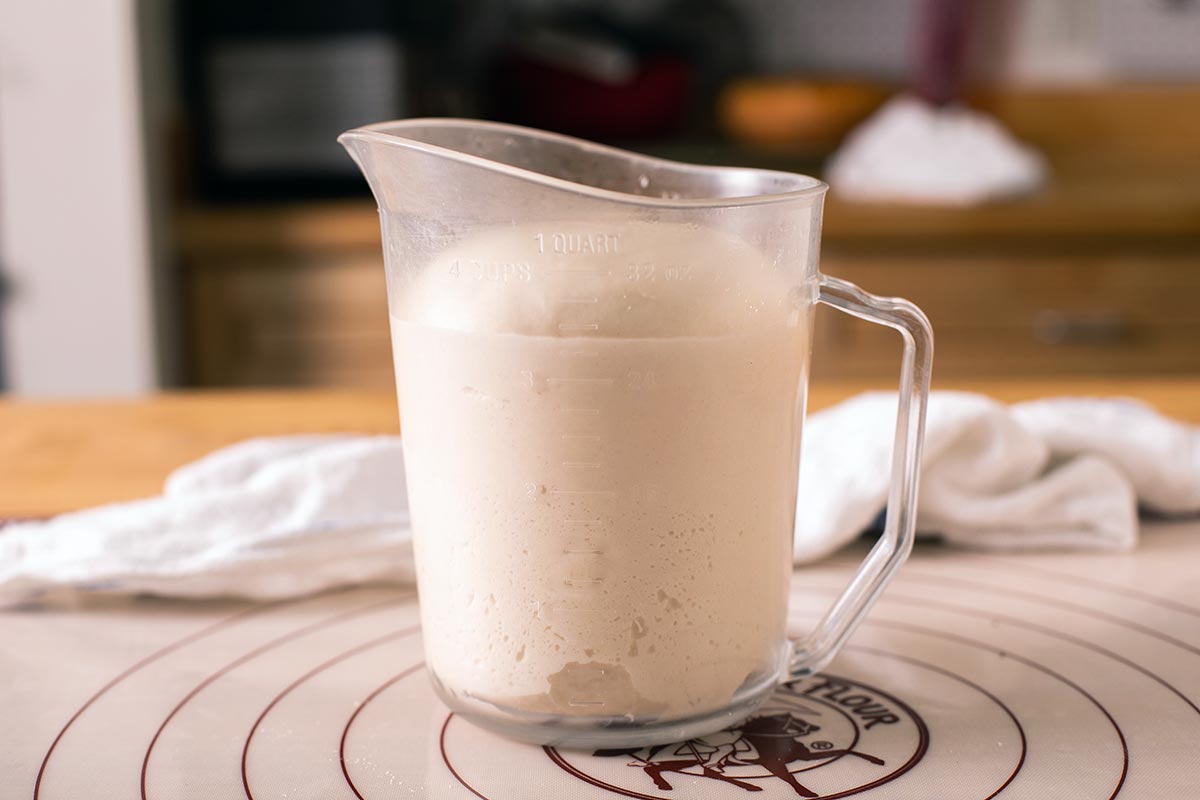
Cover your dough and let it rise once (this is what we refer to as ‘bulk fermentation’ as it refers to the primary rise of the dough in one large bulk before shaping. It probably won't double in size during this time because bagel dough is quite stiff and a slow riser. It should, however, expand and become slightly puffy.
When the dough is done rising, divide it into equal pieces. If you have a scale, weigh the full batch of dough and divide it by the number of bagels you want to make. You’ll know exactly how much each bagel should weigh. (Small bagels weigh about 75g prior to boiling and baking; standard-sized bagels are about 100g to 110g.)
If you don’t have a scale, pat the dough into a round and use a bench knife or a dough scraper to divide it into wedges like a pie. Start by dividing the dough in half, and then quarters. Divide each quarter in half again for a total of eight bagels, or divide each quarter into thirds for a total of 12 smaller bagels.
At this point, you should have 8 to 12 roughly equal pieces of dough ready to be preshaped.
Preshaping is a helpful technique that encourages the dough to take on the desired final shape more quickly. When you start tugging and pulling the dough repeatedly (as you might need to if you don’t preshape), it fights back. To avoid this struggle, preshape the dough to get it going in the right direction.
Here are two ways to preshape bagel dough:
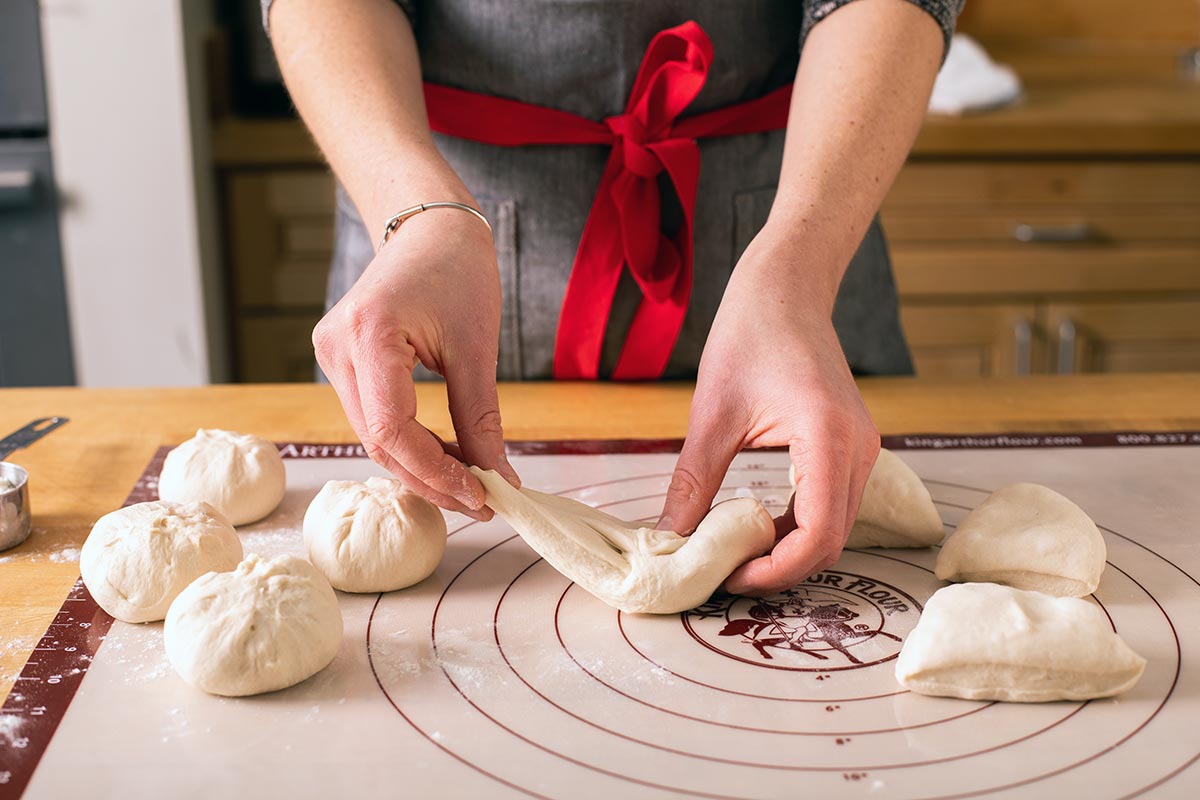
To encourage a round shape, pull the edges of each piece of dough towards the center and then pinch them shut. They should look like little purses or dumplings.
Once all of the pieces of dough have had their initial shaping, move a single piece to a flour-free surface with the seam side down. The dough should stick slightly to your work surface. (Use a wet towel to dampen the surface if needed.)
Cup your hand so that just your fingertips touch the work surface and the ball of dough is beneath your palm. Make a circular motion with your hand, dragging the dough against the surface of the table. This motion will build surface tension along the top of the dough and tighten it into a ball.
Watch our helpful video, How to shape dinner rolls, to see the technique in action.
After all the dough is preshaped into smooth rounds, let them rest on a floured surface, seam side down and covered, for about 30 minutes.
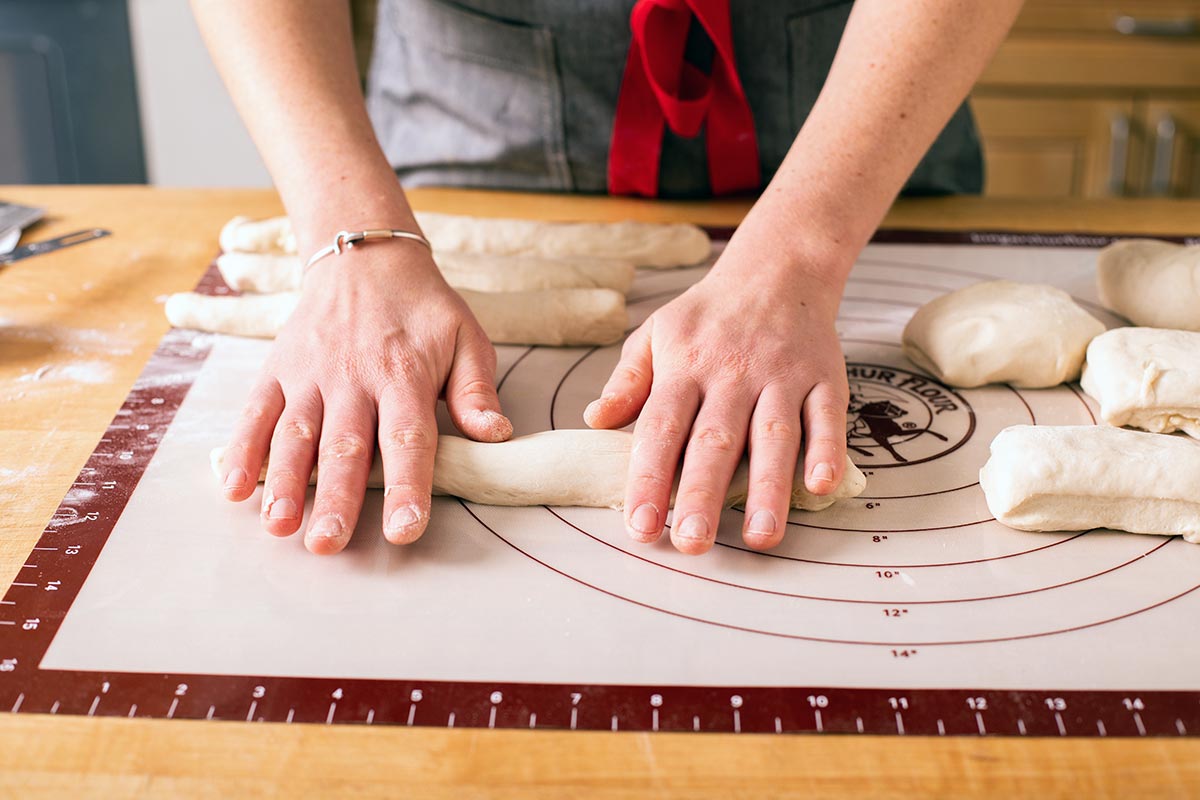
With this preshaping technique, start by patting the dough into wide logs. The middle and ends of each log shouldn't be tapered, but should be as similar in thickness as possible.
Working with one piece of dough at a time, roll the log under your cupped hands to elongate it until it's about 6" to 8" in length. Set it aside and repeat with the next piece of dough.
Once all the pieces are preshaped into wide logs, let them rest seam side down on a lightly floured surface, covered, for about 30 minutes.
Once your preshaped dough has rested, it’s time for final shaping.
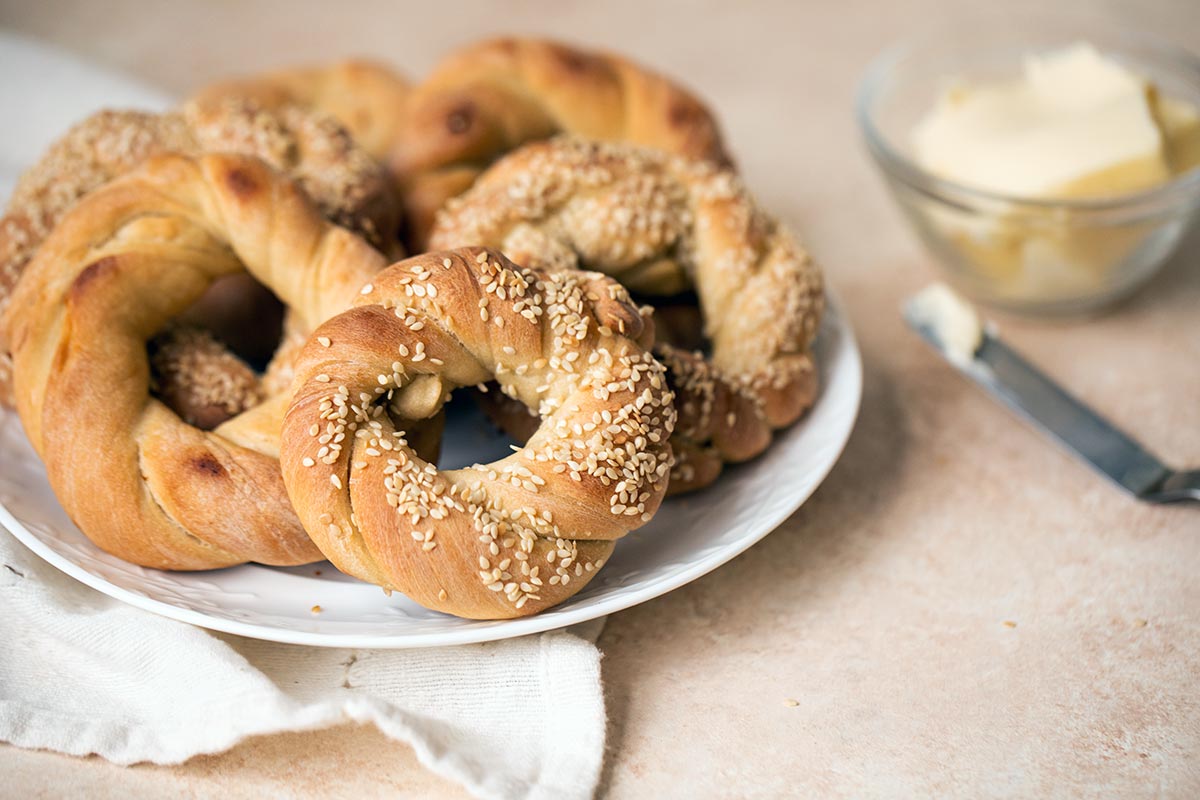
Here are a few different ways to shape your bagel dough. The first two methods are more traditional; the last approach is fun and less familiar. (You may have seen it before if you’re familiar with Turkish bagels or Turkish Simit Breads.)
For this first option, use the “smooth rounds” preshaping method described above.
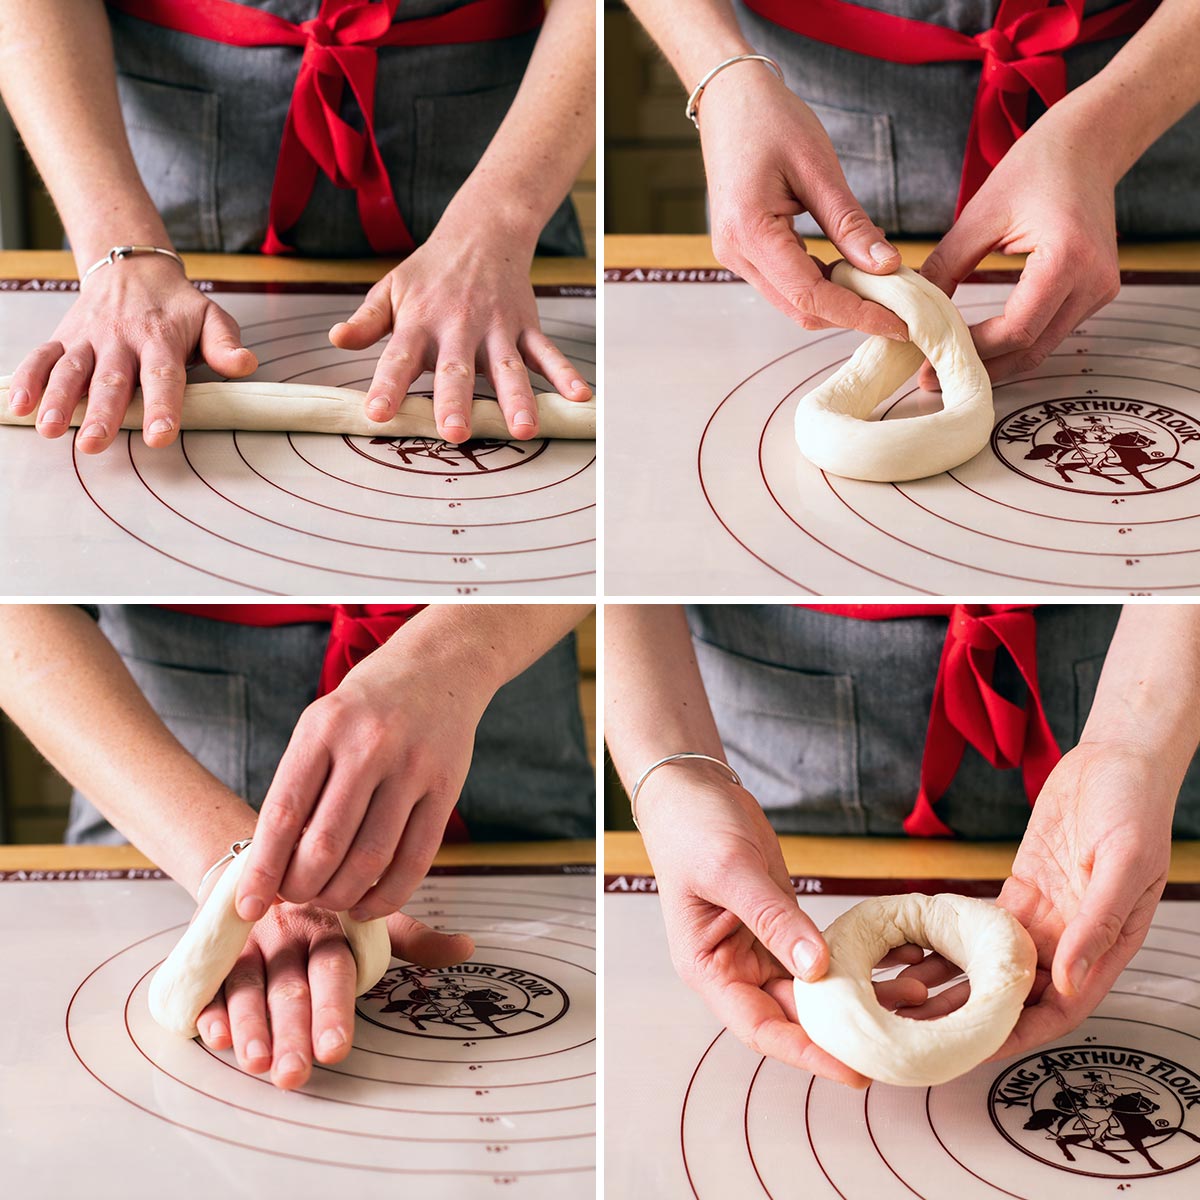
Once the rounds have relaxed and puffed up slightly, use your thumb to poke a hole in the center of the dough. Twirl the dough around your fingers, enlarging the hole until it’s about 2” in diameter.
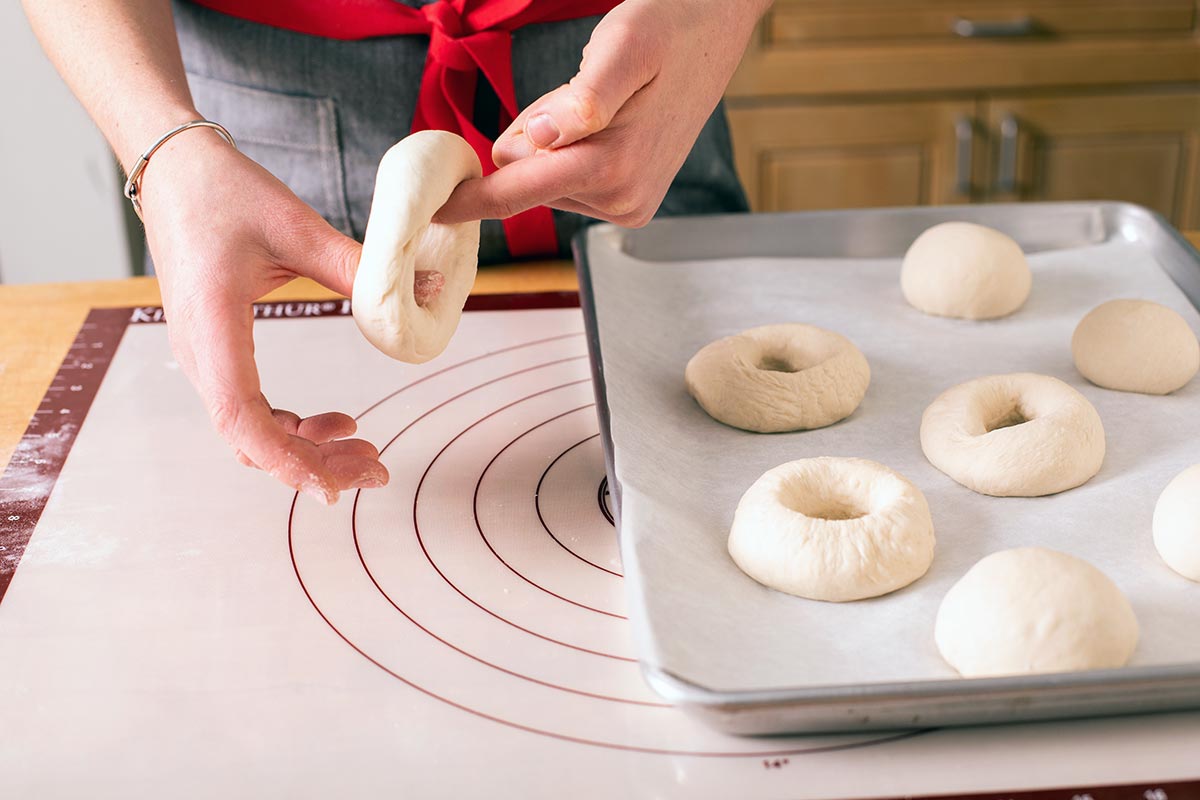
Perform this technique with the remaining dough until all the bagels are shaped.
For this shaping method, use the “wide log” preshaping method.
Roll each piece of dough into a long rope about 8" to 10" in length. Thin the log by rolling one hand back and forth in the center initially. This will create a shape that looks slightly like a dog bone; the two ends will be thicker than the center.
Roll the dough back and forth, slowly extending your hands towards the ends of the dough, elongating it and thinning the ends. Repeat rolling until the rope is an even thickness from one end to the other and reaches the desired length. (Watch our helpful video, How to shape pretzels, to see the same basic rope-making technique in action.)
After each piece of dough is rolled to its full length, return to the first long rope you made.
Wet the ends of the rope slightly and overlap them, twisting them together. Put your hand through the hole in the center. Then use your palm to roll the dough back and forth where the ends overlap to seal them.
Repeat with the remaining dough until you have a baking sheet full of beautifully shaped bagels.
For this last method, use the “wide log” preshaping technique as a first step. Then use a bench knife or regular knife to cut each log in half lengthwise. You should have twice as many strands of dough as the number of bagels you’re hoping to make.
Roll each log into a thin 10” to 12” rope, starting by thinning out the center and then working your hands towards the ends. Repeat this process with each log until they’re all shaped into long ropes.
Next, take two of the thin ropes and place them side by side. Place your palms on the ends of the dough. Move your hands in the opposite direction of one another — move your left hand forward bringing the ends of the dough with it, and move your right hand back.
This motion should twist the two strands of dough together.
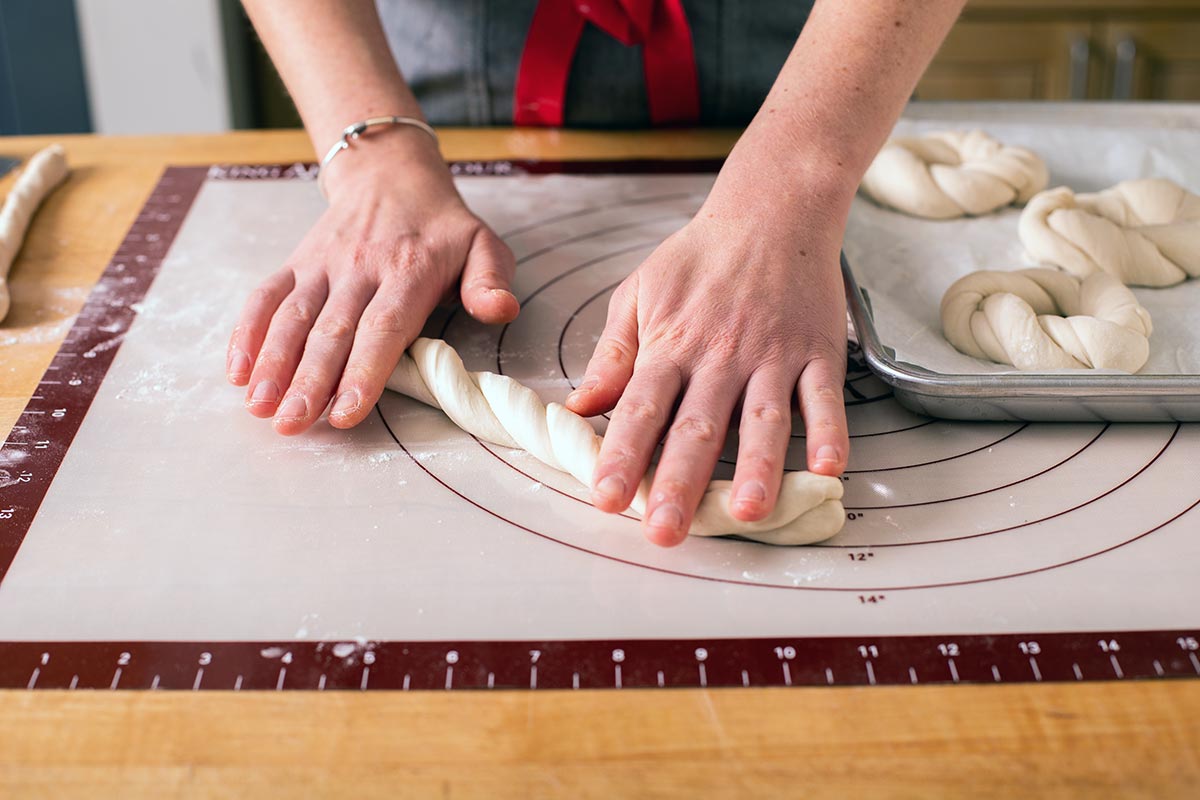
Once the dough is twisted, wet the ends slightly. Use the palm of your hand to seal the bagel together by rolling it back and forth on the surface.
Now you have a beautifully twisted bagel! Repeat with the remaining dough until all of your bagels are shaped.
Once your bagels are shaped and risen, they're ready for a water bath. Most of our recipes call for boiling, though we do have one, Chewy Bagels, that calls for steaming if you want to give this a try. There’s not much difference in the final products, though steaming tends to be a faster, less messy process.
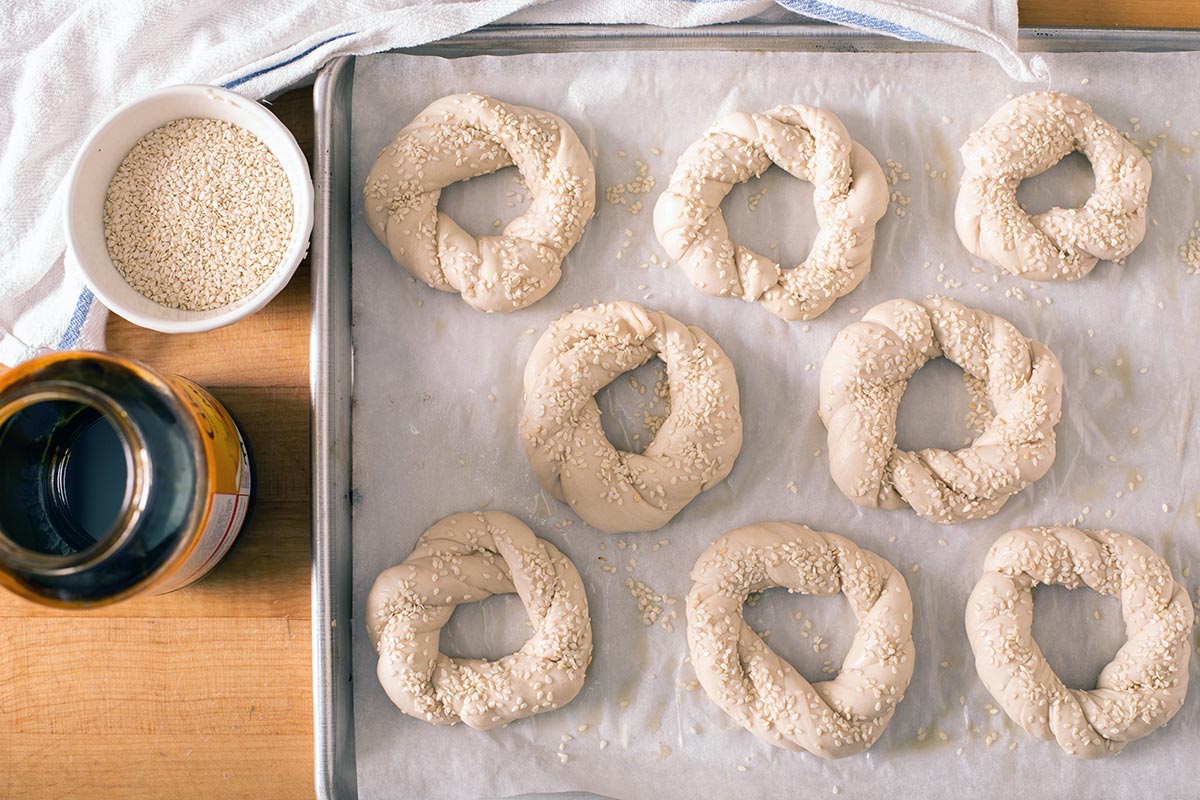
For bagels shaped like simit, simply dip them in a mixture of water and molasses. The twists are delicate and tend to unravel if boiled. Use the water bath instructions in our Turkish Simit Breads recipe if you’re using this shaping method.
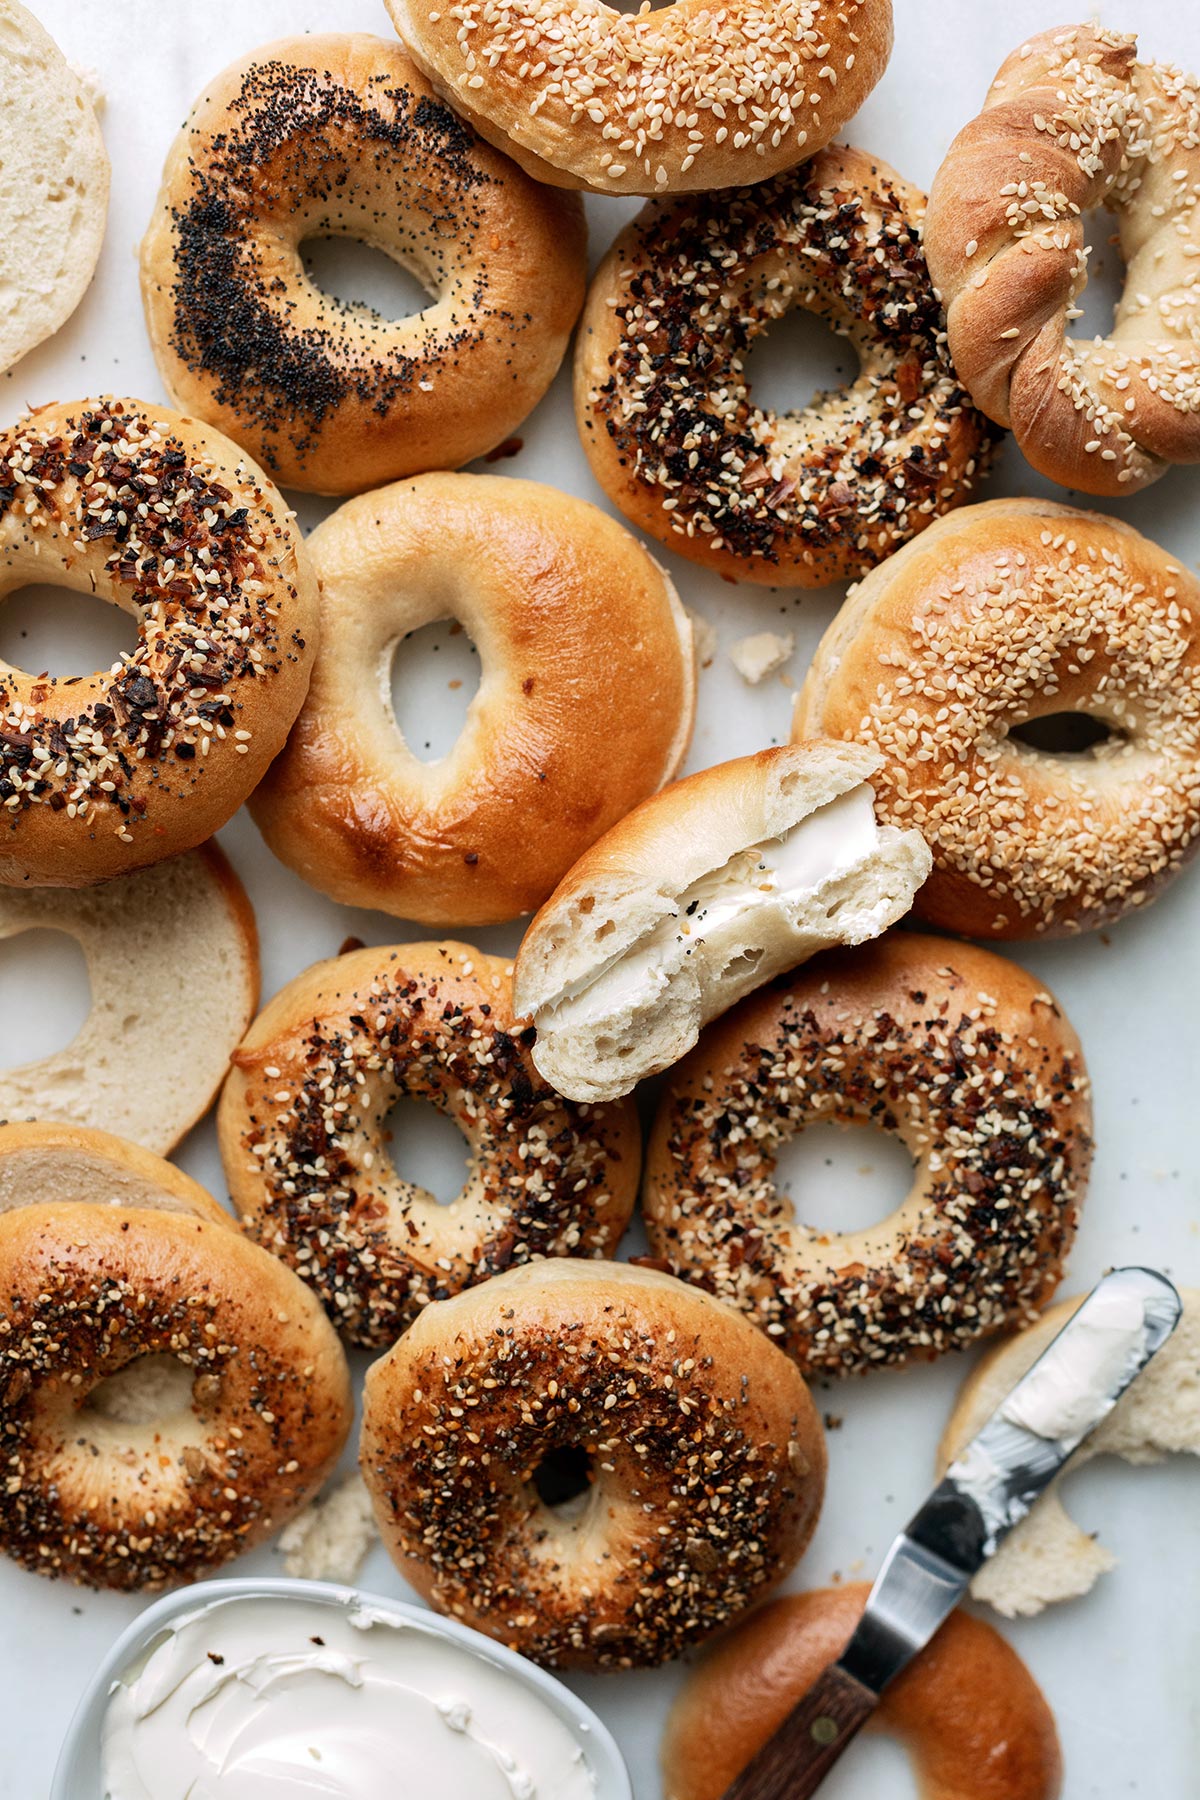
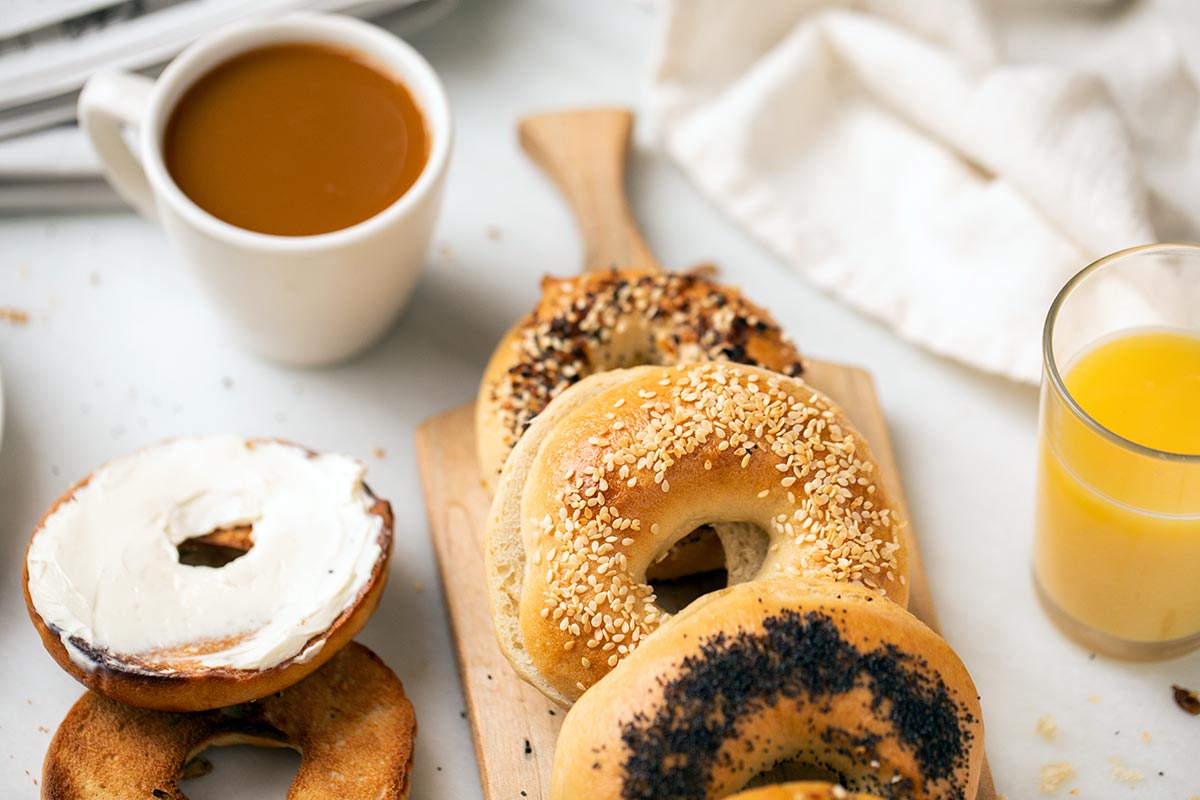
How, when, and what you use to top your bagels is a Pandora’s box — it’s one we might open in a future post if you bagel bakers want to take a deep dive into this topic. (Let us know in the comments, below, if you do!)
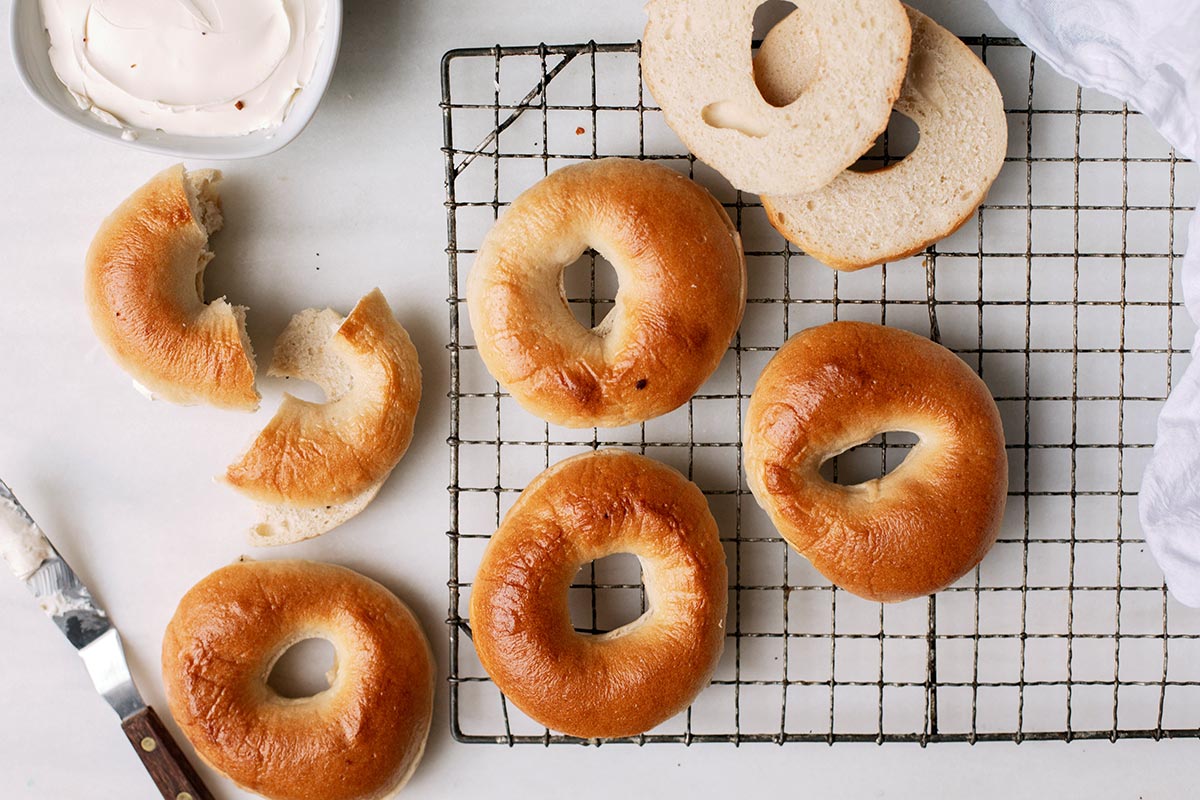
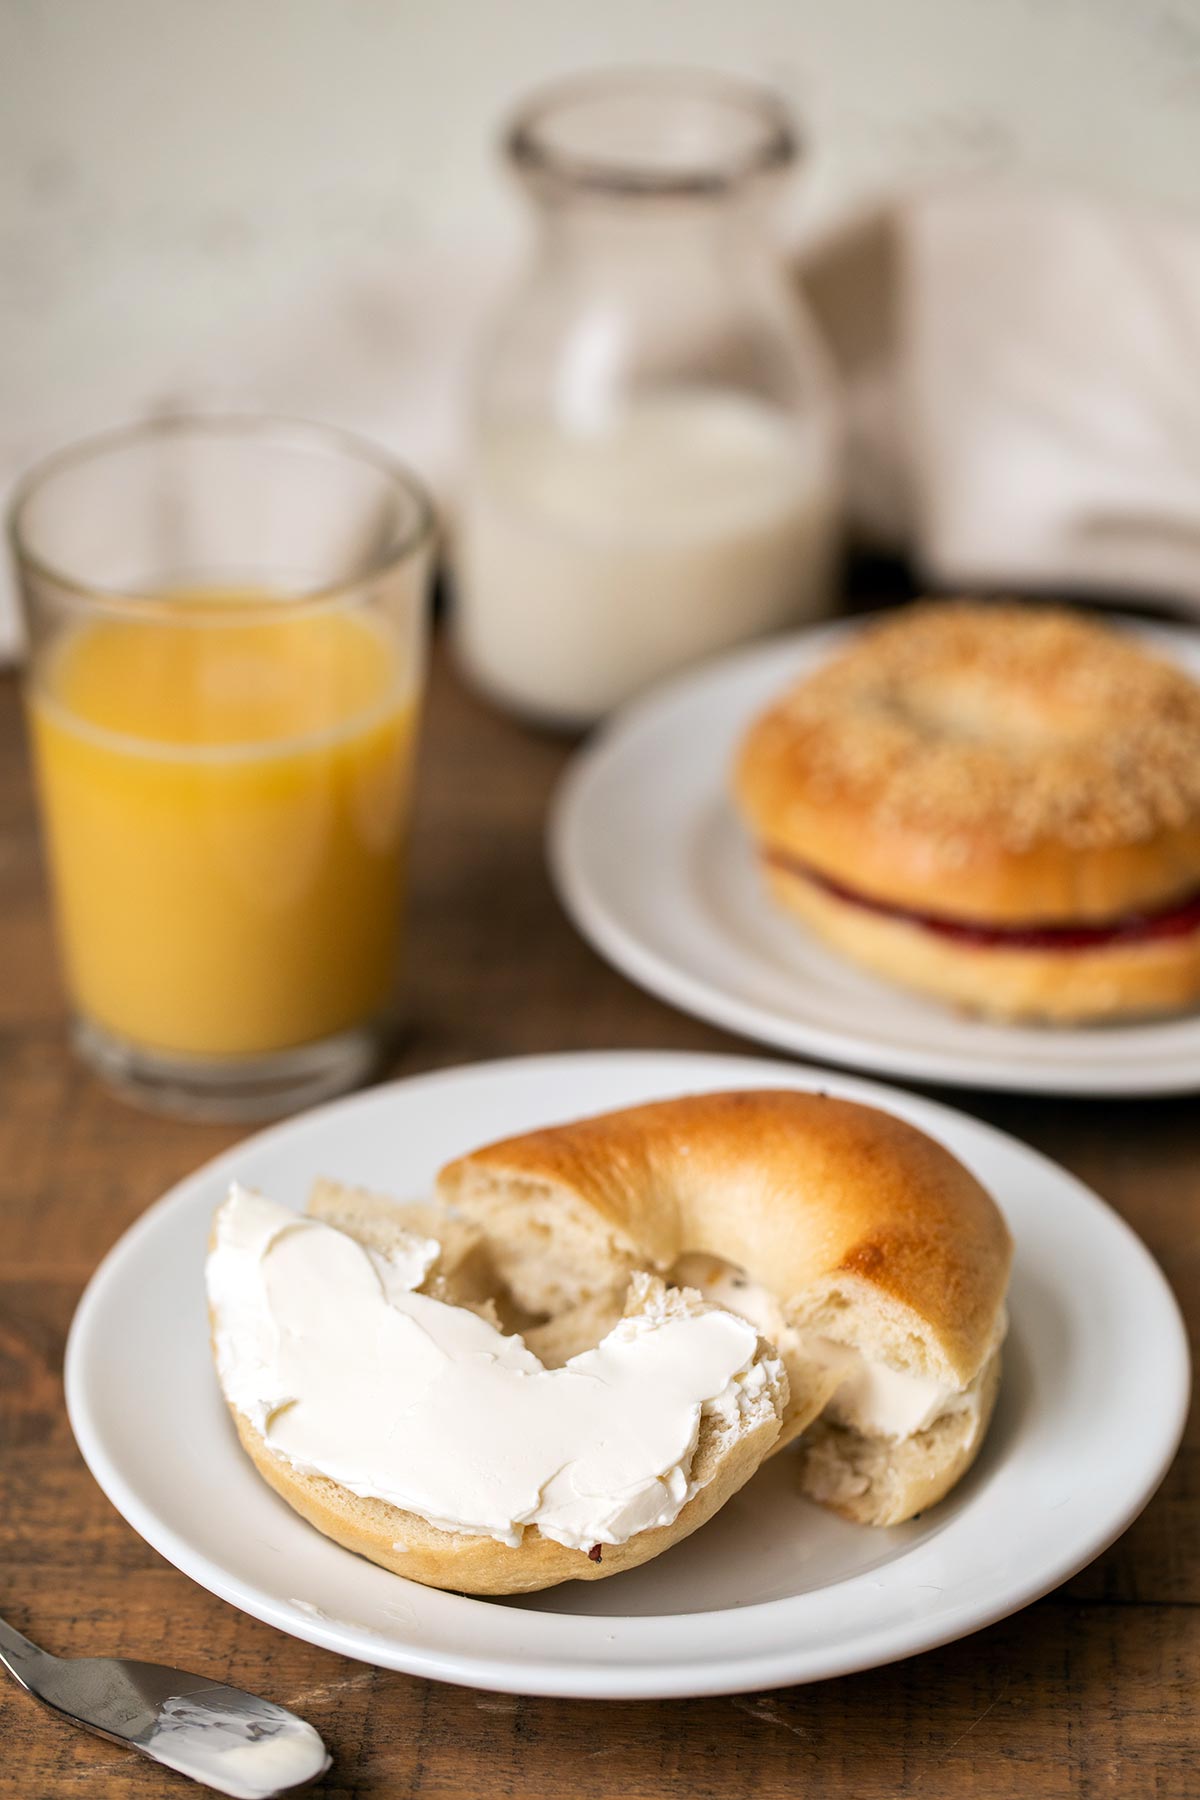
Bake your bagels according to your recipe’s instructions until they’re golden brown on both the top and bottom. Let them cool completely on a rack before slicing.
Now that you’ve learned multiple methods for preshaping and shaping bagel dough, how do you choose which one to try?
Make a double batch of bagels if you want lots of dough to practice shaping. Repeating the motions is the best way to learn (and end up with a lot of delicious bagels!).
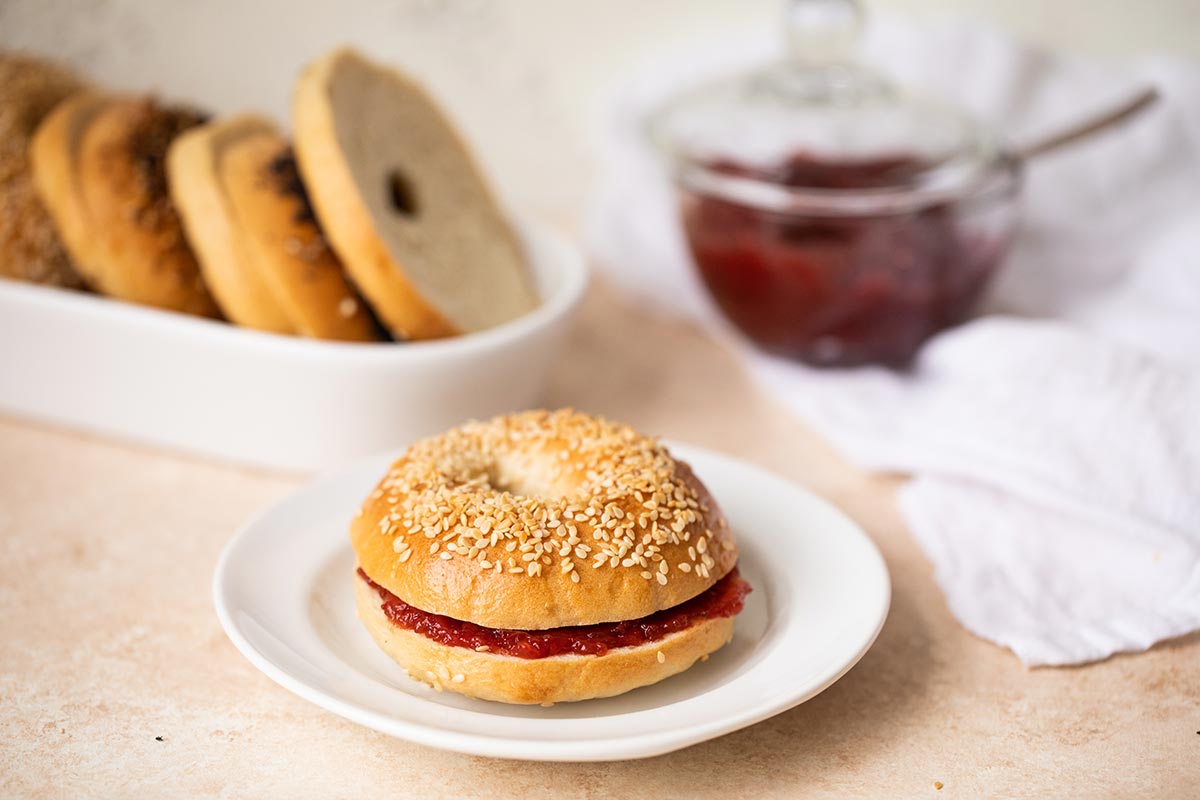
Share a freshly baked batch of bagels with a neighbor or friend. You can also freeze extra bagels and pull them out one at a time to enjoy all week long.
Bottom line: Homemade bagels are easy to shape and bake (and are also utterly delicious).
Choose your shaping method and get started! Share a photo of your homemade bagels with us on Instagram or post it on our Facebook page. Let’s see those shaping skills!
Want more bagel tips and tricks? Learn how to make flavored bagels? The best way to add toppings? If so, let us know in the comments, below.
Thanks to Jenn Bakos for taking the photographs for this post.