


As fall approaches, the local county fair circuit gears up. While some are excited to make the rounds for the tractor pulls, oxen pulls, quilt displays and hair-raising (or stomach churning if you're in your 40s) thrill rides, to me fair season means fried dough, french fries served in that cardboard dog bowl, cotton candy and, of course, caramel apples.
As kids, we only went to one fair. The Eastern States Exposition, better known as "The Big E." The Big E is an annual event in the fall in New England, with displays, entertainment, livestock and horse shows, and a building dedicated to each New England state's best of the best. In my family we were allowed to miss school for one day when the whole family would pile into the station wagon and drive down to Springfield. MA. We always took a cooler with drinks and sandwiches for our main meal, but we kids were most excited about the treats we could get in the afternoon, after lunch.
I can't describe for you the taste of the caramel apples at the fair, though. That's right, I never got a caramel apple at that fair. Too messy, too sticky for a hot, crowded day. My friend Elaine was visiting the other day, and we lamented our lost caramel apple youth. Her father was a dentist and caramel was a definite no-no in her house, too. Now that we're mothers in charge of our own kitchens (and fillings), let the chewy, sticky goodness reign.
While I didn't get to taste a caramel apple then, I can tell you how I feel about them now. How I love the tug of the caramel as you struggle to open the plastic prison the vendors sell the apples in. How you open your mouth as wide as it will go in an effort to secure the first gooey, juicy bite. How all the napkins you stuffed in your pocket just aren't enough, and you end up wiping some caramel on the inside of your sleeve, not caring, just loving every buttery, sweet bite.
Our merchandising folks must feel the same way about caramel apples. The past few years we've featured the fixin's for caramel apples in our catalogue, and this year our fall cover features the MOST mouthwatering photo of caramel apples EVER! We baker's hotline bakers knew from that picture that customers would definitely be wanting to make the apples, so we requested a demonstration of the techniques and products used so that we'll be ready to help out when those phone calls come in.
Isn't that terrific? I bet you didn't know that we King Arthur Flour hotline bakers and customer service representatives take quizzes, watch demonstrations, have articles to read, and hold discussions on our recipes, products, and catalogues, as part of our ongoing education plan – now, did ya? This demonstration in particular was fun and entertaining as well as educational, with each person making their own version of the perfect caramel apple to take and share (or not), all from the comfort of his or her own desk.
Here's how the plan went down:
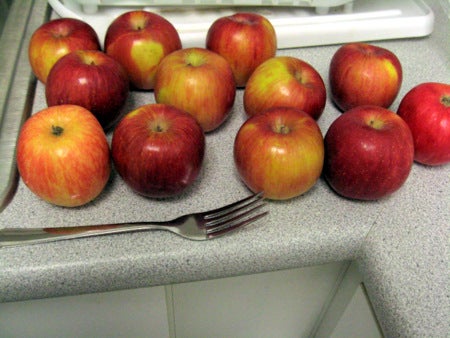
First, the apples. I left the fork in the picture for scale. As you can see these are not the huge apples you find at the fairground, but more moderately sized. Go larger or smaller to your taste. We like Granny Smiths, Honeycrisps, Golden Delicious and Gala, but use whichever apples you like best so long as they are firm and crisp.
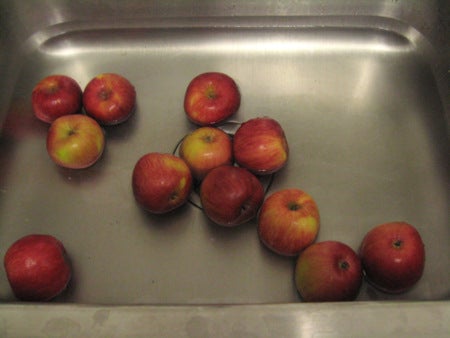
The apples need to be well washed to remove any of the food grade waxes, buildup, etc. I added 2 tablespoons of vinegar to the water to help wash away impurities. Rinse and dry, dry, dry well.
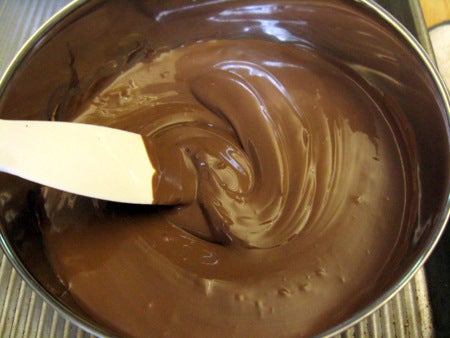
On to the caramel. Our caramel block is a test kitchen and staff favorite, winning our taste tests hands down. For starters, it comes in a nice big block so there are no annoying little plastic wrappers floating about the kitchen. The block can be stored at room temperature for months and it retains it's soft texture. You can whack off a big chunk for baking, or a small piece for nibbling whenever the mood strikes. Did I mention that it is less than $6.00 per pound? I'll take that bargain any day.
To melt the caramel, you can use a double boiler, the microwave, or my personal favorite, the slow cooker. Fellow blogger Susan Reid set me on that particular path, and I haven't looked back since. Melt on high for about 2 to 3 hours, or low for 4 to 5 hours, depending on your unit. This also keeps the caramel perfect for dipping for a long time.
We melted our caramel straight from the package. No cream or milk was added to thin it down. Just be sure to get the caramel good and hot so that it's thin enough to dip easily.
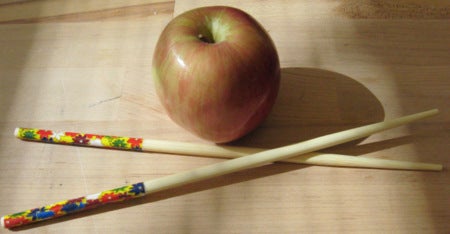
The best sticks I've come across are wooden chopsticks. You might be able to get a few pairs for free if you order out enough, but I found a huge bag at our local party store for $3.99. They're even pretty to boot.
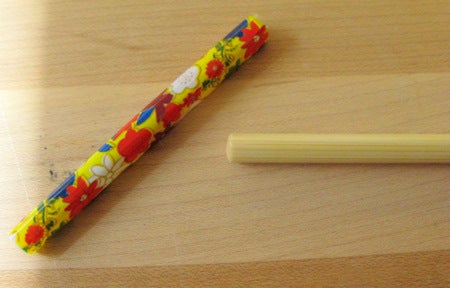
If you aren't into the floral look, the papers on these sticks do slide off. It's baker's choice here.
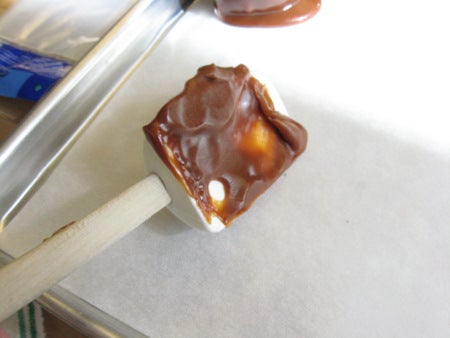
I really like silicone tools when working with caramel and other sticky ingredients. Just let it cool a bit and ...
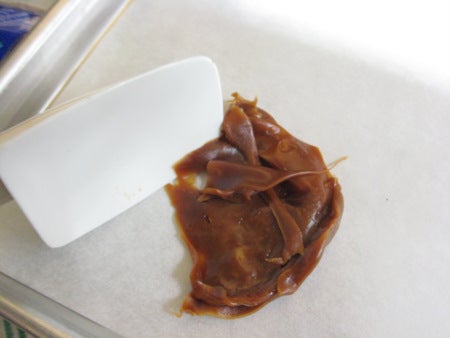
Peel it right off. The caramel can go straight back into the pot to melt again. No fuss, no muss, no waste. Lining your work surface with parchment is a huge help as well.
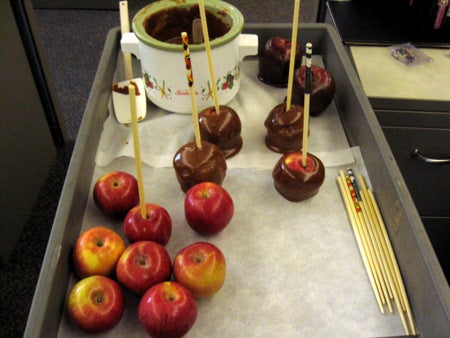
Once the caramel was hot, all the apples, sticks, and caramel went onto a cart, and we were ready to roll. (Groan! what a pun! )
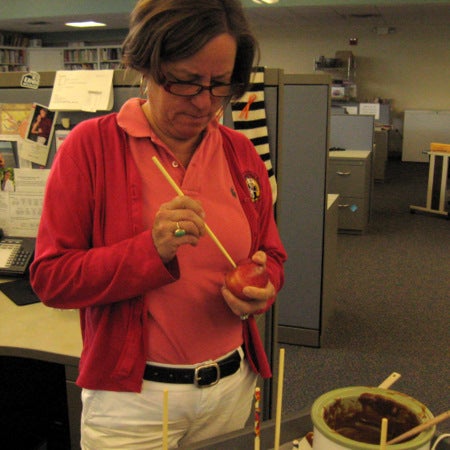
Here's Tara, learning to push the stick firmly into the core of the apple. She found you didn't even need to remove the stem of the apple if it was too short. Once the stick is inserted, place the apple on a flat surface to finish pushing the stick into the center of the apple. No need to impale your hand on this one.
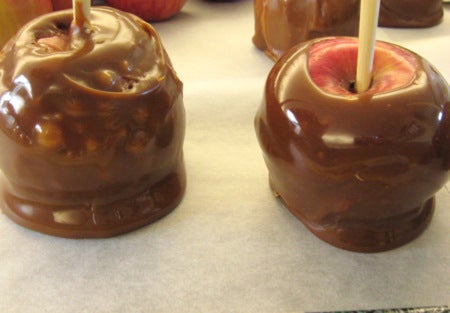
When melting the caramel, you want to stir slowly and evenly. If you stir too quickly and dip your apple, you can get bubbles in the caramel like the apple on the left. You want a smooth, shiny surface like the apple on the right. Of course, once the chocolate is applied, no one will see the bubbles too much, so don't stress too much here.
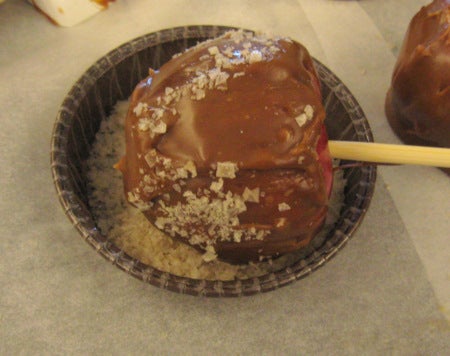
If you're going to skip the chocolate, have your sprinkles and toppings ready to go as soon as you dip the apples. The caramel firms up fairly quickly and you want your toppings to adhere well, like this smoked salt. Mmmmm, caramel and salt.
Once all your apples are coated in caramel, set them aside to firm up while you tidy up and get the chocolate melting.
For these apples, our new coating chocolates are just perfect. They come in convenient wafers, melt quickly and smoothly, and taste delicious.
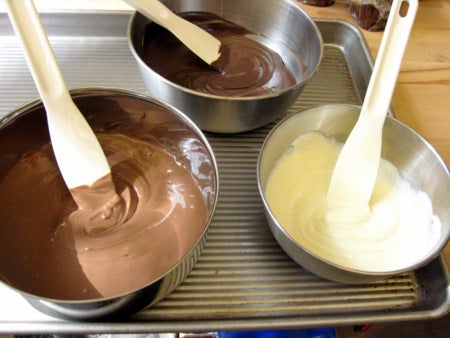
To melt several different chocolates at the same time, place them in heat-safe bowls on a baking sheet and place in a 200° oven for 10 to 15 minutes. Stir until melted and lump-free.
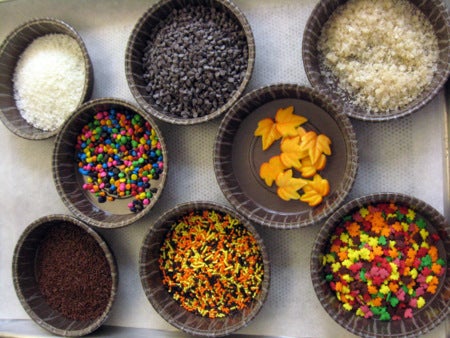
For toppings, it's fun to have a variety available. Some folks prefer the simple chocolate-on-chocolate route, while others like a splash of color.
From left to right, top row: white chocolate sprinkles, mini chocolate chips, smoked sea salt. Middle row: candy-coated chips, fall leaves sugar decos. Bottom row: chocolate sprinkles, autumn sprinkles, autumn leaf sprinkles.
Once again, have all your toppings ready to go when the chocolate is ready. You'll have a little more time as the chocolate sets up more slowly.
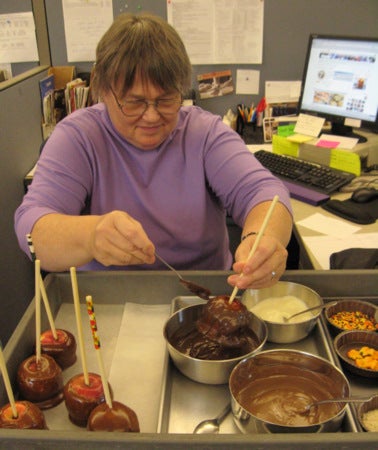
Here's Mary manning the chat desk and coating her apple in chocolate. You can pour the chocolate into tall, deep containers and dunk, but we had fun using the spoons for drizzling.
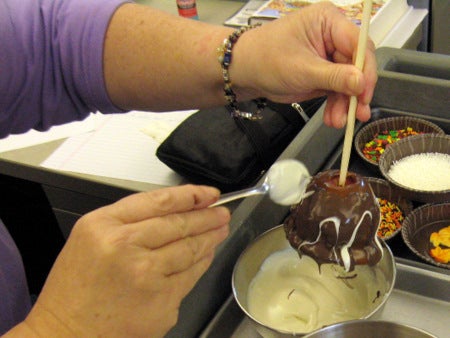
Here was one of our "teaching moments." If you're using two different kinds of chocolate, let the first layer set up a bit before adding the next layer. We also learned to hold the wet, drippy apple over a neutral bowl to avoid mixing our chocolates.
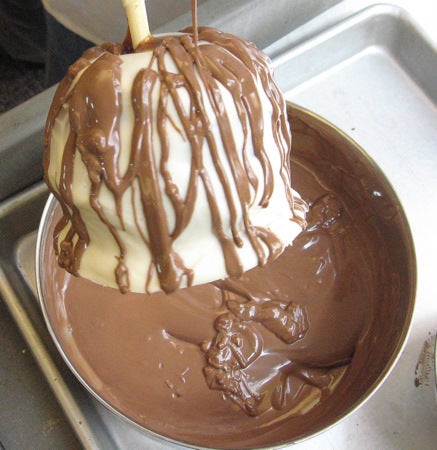
Ohhh, white chocolate with milk chocolate stripes. Too bad I can't remember who made this masterpiece!
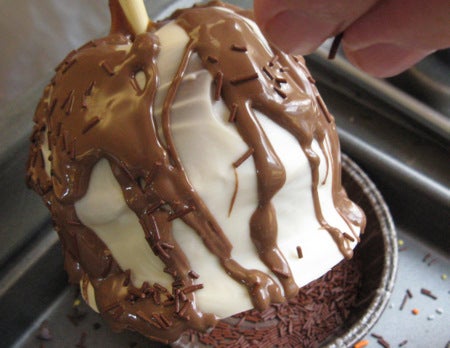
Be sure to sprinkle on your toppings while the chocolate is still wet. Use your fingers for a light coating, or a spoon for heavy coverage.
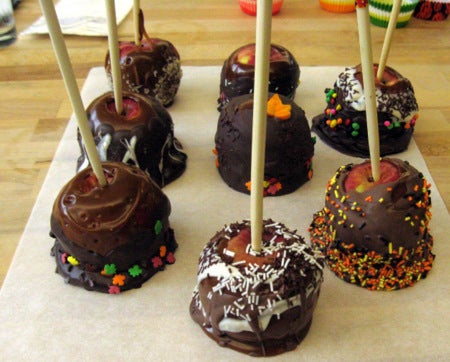
How do ya like them apples?
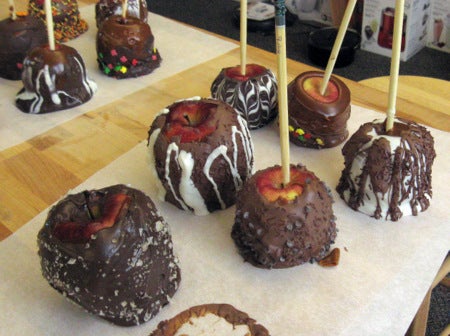
Set the apples on parchment to finish firming up at room temperature. Aren't these wonderful?

Here's a closeup of Phil's apple, a gift for his lovely wife.
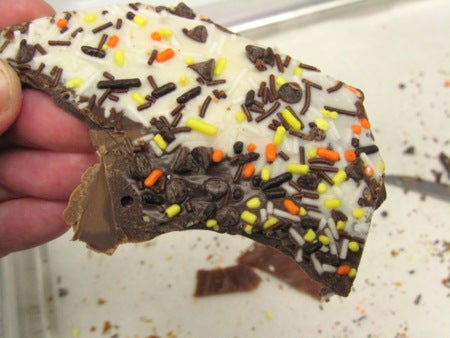
For cleaning up the leftovers, just spoon all the leftover caramel and chocolates onto a parchment lined sheet, add any leftover sugar decos, and set the whole lovely mess to chill in the fridge for about 10 to 15 minutes. Break into pieces for a unique "bark."
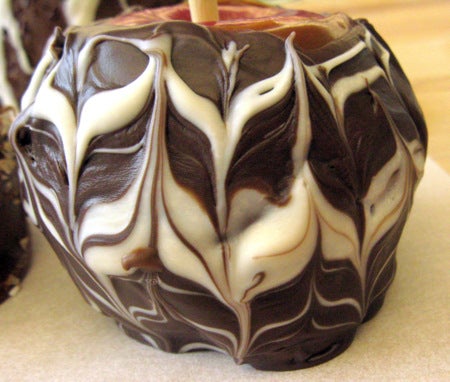
Now, you know me. I can't resist the fancy decorating. For this apple, dip completely in dark chocolate. Use a spoon to drizzle white chocolate stripes around the equator of the apple as you turn it slowly. Add a few more horizontal stripes. Use a toothpick or skewer to drag through the layers first up, and then down to create the pattern.
Enjoy this taste of fall and fairs. Be sure to call us if you have any questions – we're ready to dip and dunk with the best of ’em!