Puff pastry, without all the fuss: Raspberry Puff Turnovers
Blitz puff to the rescue

Date
July 2, 2009

Tender turnovers, stuffed with sweetened raspberries, the pastry shattering into a shower of buttery shards with each bite...
How DO you make that pastry?
It must be hard, right? A delicate touch, molding the butter, rolling, folding, rolling, folding, waiting, chilling, folding... Did I hear someone mention 729 layers?
Hey, you want to go that route, be my guest. We have a very approachable recipe for Pâté Feuilletée (e.g. Classic Puff Pastry) right here on this site.
I admit, I've gone so far as to read the recipe. I've even watched a couple of my fellow test kitchen bakers make it. And enjoyed the croissants that came out of the oven... like, a million years after they started the whole process. (Just kidding! It's "only" about 18 hours, really... which is approximately 16 1/2 hours longer than I like to spend on any baking project.)
But bottom line, there's no way I'd make classic puff pastry. Still, this time each summer, as the berries start to ripen, I long for flaky, delicate turnovers.
I confess, I've resorted to Pepperidge Farm at times. But making my own turnovers, from my backyard raspberries, is a much more satisfying experience.
Plus, Pepperidge Farm turnovers are made with shortening, not butter. Somehow, "shortening shards," though alliterative, just doesn't have the allure of "buttery shards."
I'll tell you upfront, making your own turnovers is somewhat fussy. But with the following recipe, you at least avoid the long, drawn-out process of making the pastry. The "blitz puff," made with sour cream, is a long-time baker's secret, yielding wonderfully flaky pastry in just a few simple steps.
There's still the rolling, cutting, filling, and sealing, of course. But I've managed to shorten that process a bit, too, via a turnover press.
Which falls under the welcome heading of "inexpensive plastic gadget that really works."
So, are you ready to impress you family and friends with flaky, delicate turnovers, sans help from Pepperidge Farm?
Raspberry Puff Turnovers, here we come!
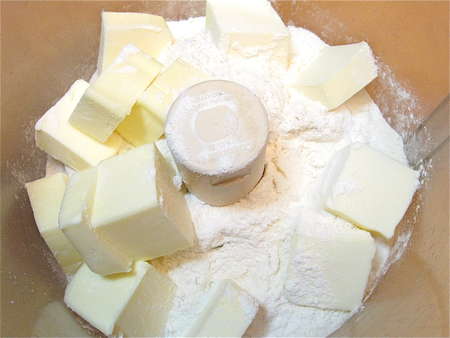
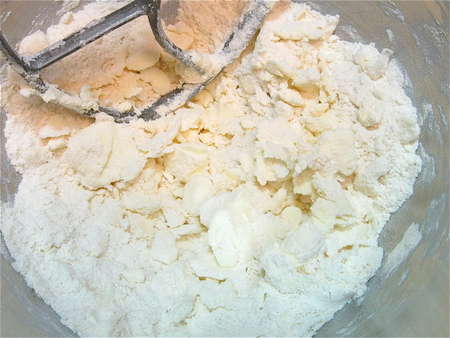
First step: LOTS of butter. We're going to "cut" the butter into the flour, just as if we were making pie crust. It's easy to do this in a food processor; but use your own favorite method, if preferred. There's also salt and baking powder in the work bowl. Why baking powder? PUFF pastry; a little chemical leavening doesn't hurt!
Be sure to leave some good-sized chunks of butter in the mixture.
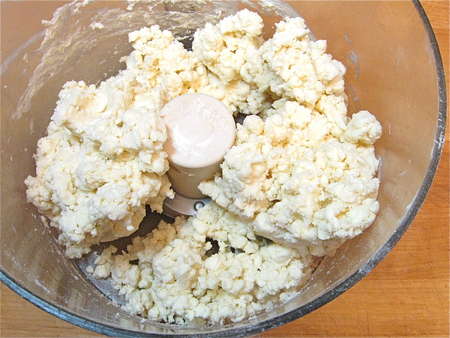
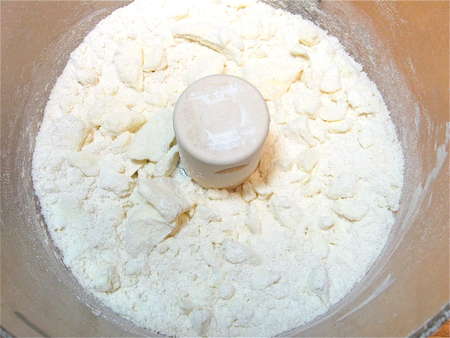
Add sour cream, and pulse briefly. The dough will look very crumbly, but will hold together just fine when you grab it.
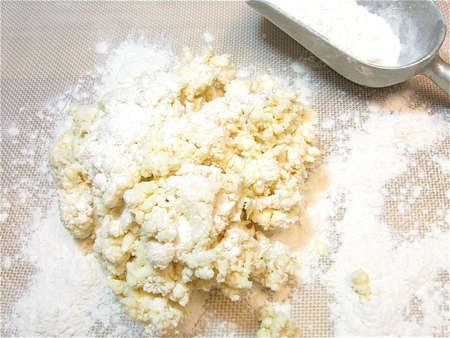
Deposit it onto a floured work surface. I'm using our silicone mat here—easy rolling, easy cleanup.
Let's backtrack a second. Don't have a food processor? Make the dough in your mixer. Or by hand. Here's what it looks like prior to adding the sour cream.

And here it is after the sour cream has been incorporated.
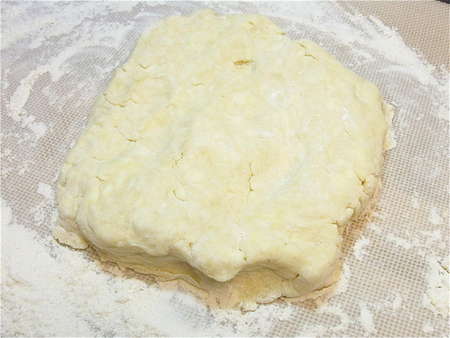
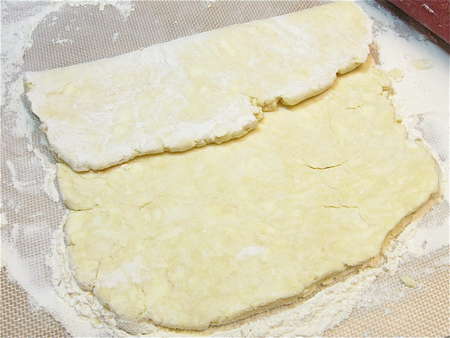
OK, back to real time. Shape the dough into a rough square.
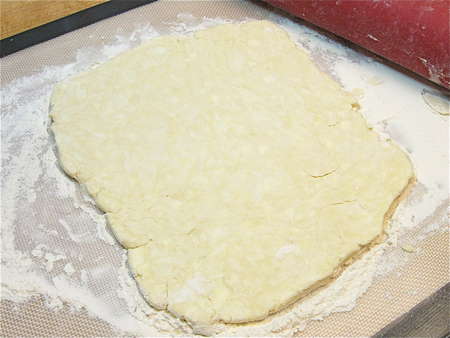
Roll it into an 8” x 10” rectangle; for reference, this is slightly shorter than an 8 1/2” x 11” piece of paper. Approximations are fine here.
See the lighter spots here? That's the butter, and that's what's going to create the flakes in your pastry.
Grab one of the 8” sides, and fold it into the center, like a letter.
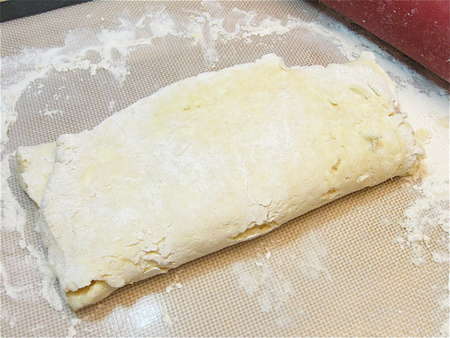
Now fold the other short (8”) side on top of the first. “Darn, I thought we weren't going to fold anything!” Calm down; we'll only do this twice.
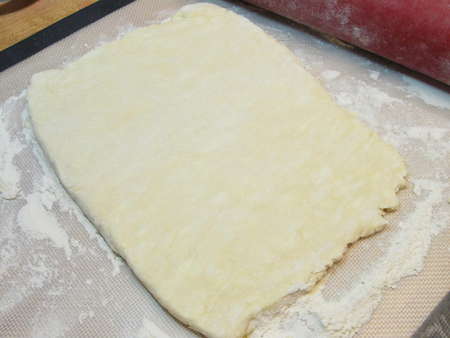
Roll 8” x 10” again...
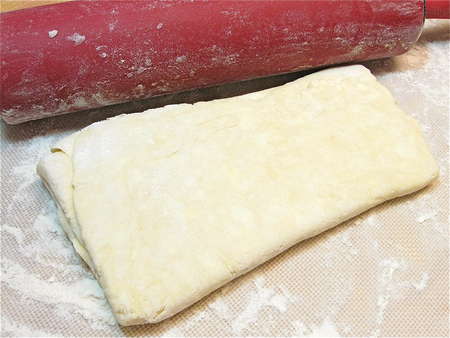
...and fold again.
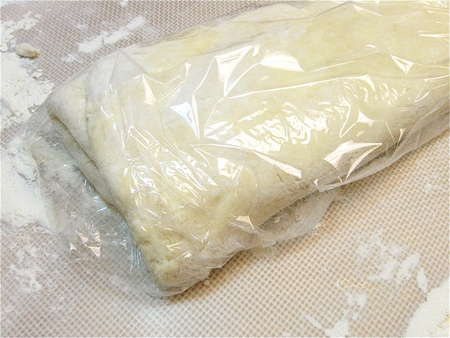
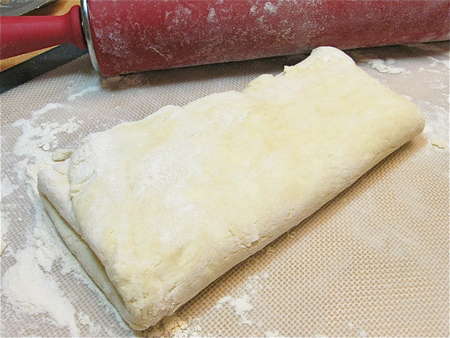
Wrap in plastic, and chill while you make your filling.
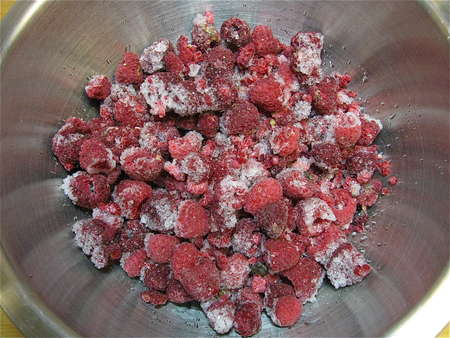
My raspberries aren't ripe yet, so I dug a bag of frozen berries out of the back of my freezer. Frozen berries always feel like hidden treasure, don't they? Though you may grumble as you pick berries, slapping mosquitoes and sweating in the August heat, the fruit of your labors (pun intended) makes it all worthwhile in February. Or July.
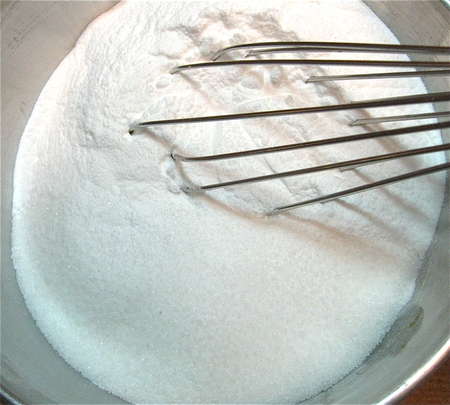
Whisk together Instant ClearJel and sugar. ClearJel is an awesome thickener, as it doesn't need to cook to do its job. It's the thickener we use in our Pie Filling Enhancer, and the thickener Cook's Illustrated cites as best for fruit pies.
Speaking of Pie Filling Enhancer, I meant to figure out how much to use in this recipe; didn't get around to it. As a guess, I'd say use 1/4 cup Pie Filling Enhancer in place of the ClearJel, and cut back the amount of sugar by 1 tablespoon.
You can also use cornstarch here, in place of the ClearJel. It's a bit more problematic, as you need to dissolve it in water, and then you need to cook the filling. But if that's what you have, go for it: rather than mix the cornstarch into the sugar, as you would the ClearJel, mix it with enough water to dissolve.
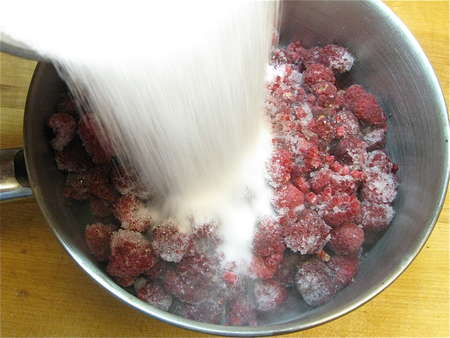
Pour the sugar/ClearJel mixture into the berries, which you've put in a saucepan.
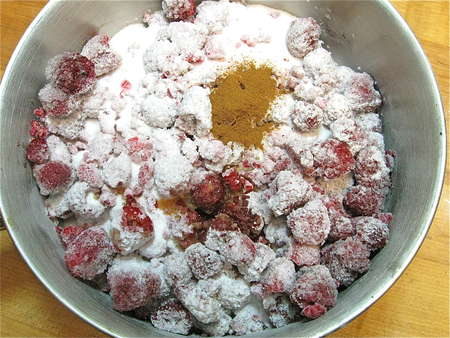
Add vanilla and cinnamon...
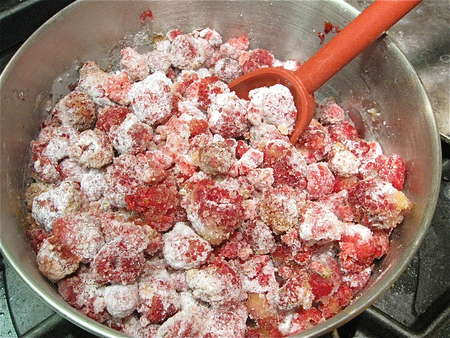
...and toss to combine. Add the dissolved cornstarch here, if you're using it.
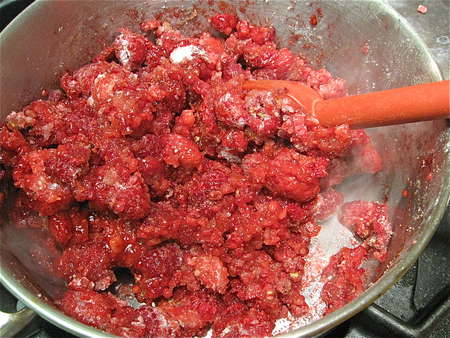
Cook over medium heat, stirring constantly. The berries will thaw and start to fall apart.
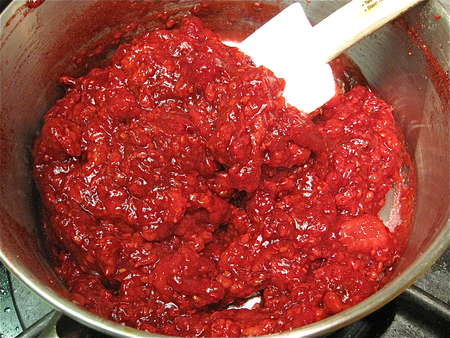
Very quickly, they'll look like this: chunky-smooth, and thickened. Remove from the heat. If you're using cornstarch, continue to cook till the mixture bubbles and thickens.
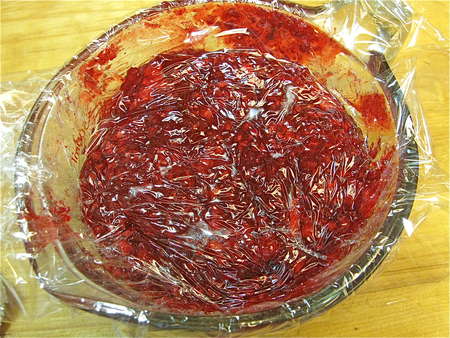
Spoon into a bowl, cover with plastic wrap, and refrigerate while you roll out the pastry.
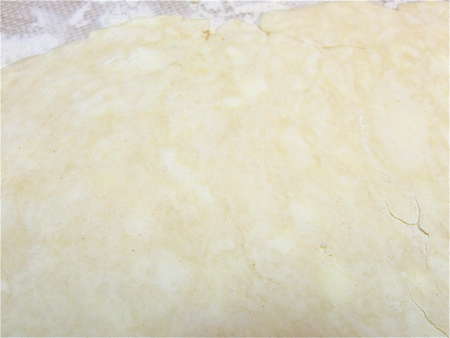
So, here we are again with our folded pastry. Place it on a well-floured surface, and start to roll. You want to make a square at least 16” on a side. Work quickly; the colder the dough, the easier it is to roll and cut and fill.
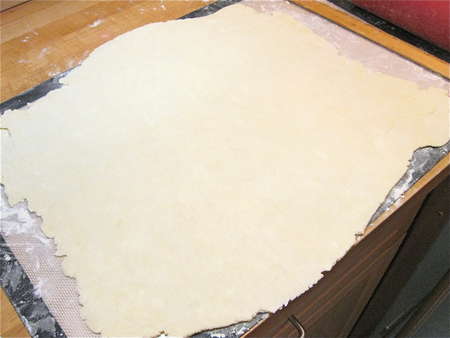
So, this is like 17” or so. And it's kinda not a square, either. Whatever, right? Trust me, you can worry about trying to be a perfect baker. Or just relax and do your best.
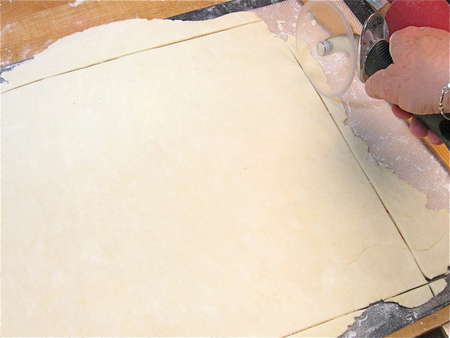
Trim the edges to make a square. You can sprinkle these trimmed-off pieces with coarse sugar and bake up some REALLY tasty nibbles.
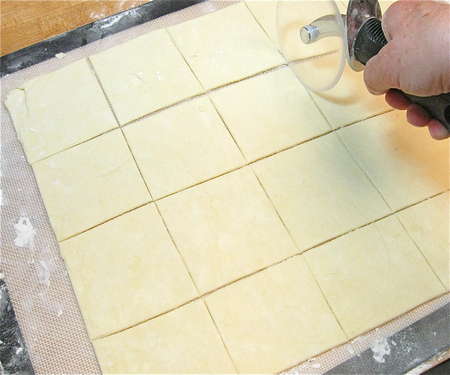
Cut into 4” squares. I use my acrylic pizza cutter, because it's OK to use it on silicone. You can run this baby over your hand all day long, and it won't hurt at all. Yet it cuts dough beautifully. How does it DO that? Got me; but it's a wonderful thing, for those of us who tend to be kitchen klutzes around sharp objects.
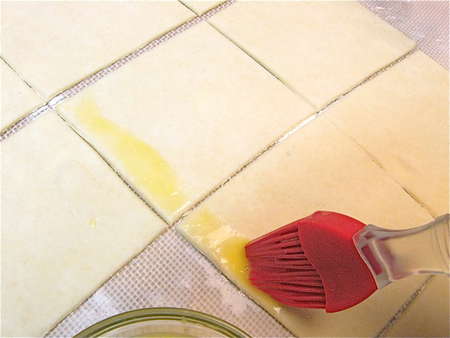
For the best seal, brush two contiguous sides of each square with an egg wash (1 egg beaten with 1 tablespoon water).
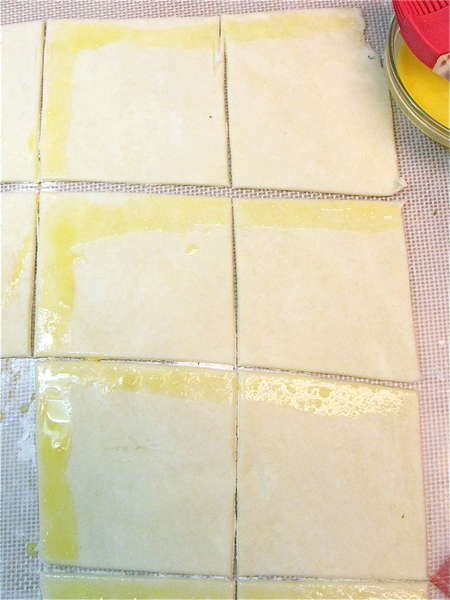
Like this.
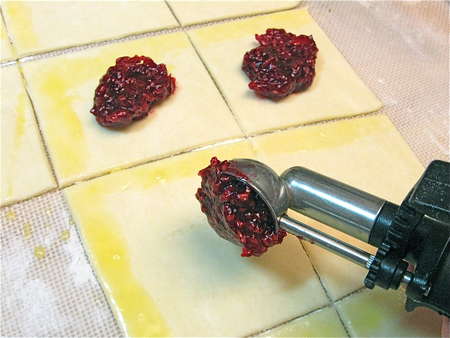
Dollop filling slightly off-center of each square. A teaspoon cookie scoop works well here.
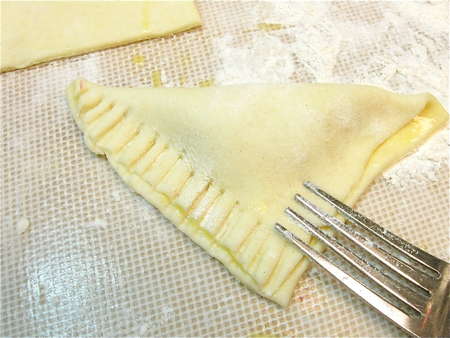
Bring one corner of each square diagonally over to fold. Use a fork to seal. You're beginning to see light at the end of the tunnel here, aren't you? If your oven isn't turned on, now's the time to do it: 400°F.
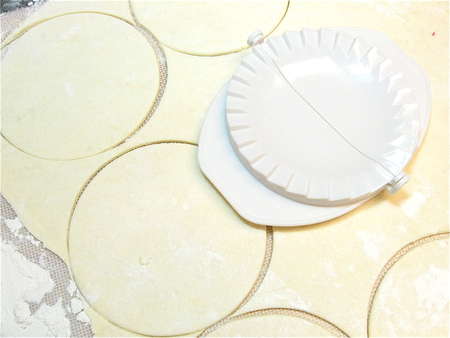
And now, for a word from our sponsor. That would be us, King Arthur Flour. Although we'd love to not have to worry about money, we're a business. And it takes dollars to get our flour onto the grocery store shelves, send you our catalogue, keep this Web site going, and provide a living for all 167 of us employee-owners. So bear with me as I sell you something: this plastic turnover press.
First, it cuts a nice, even circle; no wobbly tracing around a saucer.
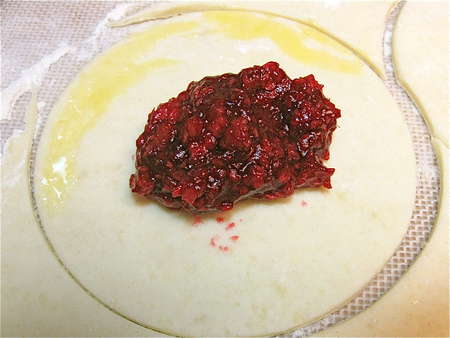
Brush with egg wash, add your filling...
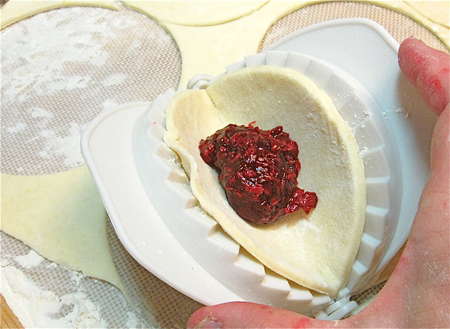
And here's the slick part: turn the press over, set the filled round inside...
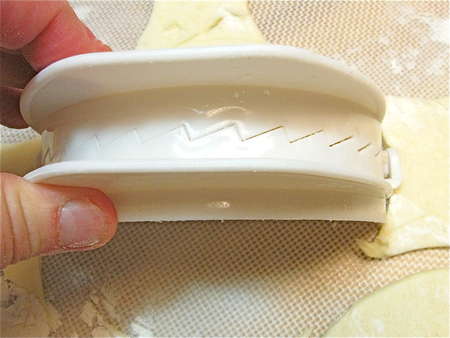
...and clamp shut to seal. (Yes, we had lots of fun in the kitchen clacking these at each other like false teeth; the set comes with four different sizes, so we each had one to play with.)
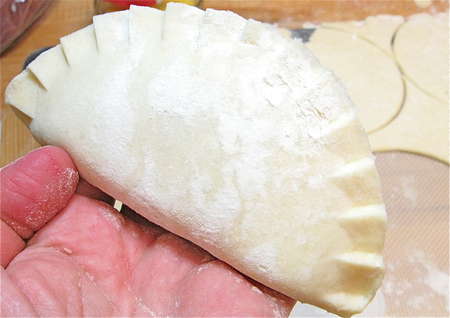
Bob's your uncle: how's that for a nice-looking turnover, sports fans?
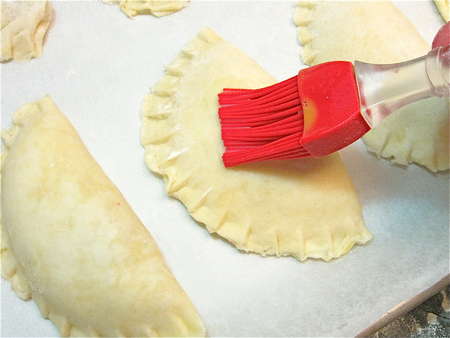
This isn't strictly necessary, but it's a nice touch: brush the turnovers with the remainder of the egg wash...
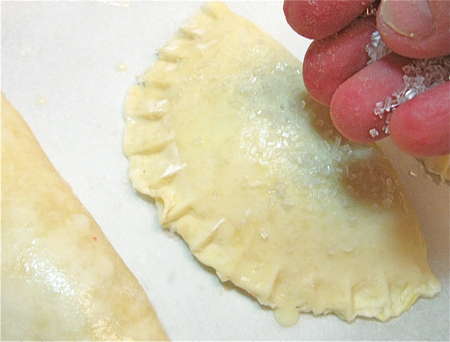
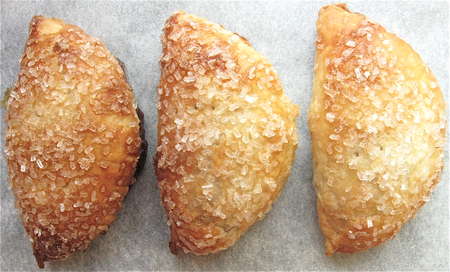
...and sprinkle with coarse white sugar. And if you don't yet have this ingredient in your pantry, I recommend it highly. It's a wonderful all-purpose spiffer-upper for scones, muffins, cookies, and pie crust.
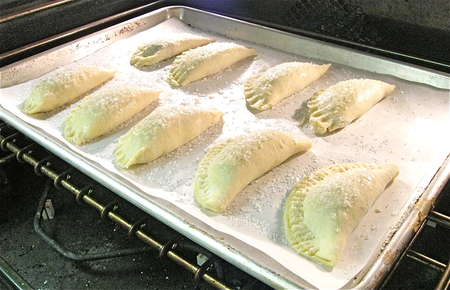
Put the turnovers into a 400°F oven.

Bake about 20 to 25 minutes, till they're nice and brown. And magnificently puffed, I might add.
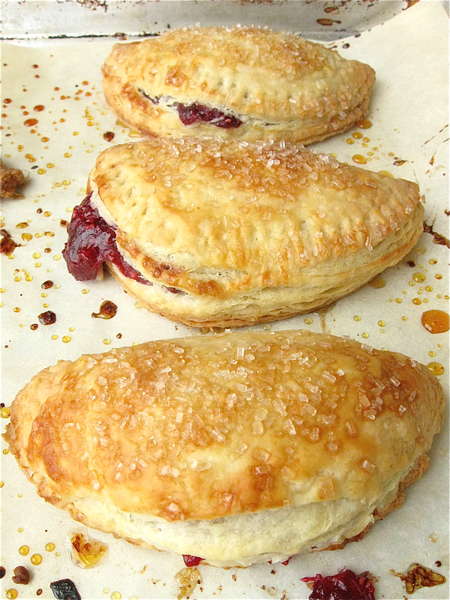
The filling probably will have begun to bubble and ooze. That's a good thing, it means the turnovers are fully baked. It's also the reason you line your pan with parchment.
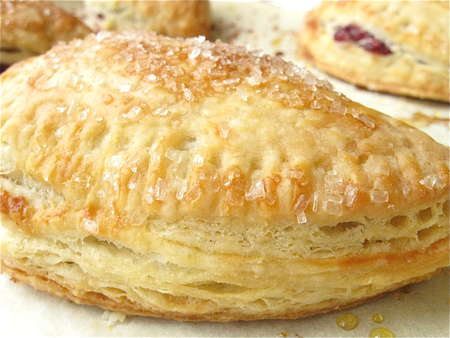
Look at those flaky layers!
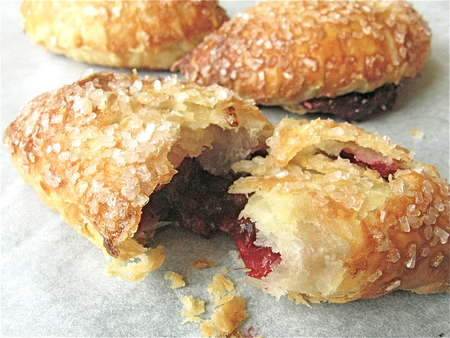
And the buttery shards.
Here's a little experiment I did. Left to right, I brushed these turnovers with beaten egg; milk, and water. You can see the difference in browning each one of those makes.
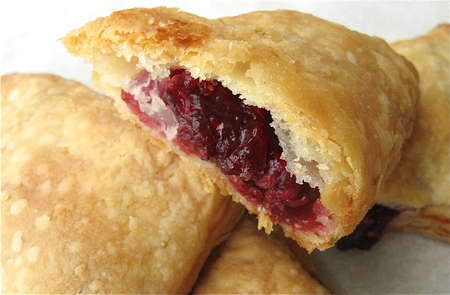
One last picture. These are the triangular turnovers (no sugar on top), in all their flaky glory. Worth the effort? Just like picking berries, I'd have to say yeah, worth it. Homemade turnovers are a thing of beauty. Well, if not a thing of beauty, at least a joy forever!
Read, rate, and review (please!) our recipe for Raspberry Puff Turnovers.