


Working side by side with someone over the course of years will teach you a lot about each other. One of the comfortable things about being in the King Arthur test kitchen is the familiar ground of long-time working relationships. It’s come to light over time that PJ and I share the same formative Catholic-school education, history of high school and college jock activity, deep love for the power of the written word, and…dates.
There have been many days in the kitchen when we commiserated over the Rodney Dangerfield treatment this sumptuous fruit receives. We’ve both encountered people who were intrigued at the baked goods we put out, asking, “Oh boy, what’s in it?” The second we mention dates, they turn away, giving it a pass. If you’re in that club, don’t turn away, we have a version for you, too.
To us, dates are comforting, sweet, intense. A fresh Medjool date with a filling of cream cheese and some chopped nuts is one of the nicest things on earth. And at holiday time, it’s just not right unless a batch of Date Pinwheels (or two) gets made. They’re the perfect do-ahead cookie, because they need to be rolled and chilled before slicing. And they can certainly be made up and frozen, up to 2 months in advance.
There are two easy parts to this: the dough and the filling. First the dough:
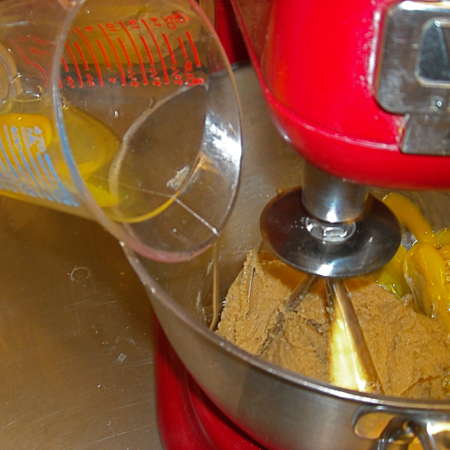
Cream the butter and brown sugar,

Add the eggs, one at a time. Scrape, mix once more,
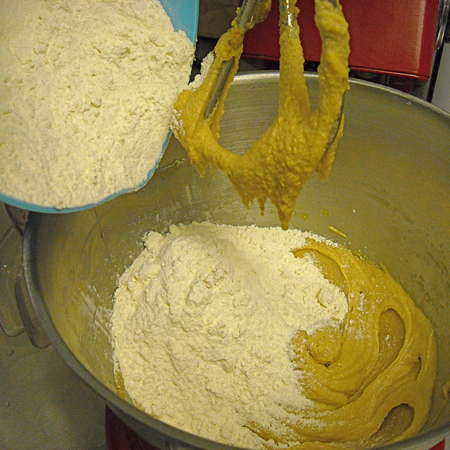
Then add the flour, salt and baking soda.
Put the dough in a large plastic bag, squish it flat, and refrigerate it for at least an hour.
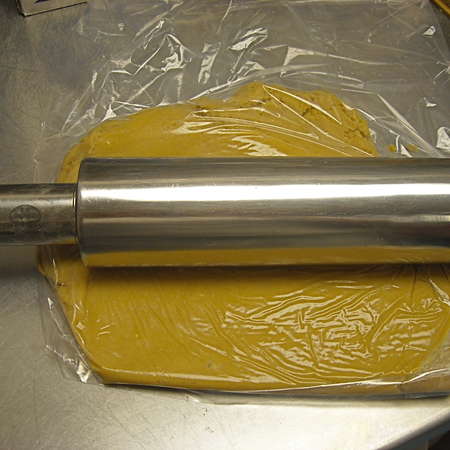
I’ve been chilling dough this way for years. To me, it makes sense. You’re going to be rolling it out flat anyhow, so why not get a head start? Plus, a thin slab of dough will chill much more quickly than a big round blob in a bowl will. You can get there either way. I just prefer this one.
For the filling, put the dates, sugar, water and salt in a saucepan.
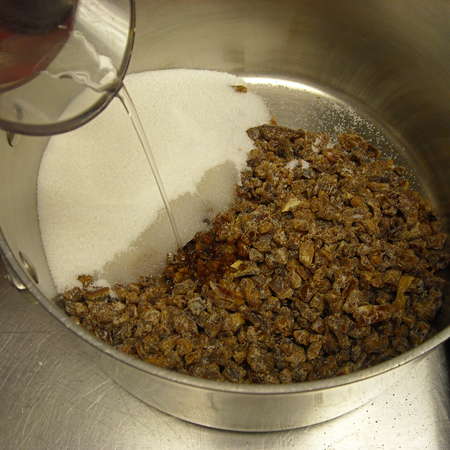
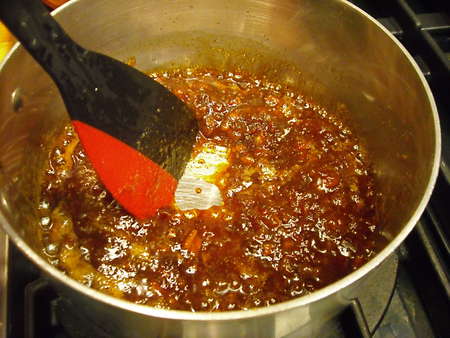
Bring to a boil over medium-high heat, stirring until the sugar dissolves. Reduce the heat and simmer for 15 minutes, stirring occasionally, until the mixture thickens and makes popping sounds as it boils. You should be able to see the bottom of the pot for 5 seconds when you move your stirring weapon across it.
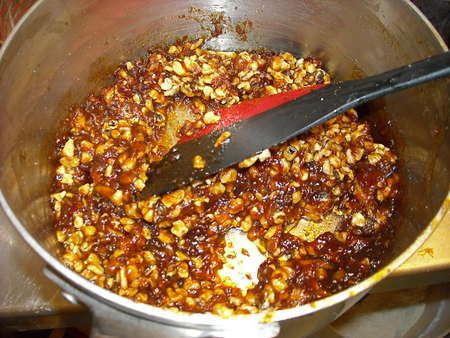
Remove from the heat, stir in the nuts, and set aside to cool to room temperature.
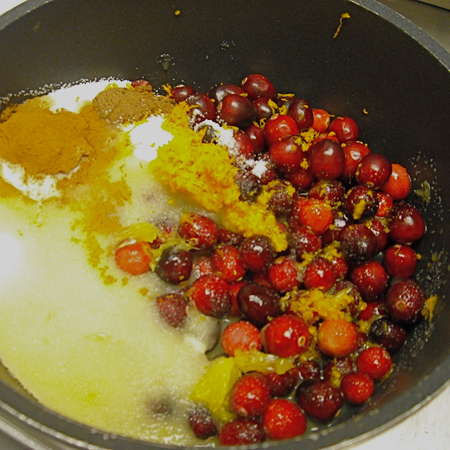
If you’d rather try the cranberry filling (I made a double batch of dough, and invented this filling for the non-date-loving population), put all of the cranberry version’s ingredients into a saucepan, cover it, and bring the whole business to a boil.
Once the mixture is boiling, uncover it and stir while it cooks, The berries will pop and the mixture will thicken.
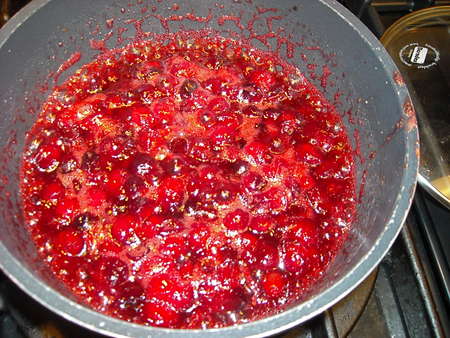
When you can stir the mixture and see the bottom of the pot for 5 seconds before the filling closes back over, the filling is ready. Take it off the heat, stir in the nuts, and let it cool to room temperature.
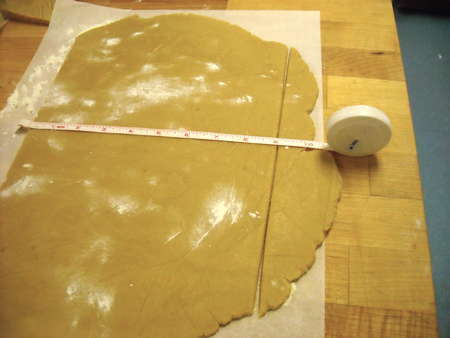
Once the dough is chilled enough to roll out, take half of it and place it on a piece of parchment or waxed paper, lightly dusted with flour. When I started rolling the first part of the dough, I found an island of unincorporated brown sugar staring back at me. Time for some quick cosmetic surgery.

The hole was easily patched with some more dough.

Roll out the dough into a rectangle 9 x 12 inches, and 1/4-inch thick.
Spread half the filling over the dough, covering the entire surface. Use the parchment to help you roll the dough up lengthwise.
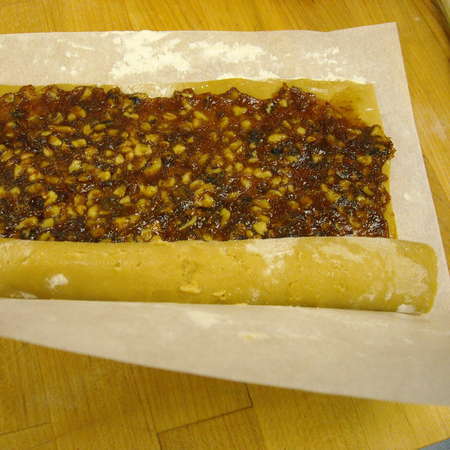
If the dough sticks to the paper, tease it off with a floured hand or scraper. After the roll is formed, use the paper to wrap it (this will help support the dough, which is soft).

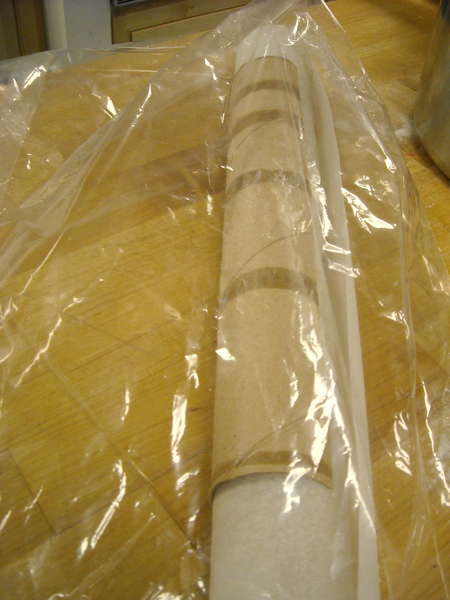
One neat trick to use for chilling is to cut the core from a roll of paper towels lengthwise (or at this time of year, just save those empty wrapping paper rolls, if the kids haven’t destroyed them bopping each other over the head)
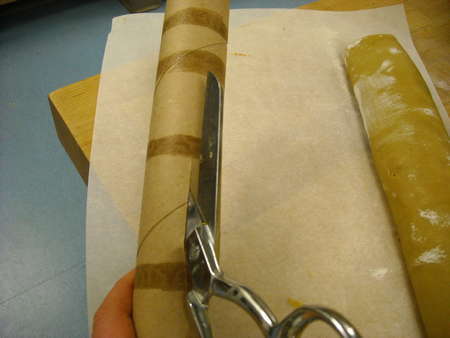
and pop the rolled dough into it; the cardboard will help keep the pinwheels round. You can then place the whole thing in a plastic bread bag or wrap in plastic wrap.
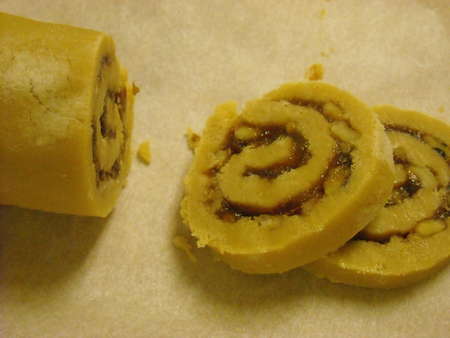
Repeat with the remaining dough and filling. Chill the logs for several hours or overnight; you can also freeze the rolls at this point if you’re trying to get ahead. Once the dough is firm enough to slice, take it out of the refrigerator and let it temper for 10 minutes so it doesn’t crack when you slice it. Cut into 1/3-inch slices,
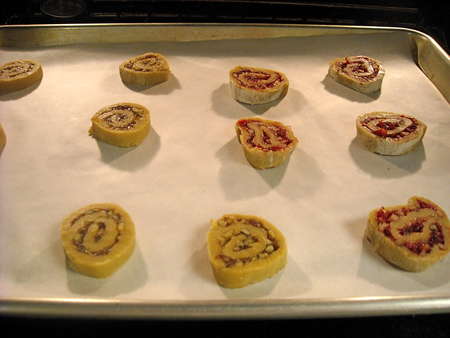
and place on parchment-lined baking sheets, about 2 inches apart.
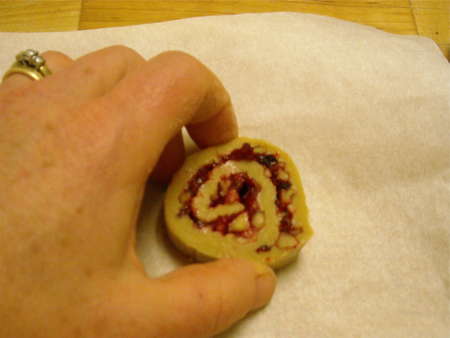
Here’s a hint for cutting: to keep the cookies round, give the roll of dough a quarter turn after each slice. That way the pressure of the knife won’t press the cookie down each time. If the dough gets too soft or you forget to turn the roll, you may end up with a slice that looks like this:
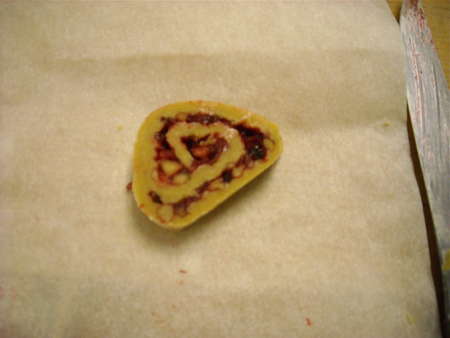
No worries. Just put it on the baking sheet and give it a gentle squeeze back into a round shape. The dough is pretty forgiving that way.
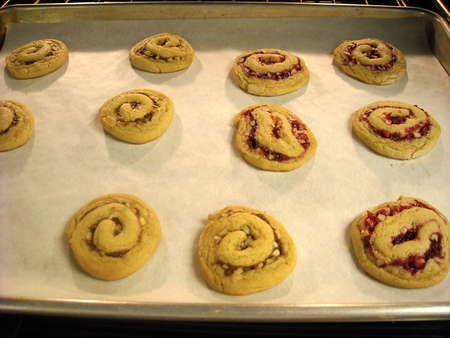
Bake for 8 to 10 minutes, until they look like this.
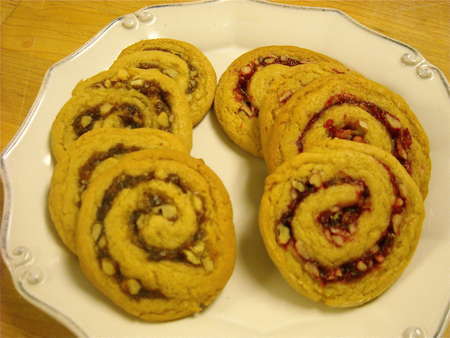
Let them rest on the cookie sheet for a few minutes before transferring them to a rack to cool. Don’t they look gorgeous? They taste even better.
Please read, rate, and tell us what you think of our Date Pinwheels (and their cranberry cousins) here.