-
To make the cake: Preheat the oven to 350°F. Lightly grease the bottom (but not the sides) of a 9” x 13” cake pan.
-
In a large bowl or the bowl of your stand mixer, beat together the oil, eggs, and milk until frothy.
-
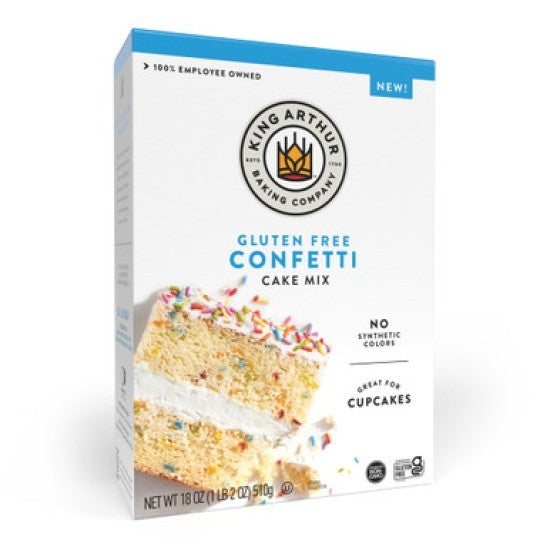
Add the mix and beat on medium speed until the batter is thick, smooth, and lightened in color, about 1 minute, scraping the bowl as needed. Pour the batter into the prepared pan.
-
Bake the cake until a toothpick inserted into the center comes out clean, 26 to 28 minutes.
-
Remove the cake from the oven and allow it to cool completely.
-
To make the frosting: In a large bowl or the bowl of your stand mixer, beat all the ingredients together until smooth and fluffy.
-
To assemble the cake pops: In a large bowl, crumble the cooled cake — by hand or mixer — into fine crumbs.
-
Add two-thirds of the frosting (about 200g) to the crumbs and stir until totally incorporated. If necessary, add enough of the remaining frosting for the mixture to hold together when squeezed without crumbling, cracking, or sticking to your hands. Avoid adding too much frosting; the cake balls will be dense and heavy and may not stay on the sticks when you dip them.
-
Roll heaping tablespoons of the cake-frosting mixture into firm balls and place them on a parchment-lined baking sheet.
-
Cover the cake balls and refrigerate until firm, about 2 hours; overnight is fine.
-
To make the coating: Melt the white chocolate in a deep, heat-safe bowl or glass measuring cup. Do this over a pan of gently simmering water or in the microwave in short, 20- to 30-second increments.
-
Dip a lollipop stick into the melted chocolate and place in the center of a cake ball, pressing about three-fourths of the way through. Repeat with the remaining sticks and cake balls.
-
Return the cake pops to the refrigerator until the chocolate is set around the stick, 10 to 15 minutes.
-
Remove about 10 to 15 cake balls from the refrigerator, keeping the remainder in the fridge. Dip the cake pops in the melted chocolate until completely coated. Shake off excess chocolate and place on a parchment-lined baking sheet.
-
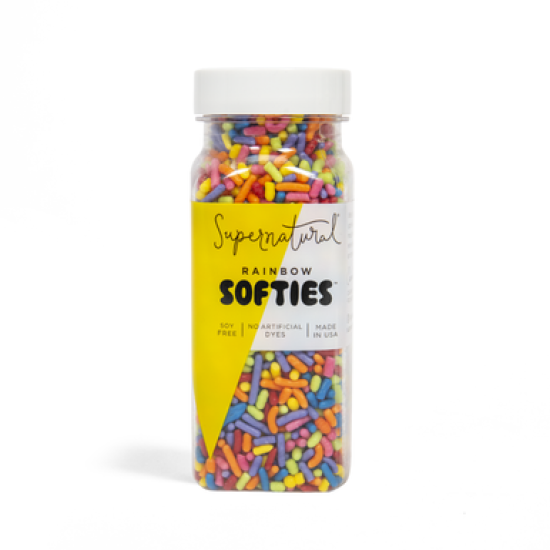
Immediately add the sprinkles, before the chocolate starts to set.
-
Repeat this dipping and decorating process with the remaining cake pops.
-
Allow the cake pops to set completely at room temperature before serving.
-
Storage information: Coated and decorated cake pops can be stored in an airtight container at room temperature for a couple of days; in the refrigerator for a week, or in the freezer for up to three months. Defrost the cake pops completely before serving.