


Pie Baking Guide
Chapter 3: Bake1. Trim the top crust
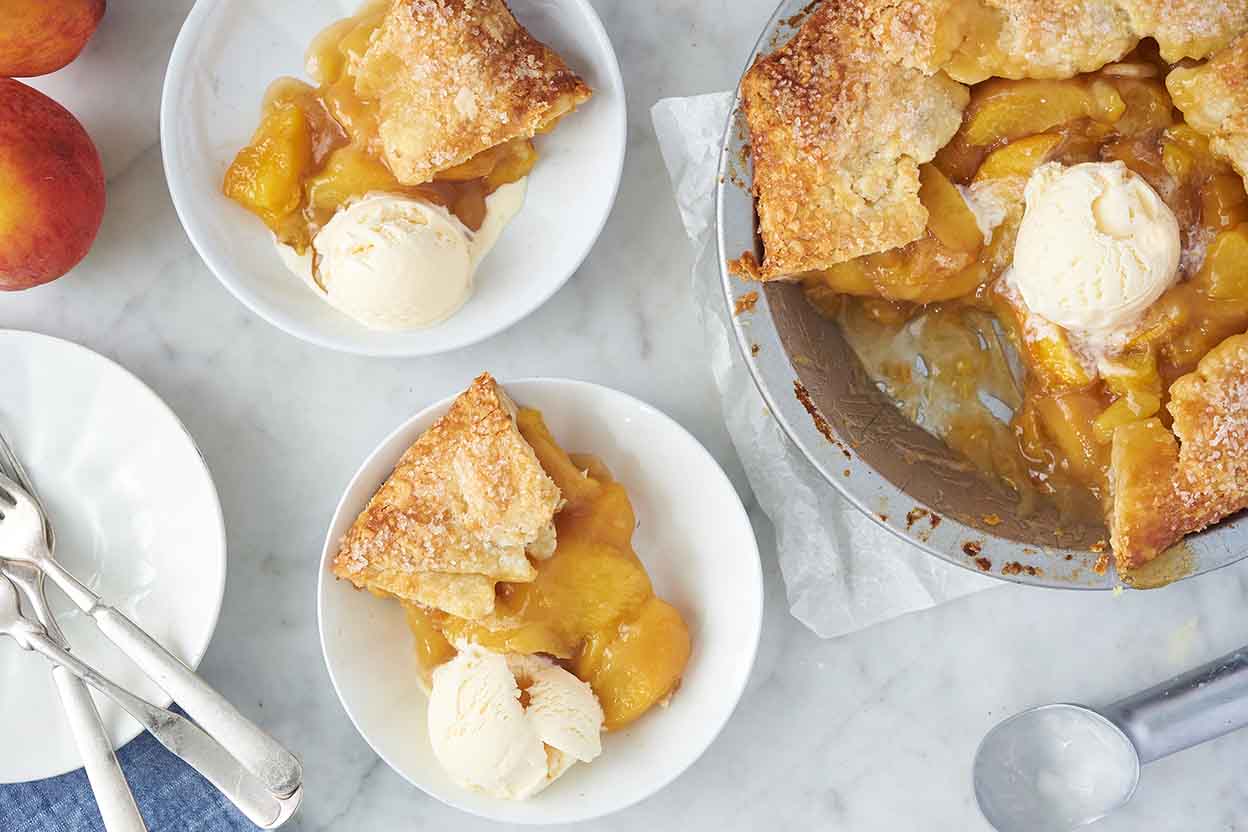
For our Double Pie Crust, use a pair of scissors to trim the bottom crust to within 1/2” of the rim of the pan. Once you've added the peach filling, roll the top crust into a 12” round, and center it atop the peaches.

2. Crimp
Bring the top crust down and over the edge of the bottom crust, pressing the two together to make a ridge of dough all around the inside rim of the pan. Using the tines of a fork, gently press the crust down onto the pan’s rim all the way around the circumference of the pie. Or make a taller “finger crimp”: Using the pointer finger of one hand on one side of the ridge of dough, and the thumb and pointer finger of the other hand on the other side, press to make even indentations along the entire edge of the pie crust.
Tip: At this point, it helps to return the pie to the refrigerator for 20 to 30 minutes; this chills the fat, which ultimately increases the crust's flakiness and helps the crimp hold its shape.
3. Garnish and vent
Garnish the pie, if desired, by brushing with milk or water and sprinkling with coarse sparkling sugar. Vent the pie by making a series of 3" to 4" parallel cuts in the top crust; feel free to do something more decorative if you like.

4. Bake
Preheat your oven to 425°F. Place the pie on a parchment-lined baking sheet (to catch any drips), and put the pie and baking sheet onto the lowest rack of your oven. Bake the pie for 20 minutes, then lower the temperature to 350°F and bake for an additional 60 minutes, until the filling is bubbly and the crust is golden brown. Check the pie with about 15 minutes left; if it’s already perfectly browned, tent it with aluminum foil for the remaining baking time.

Tip: Why the initial high oven temperature? Pie crust gains its flaky texture from the fat in the dough melting and producing steam — which happens most quickly and effectively at a higher temperature. Reducing the oven temperature after about 15 minutes allows the pie to bake fully without danger of burning. However, if the edge of the crust looks like it's browning too quickly towards the end of the bake, cover it with a pie shield or strips of aluminum foil.
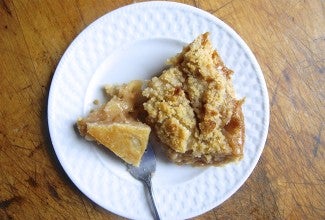
5. Cool and enjoy!
Remove the pie from the oven, and set it on a rack to cool. The filling will be quite liquid at first, but will set as the pie rests. If you want the pie to slice cleanly, without oozing filling, allow it to cool completely before serving; this will take at least a couple of hours. To serve warm rather than at room temperature, reheat your cooled pie, tented with aluminum foil, for about 20 minutes in a 350°F oven.

Tip: What’s the best way to tell if your pie is done? For fruit pie, the top crust will be golden brown, and you’ll be able to see filling bubbling around the edges and/or through the vents. For best results, let the filling bubble for at least 5 minutes before removing the pie from the oven.
Our favorite pie fillings


Perfect your technique


What's in our pantry?


Next: Inspiration
Once you’ve nailed the basics, enhance your pie presentation with an expert approach to stunning top crusts.
Get started

