10 genius tips to bake Perfectly Pillowy Cinnamon Rolls
Make the most of our 2021 Recipe of the Year
Date
March 10, 2021

 We spent almost a whole year developing our 2021 Recipe of the Year, Perfectly Pillowy Cinnamon Rolls. For months on end, we baked them, baked them again, then baked them one more time, tweaking and adjusting along the way before debuting the final finished recipe that now lives on our recipe site.
That means we’ve made a lot of cinnamon rolls. Like, a lot. And almost each time we bake this recipe, we pick up a new little trick along the way. Some are kitchen shortcuts, like how to only dirty one bowl instead of two. Others are small baking techniques that help guarantee a stunning, tasty roll.
The small things we've picked up from baking these rolls so many times are the sort of tips you learn from experience, but ultimately they’re too minor to actually include in the recipe directions. So we’re offering them here, because we firmly believe in sharing all of our hard-earned baking knowledge.
Will they make or break the recipe? Of course not! The recipe is designed to succeed on its own, meaning you could disregard everything below and still bake a pan of cinnamon rolls you can be proud of. But if you’d like to make your life a little simpler or your rolls a little better, then read on.
Does anyone like extra dishes to wash? (That's a rhetorical question. We all know the answer.) Save yourself a little extra cleanup effort by melting the butter for the cinnamon roll filling in the same bowl you mix it with the rest of the filling ingredients. No need to dirty two bowls when you can easily accomplish everything in one.
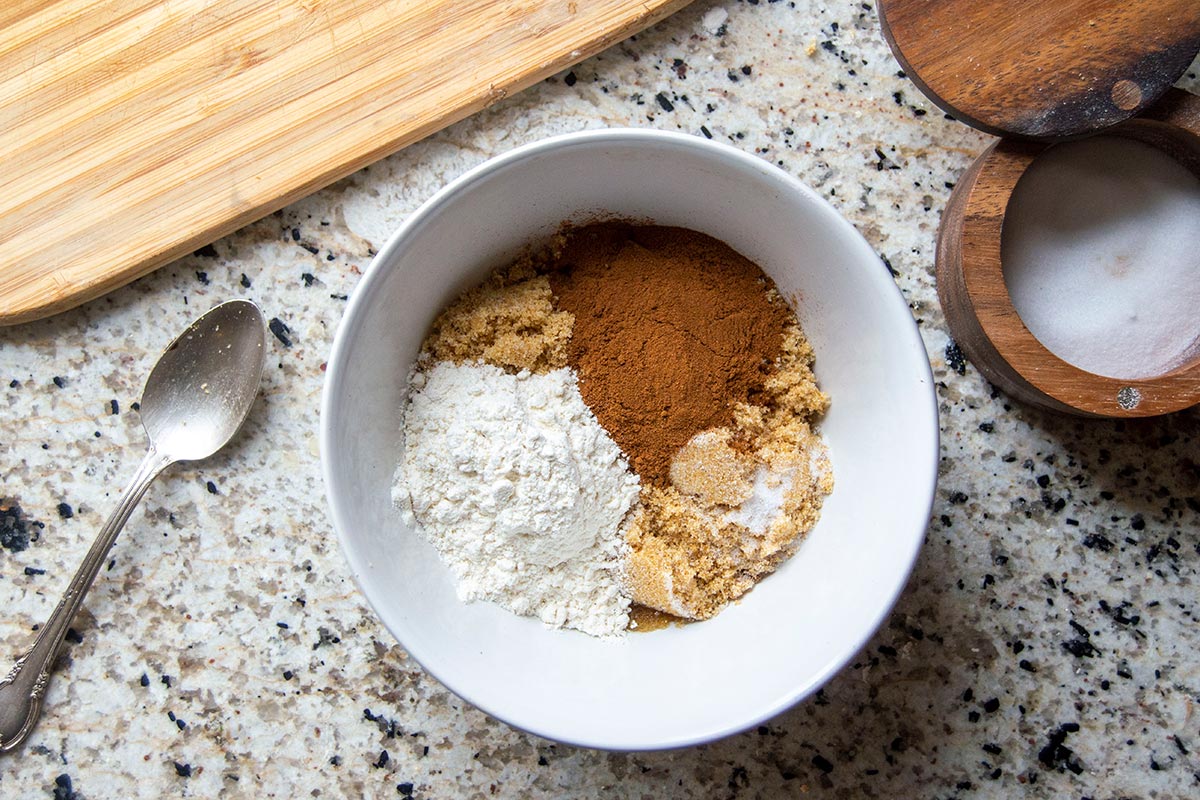
Of course, this assumes you’re using a microwave to melt the butter. Since it’s only 1 tablespoon, we definitely recommend going that route. But this tip also applies if you’re melting the butter on the stovetop. Use a medium-sized saucepan, then add all the filling ingredients right to the pan once the butter is melted.
Cinnamon rolls are one of those baked goods in which rolling the dough into a rectangle means actually rolling into a rectangle. Having an even shape and sharp corners ensures the rolled log of dough will be the same thickness across its entire length, and therefore that all of your rolls are the same size.
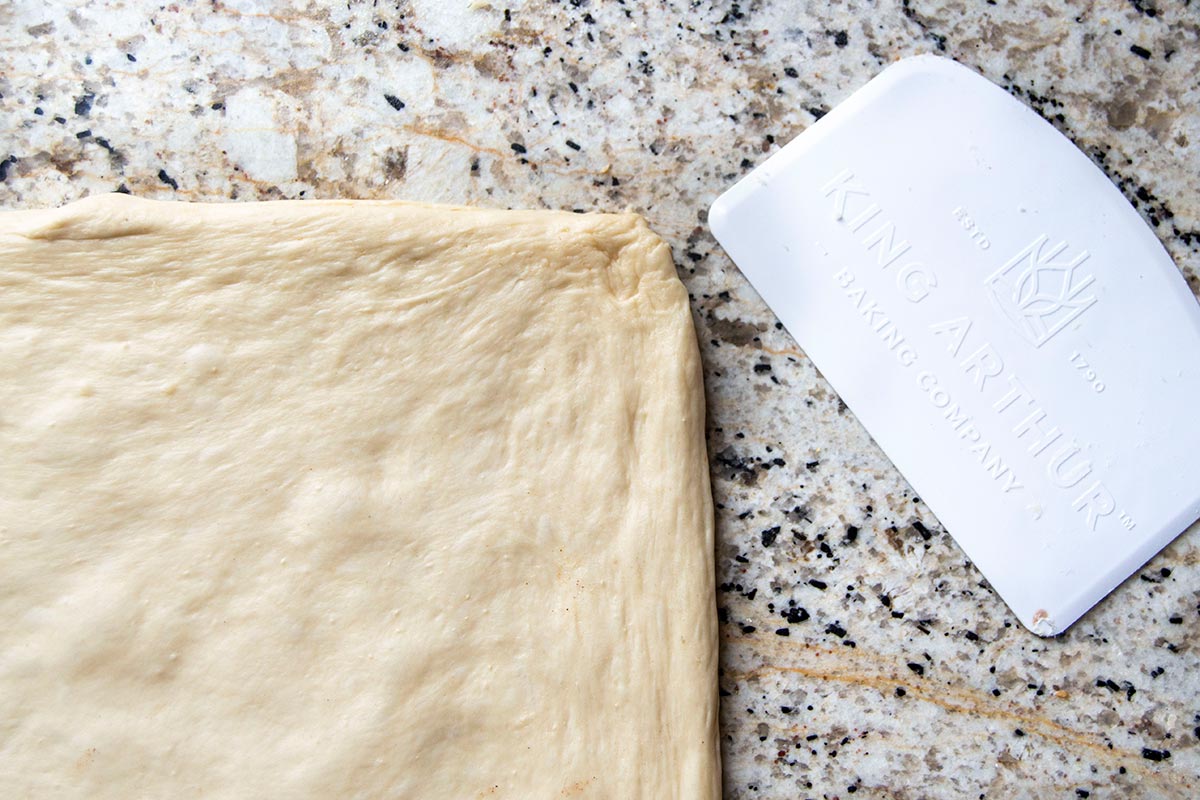
We’ve found the best way to get sharp, even corners is to use a bench knife to shape the rolled dough. Alternately, a bowl scraper is a great tool as well if you don't have a bench knife. Use the straight edge to trim and adjust the sides and corners of the dough as needed until you’ve got a snazzy looking rectangle.
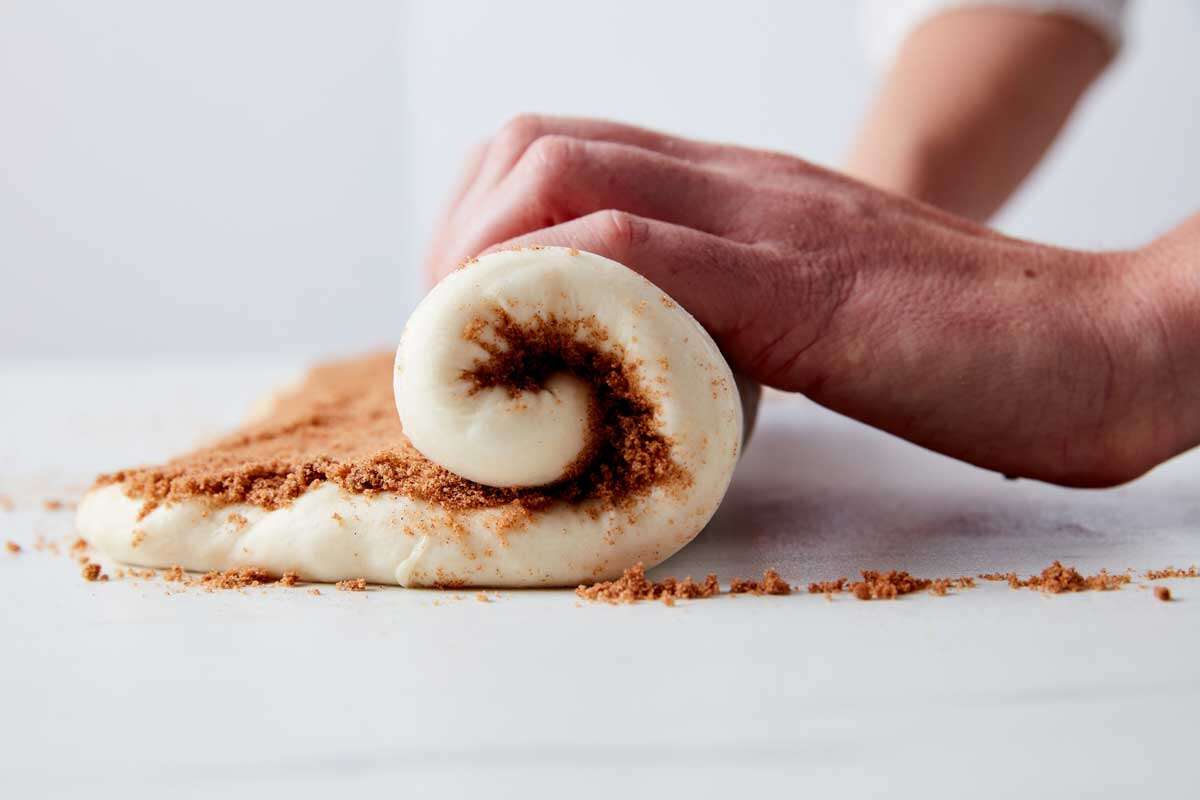
When it comes time to roll the dough into a spiraled log, be careful not to roll too tightly. Doing so can force out the filling, as well as make the centers of the rolls pop up (leading to still delicious but less aesthetically pleasing cone-shaped rolls). It also ensures the rolls proof properly (they have enough room to expand!) and bake evenly, all the way through to the center.
One more thing to note here: some folks have mentioned concern about the filling spilling out. Not only will rolling the dough less tightly help with this problem, but we also advise taking care while moving cinnamon rolls onto the baking sheet (a little obvious, but worth watching out for!).
And finally, we’ll be honest that some filling spillage is unavoidable. Roll the dough on parchment paper for easy cleanup, then sprinkle any spilled-out filling back atop the rolls. And rest assured there's plenty of filling in this recipe; so if some does spill, your rolls will still have a ton inside.
In order to prevent the rolls from unfurling while baking on the sheet pan, our recipe directions advise you to tuck the ends of the spirals beneath the rolls so that they’re held in place while proofing and baking. (See Step 14 of the recipe to check out what this tail-tucking motion looks like in action.)
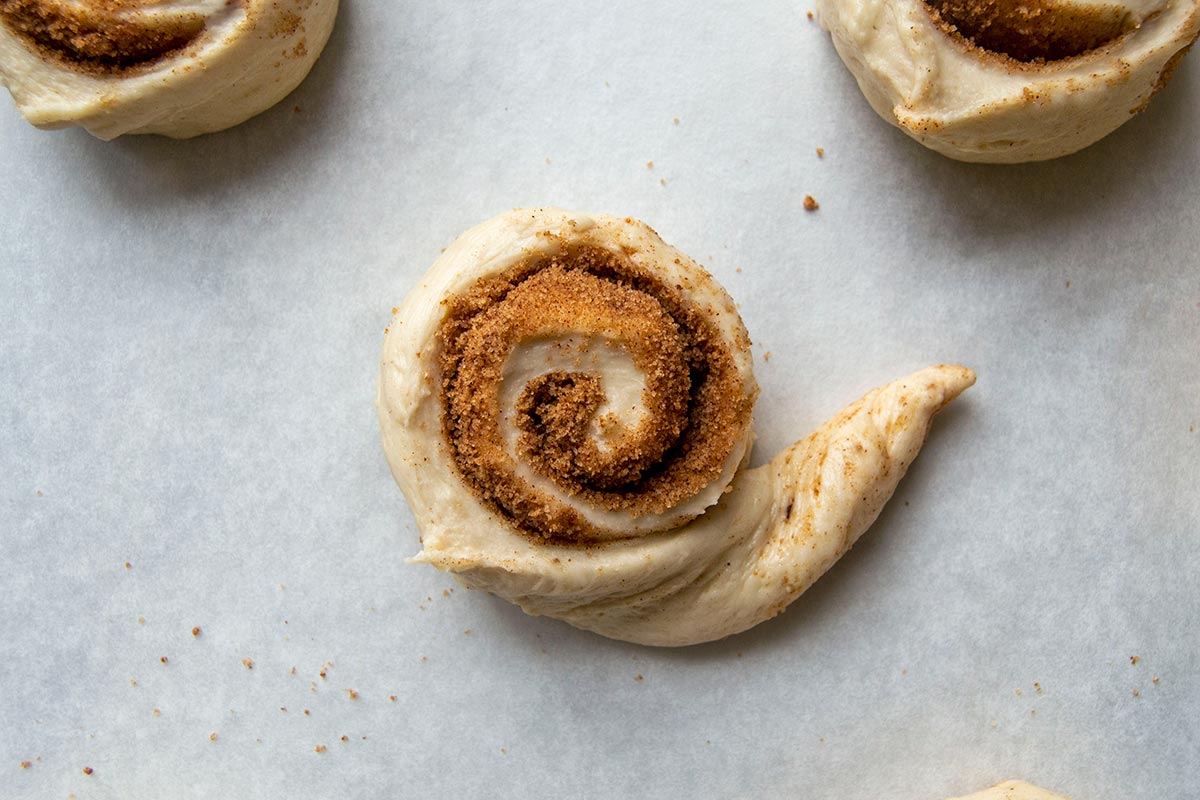
You can make this step even more effective by tapering the tail end of the dough before you tuck it. This helps your rolls stay flat and even, as well as keeps the tail more snugly in place.
Once you’ve cut your rolls (using dental floss — a tip so genius it had to make it into the written recipe) and placed them on a baking sheet to proof, you’ll need to cover them to keep them from drying out. You could keep tearing off a piece of plastic wrap each time; alternately, you could skip the plastic and go with a reusable half-sheet pan cover instead.
Rigid plastic covers are relatively inexpensive and available to purchase online. If you do a lot of baking, they’re an invaluable way to reduce waste and effort in the kitchen.
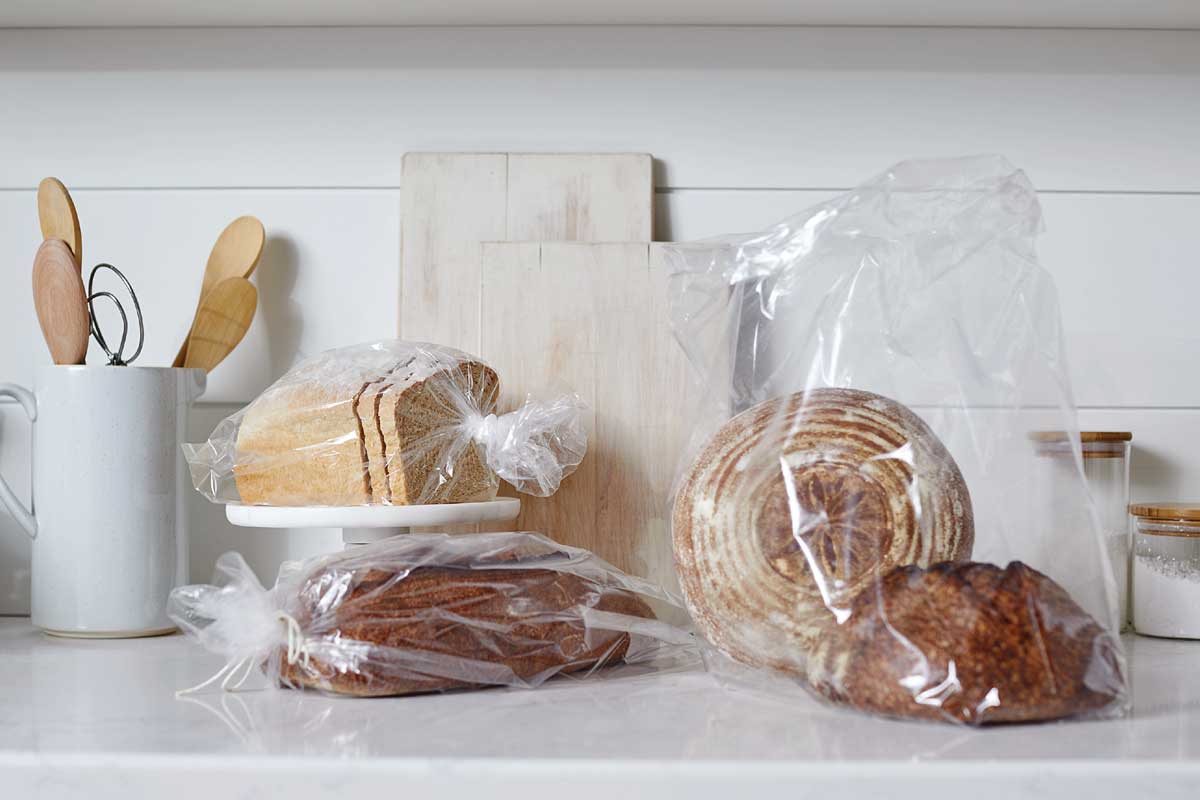
If you still want to reduce plastic wrap waste but aren’t ready for a reusable cover, you can also try repurposing an empty bread bag. Cut the bag along a seam to make a flat rectangle, lightly grease one side, and carefully drape it atop the rising rolls. Not only is it an effective alternative, but also a good way to reuse materials you might otherwise throw away.
If you're staying with the plastic to cover the proofing rolls, we've still got a tip for you. Try sticking toothpicks into the center of the rolls placed on the baking sheet so you can drape plastic wrap on top without it touching as they rise. This step will prevent any dough or filling from accidentally sticking to the plastic, which can lead to some unsightly tearing if you’re not careful.
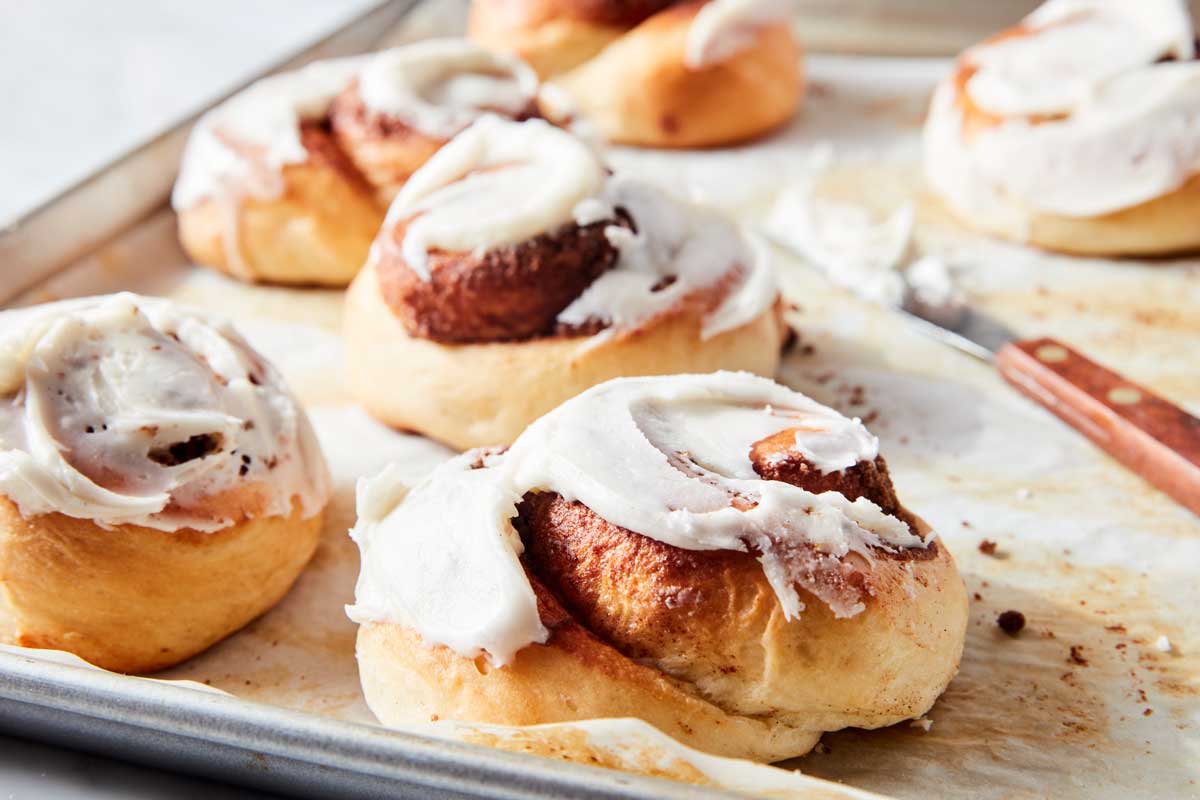
These rolls can be very fragile when they first emerge from the oven. That’s partly because they’re only baked just enough to set, so that they remain plush and pillowy without losing any additional moisture from overbaking. So to avoid any inadvertent smooshing due to their fragile state, let them cool on the baking sheet for at least 10 minutes before handling.
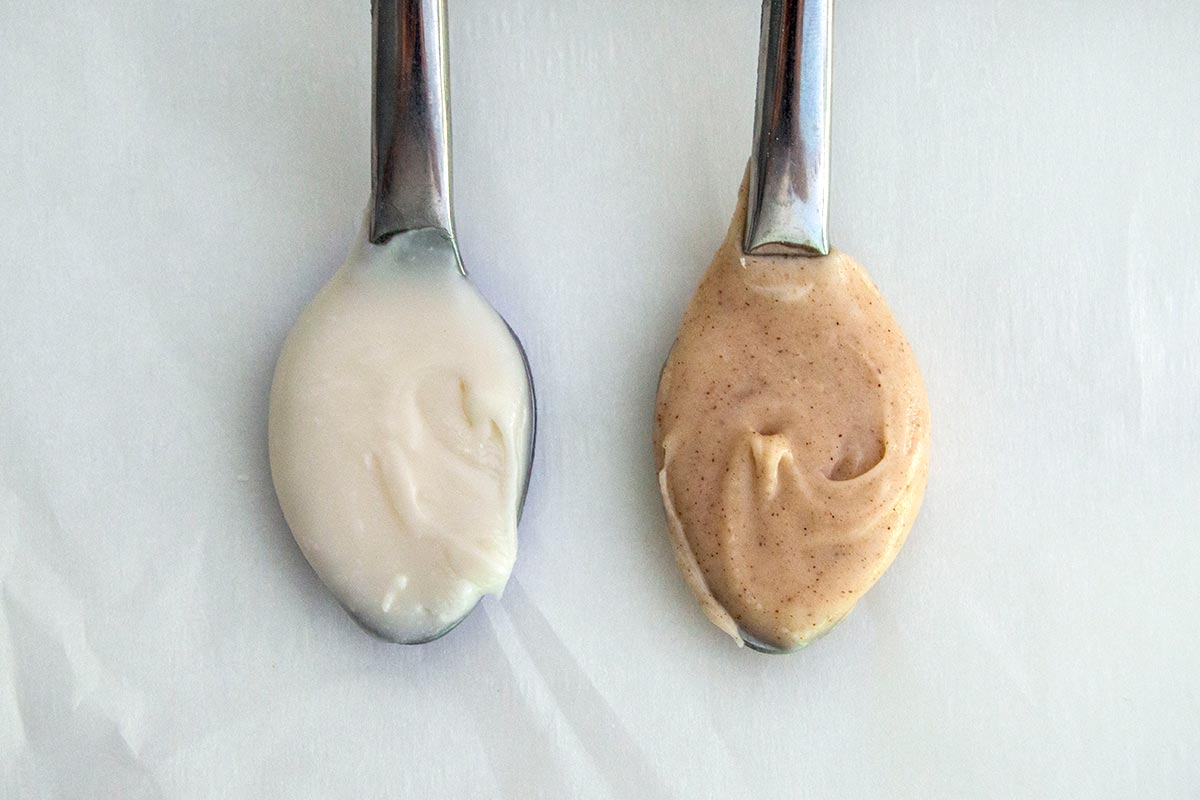
The robust cinnamon filling is one of the sneaky best parts of these rolls. If you really can’t get enough of that cinnamon spice, try adding a hint of cinnamon to the icing as well. It’ll add a whole other dimension to these rolls' flavor (and some nice color too). Stronger cinnamons, like Vietnamese, offer a particularly bold taste.
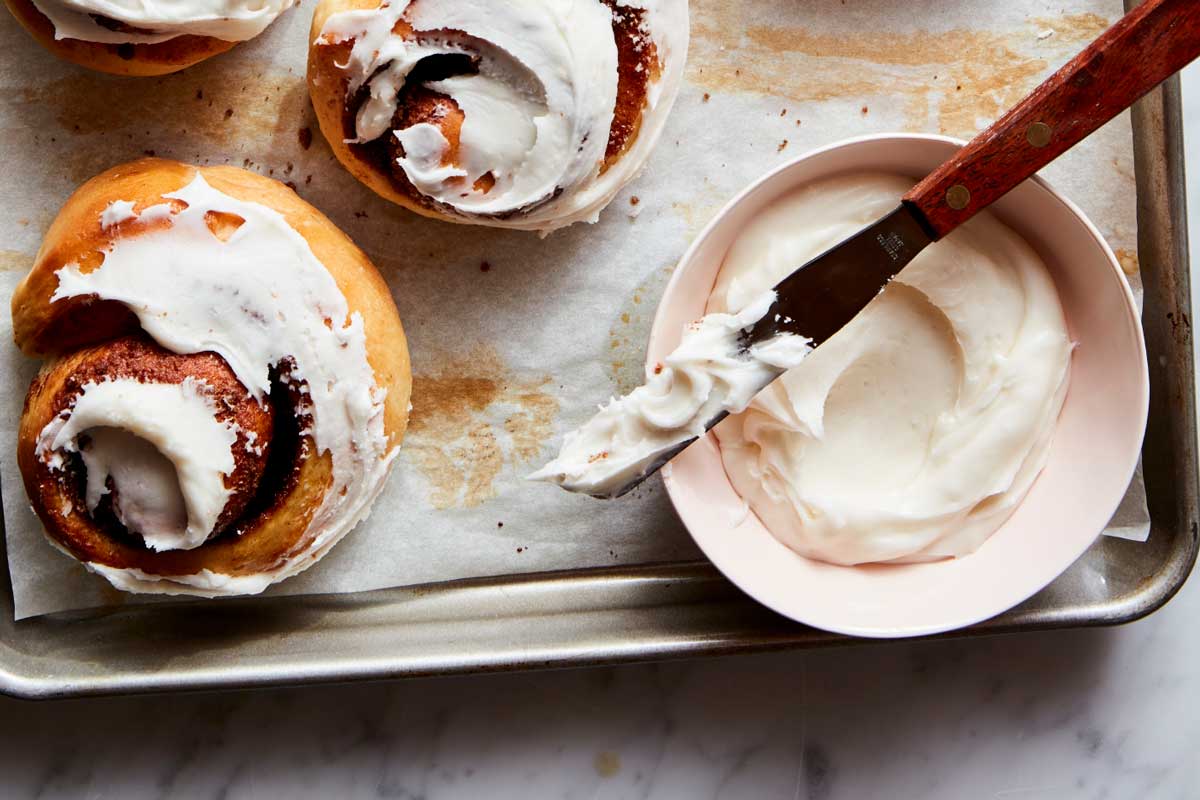
If you’re planning to ice your rolls the next day — say, for instance, you baked them the evening ahead of serving for breakfast the following morning — you can store your icing at room temperature. This makes the icing easy to use immediately, without having to wait for it to soften after coming out of the fridge.
Additionally, don’t simply cover the icing bowl with plastic wrap. Instead, press the plastic against the icing itself, so that it touches the entire surface. This prevents the icing from becoming hard or crusty on top from the sugar.
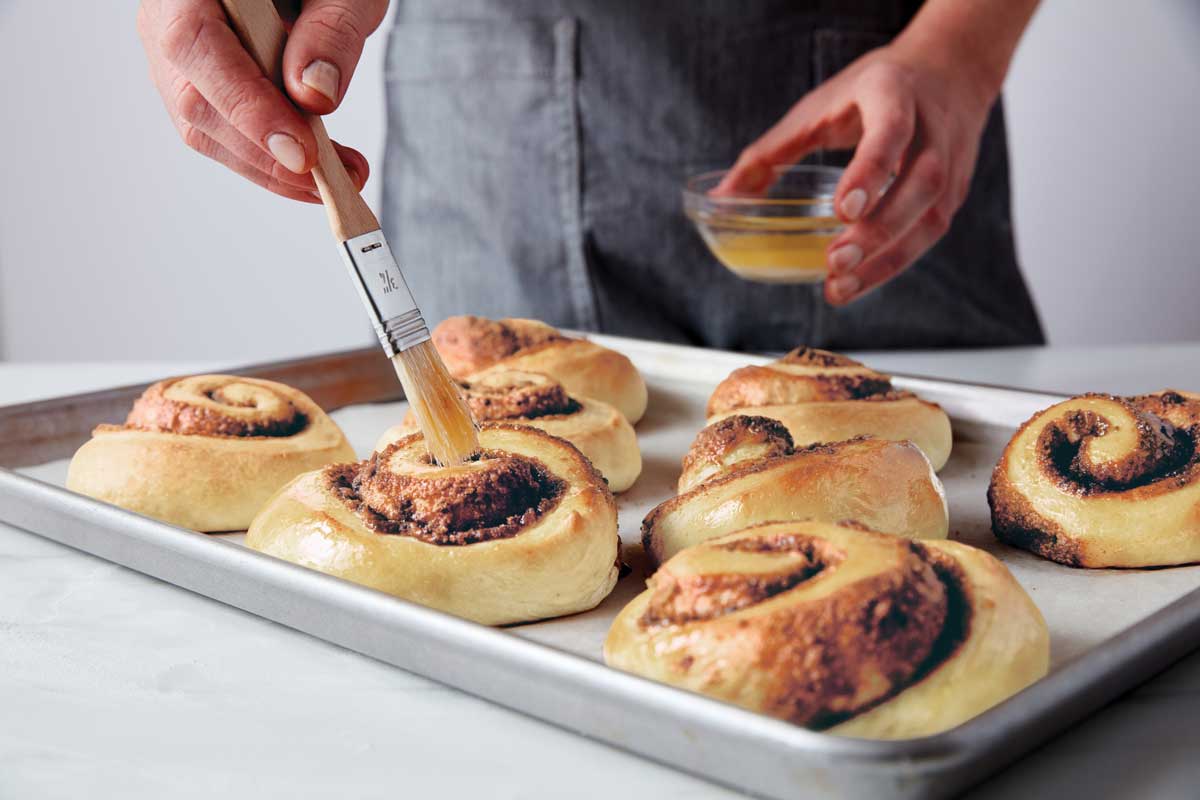
While we’re at it, don’t just store the icing at room temperature — store your rolls there, too! (Just remember to wrap or cover tightly.) For one, you don’t need to worry about them growing hard or stale from being left out. Thanks to the tangzhong method and the melted butter brushed onto the rolls just after baking, they stay soft and fluffy for days on the counter.
In addition, yeast breads actually grow stale much more quickly when stored in the fridge, meaning the rolls will become dry and hard if stashed there. (We recommend not storing any yeasted breads in the fridge if you can avoid it!) So keep them out of the cold and be rewarded with a long shelf life.
The problem with most cinnamon rolls is that they become dry and stale before you have time to eat them all. If anything, it's a problem to have too many of them.
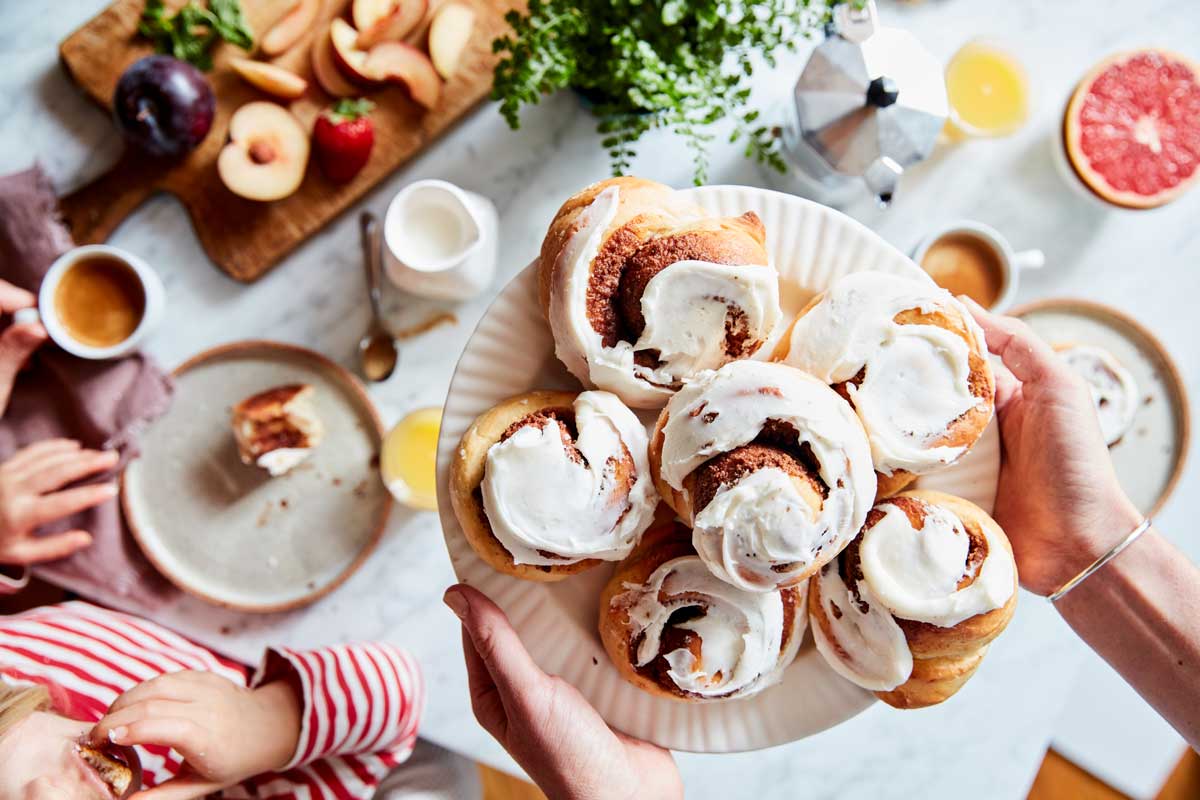
Not with this recipe though! Because Perfectly Pillowy Cinnamon Rolls stay soft for days on end, you can double your batch for a total of 16 satisfying cinnamon rolls to last all week. There will be plenty to go around for large families or extra-hungry mouths. To do so, double the recipe (everything from tangzhong to icing) and bake on two baking sheets instead of cramming onto one; this ensures your rolls have enough room to bake without touching each other.
Whether you're baking Perfectly Pillowy Cinnamon Rolls for the first time or the fifteenth, we hope these tips and tricks will help you get the most out of this recipe (and maybe save you a little time and effort in the process).
If you have more questions about these plush rolls, you can always reach out to our Baker's Hotline, where our knowledgable bakers are happy to help. And if you have your own genius tips you've picked up while baking this recipe, we'd love to hear them! Let us know in the comments, below.
Cover photo by Kristin Teig