


From neglected starter, a wonderful loaf of bread
Forget and forgive

Date
April 9, 2009

Remember last September, when you and I got hooked on sourdough and made sourdough bread, and sourdough waffles, and sourdough chocolate cake?
Have you become a regular sourdough baker since then? Or, like me, did you stash your starter in the back of the fridge and just... forget about it?
I didn't totally neglect my starter. I did, in fact, feed it—once, in the past 6 months. So when I decided to make sourdough bread again recently, I feared what might greet me when I pried the lid off my sourdough crock and looked inside.
In fact, my imagination was worse than the reality. While covered with a fairly deep layer of dark liquid, the aroma that met my hesitant nose was clean, fresh, and sharp: a head-clearing whiff of alcohol and vinegar, not at all musty or “off.”
I breathed a sigh of relief and, feeling like a neglectful mother, drained off most of the liquid, and fed my starter. It took awhile, but it bounced back just fine. Witness the loaves of bread pictured above.
Would this extra-old sourdough make extra-sour bread? No, not on its own. But for those of you who crave a REALLY sour sourdough bread, read on. We've got a secret ingredient that'll make your lips pucker and your ears ache.
Read our recipe for Extra-Tangy Sourdough Bread as you follow along with these pictures.
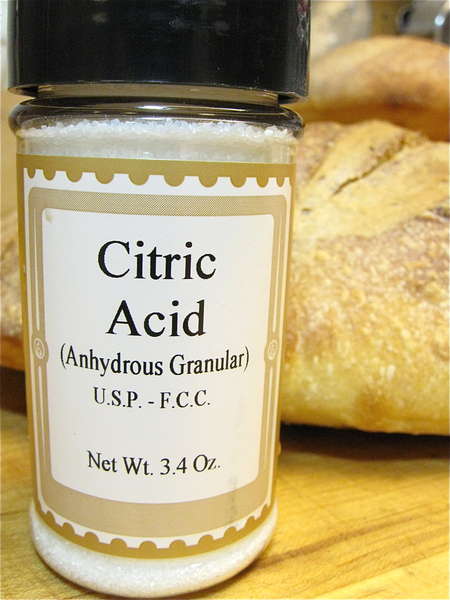
Many of you write that you're unable to make your sourdough bread sour enough. Sourdough purists will scoff at this, but... for those of you who like a more sour sourdough loaf, adding 1/4 teaspoon or so of this “sour salt”—citric acid—to your dough will definitely up the pucker quotient.
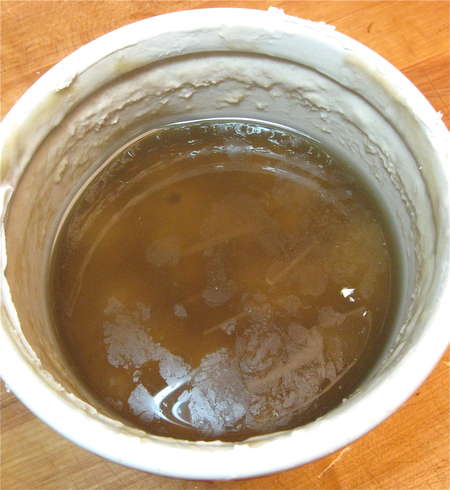
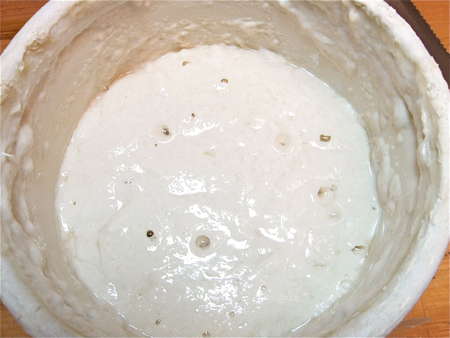
So, I hadn't used my sourdough starter for awhile... A good long while, I guess. I retrieved it from the back of the fridge, and this is what it looked like when I took off the lid. Not a pretty picture. But ickiness (as well as beauty) is only skin deep. I knew this sourdough was just fine. The key? It smelled fresh and clean: sharp, acidic, vinegar-y, but not moldy or “off.”
If this liquid had been pink, or had a pink tinge, I would have ditched the whole thing. A pink tint, and a bad smell, signal that sourdough should be discarded.
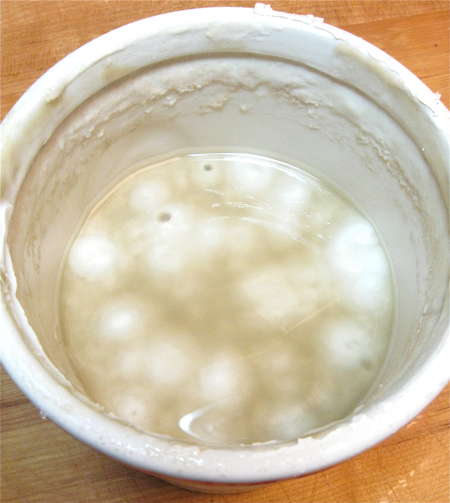
I poured off much of the liquid (alcohol and acetic acid). I could have stirred it in, but wanted to end up with a less-liquid starter.

Next, I stirred it the remaining liquid. Then I removed and discarded 1 cup of the resulting thick starter.
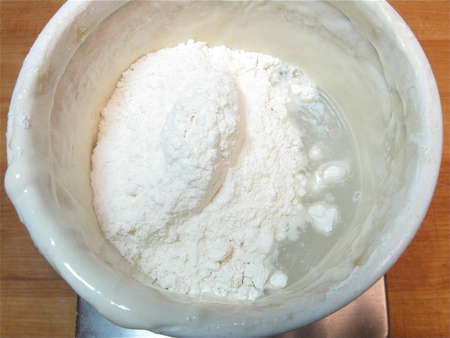
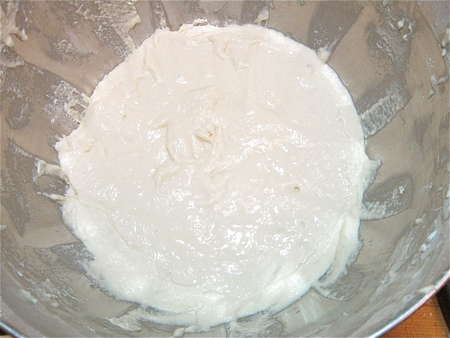
Next, the remaining starter gets a meal of 1 cup flour and 1/2 cup warm water.
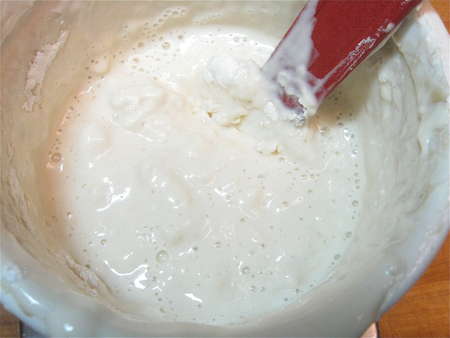
Stir everything together.
Make sure to scrape down the sides of the container as you stir.
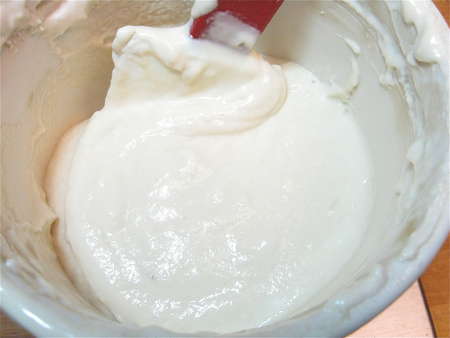
Seven hours later, my neglected starter is beginning to come to life again. So I measure out 1 cup...
...and put it into a bowl with 1 1/2 cups of water and 3 cups of flour, stirring to make a wet dough.

Four hours later, the dough is just starting to bubble. Now it's time to put it in the refrigerator. Why? Because at cool temperatures, yeast produces acetic acid rather than lactic acid. Acetic is more sour than lactic; so a rest in the fridge will increase the sourness of your sourdough bread.
Eleven hours later, I took the batter-like dough out of the fridge, added 2 cups of flour, a touch of sugar and salt, and some citric acid, just to see what difference it would make in the flavor.
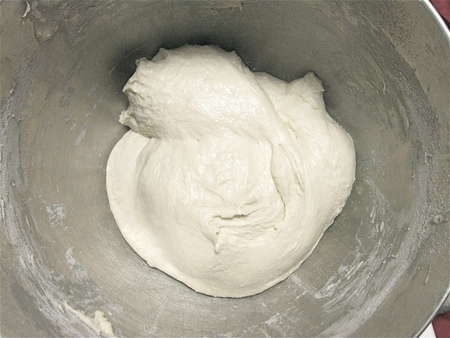
Here's the nicely kneaded dough.
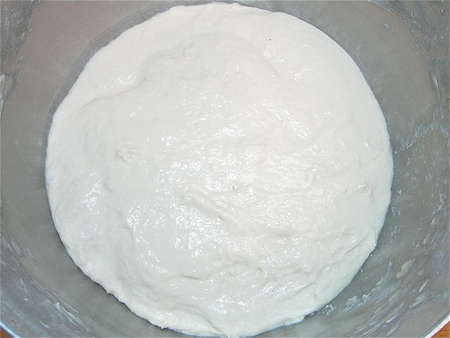
And here it is 5 hours later. It's not a voluptuous riser; remember, there's no added yeast in this bread, just what's in the starter. But the dough will definitely spread out.
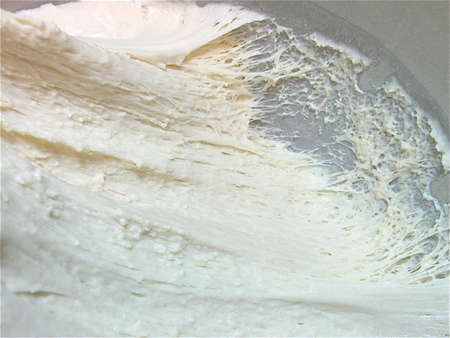
Look how nicely the gluten has developed—see those webby strands? That's gluten.

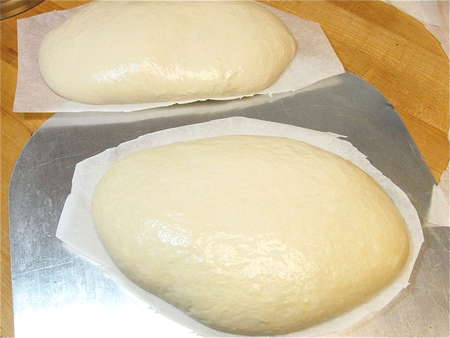
Divide the dough in half, shaping each half into an oval log on a piece of parchment. The dough is pretty sticky; I didn't spend a lot of time trying to get perfectly shaped loaf, as you can see!

Cover the rising loaves. Be imaginative; here I'm using a big roasting pan.
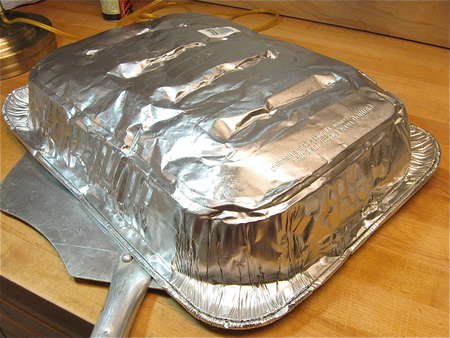
Notice I've already put the parchment with its bread on a peel; this'll make the risen loaves easier to move from the counter to my hot pizza stone.
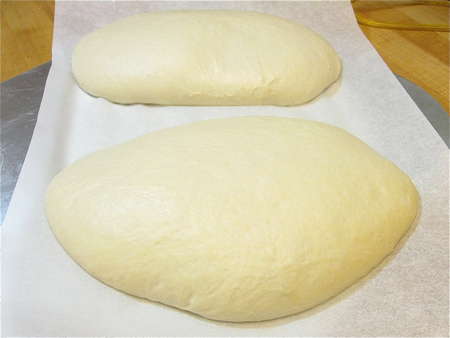
Here's the bread, nicely risen. Actually, more like spread than risen... but don't be discouraged. These loaves will pick right up when you stick them in the oven.
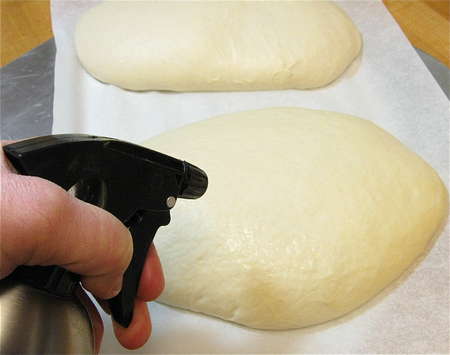
First, spray with water. This will help them rise their highest, and yield a pretty crust.
Next, trim off any excess parchment. This simply makes it easier to position the loaves, side by side, on the stone.
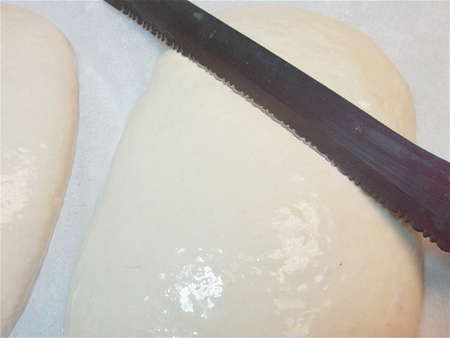
Cut several slashes atop each loaf. I like to use a serrated knife as I can never seem to find a really sharp chef's knife in the test kitchen. But if you have a really sharp knife (or a baker's lame), use that.
Be decisive, firm, and quick when you slash the bread. Like, slash slash slash! Hold your knife at a 45° angle to the bread; don't fool around trying to inch your way through it.
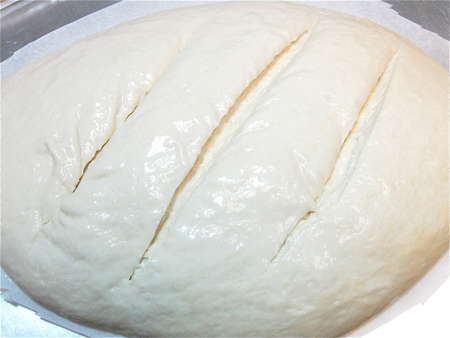
Oh, no! The bread is starting to deflate. Quick, get it into the oven!
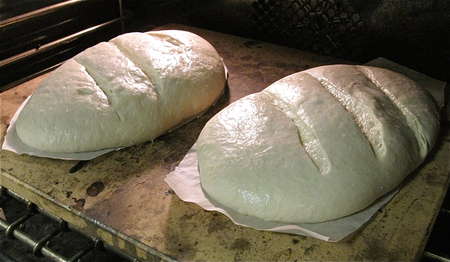
Within a minute of hitting that hot oven stone, you'll see your sagging bread perk right up. If you're not using a stone, never fear; it'll still pick up.
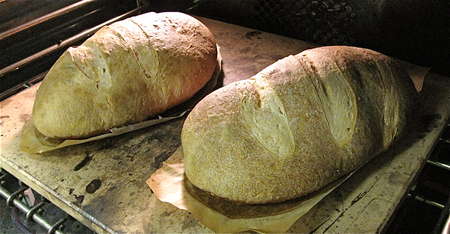
HA! Now that's a nicely risen loaf of bread.
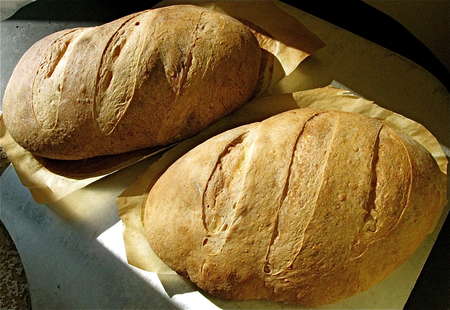
When their interior temperature registers 190°F, take them out of the oven. It was getting pretty late in the day when I finished these, as you can see by the slanting sun. I started at 7 a.m. on a Thursday, and finished about 5 p.m. on Friday.
Here's a sample schedule for you working folks to follow, to make bread on a weekend:
Friday
7 a.m. Feed starter.
6 p.m. Combine starter with 1 1/2 cups water and 3 cups flour.
10 p.m. Refrigerate.
Saturday
9 a.m. Add 2 cups flour, sugar, and salt.
2 p.m. Shape loaves.
6 p.m. Bake
6:30 p.m. Enjoy!
Now is that some good looking bread, or what? Tasty, too. I can report that the citric acid does indeed increase the sourness of the bread.
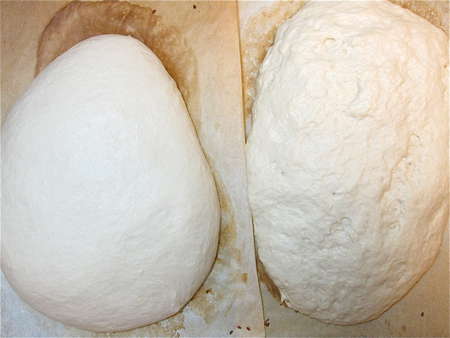
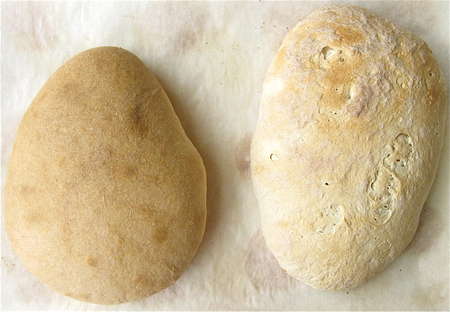
I know there are those out there who'll make this bread and ask me, “How can I make this even more sour?” So I decided to push the limits of citric acid to see how much I could add before the bread started to fall apart. A too-acidic dough affects both the bread's structure (the gluten is weakened), and its color (it won't brown well). The loaf on the left, above, has a total of 1/2 teaspoon citric acid in the full recipe; the one on the right, 1 teaspoon. Notice how the loaf on the right shows signs of shredding as it rises.
And here they are baked. The one on the left, pretty good; not as brown as the version without any citric acid, or with just 1/4 teaspoon; but acceptable. The one on the right? Uh-oh...
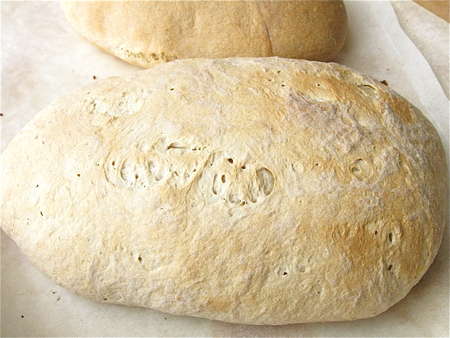
Looks kinda like the surface of the moon: pale and craggy. Not acceptable.
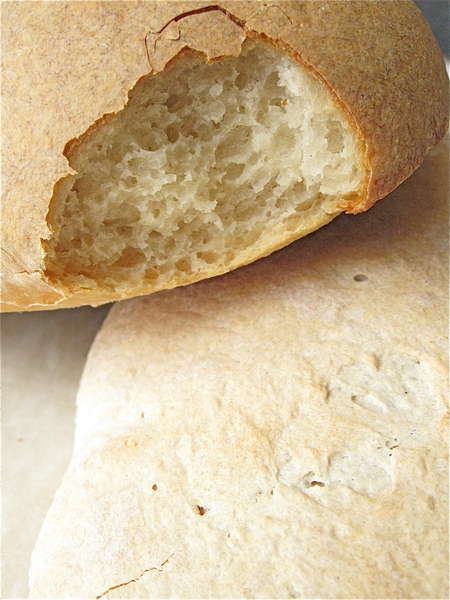
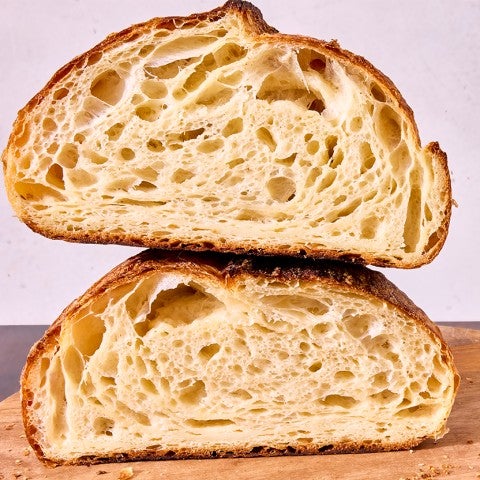
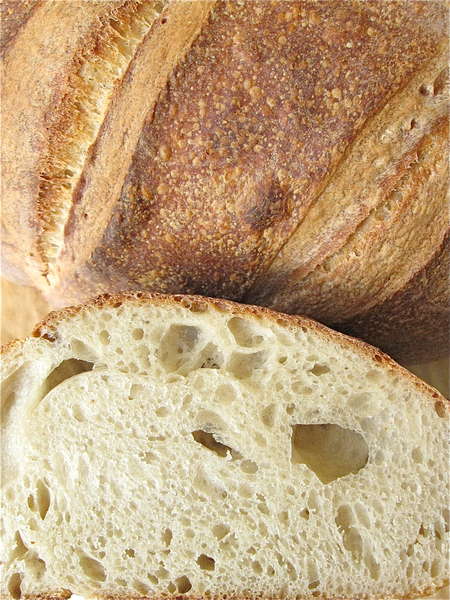
The crust of both was shattery-crunchy; not shattery in shards like baguettes, but more like thin ice: shattery with some serious body. Notice the interior texture: still good.
So go ahead and add up to maybe 3/4 teaspoon citric acid to this recipe; but understand your bread will be VERY sour, and will lose some of its good looks.
Read, rate, and review (please!) our recipe for Extra-Tangy Sourdough Bread.
New to sourdough? Find the help you need for all of your sourdough baking at our Sourdough Baking Guide.
