A luscious bagel breakfast sandwich that’s keto-friendly? Count us in! These bagels offer a delightfully crispy crust paired with a soft interior, making them the perfect choice for toasted sandwiches or simply a schmear of cream cheese. And with just 5g net carbs per bagel, your daily carb-counting will be off to a satisfying start.
Prevent your screen from going dark as you follow along.
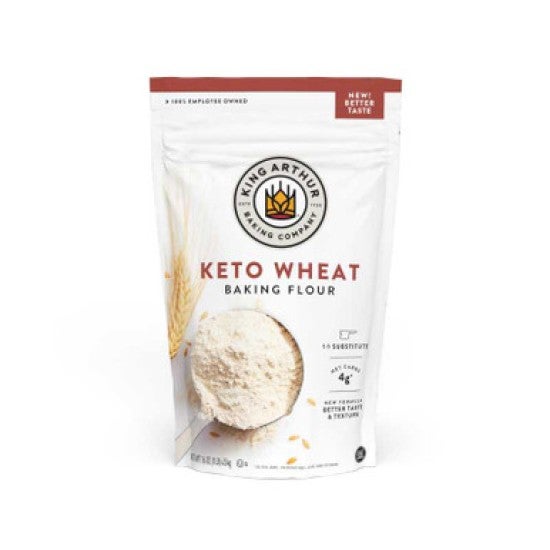
To make the dough: Weigh your flour; or measure it by gently spooning it into a cup, then sweeping off any excess.
Combine all the dough ingredients in a medium bowl or the bowl of a stand mixer. Mix and then knead the dough — by hand or with a stand mixer — until it’s smooth and bouncy; this will take 5 to 7 minutes on medium-low speed of a stand mixer and slightly longer by hand.
Place the dough in a lightly greased bowl and let it rest, covered with a reusable cover or plastic wrap, for one hour. The dough will expand, though it won’t double in bulk.
Turn the dough out onto a clean surface, deflate it, and divide it into eight equal pieces (70g each).
To preshape the dough: Working with one piece of dough at a time, fold the edges into the center. Pinch to seal and set aside. Repeat with the remaining pieces of dough.
Starting with the first piece of dough you shaped, place it seam-side down on an unfloured surface. Use your cupped fingers and palm to roll the dough into a tight ball, moving your hand in a circular motion. The dough should stick slightly to the surface in order to create tension to yield a smooth exterior. If the dough is unmanageably sticky, add a very light dusting of flour; if the dough slides around on the surface without tightening, use a damp towel to clean and moisten the surface and try again.
Once shaped into a tight ball, place the dough onto a clean surface and repeat with the remaining pieces of dough.
Cover the preshaped dough and allow it to rest for 20 minutes.
Line a baking sheet with parchment.
To shape the bagels: Working with one piece of dough at a time, use your finger to poke a hole through the center. Rotate the dough to expand the hole to 2" to 3" in diameter, pulling it to form a ring shape. The dough will be very elastic and springy, so you'll need to be firm and forceful to shape it to your will.
Place the shaped bagel onto the prepared baking sheet. The hole will close up a bit; that’s OK.
Repeat with the remaining pieces of dough. Place the bagels on the baking sheet in a 3-2-3 arrangement to allow them to fit nicely on one pan.
Cover the bagels with a reusable cover or lightly greased plastic wrap and let them rest for 10 minutes.
Uncover the bagels and, working with one at a time, reshape by stretching the dough to expand the hole in the center to about 1". Cover the bagels and let rest for 10 minutes.
While the bagels are resting, preheat the oven to 400°F.
To boil the bagels: Combine the water and baking sugar alternative in a wide, shallow pot; the water should be at least 1 1/4" deep. Bring the mixture to a boil.
Add bagels to the water two or three at a time to avoid crowding. Boil for 60 seconds, then use a slotted spoon to turn the bagels over. Boil for another 60 seconds before transferring from the water to the prepared pan. The bagels will become very wrinkly; that’s OK, they’ll smooth out as they bake.
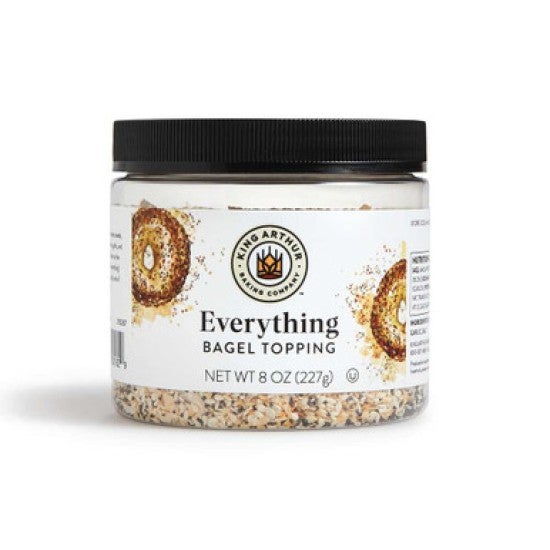
If you’re adding a topping, brush each bagel with the egg and water (egg wash) and dip into a bowl of your desired topping before replacing on the pan.
To bake the bagels: Bake the bagels until golden brown, 16 to 20 minutes. Rotate the pan (front to back, back to front) halfway through baking to ensure even browning.
Remove the bagels from the oven and transfer them to a rack to cool.
Storage information: Store leftover bagels, well wrapped, for several days at room temperature; freeze for longer storage.
Tips from our Bakers
We tested this recipe with Truvia Sweet Complete Granulated All-Purpose Stevia Leaf Sweetener. Use your sweetener of choice, substituting it according to the directions on the package.
Keep your eye on these bagels while baking or toasting; they tend to brown more quickly than your standard bagel.
Want to turn these bagels into customizable breakfast sandwiches? Make the bagels according to the recipe here, then use the filling from our Ultimate Sandwich Bagels, swapping out 1 tablespoon of King Arthur Keto Wheat Flour for the bread flour in the eggs and using almond milk or the keto-friendly milk of your choice.
While bagels will be crispy right out of the oven, their crust softens considerably overnight. These are best eaten the day they’re made, though a quick run through the toaster helps freshen them up if they’ve been around for a day or so.