Inspired by one of our favorite pull-apart breads, the Butterflake Herb Loaf, this version gets all dressed up with a simple shaping technique that looks positively elegant. Each roll is folded up as if it were a handkerchief, and then the rolls are nestled together in a loaf pan for a tear-and-share eating experience. Serve it right in the loaf pan (especially if you have a long covered baker) for an easy, impressive presentation.
Prevent your screen from going dark as you follow along.
To make the dough: In a small saucepan or microwave-safe bowl, heat the milk, butter, sugar, and salt until the butter melts. Transfer to a large mixing bowl or the bowl of your stand mixer and cool to lukewarm.
Once the milk mixture is tepid, add the eggs and yeast; mix to combine.
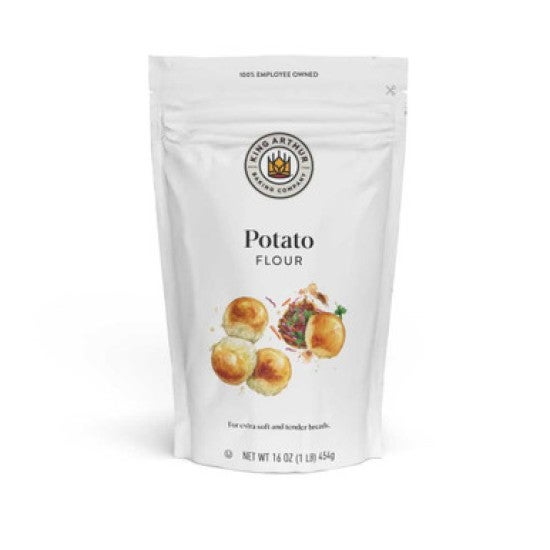
In a separate bowl, whisk together the potato flour and 3 cups (360g) of the all-purpose flour; add it to the milk mixture.
Mix and knead the dough, by hand or mixer, until a shaggy dough forms, about 6 to 8 minutes. The dough should be soft, smooth, and just a little sticky; add the remaining flour as needed.
Cover the dough and let rise for about 90 minutes, until puffy but not necessarily doubled in bulk.
To make the filling: In a small bowl, mix together the filling ingredients until smooth.
To shape the rolls: Roll the dough to a 10” x 20” rectangle with the long edge facing you. Using kitchen scissors, a bench knife, or a sharp knife, cut the rectangle in half lengthwise to make two long, thin strips.
Cut each strip of dough into 5 squares for 10 pieces total. Next, cut each square diagonally so that you have 2 triangles.
Working with one piece of dough at a time, orient the triangle so the long edge is at the top and the point faces you. Place 2 teaspoons of the filling in the center. Fold the point up to the center of the long edge so that it overhangs slightly, then fold the two “arms” (points facing left and right) towards the center so they overlap.
Repeat with the remaining triangles, arranging 14 folded-up rolls side-by-side, leaving a little space between them. Arrange the remaining 6 rolls evenly along the top.
Cover the rolls and let rise for about 90 minutes, until puffy.
Toward the end of the rising time, preheat the oven to 350°F.
Uncover the pan and bake the rolls for 42 to 47 minutes, tenting the top with foil for the last 15 to 20 minutes. Remove from the oven and brush with additional melted butter, if desired. Serve warm in the covered baker.
Storage information: Store any leftovers, well wrapped, at room temperature for several days; freeze for longer storage.
Tips from our Bakers
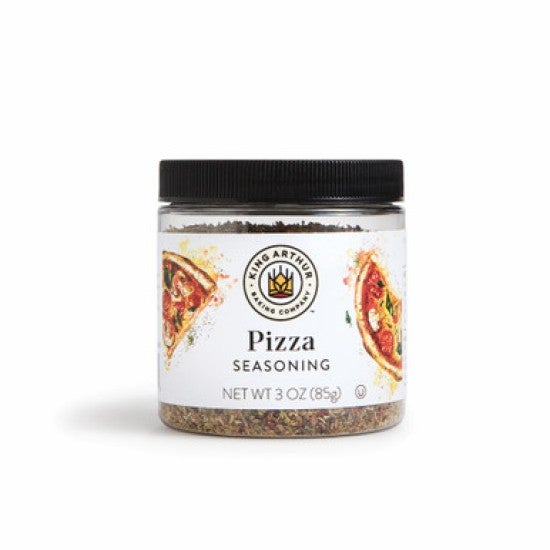
Substitute 1 tablespoon of your favorite dried herb blend in place of the Pizza Seasoning, if needed. In a pinch, you can also use 2 tablespoons of finely grated Parmesan cheese instead of the Better Cheddar Powder, though the rolls will be noticeably less cheesy.