-
To make the coating: Place the egg whites in a small bowl with a few drops of water and whisk until foamy. Set aside; you’ll be using them when you assemble the cookies.
-
To make the vanilla dough: In a medium-sized bowl, beat together the butter, sugar, and salt until thoroughly combined and lightened in color, scraping the sides and bottom of the bowl as needed.
-
Add the yolks and vanilla and mix until smooth.
-
Add the flour and mix on low speed until the mixture just comes together, scraping the bottom and sides of the bowl as needed.
-
Shape the dough into a rough square and wrap it loosely in plastic wrap. Gently smooth the surface with a rolling pin, and refrigerate until cold.
-
To make the chocolate dough: Use the same mixing bowl you used for the vanilla dough; there’s no need to clean the bowl first. Make the dough the same way you made the vanilla dough, sifting the flour and cocoa together before adding. Wrap, smooth, and refrigerate the dough until it’s thoroughly chilled.
-
To assemble the cookies: Roll each of the doughs into a rough 6" square about 1/2" thick.
-
Lightly brush the beaten egg whites on the vanilla dough square. Place the chocolate dough square on top and gently but firmly press the two together.
-
Cut the stacked dough squares in half to make two 3" x 6" strips. Brush one of the halves with some of the egg white and place the second half on top to make an alternating pattern of vanilla/chocolate/vanilla/chocolate dough.
-
Trim the edges so they’re even. Wrap the trimmings in plastic; don’t knead them together.
-
Mark the short edge of the dough at 3/8" intervals. With a sharp knife, cut the dough into 3/8" by 6" strips; you should have 8 strips.
-
Lightly brush one strip with some of the egg white, then place a second strip on top with the colors alternating. Gently press the two strips together. Repeat with an additional two strips in the same alternating fashion to make a square-edged log. Trim any excess dough from the ends and add to the wrapped trimmings.
-
Make a second log by repeating the assembly process with the remaining four strips of dough, adding any excess to the wrapped trimmings. Wrap and chill the assembled checkerboard logs.
-
Unwrap the trimmings, lightly flour a work surface, and gently knead the trimmings together just until they form a marbled pattern. Shape the dough into an even cylinder, wrap in plastic, and refrigerate.
-
While the three logs of dough are thoroughly chilling, preheat the oven to 350ºF. Lightly grease (or line with parchment) two baking sheets.
-
With a sharp, thin knife carefully cut the cookies about 1/4" thick. Place onto the prepared baking sheets, leaving about 2" between them.
-
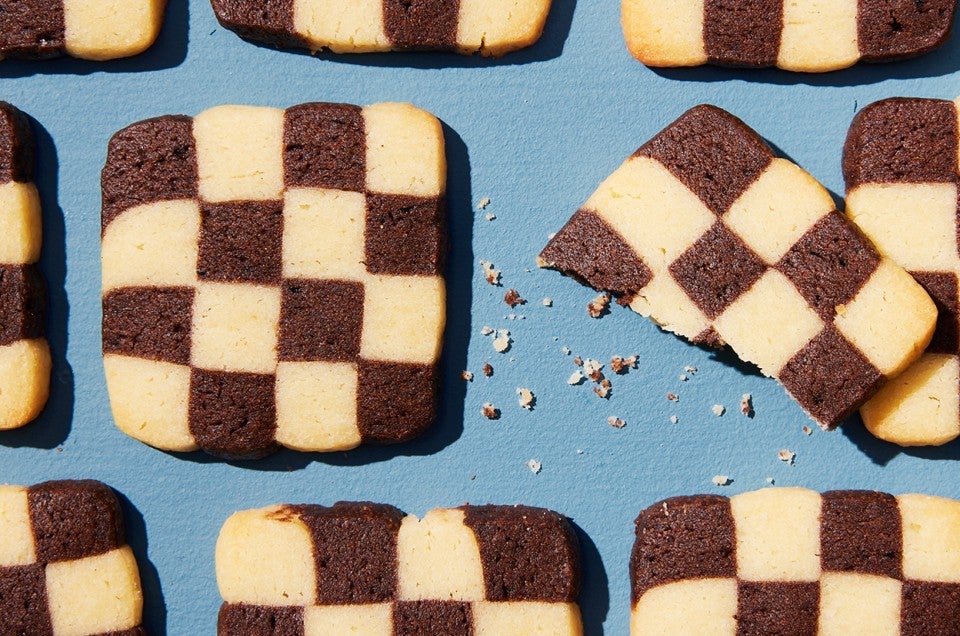
Bake the cookies for about 12 to 16 minutes, until the bottoms (looking at the vanilla dough) are a light golden brown. Remove the cookies from the oven, and transfer them to a rack to cool.
-
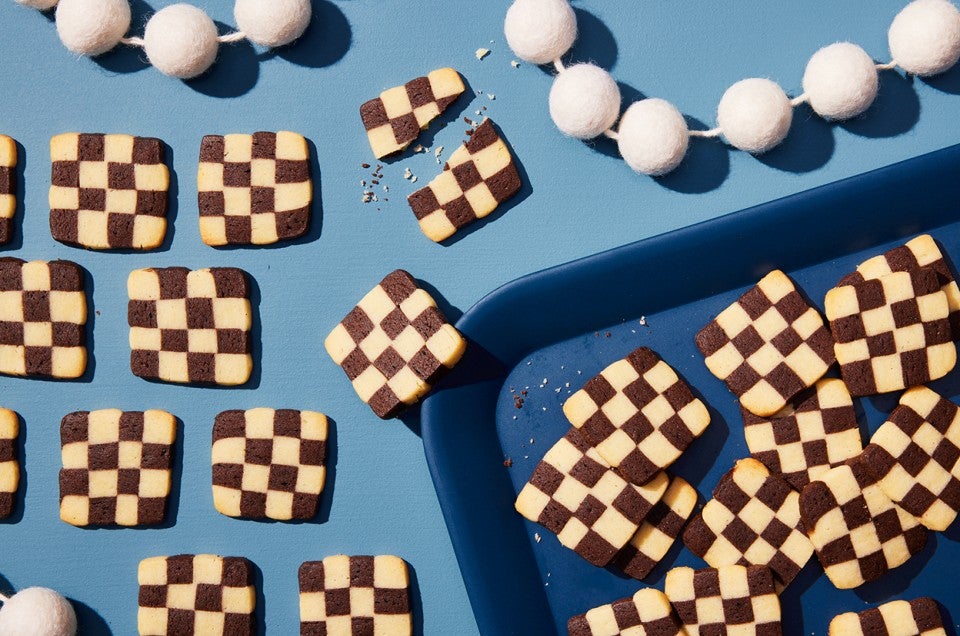
Store the checkerboard cookies, well wrapped, at room temperature for several days; freeze for longer storage.
