


We recently hosted bakery owners Andy and Jackie King at our Baking Education Center here in Norwich, VT, where they taught a delightful class in laminated dough, the multi-layered, buttery dough used for croissants and other wonderful pastries. Prior to the Kings' appearance at the education center, we asked Andy if he'd like to write a blog on the subject. Happily, he agreed – and you'll find the result below. Our thanks to Baker's Catalogue photographer John Sherman, and Eric Laurits, for the photos. Enjoy!
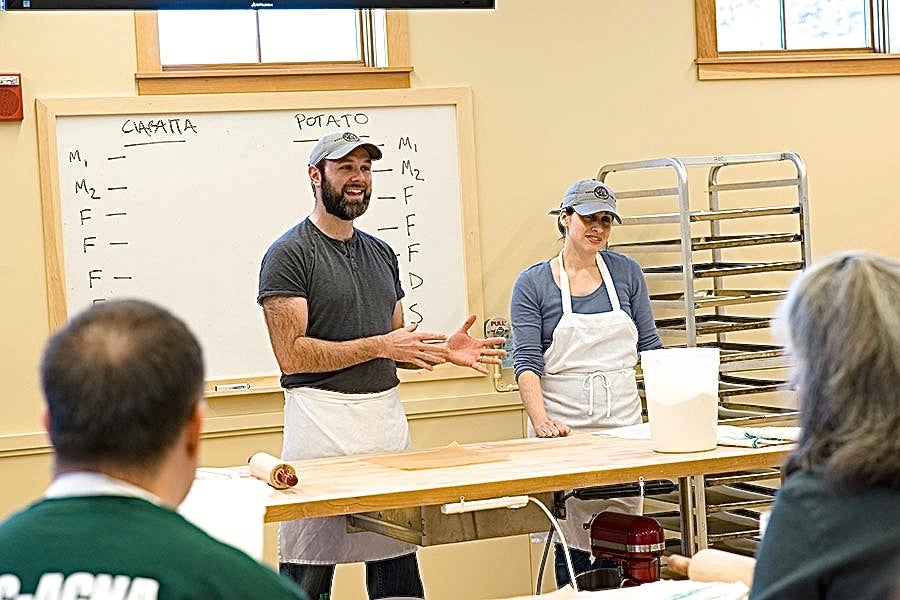
Andy King here, owner and operator (with my lovely wife, Jackie) of A&J King Artisan Bakers, in Salem MA. I’m honored to be guest-blogging here at the King Arthur Flour blog, which is one of my favorites on the Web. I’m just taking it over for this entry – your regularly scheduled bloggers will be back before you know it.

Today we’re discussing lamination, specifically, how it relates to various shapes of croissants. Once you have the process down, it’s incredibly flexible and can be applied to a number of other pastry items: sticky buns, Danish, kouign amman… even some pastry doughs and pie crusts are laminated for greater flake and tenderness.
But I’m getting ahead of myself.
If you’re like me, circa 2000 (when I was entering the food industry), you hear the word “lamination” and you think of Staples/OfficeMax: plastic-covered sheets of paper, and dry-erase markers – nothing to do with food at all.
What’s interesting is that the process of sandwiching a piece of paper in between two sheets of heated plastic is not so very different than the classic pastry process we’re going to undertake today.
But instead of the layering being plastic – paper – plastic, we’re going to take it a step more delicious and substitute this: dough – butter – dough.
See? It’s already getting more interesting.
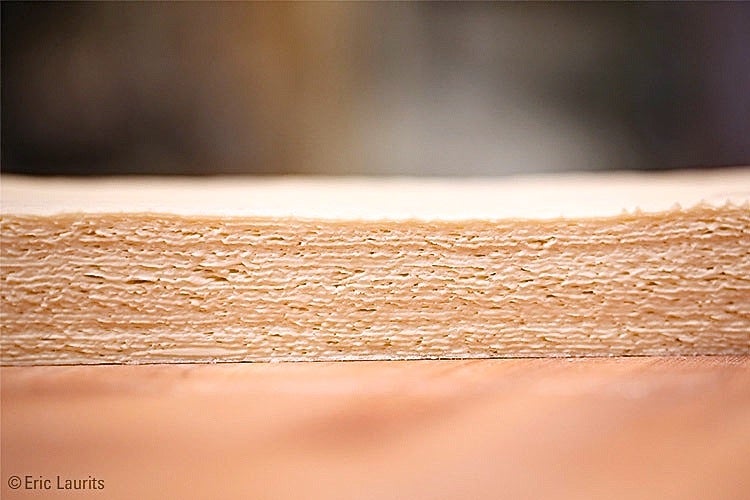
However, we’ll be taking it a step further than the office product. When we’re talking about laminating dough, we’re talking about the process of not only just making that first layer, but then folding the dough over onto itself dozens of time to create a “book” of dough that has over 80 layers of dough and butter! And we do this for one reason: To create the flakiest and most buttery pastry you can possible imagine.
Let’s get started, shall we?
I’m going to forgo the classic french terms of detrempe (the actual dough) and beurrage (the butter you fold in, sometimes mixed with a bit of flour) in favor of the terms we actually use at the bakery: “dough,” and “butter.” We’re simple folks, really.
Step 1: The Dough
Mixing croissant/lamination dough is actually one of the more simple mixing processes you can undertake. You’re looking for a lack of dough development.
You know all of the kneading you do for other doughs, to develop gluten and make a strong dough? Forget it. We’ll be folding that dough so many times in the future, we want the dough loosey-goosey.
The following ingredients will make 5 pounds of laminated dough:
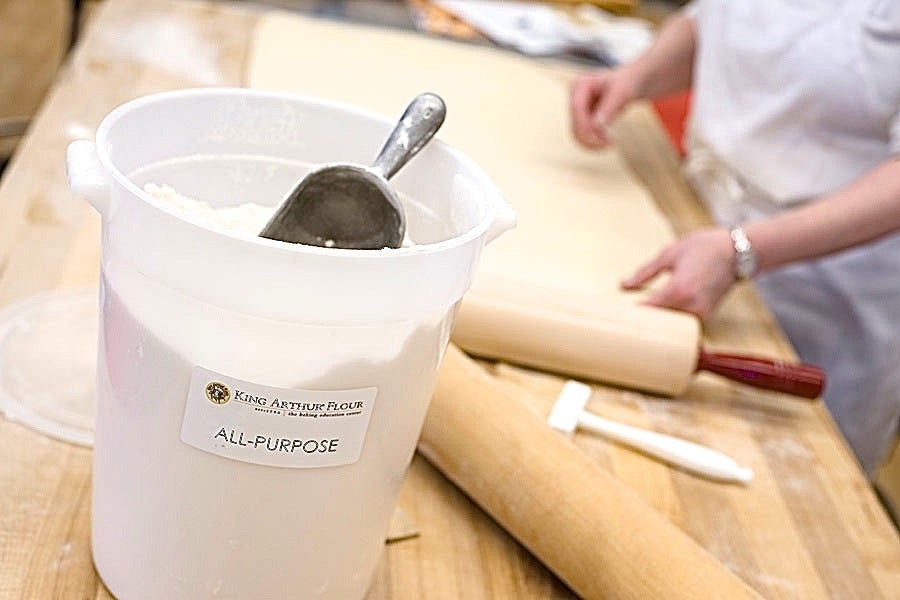
10 3/4 cups (46 ounces) King Arthur Unbleached All-Purpose Flour
9 tablespoons (1/2 cup + 1 tablespoon) sugar
5 teaspoons sea salt or 5 1/4 teaspoons table salt
1/2 cup Baker’s Special Dry Milk or 3/4 cup nonfat dry milk powder
4 teaspoons instant yeast
3 tablespoons unsalted butter, softened
3 cups + 6 tablespoons (27 ounces) water (barely warm; 95°F)
1 1/4 pounds unsalted butter, chilled to 40°F in the refrigerator
Mix all of your ingredients (except the chilled butter), preferably by hand (mixers work well too), until everything comes together into a shaggy mass. Add about 30 seconds mixing for good measure, and put the dough into a (preferably) rectangular shaped container to ferment for a couple hours in a warm spot. The rectangle helps later on when you’re making your “book” of dough with the butter.
After the 2 hours is up, or the dough has doubled in size, sprinkle it with some flour and deflate the dough with the palm of your hand. Cover tightly with a lid or plastic wrap, and put her away in a refrigerator for at least 12 (or as many as 24) hours.
Step 2: The Butter
You’re going to want to use the highest-end butter you can find for your croissants – or else, what’s the point of making insanely decadent pastry?
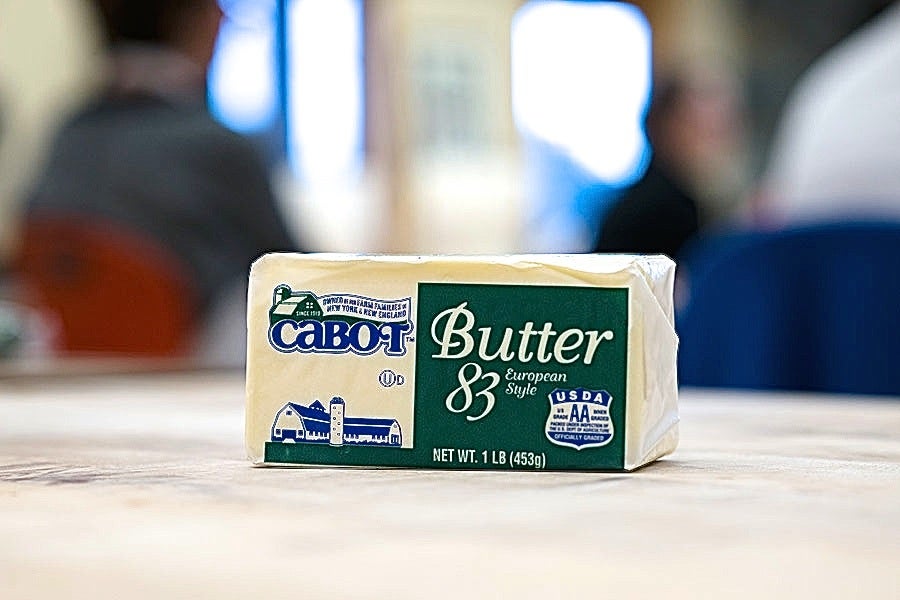
Look for Plugra, or Cabot 83, or another butter with at least 83% butterfat content.
Take your butter straight from the fridge, lay it on a piece of parchment paper measuring 13” x 18”, and – here’s the fun part – smack the daylights out of it with a rolling pin.
Really smack it around, folding it over and working it until it becomes pliable (but still cold). It should bend (not break) when you fold it over. When you’re finished, manipulate the butter so that it fits in an even layer on the lower half of the parchment paper – not the whole thing.
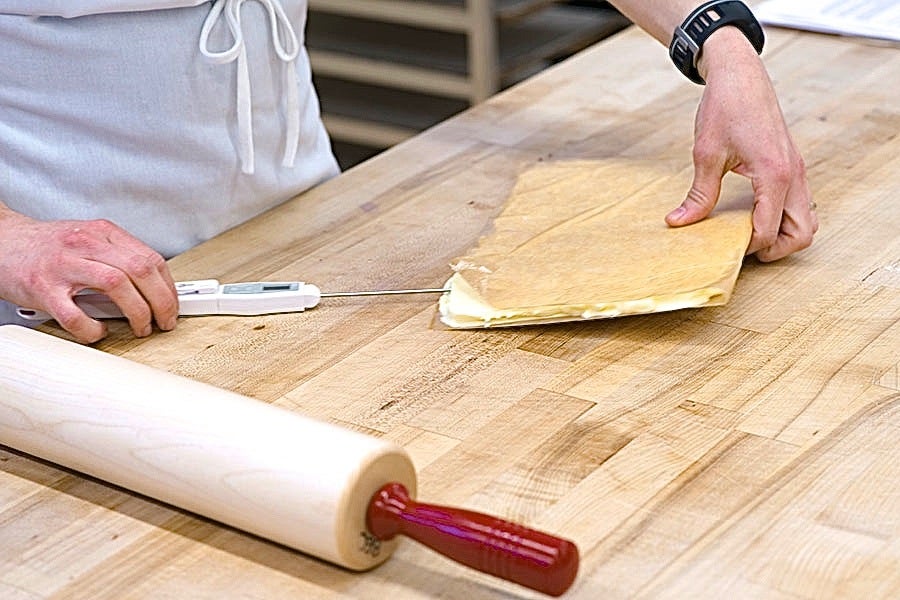
Take the butter's temperature with an instant-read thermometer. It should be 55°F when you start the lamination. If it’s too warm or cold, stick it in the fridge/leave it out, respectively.
Step 3: The Lamination
OK, we’re going to do some measuring in the next steps, but it’s pretty straightforward and all you need is a measuring tape or a ruler. You probably have one in your junk drawer; we’ll wait... OK, we’re back. We want to keep true to these dimensions so that we have the nicest possible end product – perfection is reached with accuracy at every step.
So the move here is that we’re going to create a book of butter and dough. Turn your chilled dough out onto your floured table top, the short side nearest to your belly.
Manipulate the dough so that it’s roughly 18” x 13”.
Take the rectangle of butter (55°F, right?) and lay it on the bottom half of the dough, peeling the parchment paper off, and making sure that no butter is hanging over the edge of the dough.
Fold the top of the dough down over the butter, and pinch the edges shut. Voilà: dough – butter – dough.
With the palm of your hand, flatten the book until it thins out a bit before going at it with the rolling pin.
Step 4: Rolling and Folding
So this is the crux of lamination: rolling and folding.
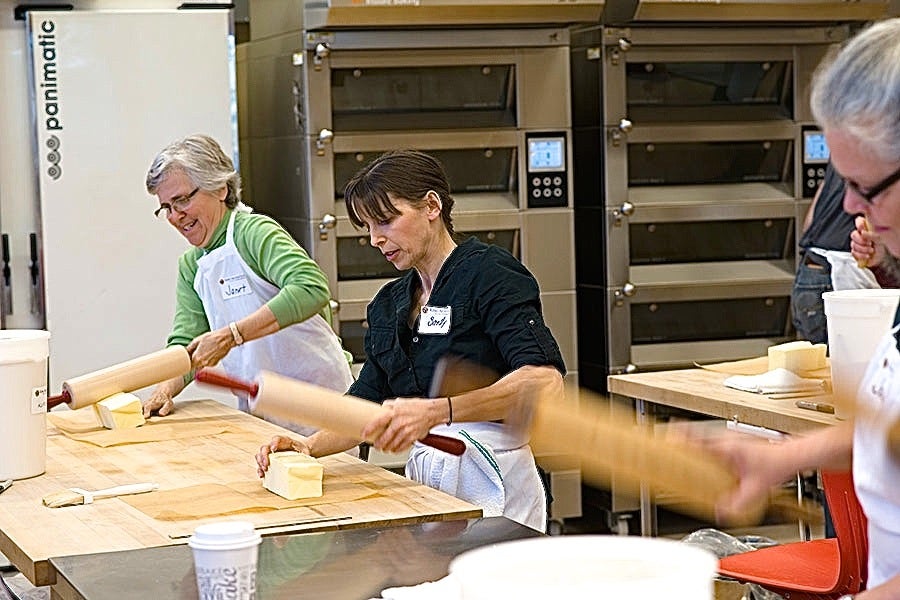
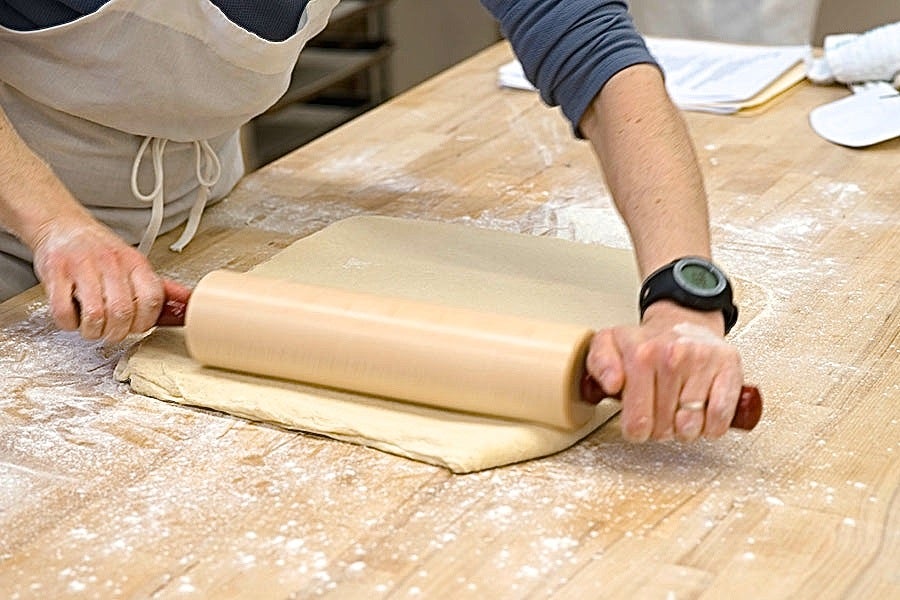
At the bakery we use a big, mechanical rolling machine called a “sheeter.” At home (or when the sheeter breaks), we use a rolling pin. I like the rolling pin better. For the rolling instructions, I’m going to quote Jackie here, directly from her instructions in our book Baking by Hand. Take it away, Jackie:
The first rollout should be relatively easy, as the dough is still weak. You need to roll it out to 18" x 30". Sprinkle the top as well as underneath the dough with flour as needed, to prevent sticking; and roll in alternating strokes, top to bottom and side to side. Keep the thickness and lines of the rectangle as even as possible.
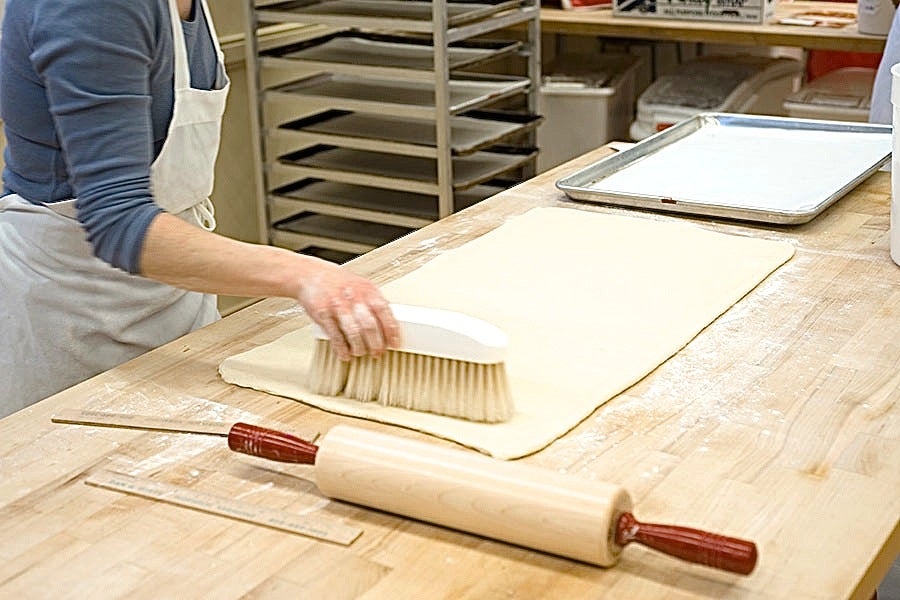
After you've attained your dimensions, brush off all the excess flour with a pastry brush. This is important because, if you don't, the excess flour will gum up the layers when it encounters steam, during baking. This will affect the texture of the final croissant.
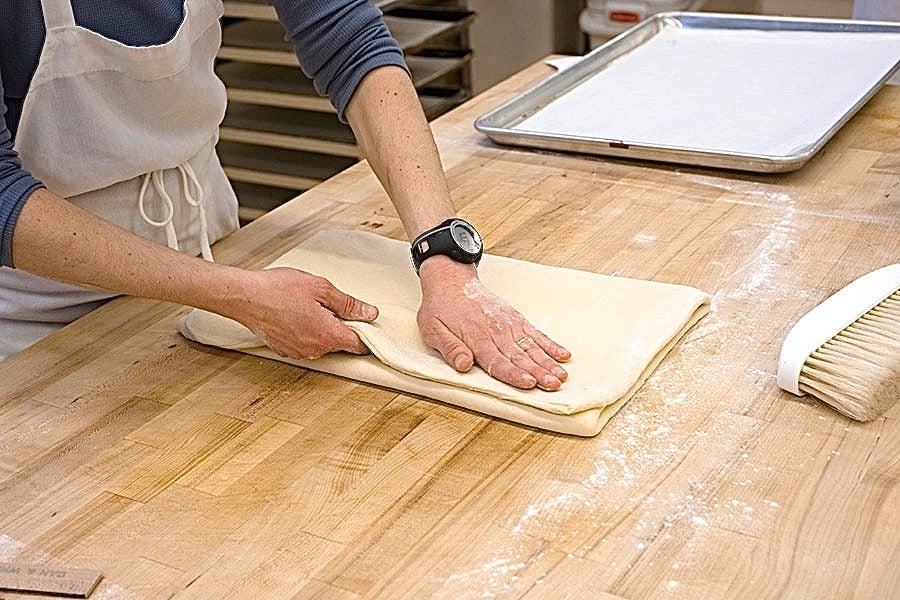
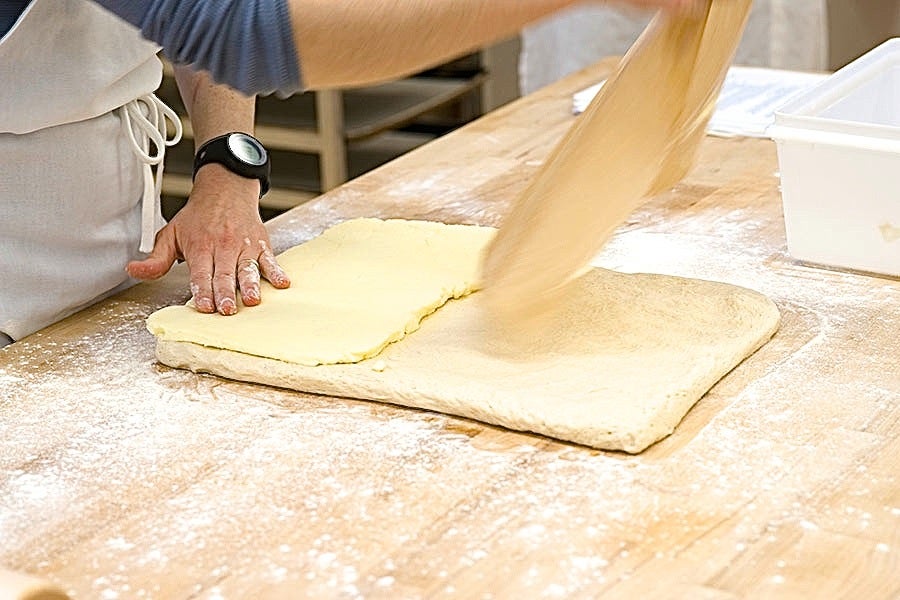
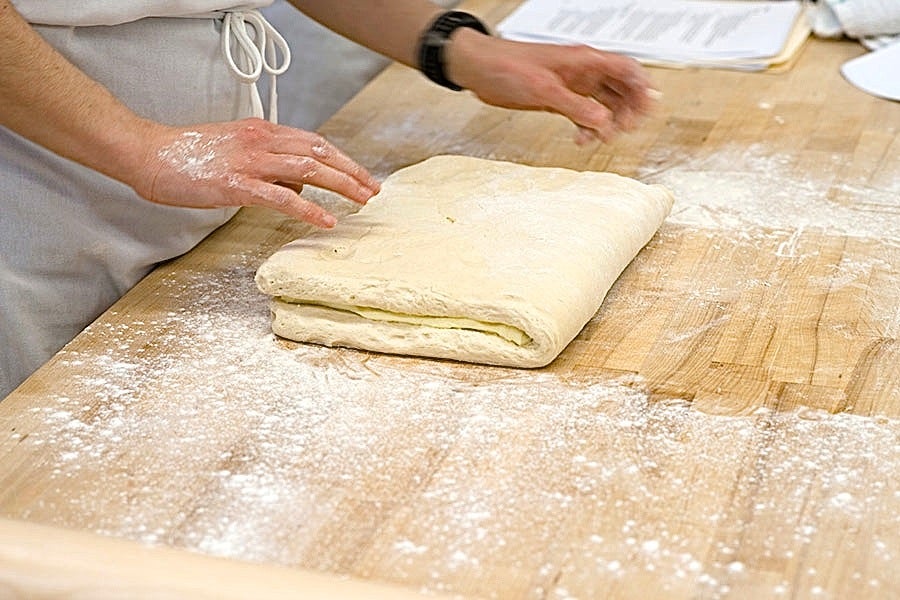
Next, perform your first envelope fold by taking the right 1/3 of the dough and folding it across. Brush off excess flour on this piece before bringing the left side over on top of it. You can now sprinkle the top lightly with flour. You have your first fold.
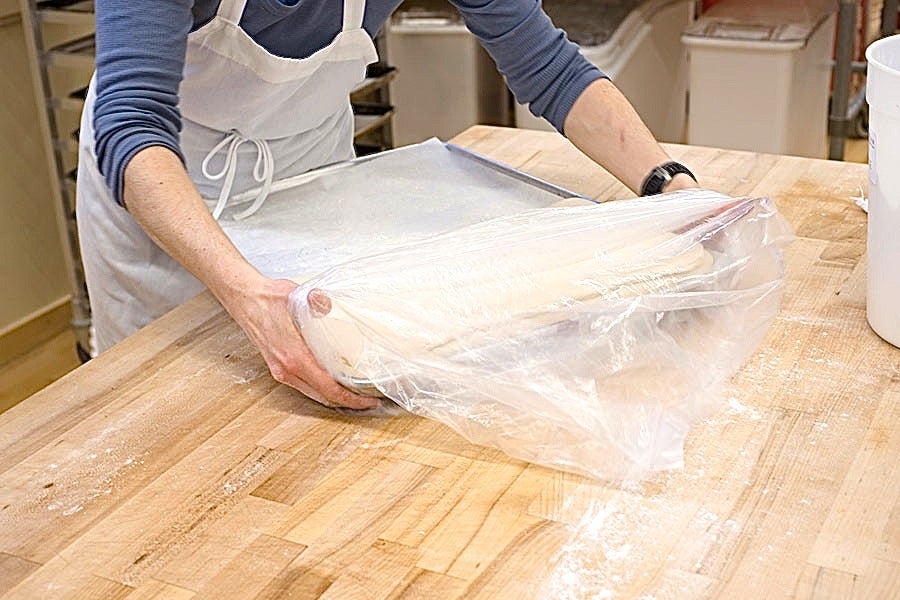
Place on a parchment-lined baking sheet, dust with flour, wrap the whole thing in plastic wrap, and refrigerate for 45 minutes (no longer; the butter will get too hard and affect the lamination).
Next it's time for the second fold or turn.
Sprinkle some flour down and position the baking sheet so that the seam of the envelope is closest to you and the open part is farthest away.
Flip the dough out onto the table; it'll be bottoms-up. Turn it over so it's tops-up. Now roll the dough to an 18" x 30" rectangle again, rolling top to bottom and side to side to stretch the gluten in many different directions.
Brush all the surfaces, and fold the dough the same way you did for the first fold. This time the dough will be a bit more resistant, now that the gluten is forming and the dough is cooler.
Refrigerate for 45 minutes.
Time for the last turn. Perform the steps just as you did for the second fold, but you'll notice that it’s a bit harder still to roll out. You want to roll it to 18" x 30"; if it starts to fight back, let it rest for 10 minutes, to relax the gluten.
Brush the dough, fold it up, and place it back on the baking sheet. This time, rest and chill the dough for a minimum of 2 hours, or as long as overnight. This longer chill has the advantage of breaking up the process into 2 days, as well as allowing you to shape and proof the croissants the next morning, in time for a breakfast or brunch. (You'll probably have to get up early to get them shaped and leave them time to proof and bake, but I guarantee that your guests will appreciate it.)
By the time you’re done, you’ll have 81 layers of dough and butter. When that rich dough is shaped, proofed, and hits the oven, all of your work will pay off. The dough rises (because of the yeast, of course), but all of those layers of butter – in the heat of the oven – evaporate into steam and create pockets of air in the pastry that we know and love as flakiness. It’s the same steam-leavening effect that makes your pie dough flaky, but multiplied by a gazillion (just to be scientific).

Go forth and laminate!

For a step-by-step tutorial in shaping and baking croissants, see this post: Making Baker's Croissants: Capturing Butter Heaven. Ignore the dough preparation photos, and skip right to the croissant shaping/baking.