
Me: “Sue, what are you doing?”
Sue: “I'm making a Hawaiian pizza.”
Me: “Oooh, oooh, wait a sec. Stop. I need to blog this."
Sue, whose hands have graced many a catalogue photo in her many years here at King Arthur, obediently stops spreading tomato sauce on a pizza crust, mid-stroke. I grab my camera, snap the picture, and she continues topping the pizza.
“Wait, wait - is that sautéed pineapple? And ham?”
Sue sees where I'm going. “Want me to dump ’em back in the frying pan so you can take their picture?”
Sheepishly, I nod. Together, we photograph Hawaiian pizza backwards – to the crust. At that point, there's no undoing a risen bowl of dough.
So Sue hands me the recipe and I start again, making pizza dough from scratch.

Put the following in a bowl:
3 3/4 cups (450g) King Arthur Unbleached Bread Flour
1 tablespoon + 1 teaspoon Pizza Dough Flavor, optional but tasty
1 teaspoon instant yeast
1 1/4 teaspoons (8g) salt
2 tablespoons (25g) olive oil
1 1/2 cups (340g) lukewarm water, enough to make a soft, smooth dough
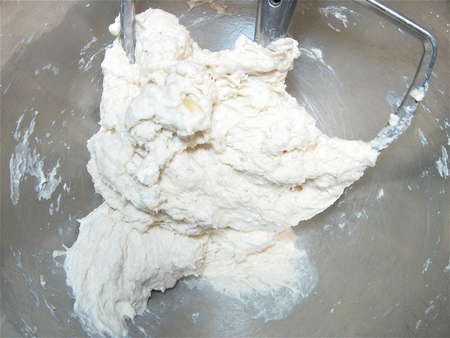
Mix till cohesive...
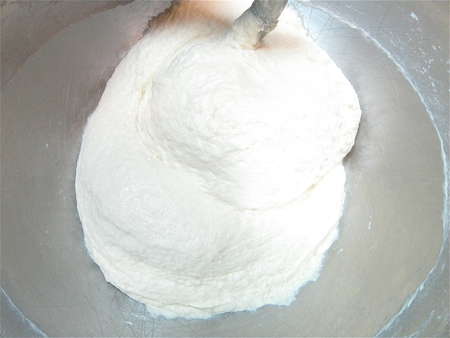
...then knead to make a soft, smooth dough.
Put the dough in a lightly greased bowl or large measuring cup; an 8-cup measure allows you to track just how much the dough has risen.
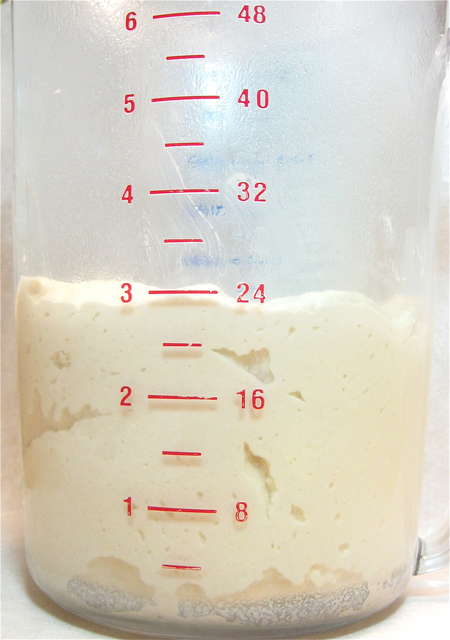
Let it rise for an hour; it'll expand quite a bit, though it won't double in size.
You can use the dough immediately, if you like. But I prefer to let it chill and develop its flavor. Refrigerate overnight, tightly covered, or for up to 24 hours.

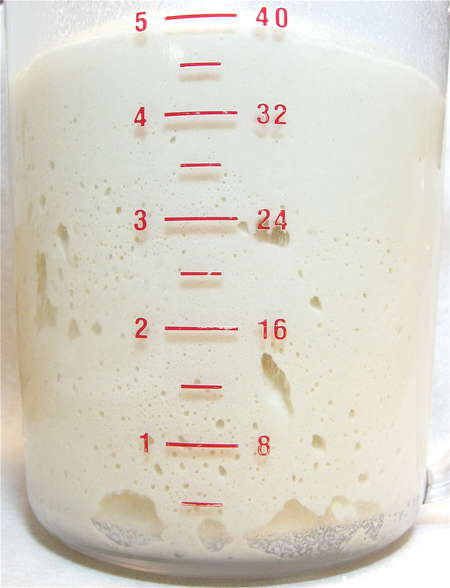
The dough will continue to rise as it chills. (No kidding – look at it!)
And, as I mentioned, it'll develop wonderful flavor, thanks to the organic acids released by the growing yeast.
When you're ready to make pizza, remove the dough from the refrigerator, and divide it in half.
Lightly grease two 12” or 14” round pizza pans; or a couple of baking sheets; or a couple of pieces of parchment (if you're going to bake on a pizza stone).
If you're using pans, drizzle olive oil into the bottom; this will make the bottom of the crust crunchy and super-tasty.
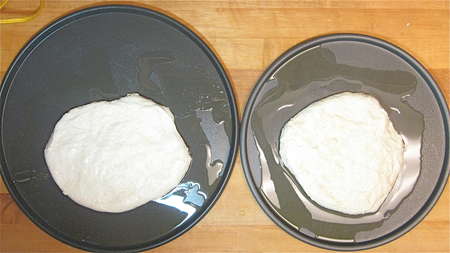
Shape each piece of dough into a 10" to 14" disk (thick crust vs. thin crust), and place in the prepared pans.
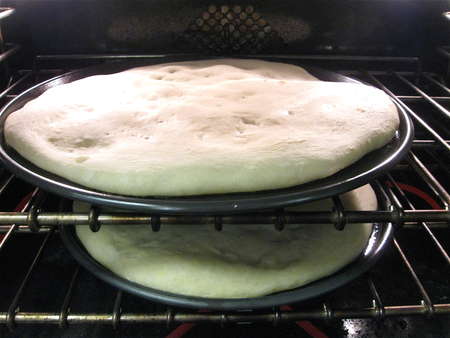
I'm doing an experiment here: 14” pan on the left, 12” pan on the right. How thick will each crust wind up being?
You won't be able to press the dough all the way to the edge of the pan at once. It'll keep wanting to shrink back to its original size; that's the gluten at work. Simply walk away for 15 minutes, come back...
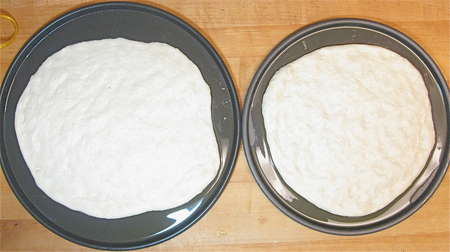
...and press some more. Wait 15 minutes...
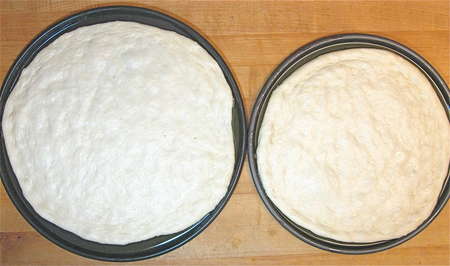
...and press some more.
Trust me, this takes longer, but it's MUCH easier than trying to beat your stubborn, rubber-band crust into submission!
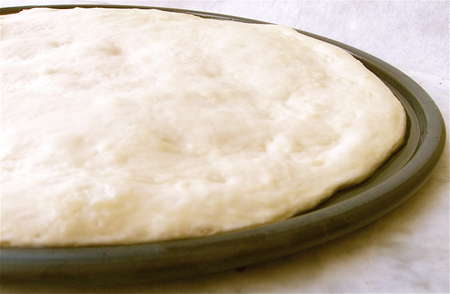
Cover with lightly greased plastic wrap, and let the crusts rise for 1 to 2 hours, till they're as puffy as you like.
While the crusts are rising, prepare your fillings.
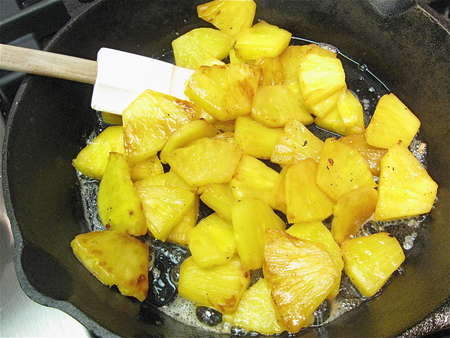
We'll start with the Hawaiian filling. Lightly grease a frying pan or skillet, and sauté pineapple till lightly browned. How much? One fresh pineapple, peeled, cored and cut into chunks; or two 20-ounce cans of pineapple chunks, well drained. Either way, you need 4 to 5 cups of pineapple chunks.
While sautéing isn't strictly necessary, it intensifies the flavors, and helps keep the pizza from getting soggy from pineapple juice.
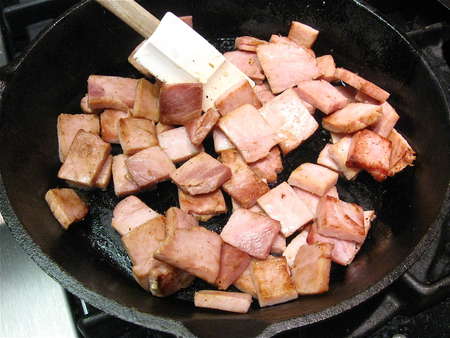
Remove the pineapple, and sauté 1 pound of thick-sliced ham, cut into squares.
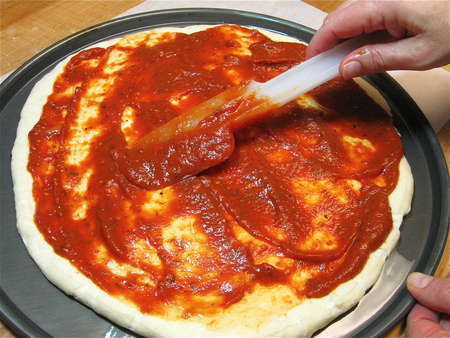
Spread each crust with as much pizza sauce as you like; Sue uses about 1 cup for a 14” pizza.
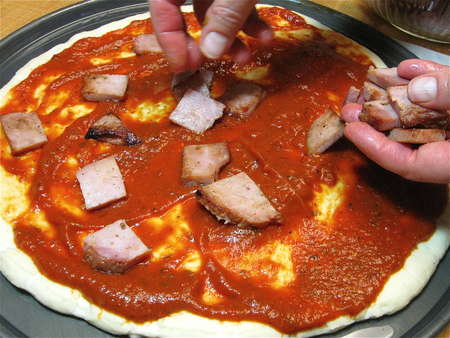
Top with the ham...
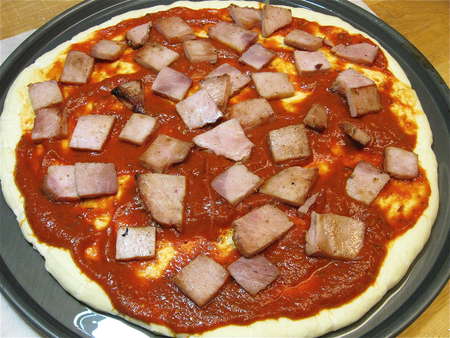
...distributing it evenly.
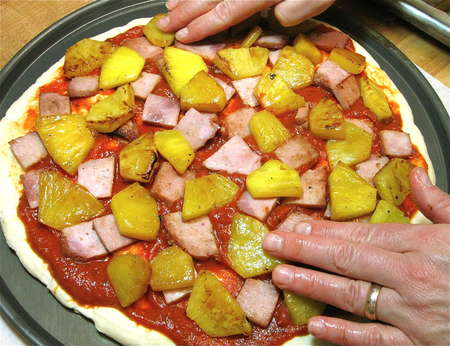
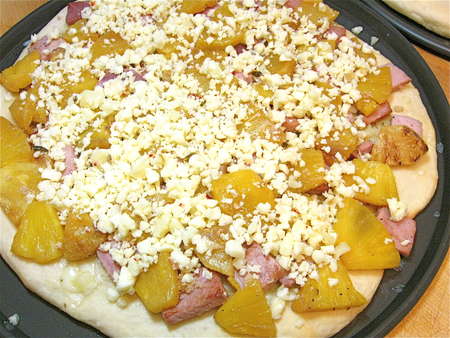
Press the pineapple chunks on top.
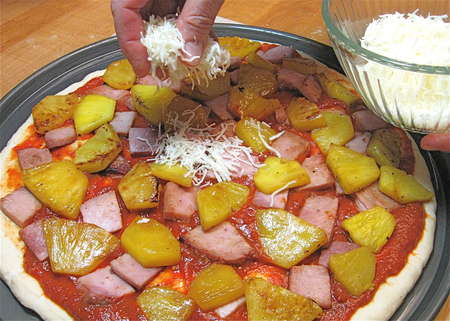
Sprinkle each pizza with 1 to 2 cups (4 to 8 ounces) shredded cheese; mozzarella, or your favorite combination.
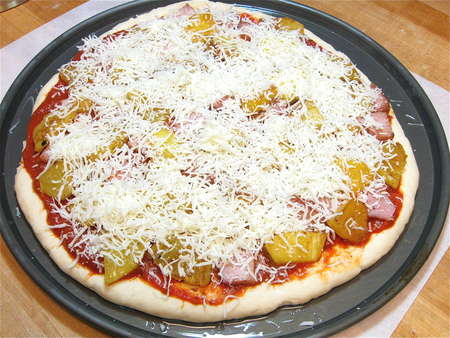
At last! Ready to hit the oven.

Bake for about 25 minutes, until the crusts are brown and the cheese is melted and bubbly.
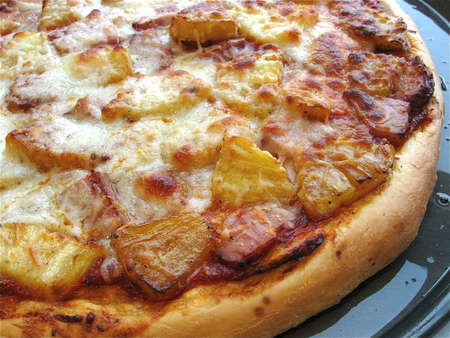
Lovely! Do you feel a luau coming on?
Slice and serve, to a suitably appreciative audience.
I prefer to bake my crusts before topping. I think they have better texture, and the toppings have less tendency to get hard or burned, too.
So let's hark back to our risen-and-ready crusts.
Bake the untopped crusts in a preheated 425°F oven for 12 minutes.

Take the hot crusts out of the oven. Top with pineapple and ham; pizza sauce is optional.
Sprinkle with cheese.
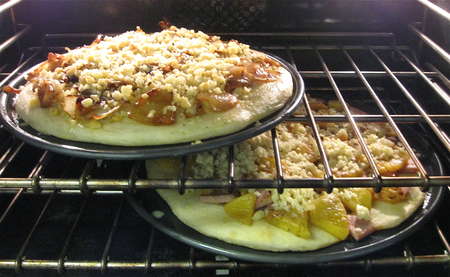
Into the 425°F oven they go, for 12 minutes or so, till the cheese is melted, but not rubbery or hard.
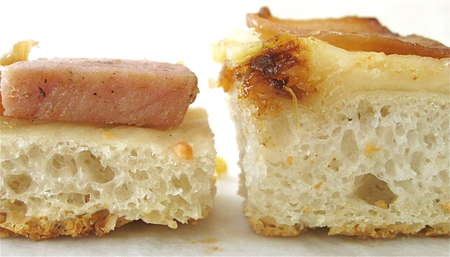
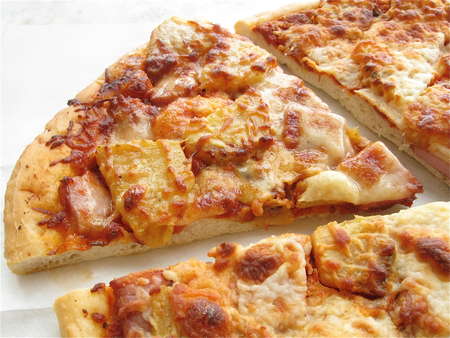
Back to that crust experiment. What's the difference between a 14” thinner crust pizza, and 12” thicker-crust? About 1/2” in height.
Dig in!
Read, rate, and review (please) our recipe for Hawaiian Pizza.