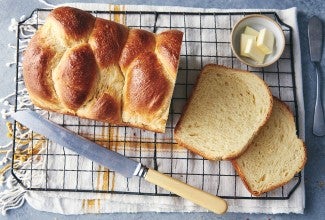
-
To make Starter 1: Heat the milk until it's nearly but not quite boiling; small bubbles will form around the edge of the pan (or microwave container), and you might see a bit of steam. This is called "scalding" the milk.
-
Cool the milk until it's lukewarm, then whisk together the milk, cornmeal, and sugar in a small heatproof container. The container should be large enough to let the starter expand a bit. Whisking vigorously will help prevent lumps.
-
Cover the container with plastic wrap, and place it somewhere warm, between 90°F and 100°F. We find our turned-off electric oven, with the light turned on for about 2 hours ahead of time, holds a temperature of 95°F to 97°F, perfect for this starter.
-
Let the starter rest in its warm place overnight, or for 8 to 12 hours. It won't expand much, but will develop a bubbly foam on its surface. It'll also smell a bit fermented. If it doesn't bubble at all, and doesn't smell fermented, your starter has failed; try again, using different cornmeal, or finding a warmer spot.
-
To make Starter 2: Combine the hot water (120°F to 130°F) with the salt, baking soda, and sugar, stirring to combine. Add the flour, stirring until everything is thoroughly moistened.
-
Stir Starter 1 into Starter 2.
-
Cover the bowl with plastic wrap, and place it in the same warm spot Starter 1 was in. Let it rest until very bubbly and doubled in size, 2 to 4 hours. If it's not showing any bubbles after a couple of hours, move it somewhere warmer. If it still doesn't bubble after a couple of hours, give it up; you'll need to start over.
-
Transfer your bubbly starter to a larger bowl, or the bowl of a stand mixer (or your bread machine bucket).
-
Stir in the soft butter, salt, and flour. Knead until smooth; the dough will be soft, and fairly elastic/stretchy.
-
Shape the dough into a log, and place it in a lightly greased 8 1/2" x 4 1/2" loaf pan.
-
Cover the pan, and place it back in its warm spot. Let the loaf rise until it's crowned about 1/2" to 3/4" over the rim of the pan, which could take up to 4 hours or so. This won't form the typical large, domed top; it will rise straight up, with just a slight dome.
-
Towards the end of the rising time, preheat the oven to 350°F.
-
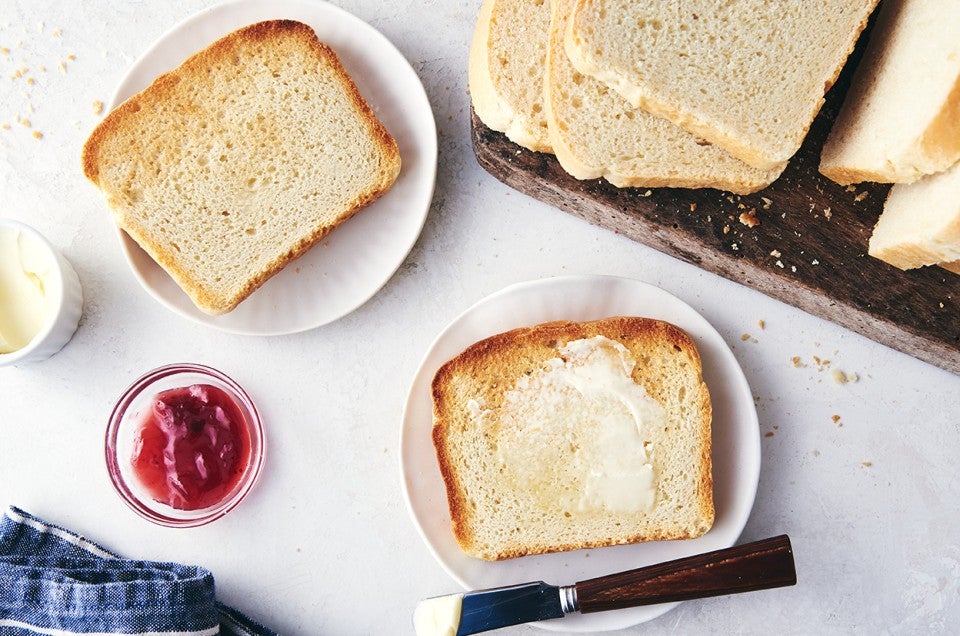
Bake the bread for 35 to 40 minutes, until it's nicely browned. Again, it won't rise much; that's OK.
-
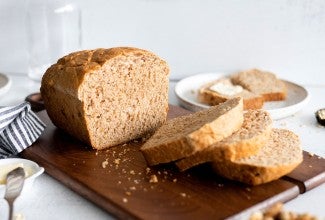
Remove the bread from the oven; if you have a digital thermometer, it should read about 190°F to 200°F at its center. Wait 5 minutes, then turn it out of the pan onto a rack to cool.
-
Store cooled bread at room temperature for 5 to 7 days; freeze for longer storage.
