

Vermont is a lovely place to live.
After all, it's home to Ben & Jerry's ice cream; nothing like being right next to the source of Cherry Garcia, Phish Food, and all those other crazily delicious flavors.
Cabot Creamery, the cooperative that supplies so many of us around the country with cheese, butter, sour cream, and yogurt, is just one of the many dairies in the state serving up everything the local cows (and goats, and sheep) can offer.
And there are only about half a million people in the entire state – so the mountains, wide open green spaces, and winding country roads certainly aren't crowded.
There's one major problem with Vermont, though – at least the little corner of it where we live.
Delis. Specifically, lack thereof.
I spent my early years just outside New York City. Later on, outside Hartford, CT; then just south of Boston. I'd always been fairly close to a big(gish) city, and many of the urban enticements stretched out into the suburbs where I lived.
Including delicatessens – a.k.a. THE DELI.
Bagels and lox, of course. Dr. Brown's Cel-Ray soda, that oddly compelling fizzy celery drink. Half-sours. Chopped liver. Smoked whitefish.
And let's not ignore breakfast: matzoh brei, and latkes, plus blintzes oozing creamy farmer's cheese and drowning in strawberries.
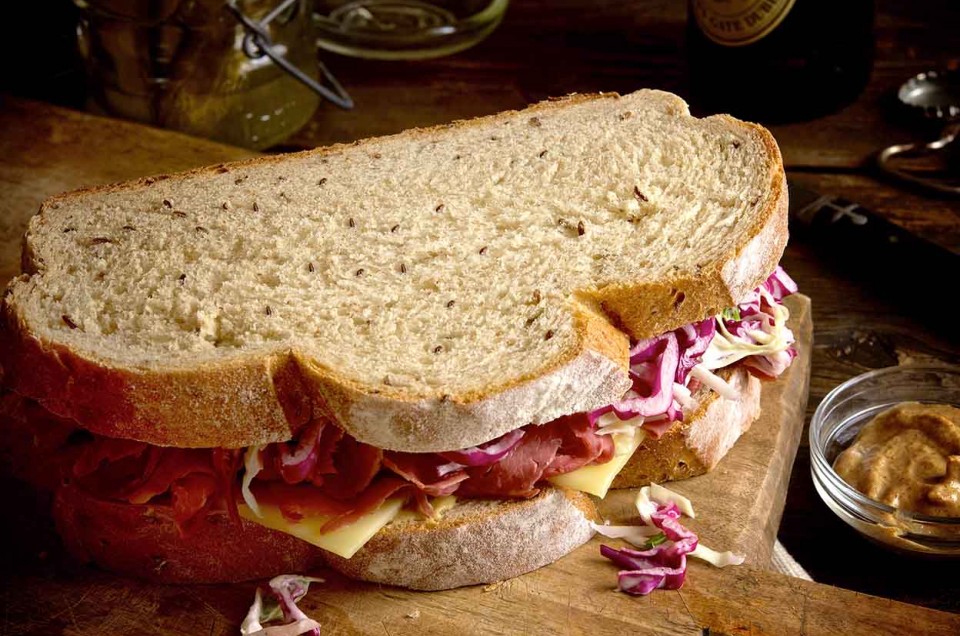
Am I boring you? If so, bounce right on off this page. Because today's post focuses on one of the shining stars in the deli's firmament – the sandwich. And the key ingredient you need to make any deli sandwich:
Rye bread.
Specifically, a light-colored, moist, soft rye, one studded with caraway seeds. Close-grained and tender, yet sturdy enough to hold up to the heaviest onslaught of fillings, it's as ubiquitous at the urban deli as a hamburger is at Mickey D's.
"I'll have a corned beef on..." white? Perish the thought. That overstuffed corned beef sandwich HAS to be on rye. Ditto pastrami. And liverwurst, with its big slab of onion and schmear of hot/sweet mustard.
Rye all the way, baby.
Hey, I like all kinds of bread. Whole wheat raisin bread or pumpernickel for my breakfast toast. Ciabatta for garlic bread. Plain white pain de mie for French toast.
But when I'm treating myself to a deli sandwich, it HAS to be on light rye.
Which brings me back to why I make this tasty bread on a regular basis –
There are NO DELIS in Vermont.
Well, OK, I'm probably exaggerating. But there are no good city-style delis anywhere within a reasonable radius of King Arthur's home here in Norwich.
One makes do with what one has, right? Liverwurst I can buy. Even Dr. Brown's.
But rye bread?
Strictly DIY, baby.
Are you with me? Let's make Caraway Rye Bread.
Let me state right up front: this recipe forced me to break our usual King Arthur Flour test kitchen rule: "Three strikes and you're out."
When developing/amending recipes, if we don't nail it after three tries, it's history; move on. Like any business, we need to stack time and money against results.
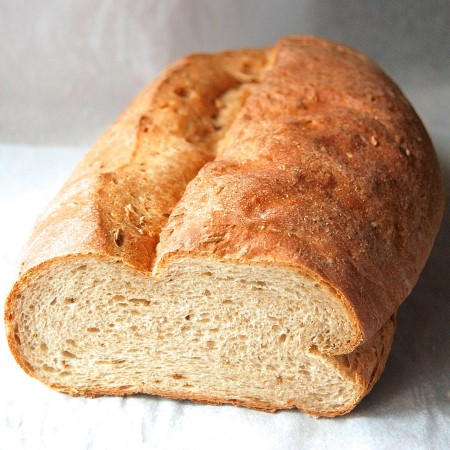
But this recipe... well, it already existed. And all I wanted to do was make it a bit friendlier. Many customers commented that the dough was REALLY sticky; and that the loaf tended to flatten out once it was taken out of the oven.
See that loaf above? It was nice and tall in the oven, and gradually settled as it sat.
Hmmm, I thought to myself. Too much liquid.
So I cut back on the liquid. And the loaf still settled.
OK, maybe change the ratio of all-purpose and rye flours a bit, get some more gluten into the structure.
Yes! That worked beautifully. The recipe made two smallish loaves, and they settled just a tad. I DID slash them too deeply, and they ended up with major dents in their top crust – but lesson learned, rye bread doesn't have the oven-spring white bread does.
I could have stopped with those two pretty-good loaves. But how about making one big, impressive loaf, instead of two smaller ones? Perfect for a really king-sized deli sandwich.
Tried that; result above. The dough looked great; it was wonderfully tall in the oven; but in the end, it... settled. Still tasty; and still great for sandwiches – so long as you don't mind your sliced bread in rather irregularly shaped ovals.
Bottom line: make two smaller loaves. Use a light touch when slashing.
And have the corned beef and half-sours ready...
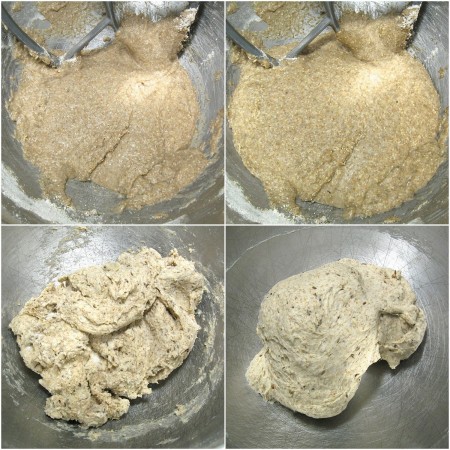
I'm using whole-grain rye flour (e.g., pumpernickel) in this recipe. And since whole grain flours usually take a bit more time to absorb liquid than all-purpose flour, I'm going to start by combining pumpernickel, water, and a few other ingredients first.
Place the following in a mixing bowl:
1 cup (227g) lukewarm water*
1 cup (106g) white rye, medium rye, or pumpernickel flour
4 teaspoons (14g) sugar
2 1/4 teaspoons instant yeast
*Or substitute dill or sour pickle juice, which adds another layer of flavor. Depending on the saltiness of the juice, you'll want to cut back the salt in the recipe to 3/4 teaspoon to 1 teaspoon.
Mix to form a soft batter. Let the batter rest for 20 minutes; giving the rye flour a chance to absorb some of the liquid will make it easier to knead the dough without adding too much additional flour (which would make the bread dry). As you see in the photo above, the batter will become a bit puffy.
After 20 minutes, add the following:
1/2 cup (113g) sour cream (low-fat is fine; please don't use nonfat)
1 to 2 tablespoons (7g to 14g) caraway seeds, to taste
1 1/2 teaspoons salt
2 1/3 cups (280g) King Arthur Unbleached All-Purpose Flour or First Clear Flour
3 tablespoons (25g) vital wheat gluten or King Arthur Rye Bread Improver, optional, for best rise*
*If you don't use either the gluten or Improver, increase the all-purpose flour to 2 1/2 cups.
Mix and knead the dough together until it's fairly smooth. The nature of rye dough is to be sticky, so don't be tempted to add too much flour.
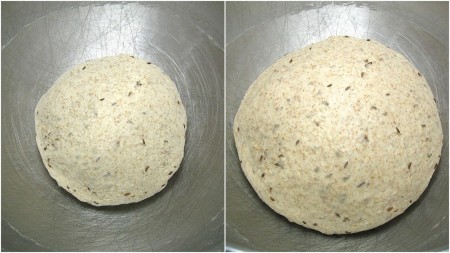
Place the dough in an oiled bowl or large (8-cup) measure, cover, and let it rise until noticeably puffy, 60 to 90 minutes.
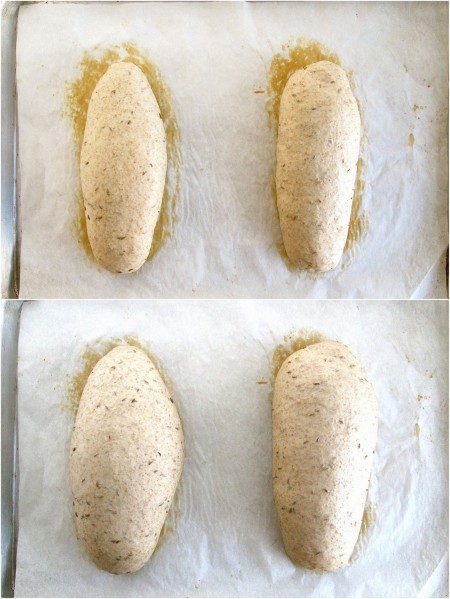
Gently deflate the dough, knead it briefly, and shape it into two smooth oval or round loaves; or one long oval loaf. (As I said, you may find the larger loaf sinks a bit. But if you're OK with that, go for it; it does make larger slices).
Place the loaf or loaves on a lightly greased or parchment-lined baking sheet.
Cover the loaves, and let them rise until they're noticeably puffy, about 90 minutes.
Towards the end of the rise, preheat the oven to 350°F.
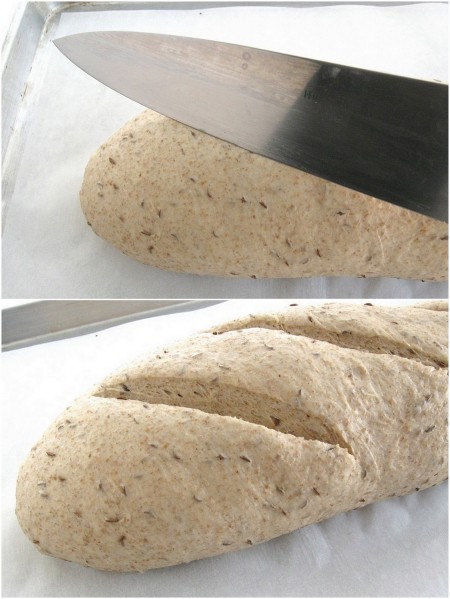
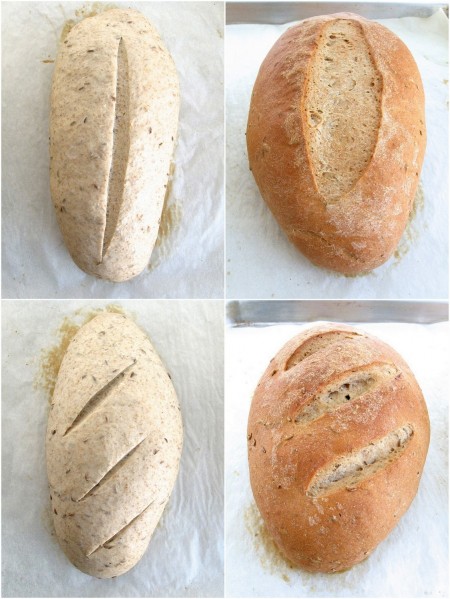
Just before they go into the oven, spritz the loaves with water, and slash them about 1/2" deep. The oval loaves look good with one long, vertical slash; the rounds, with two or three shorter slashes across the top.
You know how deep I slashed this loaf? Too deep. Do as I say, not as I do!
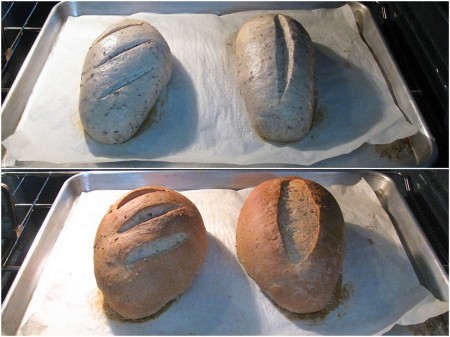
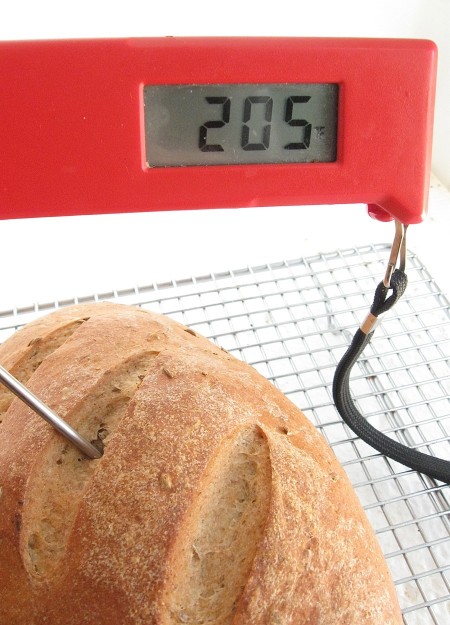
Bake the loaves for 35 to 40 minutes, or until an instant-read thermometer inserted into the center reads 205°F to 210°F. The single, larger loaf will bake for 45 to 50 minutes.
If the bread appears to be browning too quickly, tent it lightly with foil after 25 minutes of baking.
Remove the loaves from the oven, and transfer them to a rack.
This bread actually does have fairly good oven-spring, as you can see. Looks-wise, I prefer the single vertical slash – how about you?
Yup, right on the money. I love my Thermapen; totally takes the guesswork out of "is the bread done?" Some of you can tell by the "hollow thump" test, but I was never very good at that.
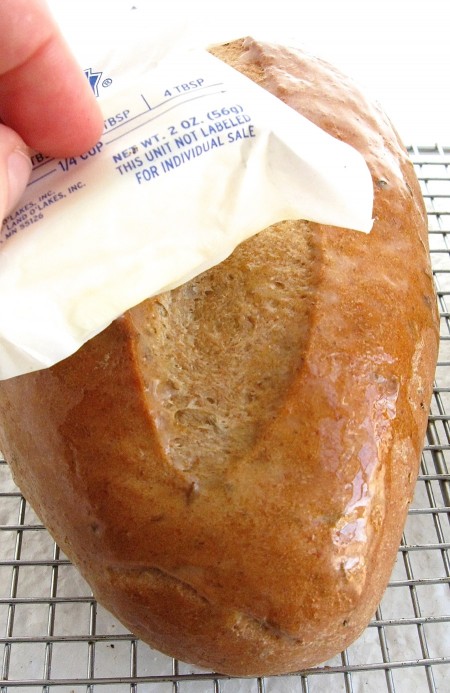
While still warm, brush the loaves with melted butter, if desired; this will keep the crust soft...
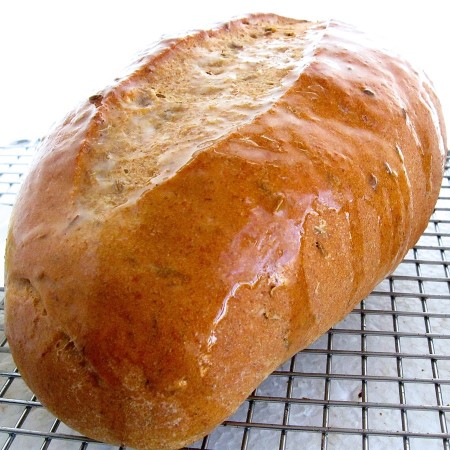
...and add flavor, plus a bit of satiny shine.
It's best to let the bread cool completely before slicing, lest you squash it down (which makes the texture gummy). If you truly can't wait, cut off just the tiniest "sample nub" from one end.
I couldn't resist enjoying the first piece with a bit of sweet butter... but corned beef, here I come!
Please read, bake, and review our recipe for Caraway Rye Bread.


![photo[1]](/sites/default/files/blog-images/2013/02/photo1-450x408.jpg)