

Are you someone who blanches at the sight of a rolling pin?
Do you shy away from any baking that's more involved than "mix – plop onto a pan – bake"?
Sure, we all take up the baking gauntlet at some point, challenging ourselves to make laminated dough for croissants, or to shape a perfect fougasse.
But often – well, there's simply no time for fussing or fancying; we just need to get something yummy in and out of the oven FAST. (Soccer moms remembering the forgotten team potluck, I hear you.)
When you're looking for a breakfast treat that's not nearly as time-consuming as those tricky croissants, yet is still a bit more special than muffins, I recommend scones – highly.
I bake after-Mass treats for my fellow parishioners at Our Lady of Hope in West Barnstable, MA one Sunday a month. And there's absolutely no question, among the doughnuts, coffee cake, muffins, quick breads, and other breakfast pastries, which treat disappears first.
Yup, it's the scones. Amid comments of, "How do you make these so nice and moist? Mine always seem to come out dry..." And that's the issue with many scones, particularly store-bought; they're dry.
Truth be told, classic British scones are drier than ours; crumbly, rather than moist. In fact, the original Scottish scone was nothing more than oat or barley flour and water, dry-fried on a griddle.
But here in America, land of plenty, we like our scones packed with butter and milk and eggs and sugar. American scones are closer to cake than Scottish classic.
You can roll or pat your sweetened, butter- and egg-enriched dough into a big circle and carefully cut rounds. Or fashion smaller circles, and cut wedges.
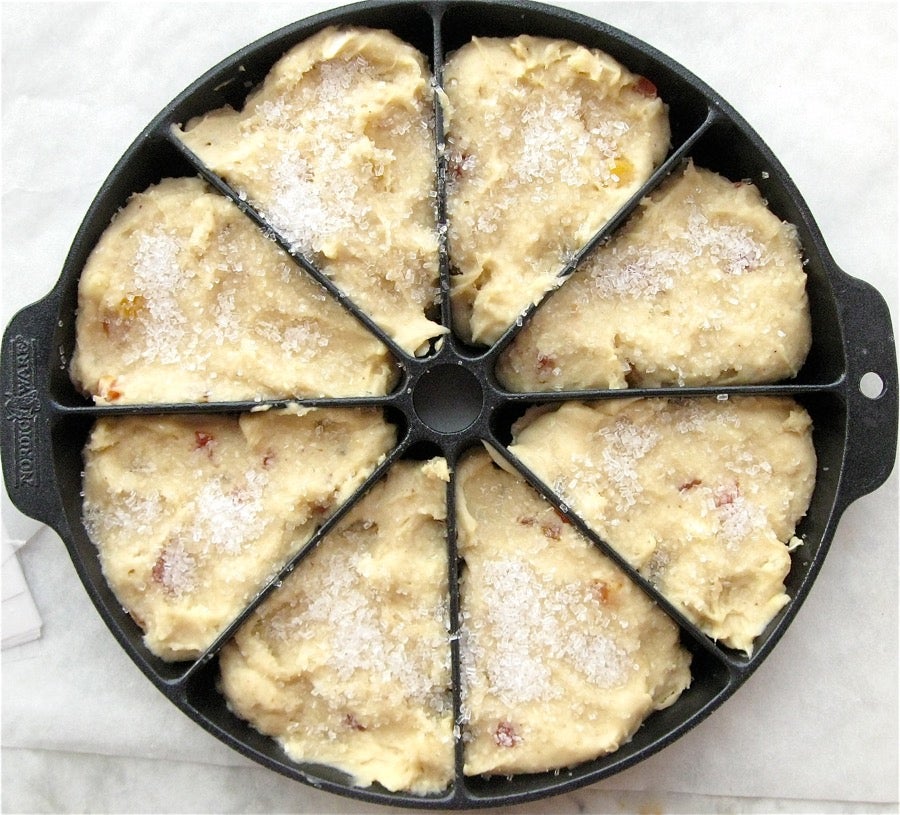
Maybe you even have a scone pan, and you divide your dough and pat it, piece by piece, into the wells of the pan.
However you do it, you end up with crusty scones, baked on all sides.
But let's harken back to those original Scottish scones. Called "bannocks," they were simply shaped into a large round and fried; not until afterwards were they cut apart, yielding wedge-shaped scones with SOFT sides, rather than baked sides.
For both ease of preparation and texture, let's go back to that method, shall we?
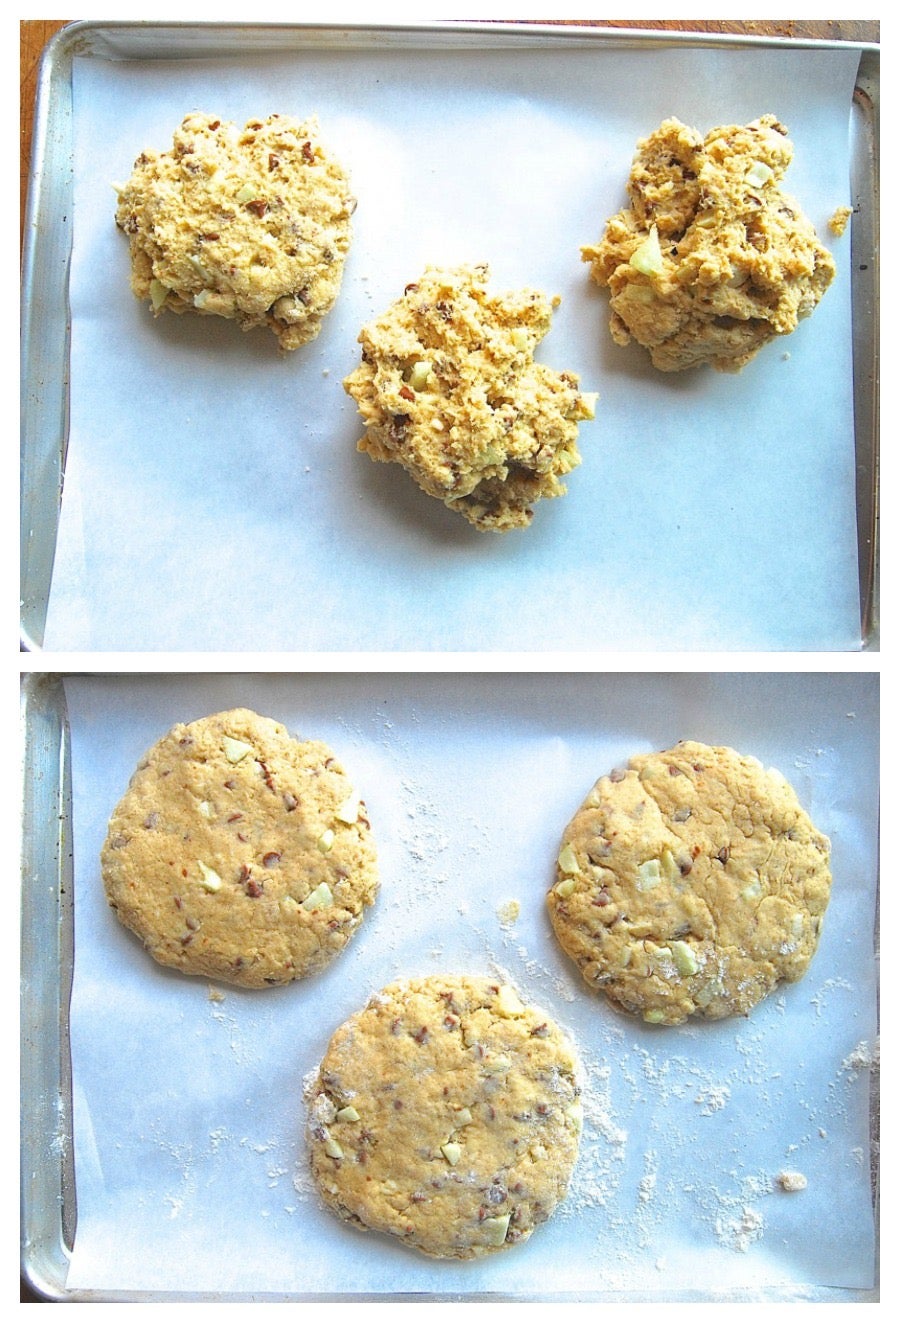
How large should the pieces be? Here's how I figure it: Add up the volume of flour + any solid add-ins (e.g., chocolate chips, nuts, raisins, diced fruit, coarsely grated cheese, etc.). Then divide the total into 1-cup portions for smaller, "tea-time" scones, about 3" long. Divide the dough into 1 1/3-cup portions for larger (4"), more substantial scones.
Stay with me here. Say you're making scones using 2 1/2 cups flour, 1 cup raisins, and 1/2 cup walnuts. That equals 4 cups of "solid stuff" (as opposed to milk, eggs, baking powder, etc.) Four pieces of dough will give you smaller scones; three pieces, somewhat larger.
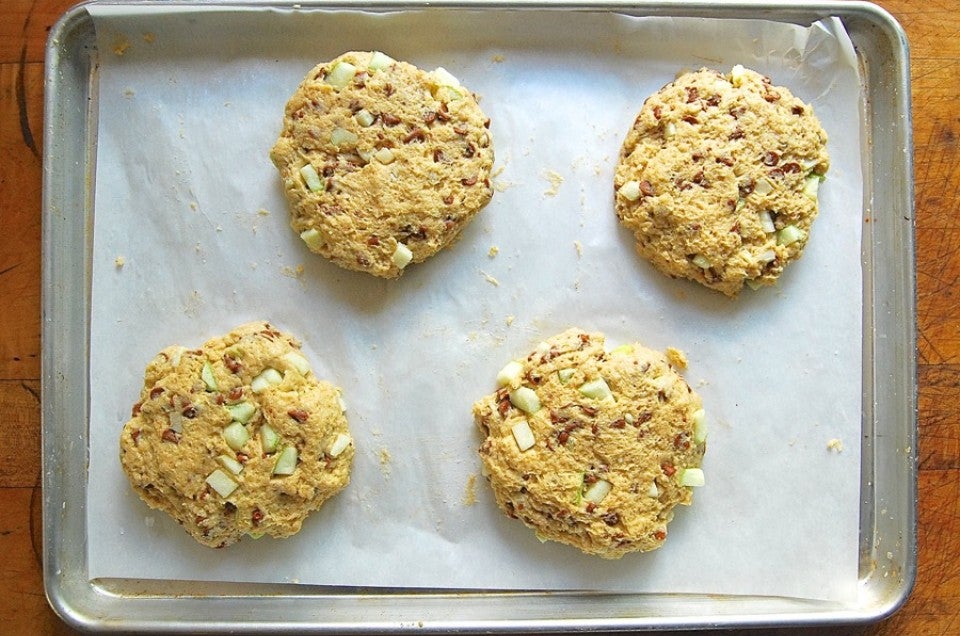
However you manage it, shape each piece into a round 5" to 6" in diameter, and 3/4" to 1" thick.
Attention, worry-warts: this is neither rocket science nor brain surgery. Maybe your rounds are a bit larger, or somewhat smaller. Maybe they're not quite 3/4", or a touch over 1" tall. No worries. Bake the scones and see how you like them. If they're too large or too small, make a note to yourself and divide the dough differently next time.
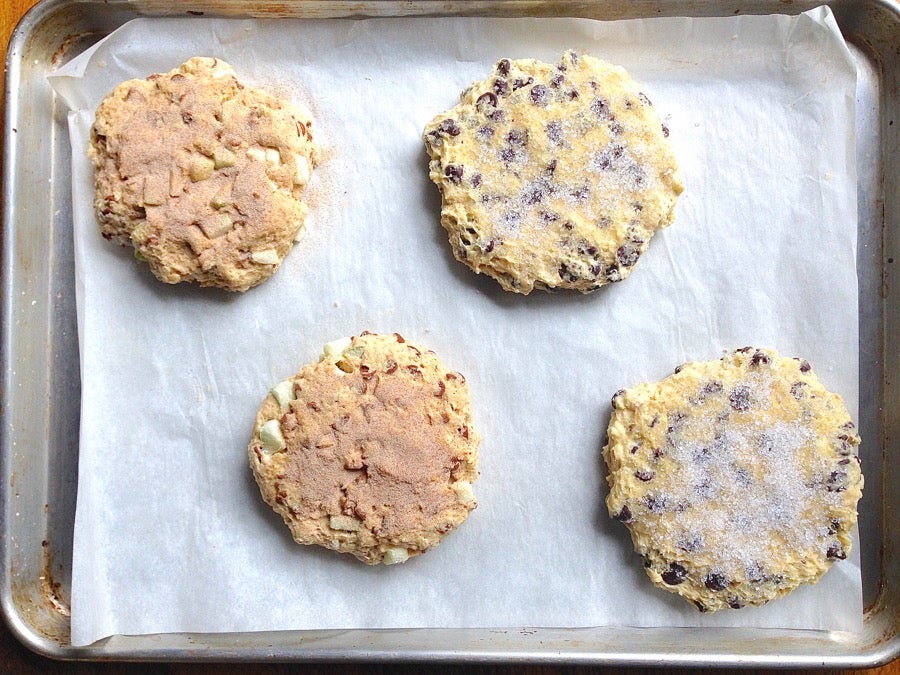
I'm making two types of scone here: Fresh Apple Cinnamon, sprinkled with cinnamon-sugar; and Chocolate Chip, topped with coarse white sparkling sugar.
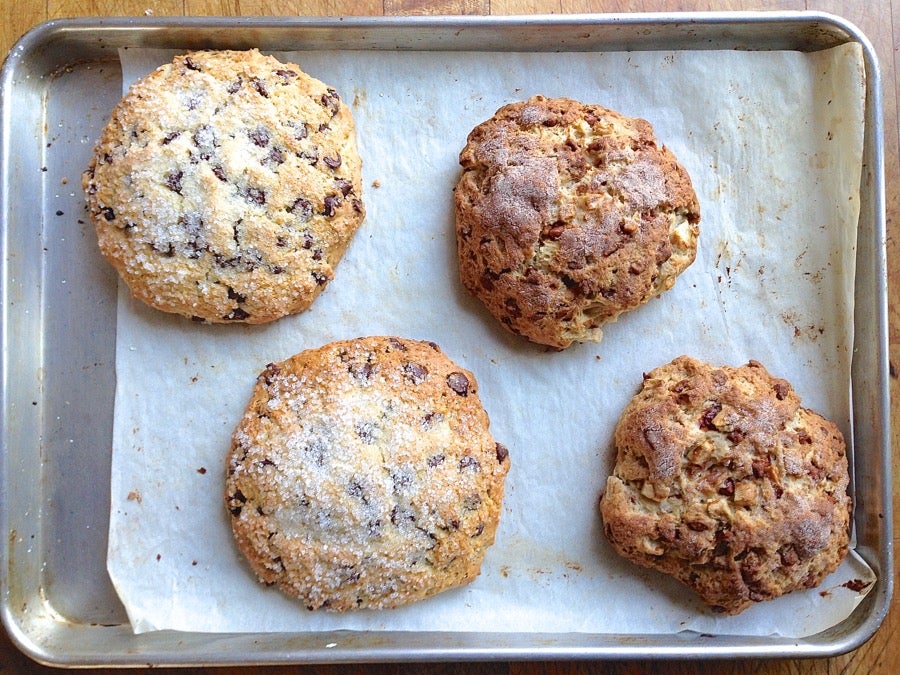
Stick a toothpick into the very center to assess if they're done. If the toothpick emerges clean, or with a very few moist crumbs, they're ready. If the pick sports a thin sheen of raw batter/dough, let them bake a bit longer. If they seem to be browning too much for your taste, tent them with aluminum foil.
A sharp knife, pizza wheel, or bench knife makes quick work of this task.
There's a sweet spot as far as timing the cut; make scones this way often enough, and you'll discover it. Too hot, and the scones tend to crumble around the edges. Too cool, same thing: they crumble at the edge. Just right – warm, but not piping hot – you can slice through scones with minimal crumbling.
I like to wait 2 to 3 minutes after removing scones from the oven before cutting them up.
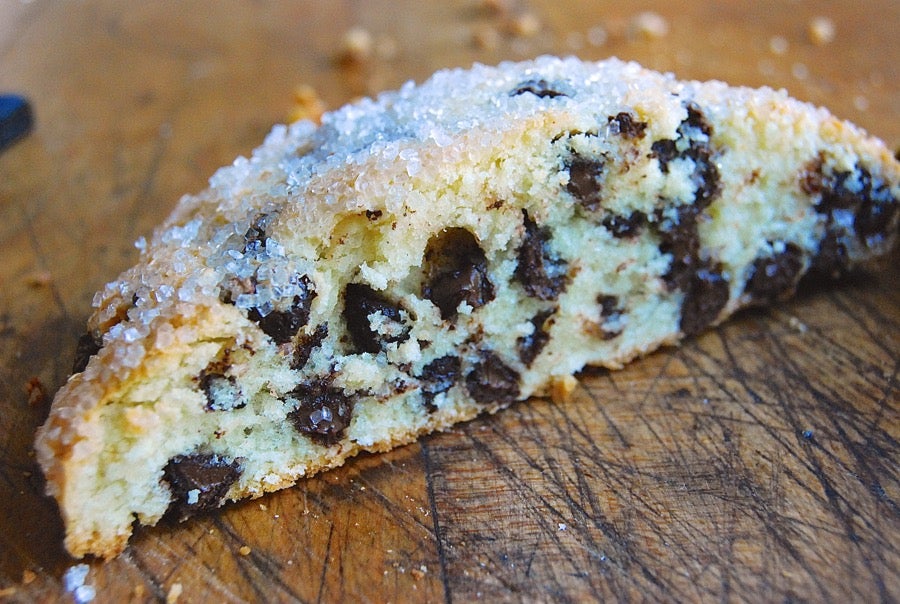
Look at those chocolate chips! You wouldn't get that tantalizing meltiness in scones that were individually shaped before baking.
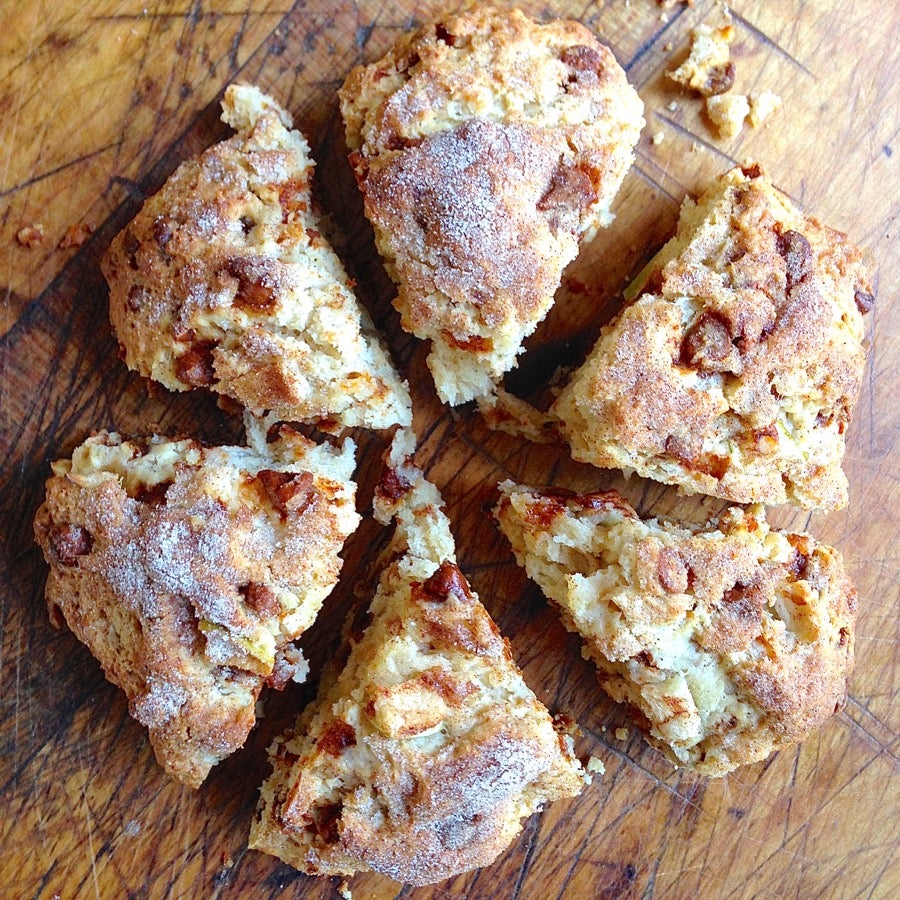
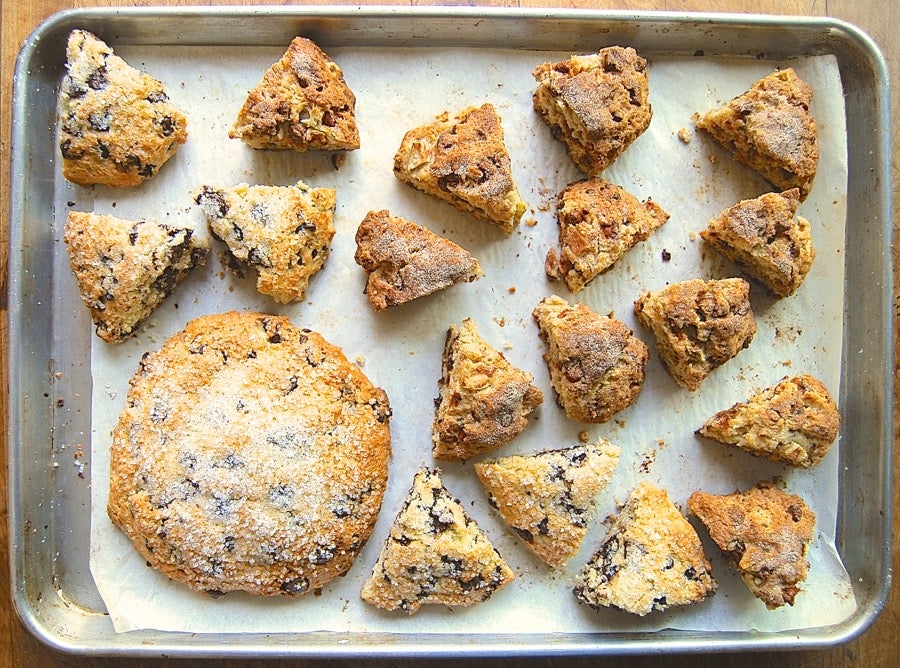
And here's the finished product: one uncut round, surrounded by an assortment of ready-to-serve treats.
OK, some of them aren't the most gorgeous examples of sconedom you've ever seen. But they're moist and tender, and the same thing that might make them problematic to cut into perfectly shaped wedges – lots of chips, fruit, nuts, etc. – makes them all the more taste-tempting.
Your best friend from college calls mid-morning on a Sunday. She and her family just happen to be in the area for the weekend and are wondering if they could drop by.
Don't panic! You can have fresh, hot scones on the table within 30 minutes.
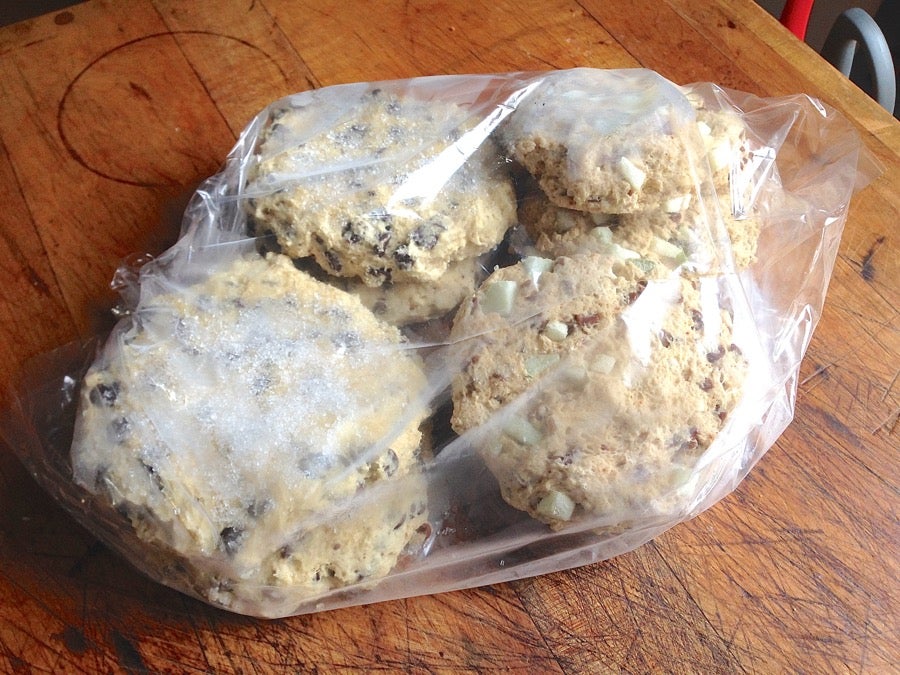
Let's go back to that unbaked scone dough. After you've shaped the dough into rounds and placed the rounds on a pan, put the pan in the freezer. Once the dough rounds are frozen solid, wrap them securely in plastic, and store them in the freezer for up to a couple of months.
When you need fresh-baked scones, just pull however many rounds you need out of the freezer, plop them onto a pan, and bake. Frozen scones need 5 to 10 minutes more baking time than the recipe calls for (if the recipe doesn't call for freezing).
Cut. Serve. Bask in the glow of compliments.
Want to make the scones you see here? Check out our recipes for Fresh Apple Cinnamon Scones, and Chocolate Chip Scones.
And please share any scone tips you have in "comments," below. Let's learn from one another!


