Things bakers know: There’s a right (and wrong) way to use measuring spoons
7 tips for optimizing your measuring experience.


What’s the best way to measure your baking ingredients?
Here at King Arthur we encourage the use of a scale in place of measuring cups. But when it comes to small amounts (a half teaspoon of salt, a tablespoon of vanilla) a trusted set of measuring spoons is something we think every baker should own — and know how to use.
After all, there’s more to measuring spoons than simply using them to scoop little bits of ingredients into your mixing bowl. When you employ your spoons effectively, correctly, and efficiently, you save time and effort — and take a big step toward guaranteeing great results.
Here are seven key tips to make your life easier (and your baking better) when using measuring spoons.

Buying cheap baking tools may be tempting but honestly, you usually end up losing money in the long run as a result of failed baked goods. This is especially true of measuring spoons, whose accuracy is critical to your baking success.
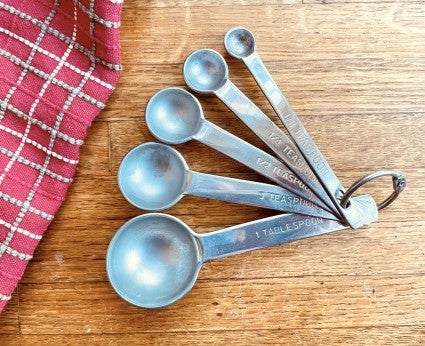
Those spoons you found in the sale bin at the dollar store? Examine them carefully. If they’re plastic, they can crack; if they’re thin metal they can bend or warp. And one or more critical spoons may be missing (e.g., the 1/2 teaspoon measure isn’t included). And worst of all: They may also be inaccurate. (Surprisingly, there are no enforced accuracy standards for either measuring cups or spoons.)
How do you determine if a newly purchased set of spoons is accurate? Test them against one another. Do two 1/2 teaspoons of salt fill the 1 teaspoon measure? Do 3 teaspoons fill the 1 tablespoon measure? This will at least show you the spoons’ relative (if not absolute) accuracy.
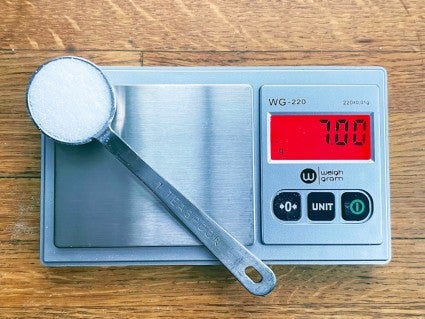
You can test absolute accuracy if you have a milligram scale. (Heads up: At King Arthur, we only recommend the products that we, as bakers, truly love. When you buy through external links on our site, we may earn an affiliate commission.) Fill each spoon level with table salt, and weigh (remembering to tare the scale before adding the salt). A teaspoon of standard table salt should weigh between 6 and 7 grams. If your new 1/4 teaspoon measure filled with salt reads 3g, you might question the whole set’s accuracy.
Bottom line: You should only have to buy measuring spoons once in your baking life. Make sure they're the best.
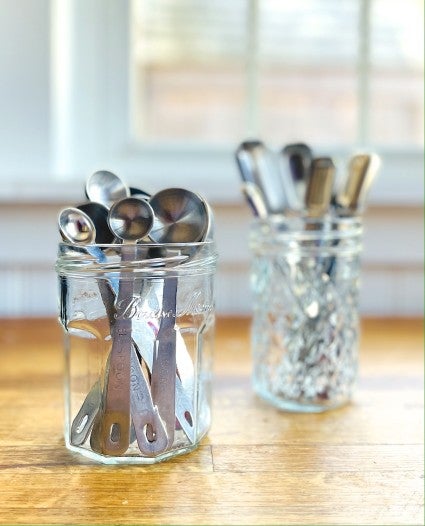
Nothing like trying to measure with one spoon when the other three (or seven!) are attached and dangling in the way. For easiest access, separate your spoons; I store mine (spoon part up, for easiest grabbing) in a small jar next to my stand mixer.
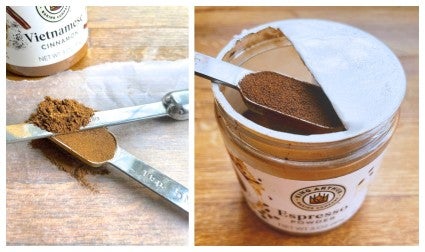
Do you typically dip your spoon into the jar of cinnamon and then dump it immediately into your mixing bowl? This is probably fine when measuring certain spices, sugar, or other benign ingredients (read: a bit too much doesn’t really matter). But when measuring salt, baking soda, or assertive spices (think cayenne pepper), a bit too much does matter — sometimes to the point of making your final product inedible.
Dip your spoon into the jar or bottle; level it off (using the straight edge of one of your other spoons), and only then add the contents to your mixing bowl.
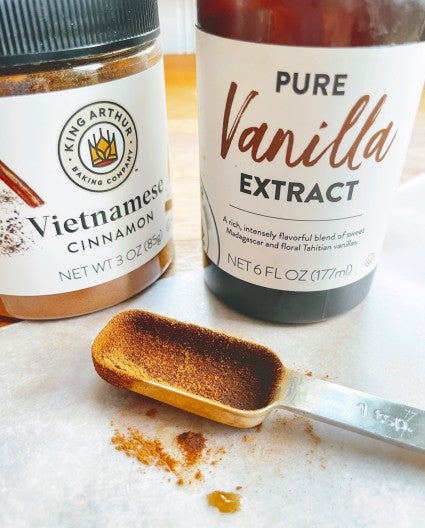
You just measured out a teaspoon of vanilla. And now you need a teaspoon of cinnamon — which means a break in the action as you go to the sink to wash the vanilla off your spoon, carefully drying it afterward so the cinnamon doesn’t cling. Instead, plan ahead when measuring: Read the recipe and note if any dry ingredients calling for a measuring spoon are listed after wet ingredients. If so, see if you can reorder them to keep your spoons dry as long as possible.
This won’t work in every case, but if your one-bowl cake recipe calls for adding 1 teaspoon almond extract followed by 1 teaspoon baking powder and 1 teaspoon salt, simply reverse their order so the dry ingredients come first. In addition, try to measure any chemical leaveners (baking soda, baking powder) first, to avoid contaminating them with spices or other dry ingredients.
You can mentally adjust the order of your ingredients to avoid measuring cinnamon with a wet spoon. Or you can simply purchase two sets of spoons, so you’re guaranteed to always have a dry one on hand when you need it. To potentially save yourself some steps, keep one set of spoons in your baking area, the other next to the stove for dinner prep.
Or here’s an alternative to two complete sets of spoons: Add just our baker-friendly set of the three most commonly used spoons (1 tablespoon, 1 teaspoon, 1/4 teaspoon) to your current set.
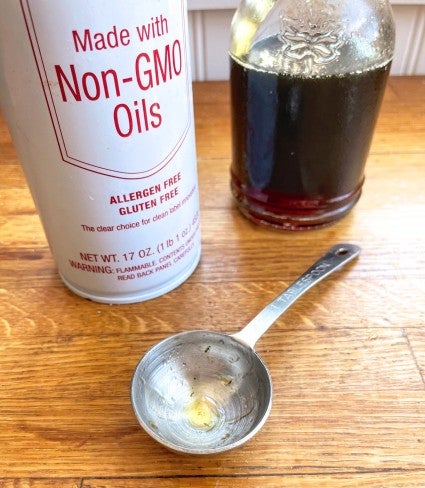
Measuring honey, maple syrup, molasses — or even a tablespoon of peanut butter — can be tricky; seems like half of what you’re measuring sticks to the spoon. Simply grease your spoon with a spritz of nonstick pan spray first, and problem solved: Whatever you’re measuring will slip seamlessly out of the spoon into the mixing bowl.
There’s no need to waste water by washing your measuring spoon every time you measure out a dry ingredient. Salt, baking soda, yeast, spices — once you’ve deposited the dry ingredient into your bowl, a couple of hard taps of the spoon against the edge of the bowl will leave the spoon completely (or nearly) clean. Use a dry kitchen towel to wipe completely clean, if desired.
I wash all my measuring spoons (and the jar they live in) maybe once a week, or whenever there’s a spot in the dishwasher. But individually, every time I use them? Nah.
Hey, measuring geeks — do you long for a spoon that measures a pinch? How about 2/3 of a teaspoon, or 1 1/2 teaspoons? Check out our set of odd-sized measuring spoons.
Cover photo by Kristin Teig.
